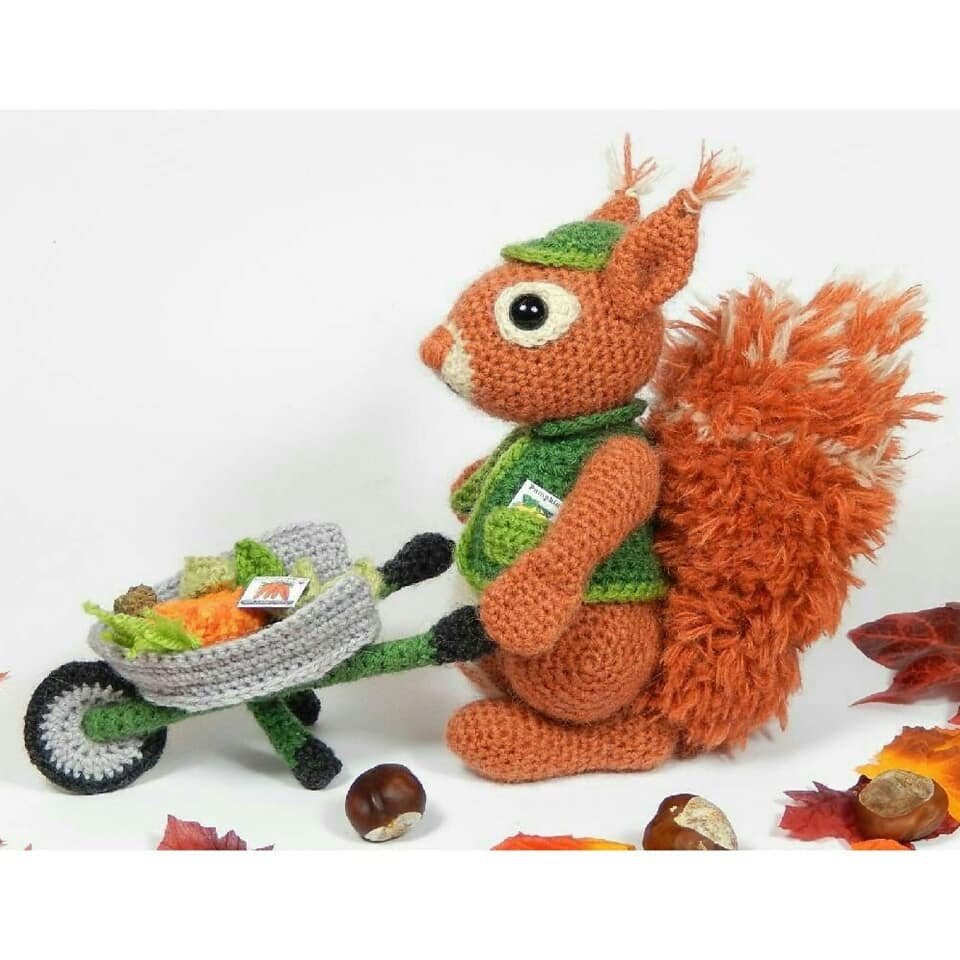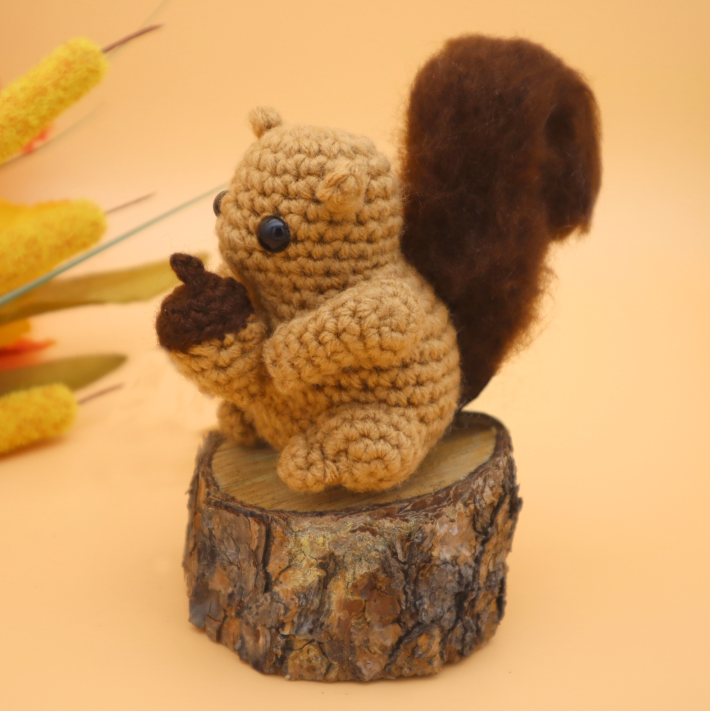
Squirrel Amigurumi Free Pattern
Hello amigurumi lovers and beautiful visitors, I wanted to share the free amigurumi patterns for you here. In my article I will share 1 pattern and how to make it for you. At the end of my article, I will share amigurumi patterns that can generate ideas for you.
Supplies:
• Yarn 4/Medium Weight in…
Light brown and dark brown
•3mm Crochet Hook
•Tapestry needle
•Scissors
•Stuffing
•8mm safety eyes
•(Optional) Pet brush for brushing out tail
Additional Information:
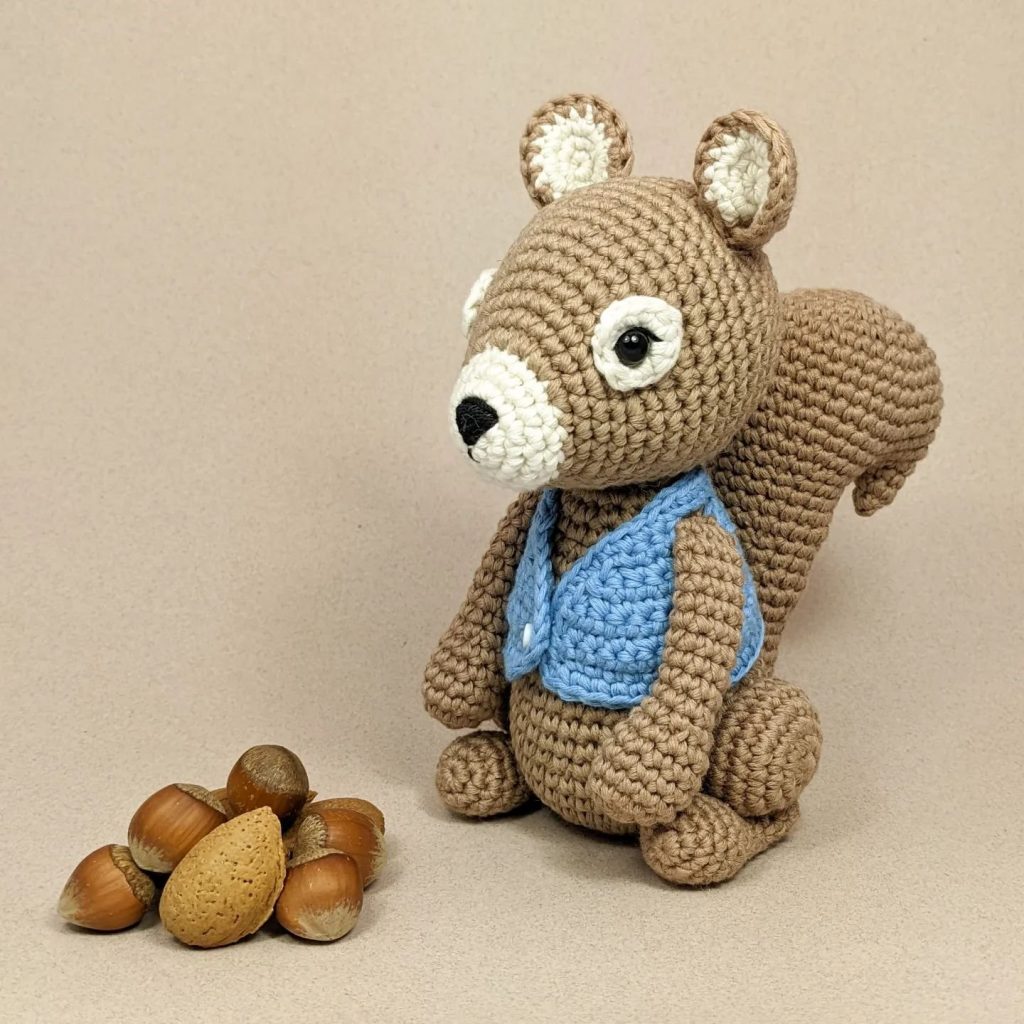
To start this squirrel, we will first start by making the top of our head, then working our way down to the body. The head and body are made in one continuous piece. After this, we will make his legs, arms, and ears. Finally, we’ll make his bushy tail!
• Getting the bushy tail
The tail looks cute being bushy, but you can definitely keep it regular! If you want it to look furry, I recommend getting a pet brush to brush out the tail. I bought a pet brush at the Dollar Tree. To brush out the tail, just run the brush over the same area a number of times, and the fur will form. Repeat this all over the tail.
Head/Body:
Start in light brown
Round 1: 6 Sc into a Magic Ring (6)
Round 2: *Inc* all around (12)
Round 3: *Inc, Sc in the next st* all around (18)
Round 4-6: *Sc* all around (18)
Round 7: Sc in the next 6 st, Inc in the next st, Sc in the next 11 st (19)
Add an eye stitch marker into the 5th st and in the 10th st.
Round 8: Sc in the next 6 st. Inc in the next 2 st, Sc in the next 11 st (21)
Round 9: Sc in the next 6 st, Dec in the next 2 st, Sc in the next 11 st (19)
Round 10: Sc in the next 6 st, Dec 1 time, Sc in the next 6 st. Repeat *Inc in the next st, Sc in the next st* 2 times. Inc in the next st (21)
Round 11: Sc in the next st, Inc in the next st, Sc in the next 2 st. Repeat *Dec, Sc in the next 2 st* 2 times. Sc in the next st. Repeat *Inc, Sc in the next 2 st* 2 times. Inc in the next st, Sc in the next st (23)
Round 12: Sc in the next st, Inc in the next st, Sc in the next 14 st. Inc in the next st, Sc in the next 3 st, Inc in the next st, Sc in the next 2 st (26)
Round 13: Inc in the next st, Sc in the next 25 st (27)
Add the eyes into the marked areas now. Stuff the head firmly now.
Round 14-17: *Sc* all around (27)
Round 18: Sc in the next 8 st. SlSt in the next 9 st. Sc in the next 10 st (27)
Round 19: *Sc* all around (27)
Round 20: Repeat *Dec, Sc in the next st* 3 times. Sc in the next 7 st. Repeat *Dec, Sc in the next st* 3 times. Sc in the last 2 st (21)
Round 21: *Dec* in the next 3 st, Sc in the next 7 st, *Dec* in the next 3 st* Sc in the last 2 st (15)
Stuff the body firmly now. Continue stuffing after each round.
Round 22: *Dec, Sc in the next st* all around (10)
Round 23: *Dec* all around (5)
Finish off, leaving a tail for sewing. Sew the remaining stitches closed now. Weave in ends.
Sitting Legs: (Make 2)
Start in light brown
Round 1: 6 Sc into a Magic Ring (6)
Round 2: *Inc* all around (12)
Round 3-4: *Sc* all around (12)
Finish off, leaving a long tail for sewing. Pin the leg onto the body as shown and sew on – be sure to firmly add stuffing before fully sewing closed. Weave in ends
Feet: (Make 2)
Start in light brown
Round 1: 6 Sc into a Magic Ring (6)
Round 2: *Sc* all around (6)
Pin the leg onto the body as shown and sew on – be sure to firmly add stuffing before fully sewing closed. Weave in ends.
Arms: (Make 2)
Start in light brown
Round 1: 6 Sc into a Magic Ring (6)
Round 2: *Inc* all around (12)
Round 3: *Sc* all around (12)
Round 4: In this round we will for the arm itself. Skip the next 6 st and Sc in the 7th st. Place your stitch marker in that first stitch made. We’ve created a new circle, and we will work within this circle to form the arm. Sc in the next 6 st. (7)
Round 5-7: *Sc* all around (7)
Finish off, leaving a long tail for sewing. Pin on as shown and sew on. Weave in ends.
Ears: (Make 2)
Start in light brown
Round 1: 6 Sc into a Magic Ring (6)
Finish off, leaving a long tail for sewing. Fold the ear in half and pin on as shown. Sew on and weave in ends.
Tail:
Start in dark brown
Round 1: 6 Sc into a Magic Ring (6)
Round 2: *Inc* all around (12)
Round 3: *Inc, Sc in the next st* all around (18)
Round 4-22: *Sc* all around (12)
Finish off, leaving a long tail for sewing
This step is optional: take a metal brush, such as a pet brush, and run the brush over the same area of the tail a number of times, and the fur will form. Repeat this all over the tail.
After this, pin the tail onto the butt of the squirrel. Sew on. Fold the tail over itself to make a curled tail. Weave the tail end of yarn to this area, and sew the curled tail area down. Once done, let’s secure the ends. tie the end end of yarn into a firm knot 2-4 times. Bring this knot into the toy’s tail to hide. Cut any excess yarn.
Acorn:
Start in dark brown
Round 1: 6 Sc into a Magic Ring (6)
Round 2: *Inc* all around (12)
Round 3: *Sc* all around (12)
Round 4: Change to light brown. In the BLO, *Dec, Sc in the next 2 st* all around (9)
Round 5-6: *Sc* all around (9)
Stuff the acorn now.
Round 7: *Dec* 4 times, Sc in the last st (5)
Finish off, leaving a long tail for sewing. Sew the remaining stitches closed. Place the tail end of yarn onto your sewing needle, then bring the yarn into the middle of the acorn. Using this yarn, we will later sew the acorn to the squirrel’s hands.
Acorn Stem:
Start in dark brown:
Round 1: Ch 3. Sc in the 2nd Ch from the hook, Sc in the next 2 st (3)
Finish off, leaving a long tail end of yarn. Place the stem onto the top middle area of the acorn and sew on. Weave in ends. Now place the acorn between the amigurumi squirrel’s hands and sew on. Weave in ends.
Feel free to tag me (@freeamigurumii) in your photos on Instagram or Facebook if you’d like!
All Finished.