Turtle Amigurumi Free Crochet Pattern
Hello amigurumi lovers and beautiful visitors, I wanted to share the free amigurumi patterns for you here. In my article I will share 1 pattern and how to make it for you. At the end of my article, I will share amigurumi patterns that can generate ideas for you.
Supplies:
4mm Hook, 6mm Safety Eyes, Black Embroidery Thread, Tapestry Needle, Stuffing, Scissors
Yarn Used for Basic Turtle: Green, Brown, and Orange
Additional Information:
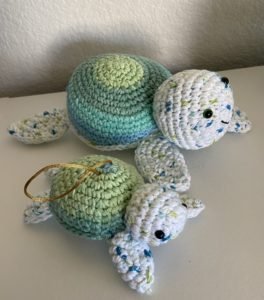
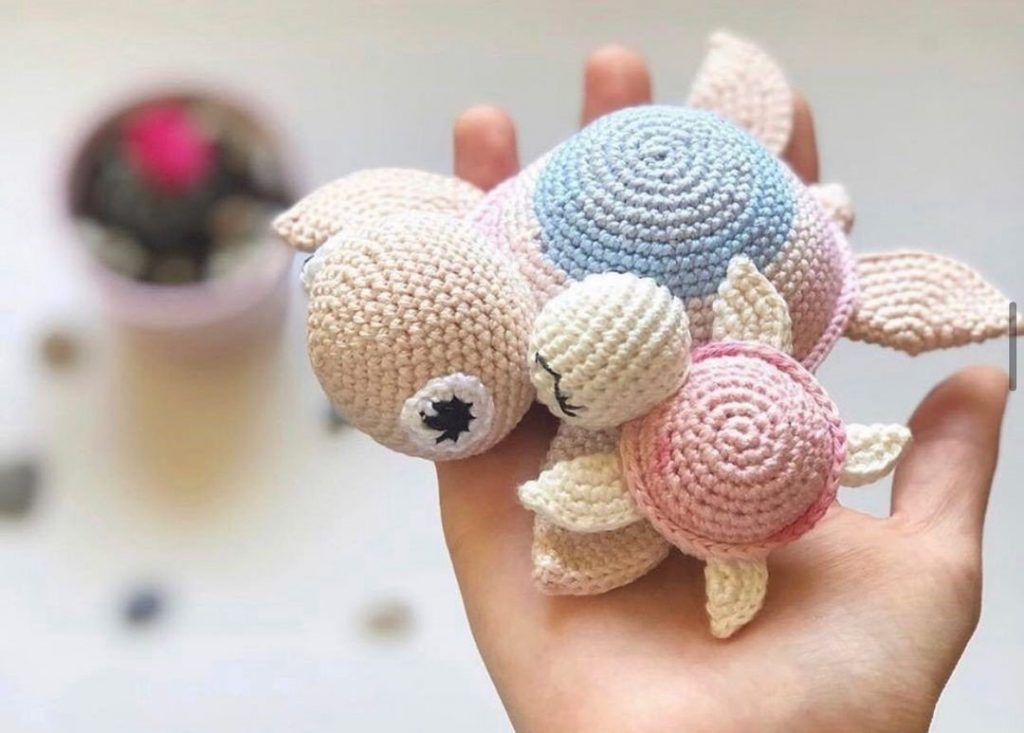
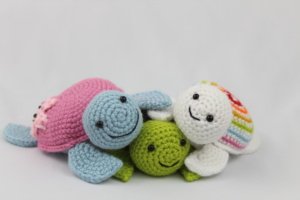
There is a baby turtle version and a mommy turtle version. The baby is smaller and the mommy is bigger. For colors, use any desired colors.
“Shell Color” refers to the color you want to use for the shell.
“Skin Color: refers to the color you want the turtles skin to be.
For the rainbow Baby Turtle shell, start with White and alternate between white and rainbow colors. Use just white for bottom shell.
Baby Turtle
Top Shell
Round 1: In Shell Color, 6 Sc in Magic Ring (6)
Round 2: *Inc* all around (12)
Round 3: *Inc, Sc* all around (18)
Round 4: *Inc, 2 Sc* all around (24)
Round 5: *Inc, 3 Sc* all around (30)
Round 6: *Inc, 4 Sc* all around (36)
Round 7: *Inc, 5 Sc* all around (42)
Round 8: *Inc, 6 Sc* all around (48)
Round 9: *Inc, 7 Sc* all around (54)
Round 10-13: *Sc* all around (54)
Finish off.
Bottom Shell
Round 1: In Skin Color, 6 Sc in Magic Ring (6)
Round 2: *Inc* all around (12)
Round 3: *Inc, Sc* all around (18)
Round 4: *Inc, 2 Sc* all around (24)
Round 5: *Inc, 3 Sc* all around (30)
Round 6: *Inc, 4 Sc* all around (36)
Round 7: *Inc, 5 Sc* all around (42)
Round 8: *Inc, 6 Sc* all around (48)
Round 9: *Inc, 7 Sc* all around (54)
Finish off. Now refer to Note/Assembly.
Note: The bottom shell will appear smaller than the top shell. That’s fine, this happens because we single crocheted a few extra rounds on the top shell and not the bottom shell. Since the number of stitches is the same, the shells will line up perfectly when you Sc them together.
Assembly:
Line top shell up to the bottom shell. Sc both together, making sure the stitches line up.
Stuff before closing. Finish off.
Flippers: (Make 4)
Round 1: In Skin Color, 6 Sc in Magic Ring (6)
Round 2: *Inc* all around (12)
Round 3: *Inc, Sc* all around (18)
Round 4: *Inc, 2 Sc* all around (24)
Round 5: *Inc, 3 Sc* all around (30)
Round 6: *Inc, 4 Sc* all around (36)
Finish off. Fold in half and sew closed.
Flipper Assembly:
Once all four flippers are sewed shut, pin the flippers as shown.
Head:
Round 1: In Skin Color, 6 Sc in Magic Ring (6)
Round 2: *Inc* all around (12)
Round 3: *Inc, Sc* all around (18)
In next round we will place different colored stitch markers to indicate where to place your safety eyes.
Round 4: *Inc, 2 Sc* 1 time. Inc in next st, Sc in next 2 st. Add different colored St marker to Sc just made. *Inc, 2 Sc* 1 time. Inc in next st, Sc in next 2 st. Add different colored st marker to Sc just made. *Inc, Sc in next 2 st* 2 times (24)
Round 5: *Inc, 3 Sc* all around (30)
Round 6: *Inc, 4 Sc* all around (36)
Round 7-9: *Sc* all around (36)
Round 10: *Dec, 4 Sc* all around (30)
Round 11: *Sc* all around (30)
Round 12: *Dec, 3 Sc* all around (24)
Round 13: *Dec, 2 Sc* all around (18)
Apply safety eyes and remove the safety eye markers. Sew on smile. Stuff here.
Round 14: *Dec, 1 Sc* all around (12)
Round 15: *Dec* all around (6)
Stuff any additional stuffing and finish off. Sew closed.
Head Assembly:
Place head between to fins. Pin in place and sew on.
Mommy Turtle
Top Shell
Round 1: In Shell Color, 6 Sc in Magic Ring (6)
Round 2: *Inc* all around (12)
Round 3: *Inc, Sc* all around (18)
Round 4: *Inc, 2 Sc* all around (24)
Round 5: *Inc, 3 Sc* all around (30)
Round 6: *Inc, 4 Sc* all around (36)
Round 7: *Inc, 5 Sc* all around (42)
Round 8: *Inc, 6 Sc* all around (48)
Round 9: *Inc, 7 Sc* all around (54)
Round 10: *Inc, 8 Sc* all around (60)
Round 11: *Inc, 9 Sc* all around (66)
Round 12-13: *Sc* all around (66)
Finish off.
Bottom Shell:
Round 1: In Skin Color, 6 Sc in Magic Ring (6)
Round 2: *Inc* all around (12)
Round 3: *Inc, Sc* all around (18)
Round 4: *Inc, 2 Sc* all around (24)
Round 5: *Inc, 3 Sc* all around (30)
Round 6: *Inc, 4 Sc* all around (36)
Round 7: *Inc, 5 Sc* all around (42)
Round 8: *Inc, 6 Sc* all around (48)
Round 9: *Inc, 7 Sc* all around (54)
Round 10: *Inc, 8 Sc* all around (60)
Round 11: *Inc, 9 Sc* all around (66)
Finish off. Now refer to Note/Assembly.
Note: The bottom shell will appear smaller than the top shell. That’s fine, this happens because we single crocheted a few extra rounds on the top shell and not the bottom shell. Since the number of stitches is the same, the shells will line up perfectly when you Sc them together.
Assembly
Line top shell up to the bottom shell. Sc both together, making sure the stitches line up. Stuff before closing. Finish off.
Flippers: (Make 4)
Round 1: In Skin Color, 6 Sc in Magic Ring (6)
Round 2: *Inc* all around (12)
Round 3: *Inc, Sc* all around (18)
Round 4: *Inc, 2 Sc* all around (24)
Round 5: *Inc, 3 Sc* all around (30)
Round 6: *Inc, 4 Sc* all around (36)
Finish off. Fold in half and sew closed.
Flipper Assembly:
Once all four flippers are sewed shut, pin the flippers as shown.
Head:
Round 1: In Skin Color, 6 Sc in Magic Ring (6)
Round 2: *Inc* all around (12)
Round 3: *Inc, Sc* all around (18)
Round 4: *Inc, 2 Sc* all around (24)
In next round we will place different colored stitch markers to indicate where to place your safety eyes.
Round 5: Inc in next st, Sc in next 3 st. Inc in next st, Sc in next st. Add different colored St marker to St just made, Sc in next 2 st. Inc in next st, Sc in next 3 st. Inc in next st, Sc in next St. Add different colored st marker to St just made, Sc in next 2 st. *Inc, 3 Sc* 2 times (30)
Round 6: *Inc, 4 Sc* all around (36)
Round 7-9: *Sc* all around (36)
Round 10: *Dec, 4 Sc* all around (30)
Round 11: *Sc* all around (30)
Round 12: *Dec, 3 Sc* all around (24)
Round 13: *Dec, 2 Sc* all around (18)
Add in safety eyes and remove eyes stitch markers. Sew on smile. Stuff here.
Round 14: *Dec, 1 Sc* all around (12)
Round 15: *Dec* all around (6)
Stuff any additional stuffing and finish off. Sew closed.Sew head onto body between two flippers.
Head Assembly:
Place head between to fins. Pin in place and sew on.
Starfish: (Optional)
Round 1: In Pink, 6 Sc in Magic Ring (6)
Round 2: *Inc in next 2 st, Sc in next st* 2 times (10)
Round 3: *Slst in next St, Ch 4. Dc in 2nd ch from hook. Dc in next ch, Trc in last Ch. Skip next st* 5 times
Finish off. Sew onto the back on the turtle.
All Finished.
Feel free to tag me (@freeamigurumii) in your photos on Instagram or Facebook if you’d like!