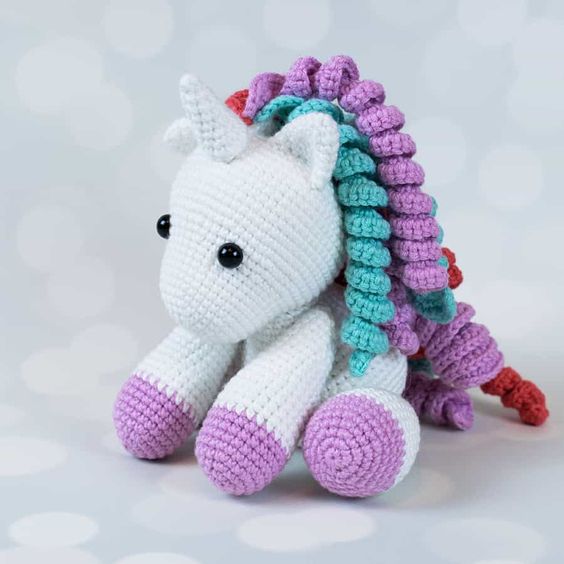
Toy Unicorn Amigurumi Crochet Pattern
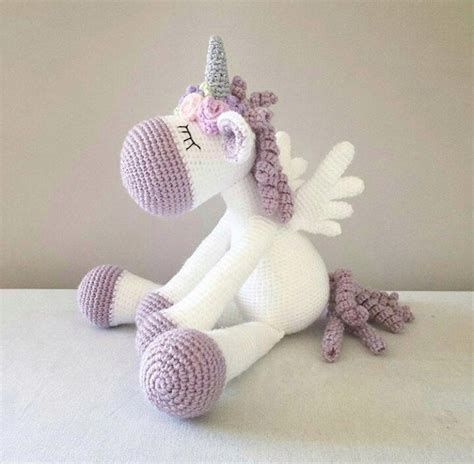
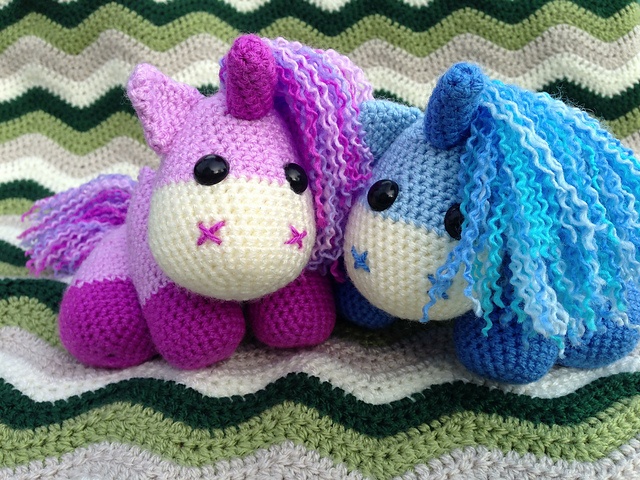
Hello amigurumi lovers and beautiful visitors, I wanted to share the free amigurumi patterns for you here. In my article I will share 1 pattern and how to make it for you. At the end of my article, I will share amigurumi patterns that can generate ideas for you.
Hind legs: (2 details)
Crochet No. 3 with a red thread.
Row 1: Starting magic ring, 6 sc into this ring. (6)
Row 2: 2 sc in each sc to end of row. (12)
Row 3: *1 sc, 2 sc next. Sc *, repeat to the end of the row. (18)
Row 4: *2 sc, 2 sc next. Sc *, repeat to the end of the row. (24)
Row 5: *3 sc, 2 sc next. Sc *, repeat to the end of the row. (30)
Row 6-10: Sc to end of row. (30)
Change color to pink.
Row 11-14: Sc to end of row. (30)
Row 15: *3 sc, 2 sc tog*, repeat to end of row. (24)
Row 16-17: Sc to end of row. (24)
Row 18: *2 sc, 2 sc tog*, repeat to end of row. (18)
Row 19-20: Sc to end of row (18)
Start filling with filler.
Row 21: *1 sc, 2 sc tog*, repeat to end of row. (12)
Row 22-23: Sc to end of row. (12)
Add padding without reaching the top of the leg.
Row 24: *2 sc tog*, repeat to end of row. (6)
Row 25: Sc to end of row. (6)
Finish, leaving a long end, pull it through the loops and close the hole.
Front legs: (2 parts)
Knit crochet No. 3 with a red thread.
Row 1: Starting magic ring, 6 sc into this ring. (6)
Row 2: 2 sc in each sc to end of row. (12)
Row 3: *1 sc, 2 sc next. Sc *, repeat to the end of the row. (18)
Row 4: *2 sc, 2 sc next. Sc *, repeat to the end of the row. (24)
Row 5-10: Sc to end of row. (24)
Change color to pink.
Row 11-17: Sc to end of row. (24)
Row 18: *2 sc, 2 sc tog*, repeat to end of row. (18)
Row 19-20: Sc to end of row. (18)
Start filling with filler.
Row 21: *1 sc, 2 sc tog*, repeat to end of row. (12)
Row 22-23: Sc to end of row. (12)
Add filler, not reaching the top edge of the leg.
Row 24: *2 sc tog*, repeat to end of row. (6)
Row 25: Sc to end of row. (6)
Finish, leaving a long end, pull it through the loops and close the hole.
Body:
Work with pink yarn and crochet no. 3.
Row 1: Starting magic ring, 6 sc in this ring. (6)
Row 2: 2 sc in each sc to end of row. (12)
Row 3: *1 sc, 2 sc next. Sc *, repeat to the end of the row. (18)
Row 4: *2 sc, 2 sc next. Sc *, repeat to the end of the row. (24)
Row 5: *3 sc, 2 sc next. Sc *, repeat to the end of the row. (30)
Row 6: *2 sc in the next. RLS, 4 RLS *, repeat until the end of the row. (36)
Row 7-17: Sc to end of row. (36)
Row 18: *2 sc tog, 4 sc*, repeat to end of row. (30)
Row 19-25: Sc to end of row. (30)
Start filling with filler.
Row 26: *2 sc tog, 3 sc*, repeat to end of row. (24)
Row 27: *2 sc tog, 2 sc*, repeat to end of row. (18)
Stuff the entire body with stuffing.
Row 28: *2 sc tog, 1 sc*, repeat to end of row. (12)
Row 29: *2 sc tog*, repeat to end of row. (6)
Finish work, leave a long end and sew up a hole with it.
Head:
Hook No. 3
Start knitting in milky color.
Row 1: Starting magic ring, 6 sc into this ring. (6)
Row 2: 2 sc in each sc to end of row. (12)
Row 3: *1 sc, 2 sc next. Sc *, repeat to the end of the row. (18)
Row 4: *2 sc, 2 sc next. Sc *, repeat to the end of the row. (24)
Row 5: *2 sc in the next. RLS, 3 RLS *, repeat until the end of the row. (30)
Row 6: *2 sc in the next. RLS, 4 RLS *, repeat until the end of the row. (36)
Row 7: *5 sc, 2 sc next. Sc *, repeat to the end of the row. (42)
Row 8-14: Sc to end of row. (42)
Change color to pink.
Row 15-16: Sc to end of row. (42)
Row 17: *2 sc tog, 5 sc*, repeat to end of row. (36)
Row 18: *2 sc tog, 4 sc*, repeat to end of row. (30)
Row 19-22: Sc to end of row. (30)
Attach the eyes just above the milky row.
Start filling with filler.
Row 23: *2 sc tog, 3 sc*, repeat to end of row. (24)
Row 24: *2 sc tog, 2 sc*, repeat to end of row. (18)
Fill the entire head with stuffing.
Row 25: *2 sc tog, 1 sc*, repeat to end of row. (12)
Row 26: *2 sc tog*, repeat to end of row. (6)
Finish work, leave a long end and sew up a hole with it.
Ears: (2 details) Knit with pink yarn and crochet No. 3. Row 1: Initial magic ring, 4 sc in this ring. (4)
Row 2: *2 sc in the next. RLS, 1 RLS *, repeat until the end of the row. (6)
Row 3: *2 sc in next. RLS, 2 RLS *, repeat until the end of the row. (8)
Row 4: *2 sc in next. RLS, 3 RLS *, repeat until the end of the row. (10)
Row 5: *2 sc in next. RLS, 4 RLS *, repeat until the end of the row. (12)
Row 6: *2 sc in next. RLS, 5 RLS *, repeat until the end of the row. (14)
Row 7: *2 sc in the next. RLS, 6 RLS *, repeat until the end of the row. (16)
Finish work, leave a long end for sewing to the head.
Flatten and do not add filler.
Horn:
Work with red yarn and crochet No. 3.
Row 1: Starting magic ring, 4 sc in this ring. (4)
Row 2: *2 sc in next. RLS, 1 RLS *, repeat until the end of the row. (6)
Row 3: *2 sc in next. RLS, 2 RLS *, repeat until the end of the row. (8)
Row 4-8: Sc to end of row. (8)
Finish, leave a long end for sewing to the head.
Fill with filler.
Mane: (consists of three parts)
1) Knit with a double thread of milky and red flowers, crochet No. 5. (1 part)
2) Knit with a red thread, crochet No. 3. (2 parts)
14 ch. *(SBN, CH, C2H, CH, RLS) in the 2nd ch. from the hook.
SS next. ch * Repeat until the last ch.
Note: You should get 7 small shells. Tail: Knit with a double thread of milky and red flowers, crochet No. 5. 8 ch. *(SBN, CH, C2H, CH, RLS) in the 2nd ch. from the hook. SS next. ch * Repeat until the last ch. Note: You should get 4 small shells.
Assembly:
Sew the ears and horn to the head.
With red thread, embroider two nostrils in the form of a cross.
Sew the legs to the body.
Sew the head to the body.
Sew the parts of the mane together. (In the center – milky red, on the sides of the red mane). Sew on the mane at the back of the head and body.
Fold the tail in half, aligning two shells, and sew it at the lower back of the body.
Feel free to tag me (@freeamigurumii) in your photos on Instagram or Facebook if you’d like!
All Finished.