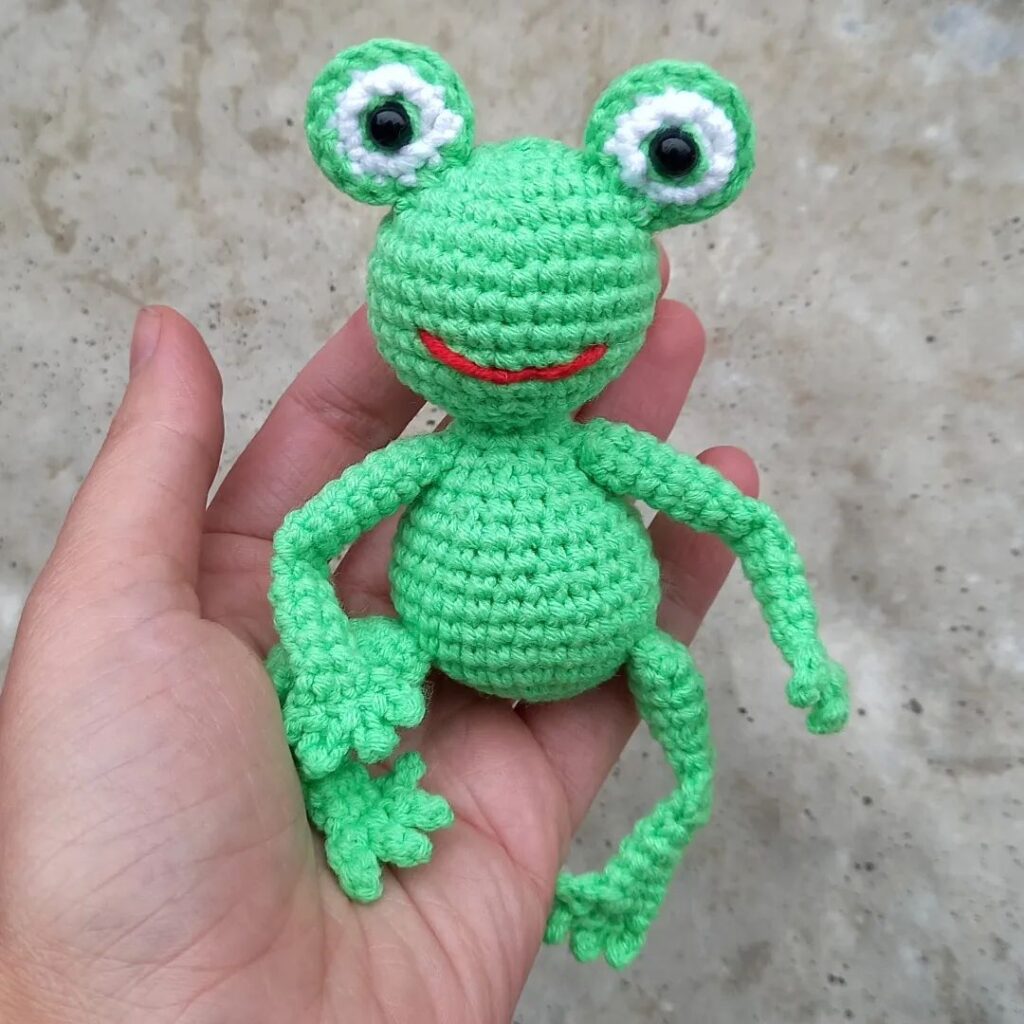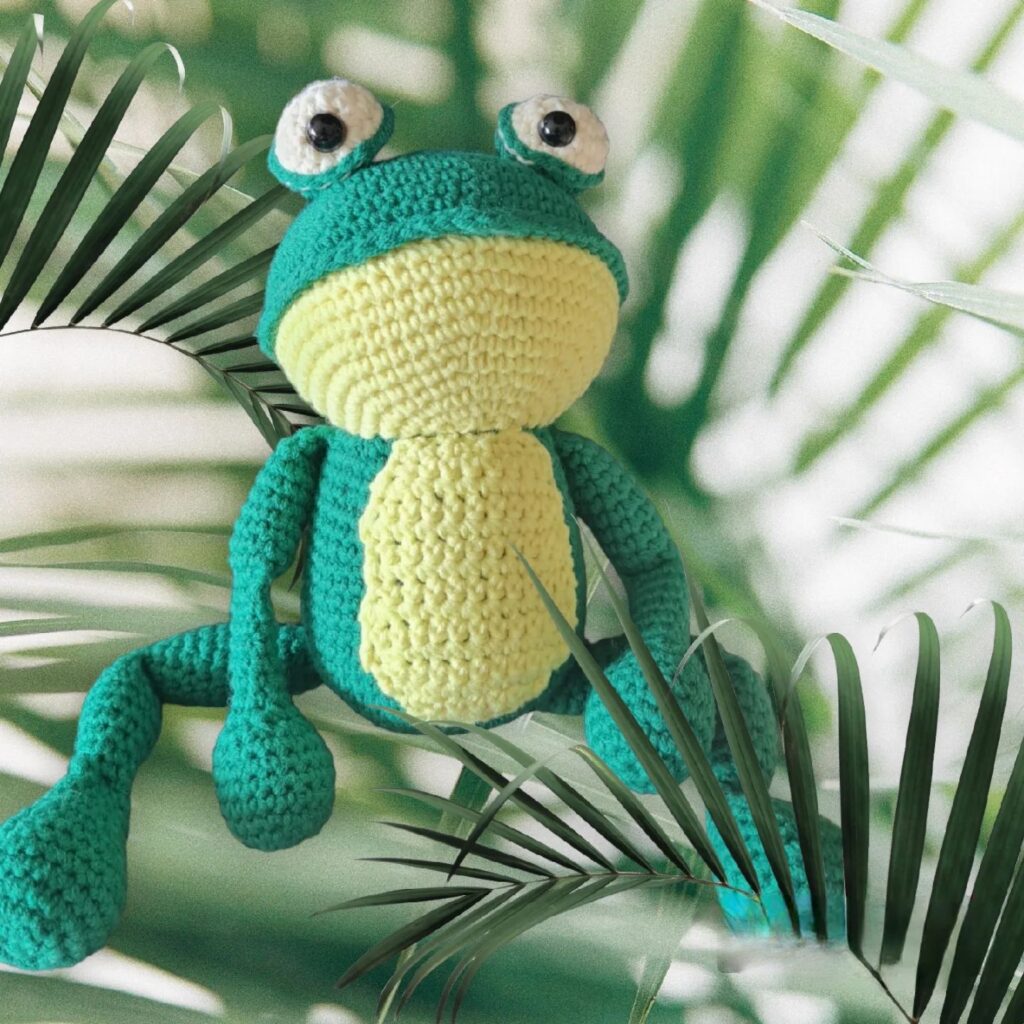
Toy Frog Amigurumi Crochet Pattern
Hello amigurumi lovers and beautiful visitors, I wanted to share the free amigurumi patterns for you here. In my article I will share 1 pattern and how to make it for you. At the end of my article, I will share amigurumi patterns that can generate ideas for you.
Materials:
– eight-ply acrylic yarn, colors: light green, dark green, white and a little black
– crochet hook – 3 mm
– yarn needle or regular needle
– white decorative thread or yarn
– fibrous filler
– small pieces of black and pink felt
– fabric glue
– knitting marker or safety pin
Note: This amigurumi toy is worked in continuous rows in a spiral pattern (no connecting stitches at the end of each row).
Abbreviations:
VK – magic ring
RLS – single crochet
Increase – 2 single crochets knitted in one loop of the base
Decrease – 2 single crochets knitted together
VP – air loop
* * – repeat step
Fasten – cut the thread and fasten off
Head and body
Light green and dark green yarn.
We start with light green.
Row 1. VK, 6 PRS in VK (6)
Row 2. 2 PRS in each loop in a circle (12)
Row 3. *1 PRS, increase *, repeat in a circle (18)
Row 4. *2 PRS, increase * , repeat in a circle (24)
Row 5. * 3 sc, increase *, repeat in a circle (30)
Row 6. * 4 sc, increase *, repeat in a circle (36)
Row 7. * increase, 5 sc *, repeat in a circle (42)
Row 8. *increase, 6 sc*, repeat in a circle (48)
Row 9. *increase, 7 sc*, repeat in a circle (54)
Row 10-22. Sc in a circle (54) Row
23. *7 Sc, decrease*, repeat in a circle (48)
Row 24. *6 Sc, decrease*, repeat in a circle (42)
Row 25. *5 sc, decrease*, repeat in a circle (36)
Row 26. *4 sc, decrease*, repeat in a circle (30)
Row 27. *3 sc, decrease*, repeat in a circle (24)
Change the thread to dark green.
Row 28-29. Sc in a circle (24)
Stuff your head with stuffing.
Row 30. *3 sc, increase*, repeat in a circle (30)
Row 31. *4 sc, increase*, repeat in a circle (36)
Row 32. *5 sc, increase*, repeat in a circle (42)
Row 33 -38. Sc in a circle (42) Row
39. *5 Sc, decrease*, repeat in a circle (36)
Row 40. *4 Sc, decrease*, repeat in a circle (30)
Row 41. *3 Sc, decrease*, repeat in in a circle (24)
Row 42. *2 sc, decrease*, repeat in a circle (18)
Stuff the body with filler.
Row 43. *1 sc, dec*, repeat in round (12)
Row 44. *dec*, repeat in round (6)
Add filler to fill head and body completely.
Pin.
Eyes (2 parts)
White yarn.
Row 1. VK, 6 PRS in VK (6)
Row 2. 2 PRS in each loop in a circle (12)
Row 3. *1 PRS, increase *, repeat in a circle (18)
Row 4. *2 PRS, increase * , repeat in a circle (24)
Row 5. * 3 sc, increase *, repeat in a circle (30)
Row 6-7. Sc in a circle (30)
Row 8. *3 Sc, decrease*, repeat in a circle (24)
Row 9. *2 Sc, decrease*, repeat in a circle (18)
Stuff the eyes with filler.
Row 10. *1 sc, decrease*, repeat in a circle (12)
Row 11. *decrease*, repeat in a circle (6)
Add filler. Don’t overdo it.
Pin.
Handles (2 parts)
Light green thread.
Row 1. VK, 6 sc in VC (6)
Row 2. 2 sc in each loop in a circle (12)
Row 3-8. RLS in a circle (12)
Stuff the handles with filler.
Fasten, leave a long thread to sew to the body.
Legs (2 parts)
Light green thread.
Row 1. VK, 6 PRS in VK (6)
Row 2. 2 PRS in each loop in a circle (12)
Row 3. *1 PRS, increase *, repeat in a circle (18)
Row 4-6. Sc in a circle (18)
Row 7. *decrease*, repeat 6 times, sc in a circle (12)
Row 8. Sc in a circle (12)
Stuff the legs with filler.
Fasten, leave a long thread to sew to the body.
Bow:
– cut off a small rectangular piece of black felt and some black thread;
– wrap the black thread around the felt in the middle;
– Tie a knot at the back and cut off the excess thread.
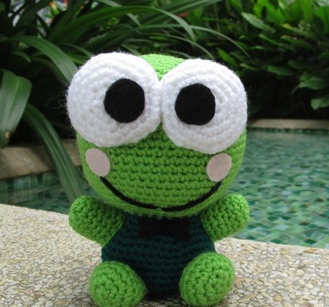
Take a yarn needle and white decorative thread and sew on Keroppi’s eyes as in the picture. Also, using a needle and thread, connect both eyes together, sewing them in the middle.
Attach the arms and legs to the sides of the knitted frog.
Cut 2 small pieces of black and pink felt and glue them on Keroppi’s face with fabric glue (eyes and cheeks).
Lastly, cut off some black thread and use a yarn needle to embroider a Keroppi mouth.
Feel free to tag me (@freeamigurumii) in your photos on Instagram or Facebook if you’d like!
All Finished.