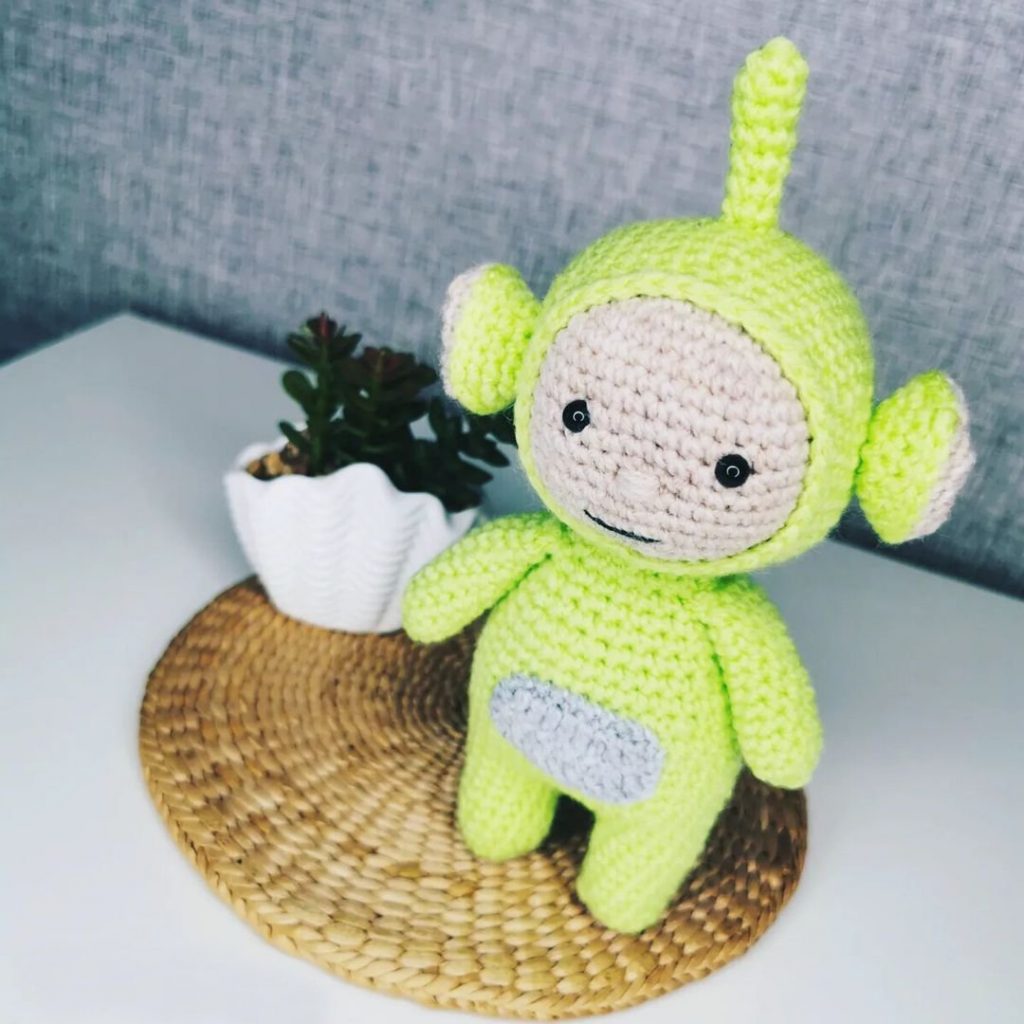
Teletubbies Free Crochet Pattern
Hello amigurumi lovers and beautiful visitors, I wanted to share the free amigurumi patterns for you here. In my article I will share 1 pattern and how to make it for you. At the end of my article, I will share amigurumi patterns that can generate ideas for you.
Information Before Starting:
Best for intermediate crocheters
The finished Teletubbie is about “9.5 or 24cm from head to toe (not including antenna).
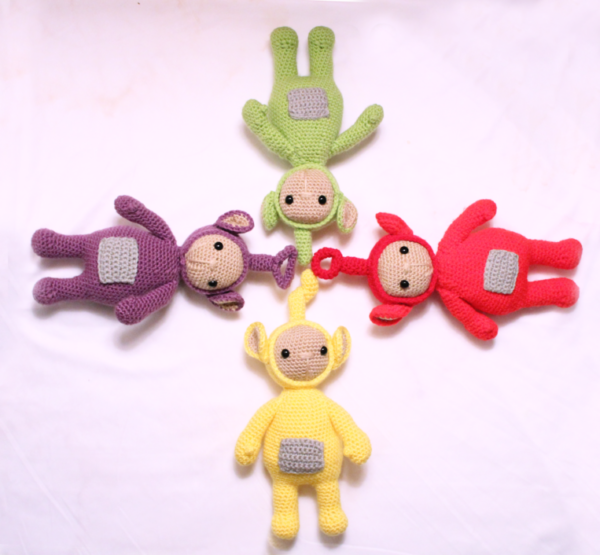
Yarn Needed: Medium/4 Weight yarn in colors: Red, Yellow, Green, Purple, Tan, Black and Grey.
Hook Size: 4mm
Supplies: Pins, 10mm Safety Eyes, and Stuffing
Stitches Used: Magic Ring, Sc, Dc, Inc, Dec, Slst, Ch.
Note: “Primary Color” will be used to describe the main color you’re using for your teletubbie. So when called for “Primary Color”, use the main color of your teletubbie.
Feet
We make the feet first, which we will then attach together. From there, we will work from the feet up to the body.
Make 2:
Round 1: In primary color, 6 sc in magic ring (6)
Round 2: *inc* in every st (12)
Round 3: *inc, sc* around (18)
Round 4-6: *sc* around (18)
Round 7: Sc 4, *dec* 4 times, sc 6 (14)
Round 8: Sc 5, dec, sc 7 (13)
Round 9-15: *sc* around. Finish off but LEAVE st marker in first foot!
Repeat for second foot but continue:
DON’T finish off 2nd foot. We will continue on the 2nd foot:
Round 16: Sc 4 , ch 4. On first leg, count 1st stitch behind 1st leg stitch marker. Sc in this stitch You can now remove this st marker but keep in other st marker. (We’re keeping in the 2nd leg stitch marker)
It should look like this. The connecting ch is towards the butt rather than in the front by the feet.
Sc in next 12 st. Now we meet connecting ch, sc 4 across the ch.
Now we meet the other leg. Sc in next 9 st. Now we meet the st marker. (34)
Round 17: Sc 4, now we meet other side of ch. Sc 4 across ch, sc in next 12 st, skip next st, now sc 4 across ch, skip next st, sc 8 along other leg. (32)
Round 18: Inc in first st, sc in next 11 st, *inc* 4 times, sc in next 13 st, *inc* 3 times (40)
Round 19-20: *sc* around (40)
Eventually start to look like this
Round 21: sc in next 17 st, *inc* 2 times, sc in next 17 st, *inc* 2 times, sc in last 2 st (44)
Round 22: *sc* around (44)
Round 23: sc in next 21 st, *inc* 2 times, sc in next 14 st, *inc* 2 times, sc in last 5 st (48)
Round 24-29: *sc* around (48)
Round 30: *dec, sc 6* all around (42)
Round 31-35: *sc* all around (42)
Round 36: *dec, sc 5* all around (36)
Round 37-38: *sc* all around (36)
Round 39: *dec, sc 4* all around (30)
Start to stuff your teletubbie here.
Round 40: *sc* all around (30)
Round 41: *dec, sc 3* all around (24)
Round 42: *sc* all around (24)
Round 43: *dec, sc 2* all around (18)
Finish off but don’t sew closed. Leave a long tail for sewing head onto body later. Make sure to stuff any additional stuffing.
Head:
In tan:
Round 1: 6 sc in magic ring (6)
Round 2: *inc* in every st (12)
Round 3: *inc, sc* around (18)
Round 4: *inc, 2 sc* around (24)
Round 5: *inc, 3 sc* around (30)
Round 6: *inc, 4 sc* around (36)
Round 7: *inc, 5 sc* around (42)
Round 8-11: Sc around (42)
Round 12: Sc in next 8 st. Sc in next st and add different colored st marker. This is to mark where to add the eyes, which we will add in a few rows. Sc in next 8 st. Sc in next st and add different colored st marker. Sc in next 24 st (42)
Round 13-17: Sc around (42)
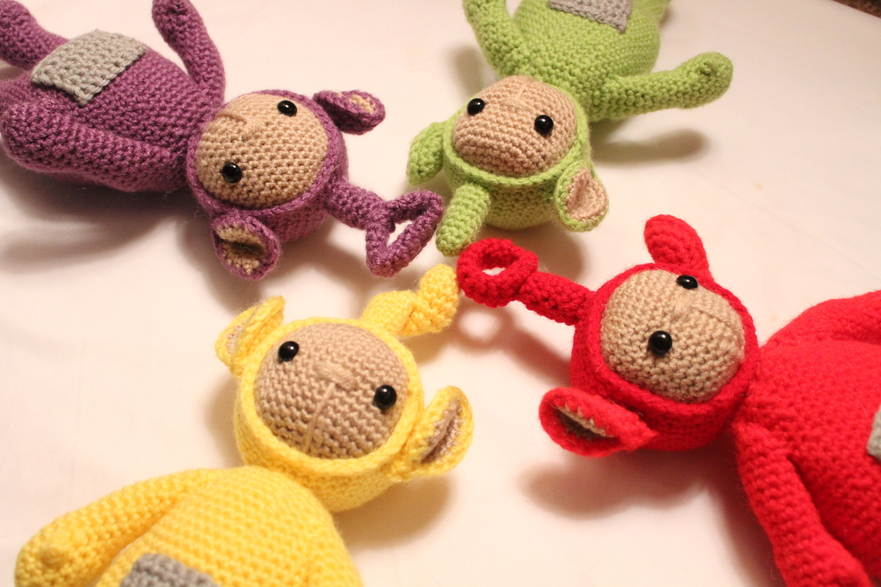
Now add in safety eyes where markers are. You can remove the eye markers only now. Now you can sew on nose if you want. Please refer to bottom of the page for more detailed explanation. Between the two eyes count 3 stitches in the middle. Sew a nose going between these three stitches.
Round 18: *dec, sc 5* (36)
Round 19: *dec, sc 4* (30)
Round 20: *dec, sc 3* (24)
Round 21: *dec, sc 2* (18)
Stuff at this point
Round 22: *dec, sc 1* (12)
Round 23: *dec* all around (6)
Finish off and leave a long tail for sewing. Stuff any additional stuffing and sew closed.
Head hat: In primary color
Round 1: 6 sc in magic ring (6)
Round 2: *inc* in every st (12)
Round 3: *inc, sc* around (18)
Round 4: *inc, 2 sc* around (24)
Round 5: *inc, 3 sc* around (30)
Round 6: *inc, 4 sc* around (36)
Round 7: *inc, 5 sc* around (42)
Round 8-17: *Sc* around (42)
Round 18: *SlSt* all around (42)
Finish off and leave a long tail for sewing. At this point you can place the head into this hat and sew on.
Arms
Round 1: In primary color, 6 sc in magic ring (6)
Round 2: *inc* in every st (12)
Round 3: *inc, sc 3* around (15)
Round 4-5: *sc* around (15)
Round 6: Sc in next 4 st, 3 dc in next st, remove hook from working st, insert hook into first dc, now insert hook also into working st. you will have 2 loops on your hook, yarn over and pull through both loops. Sc in next st, sc in next 9 st (15)
The DC method creates a finger
Round 7: *sc* all around (15)
Stuff hand
Round 8: *Dec, sc 2* 3 times, sc in next st, dec in last 2 st (11)
Round 9-19: *sc* around (11)
Finish off and leave a long tail for sewing. Add any additional stuffing and pin on body.
Ears
Make 4. 2 in tan first and finish off. 2 in primary color after, leaving very long tail for sc ears together after.
Round 1: 6 sc in magic ring (6)
Round 2: *inc* in every st (12)
Round 3: *inc, sc* all around (18)
Round 4: *sc* around (18)
Finish off tan ears.
For primary color ears, line up with one tan ear. Sc it together with tan ear. (18)
Finish off and leave a long tail for sewing. Fold in half and sew 1/4 bottom of the ear together and pin to head.
TV Belly Patch
Row 1: In grey, ch 10. Sc in 2nd ch from hook, Sc in rest of st.
Row 2-8: *Don’t ch 1, turn, Sc 9 across.*
Finish off leaving a long tail for sewing and pin onto tummy.
Head Springs
Green Teletubby Head Spring:
Round 1: In green, 4 sc in magic ring (4)
Round 2: *inc* all around (8)
Round 3-10: *sc* around (8)
Finish off, leaving a tail for sewing. Stuff as well.
Red Teletubby Head Spring:
Round 1: In red, 4 sc in magic ring (4)
Round 2: *inc* all around (8)
Round 3-8: *sc* around (8)
Finish off and don’t stuff yet or sew to head yet.
Ring:
Round 1: In red, 4 sc in magic ring (4)
Round 2: *inc, sc* all around (6)
Round 3-17: *sc* all around (6)
Finish off and don’t stuff. Bend into a ring and sew together. After you have made the ring, sew it on top of the teletubbie’s head spring. You can now stuff the first head spring.
Purple Teletubby Head Spring:
Round 1: In purple, 4 sc in magic ring (4)
Round 2: *inc* all around (8)
Round 3-8: *sc* around (8)
Finish off and don’t stuff yet or sew to head yet.
Triangle Ring:
Round 1: In purple, 4 sc in magic ring (4)
Round 2: *inc, sc* all around (6)
Round 3-22: *sc* all around (6)
Finish off and leave a tail for sewing. Don’t stuff. Sew into a circle. Bend into a triangle and sew the corners down together to secure the triangle shape. Now sew triangle to original head spring. Stuff head spring.
Yellow Teletubby Head Spring:
Round 1: In yellow, 4 sc in magic ring (4)
Round 2: *inc* all around (8)
Round 3-20: *sc* around (8)
Finish off, leaving a tail for sewing and stuff. Don’t stuff too stiffly. Bend spring in half, creating a loop in the middle. Pin in place and sew loop in place.
Lovetubbie Head Spring:
Round 1: In hot pink, 4 sc in magic ring (4)
Round 2: *inc* all around (8)
Round 3-8: *sc* around (8)
Finish off, leaving a tail for sewing. Stuff as well and pin to head. Now we make the Heart piece.
Heart
Round 1: In hot pink, 4 sc in magic ring (4)
Round 2: *inc* all around (8)
Round 3-21: *sc* around (8)
Finish off, leaving a tail for sewing. Now bend two ends of tube together and sew two ends into a heart shape. Now sew heart to original spring.
Body Assembly
Before sewing, make any placement adjustments until you’re happy with where everything is placed.
First, sew on the arms, making the sure arm doesn’t have too much stuffing at the very top. This will make it easier to sew on.
Now sew on the ears. When sewing them on, make sure the ears point to the side.
Next sew on the head spring onto head.
Sew head onto body.
Sew on belly patch.
Face Assembly:
In tan: Start off with sewing on a nose in the center of the face, between the two eyes. About 3 stitches will be between the needle. Start by inserting the needle and sewing side to side, working your way down to make the nose. A total of 3 pieces off string should make the nose, going through the same original 2 stitches. Once you have finished making the nose, sew a line directly underneath the nose down.
Mouth:
Optional. For a more realistic looking teletubbie, put on a mouth. In tan: Sew a strand of yarn in the middle of the line we created. Do this twice to get a little bit bigger of a lip. I did this and liked it better than one sewn lip.
In black: Hold the two lips back and sew underneath them with one strand of black yarn.
Now we have finished the mouth. Sew any remaining yarn inside the teletubbie.
All Finished.
Feel free to tag me (@freeamigurumii) in your photos on Instagram or Facebook if you’d like!