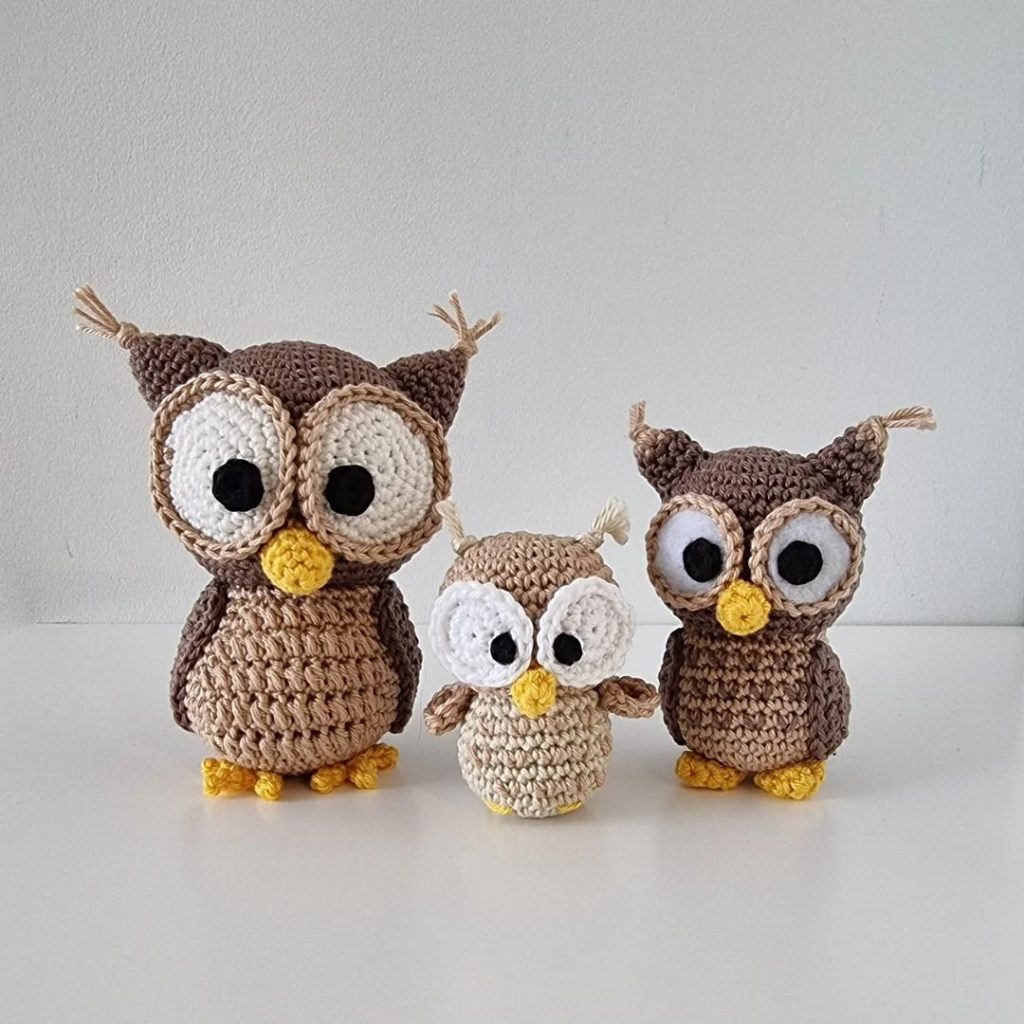
Owl & Snow Owl Amigurumi Free Crochet Pattern
Hello amigurumi lovers and beautiful visitors, I wanted to share the free amigurumi patterns for you here. In my article I will share 1 pattern and how to make it for you. At the end of my article, I will share amigurumi patterns that can generate ideas for you.
Supplies:
• Yarn colors in size 4/Medium Yarn…
Main Color for Owl Body, White for Feathers (Optional), Yellow or Grey for Beak, Yellow or Grey for Feet, Yellow or White for Eye Outline
• 4mm Crochet Hook
•12mm safety eyes
•Tapestry needle
•Scissors
•Stuffing
Additional Information:
Difficulty: Easy
Pattern is in US Terms
Getting started…
We will start by crocheting the top of the owls head, and work our way down to the body. The head and body are made in one continuous piece! After this we will make the arms and beak. Then, we will make the feathers. The feathers are made by a crocodile stitch. I show you exactly how to do this! However, this stitch may be harder for a beginner crocheter.
Recommended Yarns:
JoAnn Fabric’s “Big Twist” Yarn
Red Heart Super Saver Yarn
Hobby Lobby’s “I Love This Yarn!”
Head/Body:
Start in Main Color
Round 1: 6 Sc into a Magic Ring (6)
Round 2: *Inc* all around (12)
Round 3: *Inc, Sc* all around (18)
Round 4: *Inc, Sc 2* all around (24)
Round 5: *Inc, Sc 3* all around (30)
Round 6-7: *Sc* all around (30)
Round 8: *Inc, Sc 4* all around (36)
We will now add two different colored eye stitch markers into Round 8. Add eye markers into the 17th stitch and the 23rd stitch in Round 8.
Round 8 eye markers will look like photo above
Round 9: *Sc* all around (36)
Round 10: *Inc, Sc 5* all around (42)
Round 11: *Sc* all around (42)
Round 12: *Dec, Sc 5* all around (36)
Round 13: *Dec, Sc 4* all around (30)
Add safety eyes in the marked areas from Round 8 now
Round 14: *Dec, Sc 3* all around (24)
Round 15: In the FLO, *Sc* all around (24)
Round 16: In BOTH Loops, *Inc, Sc 3* all around (30)
Round 17: *Inc, Sc 4* all around (36)
Round 18: *Inc, Sc 5* all around (42)
Round 19-27: *Sc* all around (42)
Stuff firmly here. Continue stuffing after each round.
Round 28: *Dec, Sc 5* all around (36)
Round 29: *Dec, Sc 4* all around (30)
Round 30: *Dec, Sc 3* all around (24)
Round 31: *Dec, Sc 2* all around (18)
Round 33: *Dec, Sc 1* all around (12)
Round 34: *Dec* all around (6)
Finish off here, leaving a tail end of yarn. Sew the remaining stitches closed.
Arms: (Make 2)
In Main Color
Round 1: 6 Sc into a Magic Ring (6)
Round 2: *Sc* all around (6)
Round 3: *Inc* all around (12)
Round 4-10: *Sc* all around (12)
Finish off, leaving a long tail for sewing.
Pin onto the owl as shown – the top of the arm on Round 16, and the bottom of the arm on Round 20. Sew on and weave in ends.
Beak:
In grey for snow owl, in yellow for brown owl
The beak is made by working completely around a chain, so we will work in rounds, not rows.
Round 1: Ch 5. Sc in the 2nd Ch from the hook. Add a stitch marker to the Sc you just made Sc in the next 3 Ch. Turn your work to the OTHER side, where we haven’t worked any stitches yet Sc in the next 4 Ch. (8)
Round 2: *Sc* all around (8)
Finish off, leaving a long tail for sewing. Pin the beak on as shown, between the eyes evenly.
Ears: (Make 2)
In Brown for Brown Owl
Round 1: 6 Sc into a Magic Ring (6)
Round 2: *Sc* all around (6)
Round 3: *Inc, Sc* all around (9)
Finish off, leaving a long tail for sewing. Pin the ears onto the owl as shown. Sew on and weave in ends.
Feathers: (Optional)
In White
The feathers are made by using a crocodile stitch. This stitch is a little difficult if it’s your very first time making one. However, after making a few you will get the hang of it! Note that every Ch 3 we make in the feathers WILL count as 1 Dc.
Row 1: Ch 4. SlSt to first Ch to form a circle Ch 3. This counts as 1 Dc. Dc 4 more times into the circle Ch 1, Dc 5 more times into the circle
Row 2: Ch 3. Dc into the side of the Dc. Ch 1, Dc into the middle space Ch 1, Dc into the next st. Dc into the last st.
Row 3: Ch 3. Do not turn the work Create 4 Dc going through the first Dc as shown
Ch 1. Dc 5 times going through the next Dc. When you do this, make sure you turn the work so the hook is going left-to-right in the Dc Ch 1, SlSt in the next Dc
Ch 1, make 5 Dc going through the next Dc Ch 1. Make 5 Dc going through the next Dc We will now refer to this as an crocodile stitch!
Crocodile Stitch Tip:
Note: When making the dragon stitches, every time you’re making the first 5 sets of double crochets for the dragon stitch, you must have your current row facing as shown Work the double crochets into the Dc post in the direction shown
When you work the second set of 5 double crochets for the dragon stitch, make sure your work is then flipped to the other side as shown Work the double crochets into the Dc post in the direction shown Doing this will make sure the stitches look right!
Feathers: (Continued)
In White
Row 4: Ch 3. Make 1 Dc into the side of the next Dc Ch 1. Dc into the next space Ch 1. Dc 2 times in the next Dc Ch 1. Dc 1 time in the next space. Ch 1. Dc in the next 2 st.
Row 5: Ch 3 and do not turn Make 4 Dc going through the first Dc Ch 1. Make 5 Dc going through the next Dc SlSt in the next Dc Ch 1. Make a dragon stitch using the next 2 Dc. Ch 1. SlSt in the next Dc. Make a dragon stitch using the next 2 Dc
Row 6: Ch 3. Make 2 Dc in the next space. Ch 1. Dc in between the next set of scales. Ch 1, make 2 Dc into the next space. Ch 1, Dc in between the next set of scales. Ch 1, make 2 Dc into the next space. Ch 1, Dc into the very last st of the row.
Row 6 will look like photo above
Row 7: Ch 3. Skip the very first Dc. Make 4 Dc into the second Dc of the row. Ch 1. Make 5 Dc into the next Dc. SlSt into the next Dc. Make a dragon stitch using the next 2 Dc. SlSt in the next Dc. Make a dragon stitch using the next 2 Dc. SlSt in the last Dc.
Row 7 will look like photo above
Finish off, leaving a long tail of yarn. Pin the feathers on as shown. Sew on!
Feet: (Make 2)
In yellow for brown owl. In grey for snow owl
Round 1: 6 Sc into a Magic Ring (6)
Round 2: SlSt to the first st. Repeat *Sc in the next st, Ch 2, SlSt in 2nd Ch from the hook. SlSt into the very same st.* 3 times. SlSt in the next st. (11)
Finish off, leaving a long tail for sewing. Pin the feet onto the owl as shown. Sew on!
Eyes:
In white for brown owl. In yellow for snow owl
Insert needle with thread into the top right corner of the right eye, pull needle out 1 stitch over Reinsert needle into the bottom left corner of the right eye Pull needle out at the top left corner of the left eye Reinsert needle into the bottom right corner of the left eye Pull needle out a few stitches away. Tie the tail ends of yarn into firm knots and bring the yarn into the toy to hide the yarn/knot. Cut any excess yarn.
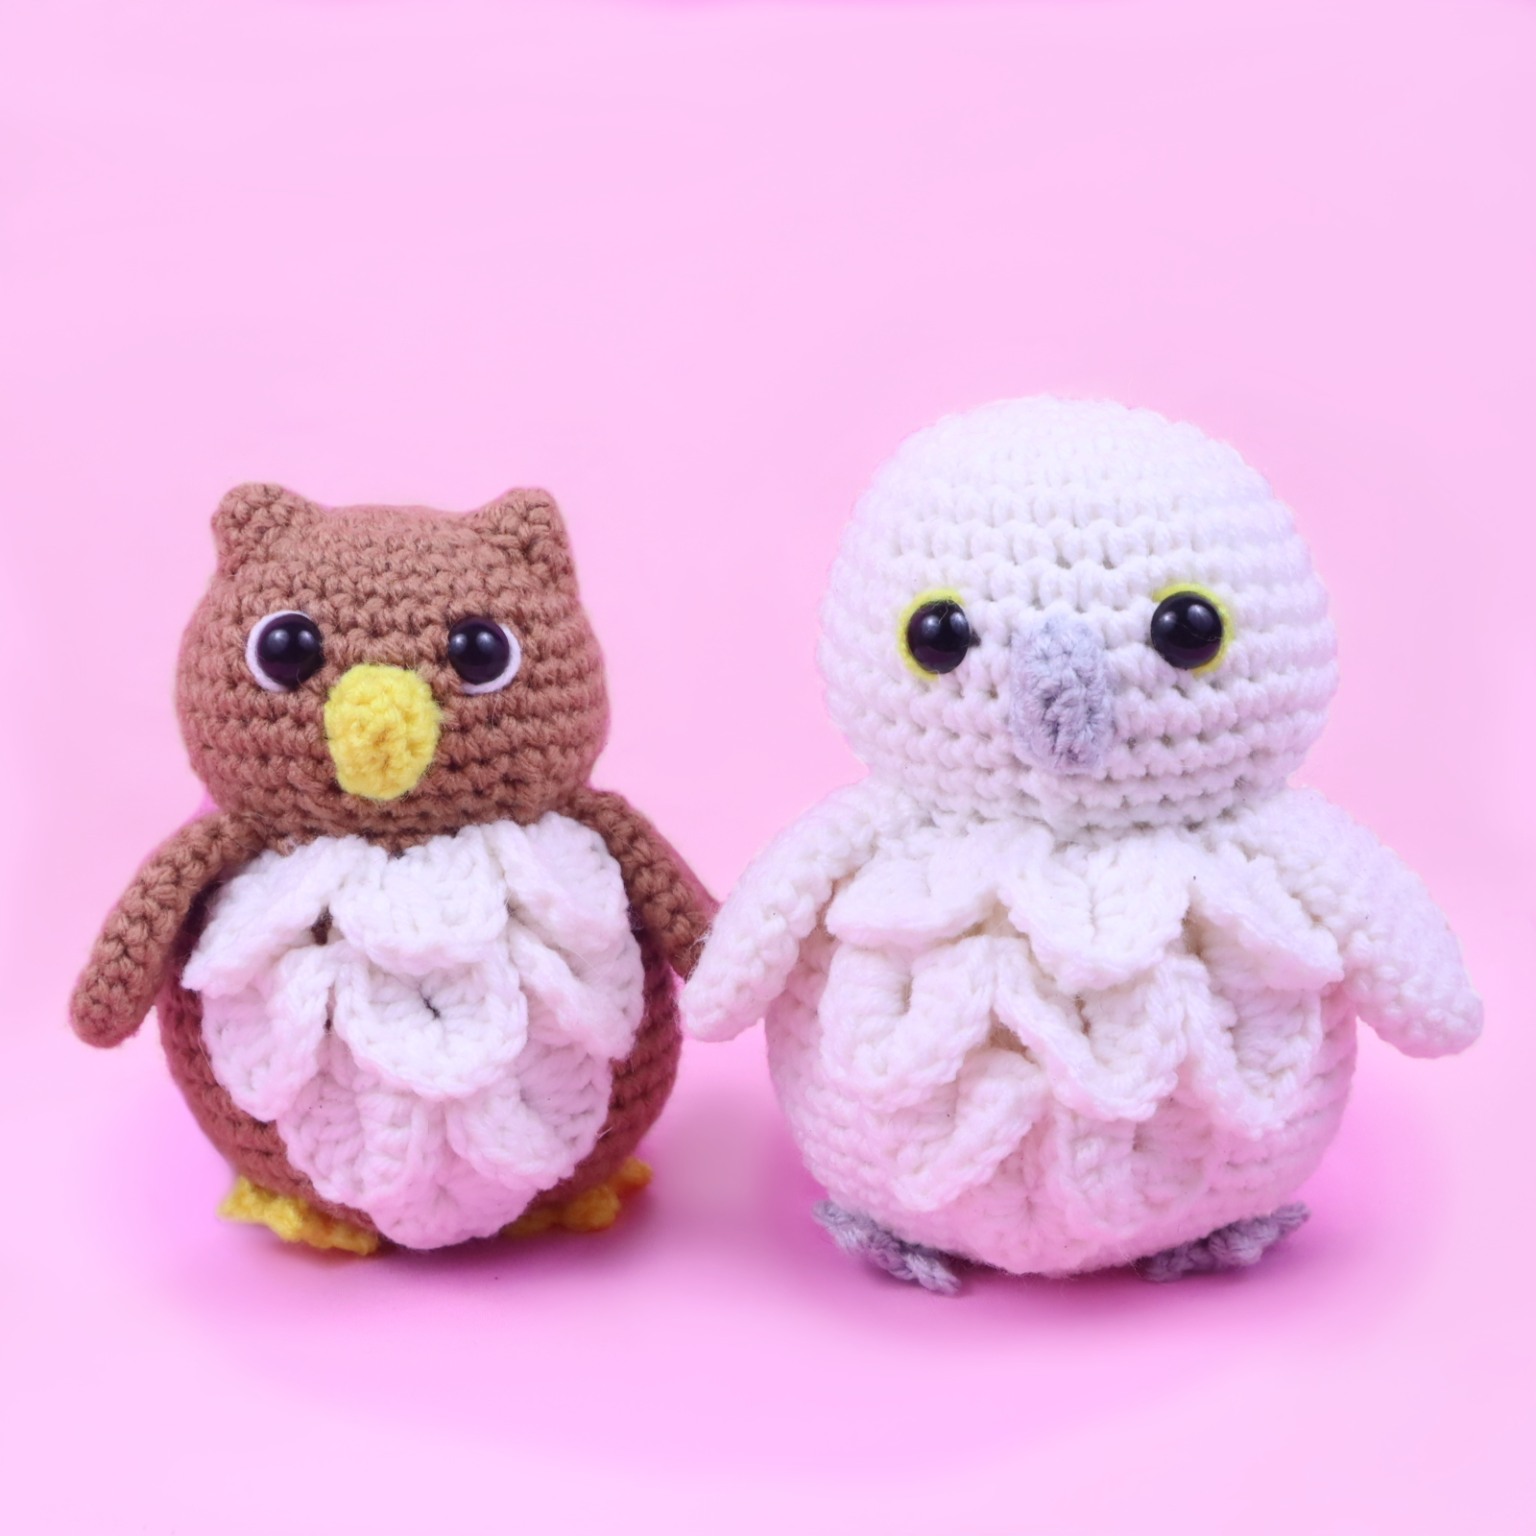
All Finished.
Feel free to tag me (@freeamigurumii) in your photos on Instagram or Facebook if you’d like!