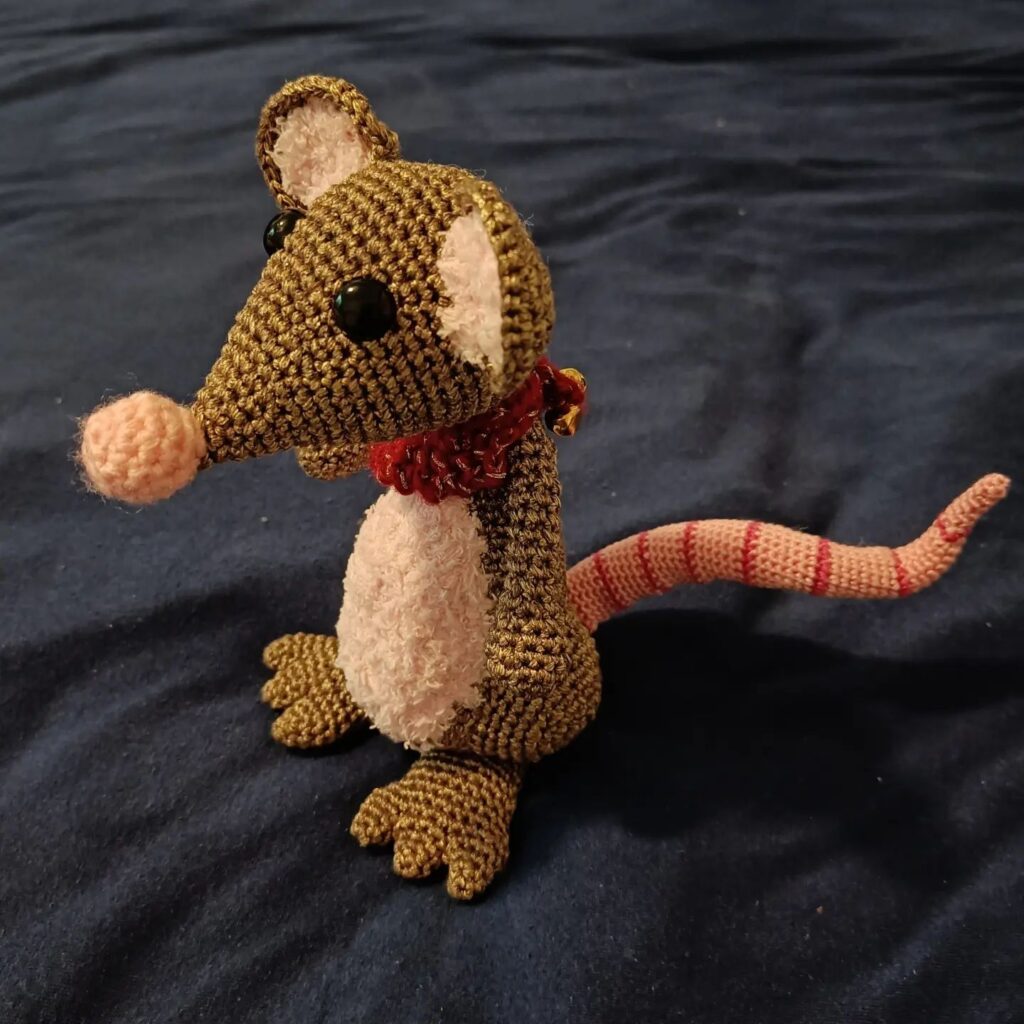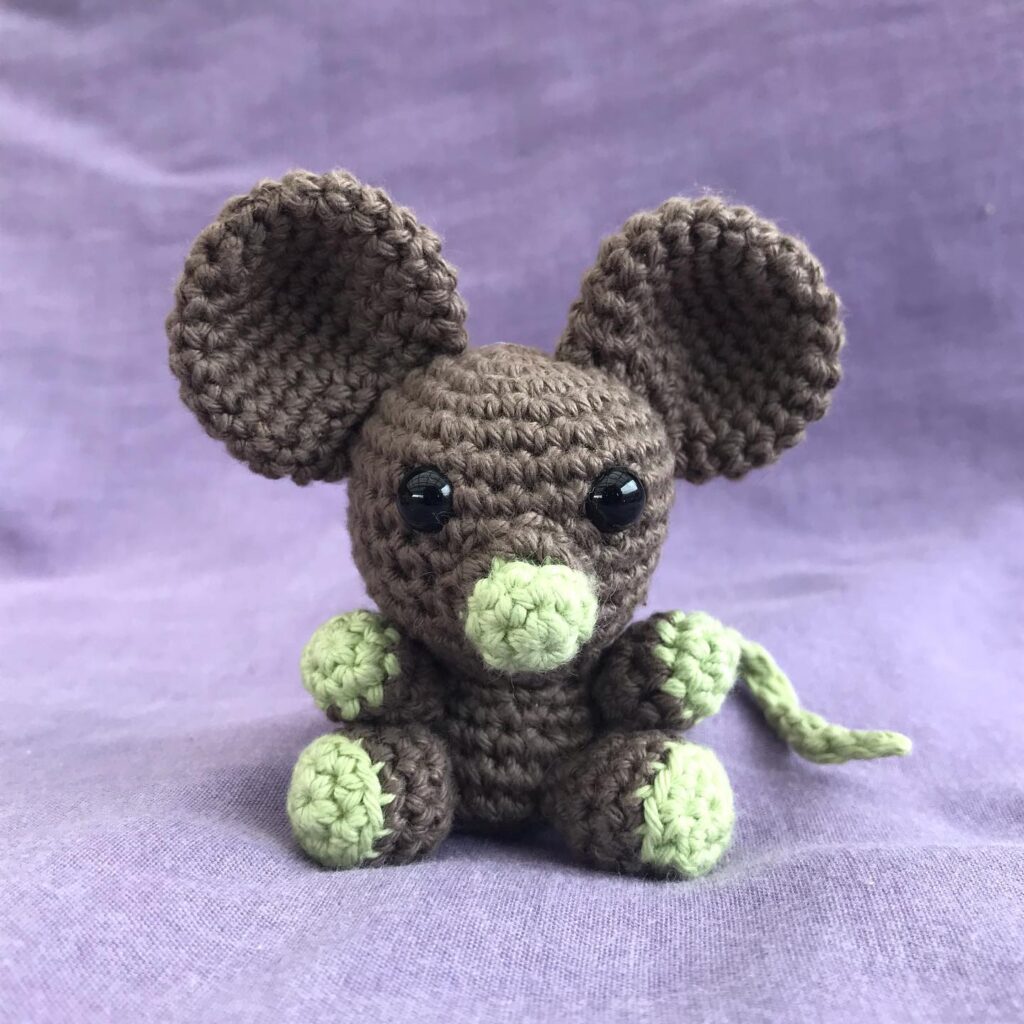
Mouse Amigurumi Crochet Pattern
Hello amigurumi lovers and beautiful visitors, I wanted to share the free amigurumi patterns for you here. In my article I will share 1 pattern and how to make it for you. At the end of my article, I will share amigurumi patterns that can generate ideas for you.
Materials
- yarn: main color – gray, beige or brown (57 meters), nose and tail – pink or black (small amount), eyes – white (small amount);
- hook – 3.00 mm or other desired size;
- filler;
- plastic balls or dried beans and stocking (as an option);
- tapestry needle;
- white felt;
- black felt;
- textile glue and / or thread and a sharp needle for sewing on felt.
Symbols
vp – air loop
row – a circular row when knitting in a spiral
sbn – single crochet
vm2sbn – in sb knitted together
conn. Art. – connecting column
Amigurumi ring – the beginning of work when knitting in a spiral. Use whichever method is convenient for you.
* * – repeat the specified between the asterisks.
( ) – the number of columns in the completed row is indicated in brackets at the end of the instructions for this row
Body (grey, beige or brown yarn)
Amigurumi ring
Row 1: 6 sc in the ring (6)
Row 2: 2 sc in each. sb in a circle (12)
Row 3: * sb in the next. sb, 2 sb in the next. sbn * in a circle (18)
Row 4: *sbn in the next. 2 sc, 2 sc in the next. sbn * in a circle (24)
Row 5: *sbn in the next. 3 sc, 2 sc in the next. sbn * in a circle (30)
Row 6: * sbn in the next. 4 sc, 2 sc in the next. sbn * in a circle (36)
Row 7: * sbn in the next. 5 sc, 2 sc in the next. sbn * in a circle (42)
Row 8: * sbn in the next. 6 sc, 2 sc in the next. sbn * in a circle (48)
Rows 9-10: sbn in each. sb in a circle
Row 11: * sb in the next. 6 sbn, vm2sbn * in a circle (42)
Row 12: *sc in the next. 5 sbn, vm2sbn * in a circle (36)
Row 13-14: sbn in each. sb in a circle
Row 15: * sb in the next. 4 sc, vm2sc * in a circle (30)
Row 16: *sc in the next. 3 sc, vm2sc * in a circle (24)
Row 17: *sc in the next. 5 sc, 2 sc in the next. sbn * in a circle (28)
You can start to fill slightly. At the bottom of the body, you can put plastic balls or dried beans tied into a stocking to give weight for stability.
Row 18: *sc in the next. 6 sc, 2 sc in the next. sbn * in a circle (32)
Row 19: *sbn in the next. 7 sc, 2 sc in the next. sbn * in a circle (36)
Row 20: sbn in each. sb in a circle
Row 21: * sb in the next. 7 sbn, vm2sbn * in a circle (32)
Row 22: *sc next. 6 sc, vm2sc * in a circle (28)
Row 23: *sc in the next. 2 sbn, vm2sbn * in a circle (21)
Row 24: * sbn in the next. sbn, vm2sbn * in a circle (14)
Fill tightly.
Row 25: vm2sbn in a circle (7)
Close the hole, fasten the thread and hide the ends.
Hands (grey, beige or brown yarn)
Amigurumi ring
Row 1: 7 sc in the ring (7)
Rows 2-6: sc in each. sbn in a circle
Fasten the thread, leaving the end for sewing. Do not fill. Knit 2 pieces.
Muzzle (gray, beige or brown yarn)
Amigurumi ring
Row 1: 5 sc in the ring (5)
Row 2: sc in the next. 2 sc, 2 sc in the next. sbn, sbn next. sb, 2 sb in the next. sc (7)
Row 3: sc in the next. 3 sc, 2 sc in the next. sbn, sbn next. 2 sc, 2 sc in the next. sc (9)
Row 4: *sc in the next. 2 sc, 2 sc in the next. sbn * in a circle (12)
Row 5: *sbn in the next. 3 sc, 2 sc in the next. sbn * in a circle (15)
Fasten the thread, leaving the end for sewing. The muzzle will need to be filled a little.
Nose (pink or black yarn)
Amigurumi ring
Row 1: 4 sc in the ring (4)
Row 2: 2 sc in each. sb in a circle (8)
Row 3: * sb in the next. sb, 2 sb in the next. sbn * in a circle (12)
Row 4: * sbn in the next. sbn, vm2sbn * in a circle (8)
Row 5: vm2sbn in a circle (4)
Secure the thread, leaving the end. The nose will be flattened. To do this, using a needle, pull the thread through the nose in the center outward. Then insert the needle back through the nose and pull lightly to make it shrink. Fasten the thread, leaving the end to sew to the muzzle.
Ears (grey, beige or brown yarn)
Amigurumi ring
Row 1: 6 sc in the ring (6)
Row 2: 2 sc in each. sb in a circle (12)
Row 3: * sb in the next. sb, 2 sb in the next. sbn * in a circle (18)
Row 4: *sbn in the next. 2 sc, 2 sc in the next. sbn * in a circle (24)
Row 5: *sbn in the next. 3 sc, 2 sc in the next. sbn * in a circle (30)
Row 6: * sbn in the next. 3 sc, vm2sc * in a circle (24)
Row 7: *sc in the next. 2 sbn, vm2sbn * in a circle (18)
Fasten the thread, leaving the end for sewing to the body. Do not fill. Knit 2 pieces.
Big eye (white yarn)
Amigurumi ring
Row 1: 6 sc in the ring (6)
Row 2: 2 sc in each.
sc in a circle (12) Art. in a trace. sbn and stretch through the loop. Leave the end for sewing to the body.
Small eye (white yarn)
Amigurumi ring
Row 1: 6 sc in the ring (6)
Comp. Art. in a trace. sbn and stretch through the loop. Leave the end for sewing to the body.
Now, using a thread with a needle or textile glue, you can attach a small circle of black felt to each eye – these will be the pupils. They should be off-center, closer to the edge of the eye.
Assembly
- Attach the arms to the body. Attach them just below the neck (the narrowest part of the body).
- Attach the muzzle to the body. The lower edge of the muzzle should be just at the level of the neck.
- Attach the nose to the muzzle. Sew it to the very tip of the muzzle.
- Attach the eyes to the body. The eyes are located close to each other, directly above the muzzle. Position your eyes so that the pupils are close to each other.
- Attach the ears to the body. Attach the ears to the sides of the head, slightly above the neck, in line with the arms.
- Attach the tail to the body. Lay the tail so that it is pointing up along the back of the mouse. Attach one end to the bottom of the body.
Feel free to tag me (@freeamigurumii) in your photos on Instagram or Facebook if you’d like!
All Finished.