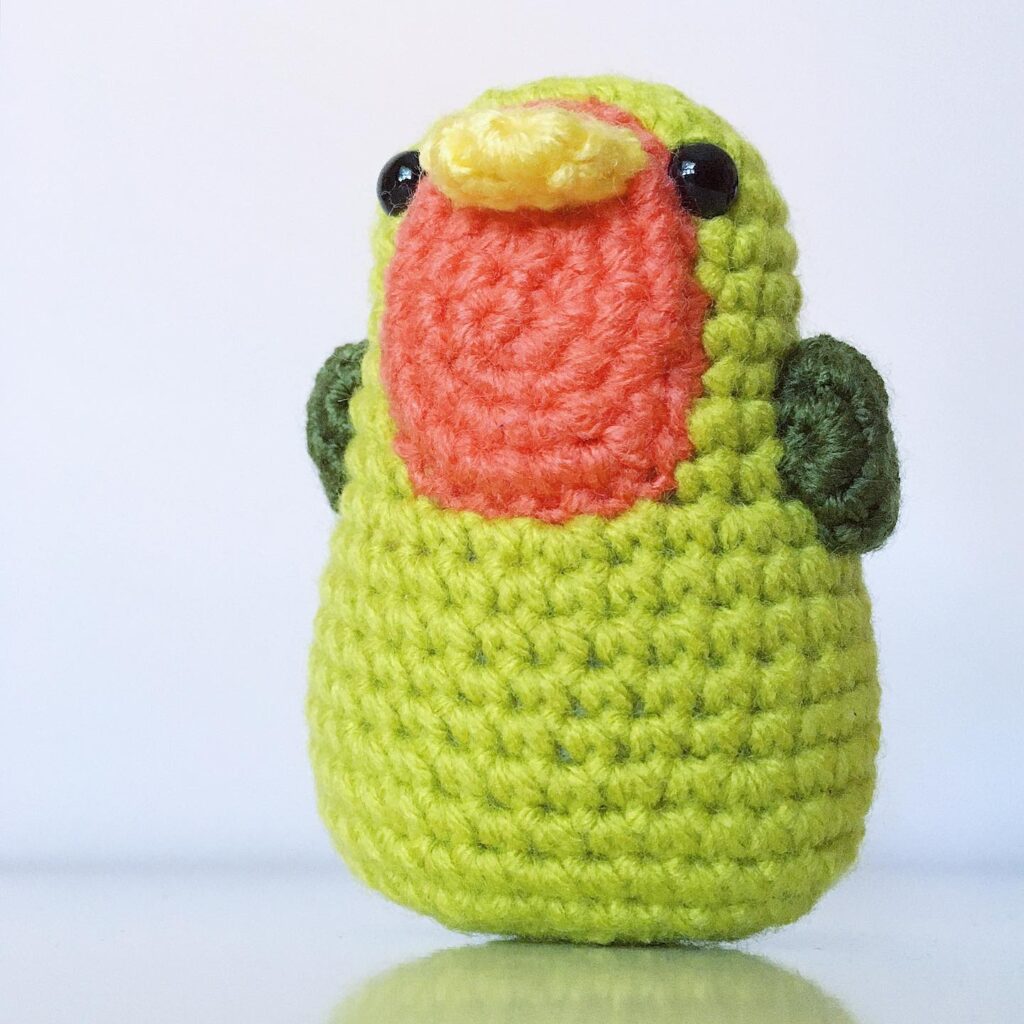
Amigurumi Bird Crochet Pattern
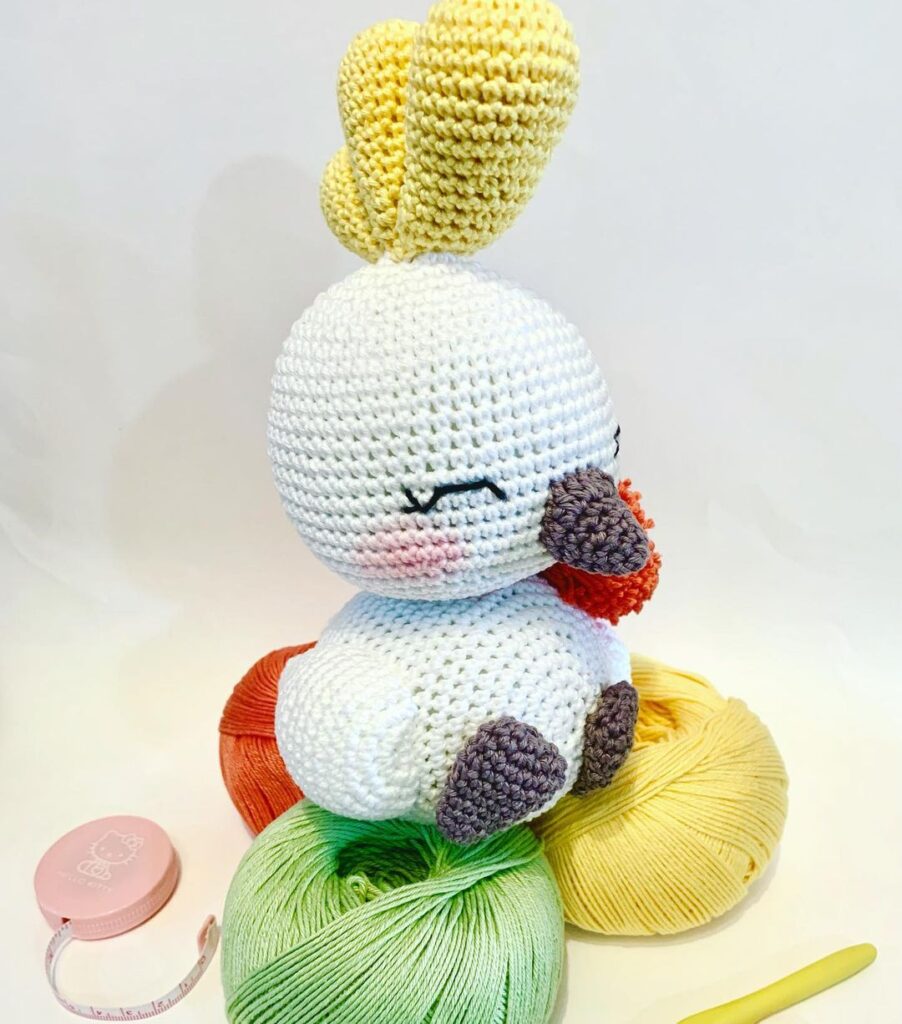
Hello amigurumi lovers and beautiful visitors, I wanted to share the free amigurumi patterns for you here. In my article I will share 1 pattern and how to make it for you. At the end of my article, I will share amigurumi patterns that can generate ideas for you.
You will need:
- light yarn in 2 additions (3 Light) green, brown, white, yellow, orange and blue;
- hook 3.5 mm (or suitable for your yarn);
- 2 black safety eyes 10 mm;
- a small amount of black thread;
- tapestry needle;
- sewing needle;
- scissors;
- stitch marker;
- filler.
[adrotate group=”5″]
Abbreviations:
sc = single crochet
dc = half double crochet
dc = double crochet
2 sc together – 2 single crochets worked together i.e. Dec (Insert the hook behind the back wall of the first loop and pass it through the back wall of the next loop, yarn over and knit through all the loops on the hook).
This pattern is worked in continuous rounds unless otherwise noted. For convenience, place a stitch marker at the beginning of each row and move it up after the end of each row.
The diagram indicates the beginning with the amigurumi ring. You can replace it with two chain stitches and knit the required number of loops into the second loop from the hook.
Body In
Green
Row 1 : 6 sc in the amigurumi ring, tighten the thread (6)
Row 2: 2 sc in each st in a circle (12 sc)
Row 3 : *2 sc in the st, 2 sc in the next *, repeat over round (18)
Row 4: *2 sc, 2 sc in next st*, rep in round (24)
Row 5: *3 sc, 2 sc in next st*, repeat in round (30)
Row 6: * 4 sc, 2 sc in next st*, repeat around (36)
Row 7: Sc in circle (36)
Row 8: Sc in circle (36 )
Row 9: Sc in circle (36)
Row 10: Sc in circle (36)
Row 11: Sc in a circle (36)
Row 12: Sc in a circle (36)
Row 13: Sc in circle (36)
Row 14 : *4 sc, 2 sc tog*, repeat from * in circle (30)
Row 15: Change to white yarn, sc in circle (30)
Row 16: *4 sc, 2 sc in next st*, repeat around (36)
Row 17: Change to brown yarn, 2 sc in first 6 sts, sc in circle (42)
Row 18: *1 sc, 2 sc in next st* x 6 times, SC in a circle (48)
Row 19: * 2 SC, 2 SC in the next st * x 6 times, SC in a circle (54)
Row 20: SC in the back walls of the loops in the first 24 loops, SC in both walls in a circle (54)
Row 21 : Sc in a circle (54)
Row 22: Sc in a circle (54)
Row 23: Sc in a circle (54)
Row 24: Sc in a circle (54)
Row 25: Sc in a circle (54)
Row 26: Sc in a circle (54)
Row 27: Sc in a circle (54)
Row 28: *7 sc, 2 sc together*, repeat from * in a circle (48)
Row 29: *6 sc, 2 sc tog*, repeat from * in a circle (42)
Row 30: *5 sc, 2 sc tog*, repeat from * in a circle (36)
Attach eyes to green head of Terrence between 8 and 9 rows on each side of the head.
Row 31: *4 sc, 2 sc tog*, repeat from * around (30)
Row 32 : *3 sc, 2 sc tog*, repeat from * around (24)
Row 33: *2 sc, 2 sc tog *, repeat from * around (18)
Hit Terrence. Make sure that the stuffing is distributed evenly and tightly, but that it does not show through between the loops.
Row 34: *1 sc, 2 sc tog*, repeat from * around (12)
Row 35: Sc tog (6)
Row 36: 2 sc tog until no padding is visible. Comm. Art. in a trace. loop.
Close the last loop, cut and hide the ends of the threads.
BEAK
Yellow color – consists of two parts.
Part 1 (top)
Row 1: 4 sc in the amigurumi ring (4)
Row 2: 2 sc in each st in a circle (8)
Row 3: *1 sc, 2 sc in the next st*, repeat in a circle (12 )
Row 4: *2 sc, 2 sc in next st*, repeat around (16)
Row 5: Sc around (16)
Row 6: Sc around (16)
Row 7: Sc around (16)
Row 8: RLS in a circle (16) Art. in a trace. loop and close the last loop.
Part 2 (bottom)
Row 1: 4 sc in the amigurumi ring (4)
Row 2: 2 sc in each st in a circle (8)
Row 3 : *1 sc, 2 sc in the next st *, repeat from * in a circle (12)
Row 4: Sc in a circle (12)
Row 5: Sc in a circle (12)
Row 6: Sc in a circle (12) Art. in a trace. loop and close the last loop.
Sew together the edges of the beak pieces separately, and then sew those ends together.
Wings — 2 pcs.
Start with brown yarn
Row 1: 4 sc in the amigurumi ring (4)
Row 2: 2 sc in each st in a circle (8)
Row 3: *1 sc, 2 sc in the next stitch *, repeat from * in a circle (12 )
Row 4: *2 sc, 2 sc in next st*, repeat from * around (16)
Row 5: Sc in circle (16)
Row 6: Sc in circle (16)
Row 7: Sc in circle (16 )
Row 8: 4 sc, count 5 stitches from the beginning of this KR back to the last knitted row. Sc in that st, then sc back to the beginning of this round (9). The wing will be divided into 2 parts. see picture
Row 9: Sc in a circle (9)
Row 10: Sc in a circle (9)
Row 11: *1 sc, 2 sc tog*, repeat from * around (6)
Row 12: 1 sc, *1 sc, 2 sc together*, repeat from * around (5)
Row 13: 2 sc tog x 2 times, 1 sc, bind off last st (3)
Row 14: Join blue yarn to the first remaining st of wing and sc around (7)
Row 15 : Sc in a circle (7)
Row 16: 2 sc together x 2 times, sc in the next. 3 loops (5)
Row 17: 2 sc tog x 2 times, sc in the next. loop (3)
Row 18: 1 sc in the brown part of the wing, bind off the last loop and hide the ends of the threads.
Legs: 2 pcs.
In orange
Row 1: 4 sc in the amigurumi ring (4). Leave a long tail at the beginning of the amigurumi ring for sewing the legs to the body.
Row 2: Sc in a circle (4)
Row 3 : Sc in a circle (4)
Row 4: Sc in a circle (4). Comm. Art. in a trace. loop and close the last loop, leaving a long tail for sewing paws.
Paws: 2 pcs.
In orange
Row 1: 3 sc in amigurumi ring (3)
Row 2: sc in circle (3)
Row 3: 2 sc in each st in circle (6)
Row 4: *1 sc, 2 sc in next st* , repeat from * in a circle (9)
Row 5: *2 sc, 2 sc in the next *, repeat from * in a circle (12)
Row 6: Sc in a circle (12)
Row 7: Sc in a circle (12)
Row 8: Flatten the paws and knit RLS around the open part (6)
Thumb: 2 ch, turn, 2 dc, 2 ch, 2 dc, 1 ch, 2 sc and conn. Art. for the paw
Second finger: 2 RLS, 2 ch, deploy, 2 PSN, 1 ch, deploy, 2 RLS, conn. Art. for the paw
Third finger: 2 sc, ch 2, turn, 2 dc, ch 1, turn, 2 sc, sc in the finger and 1 sc in the paw, close the last loop.
Ponytail
Start with brown yarn
Row 1: ch 15
Row 2: 8 dc in 3rd st from hook, skip 2 sts and sc in next. loop. Skip 2 loops.
Row 3: 8 dc in the next. loop and conn. Art. in the last loop of the chain, cut off the brown yarn, leave a long tail for sewing to the body.
Change to white yarn, ch 2 and dc in each st to the end, bind off the last st.
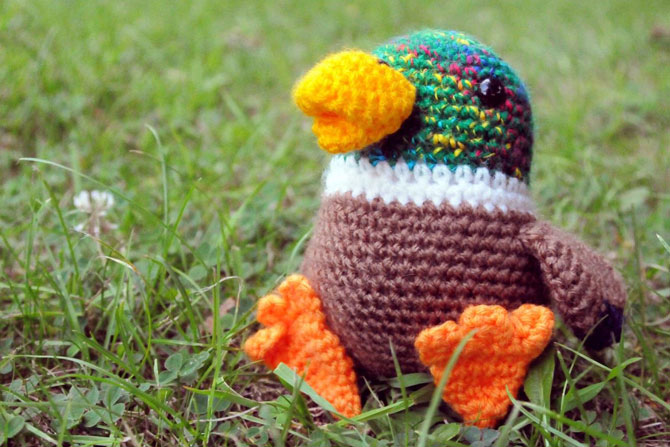
All parts of Terrence are ready! Now let’s start assembling!
[adrotate group=”5″]
Paws
Sew the legs to the paws. Please note that the thumbs (2 rows of PSN) are on the inside. Sew the legs to the body. Place them slightly forward so Terrence sits with his paws forward or in the center so he can stand. You may need some wire for this (this option will not work for you if you plan to use Terrence as a child’s toy).
Wings
Sew the wings to the body under the white rim around the neck. I made only a few stitches parallel to the rim so Terrence could flap his wings happily.
Ponytail
Sew the tail to the back of the Terrence, 1 row below the line made from the loops behind the back wall.
Beak
Sew the beak to the head between the eyes.
On top of the beak, embroider two small dashes as nostrils.
Feel free to tag me (@freeamigurumii) in your photos on Instagram or Facebook if you’d like!
All Finished.