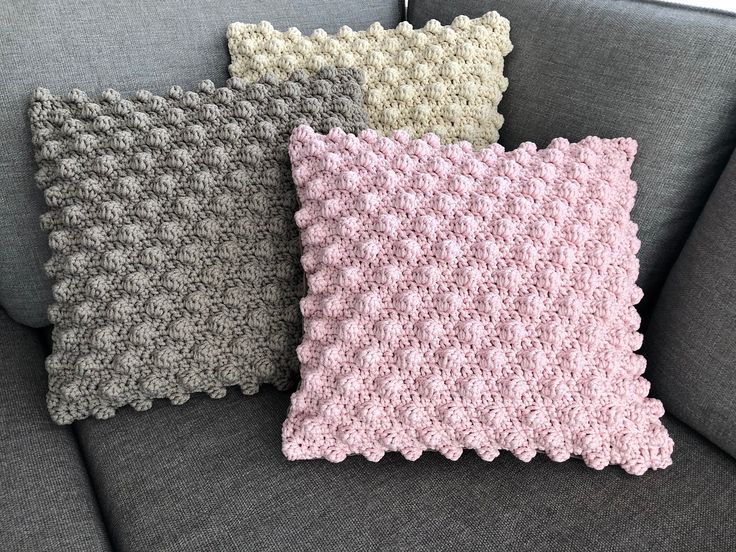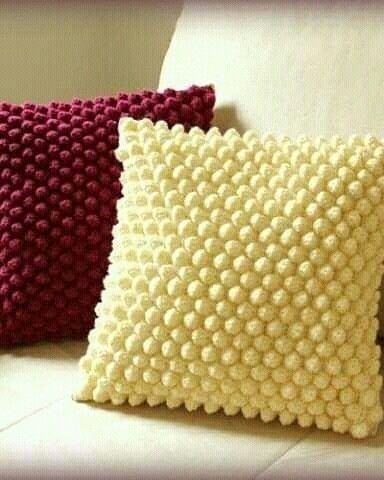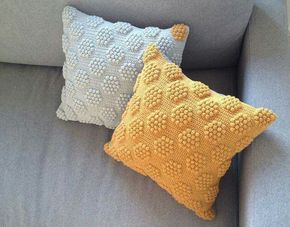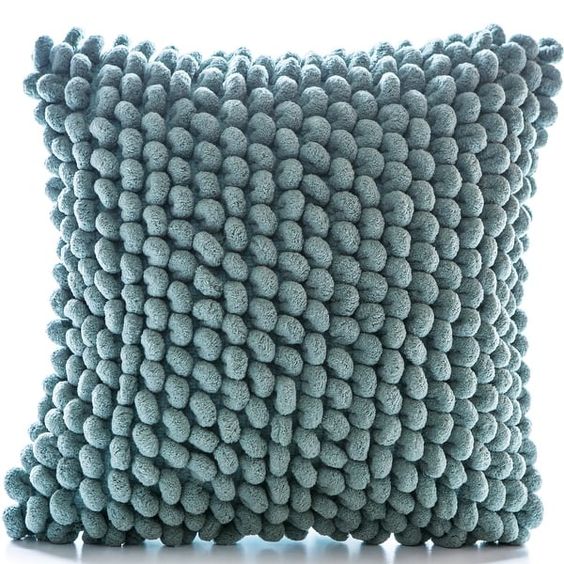
Knitting Crochet Pillows With a Pattern Popcorn
Hello amigurumi lovers and beautiful visitors, I wanted to share the free amigurumi patterns for you here. In my article I will share 1 pattern and how to make it for you. At the end of my article, I will share amigurumi patterns that can generate ideas for you.
You will need:
— Yarn Patons Canadiana ( 100 g / 187 m ) red ( 10628 or 10413 ) or golden ( 10610 ) 5 skeins.
— 5 mm hook or other to obtain the appropriate viscosity density.
Abbreviations:
vp = air loop
p. = loop
KR = Circular
SBN = pillar without cape
CH = cloak column
Bump = ( cape and tie the loop, cloak and stretch the thread through 2 loops on the hook ) x repeat 5 times in one loop. Then again cape and stretch the thread through all the hinges on the hook. Link to video lesson: https://www.youtube.com/watch?v=URp_U5L9cm4
connection Art. = connecting column
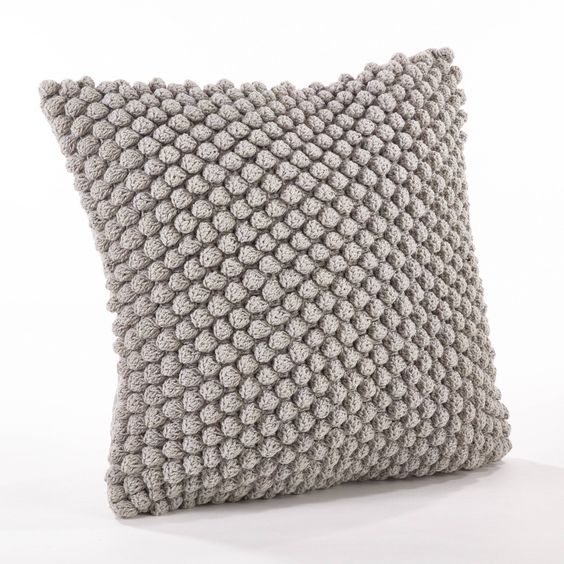
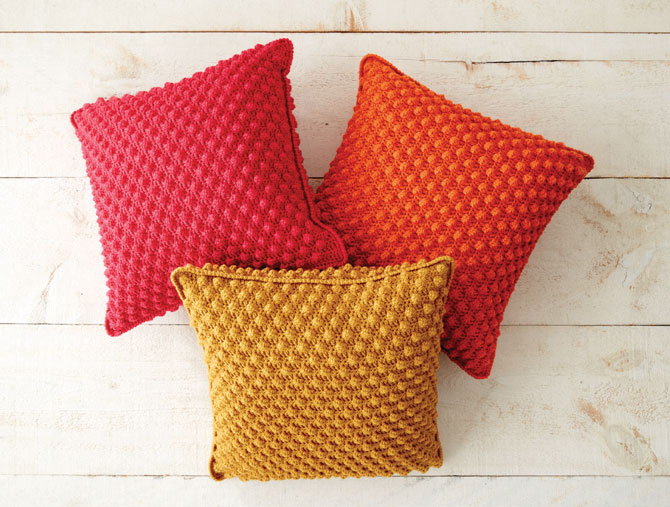
Dimensions:
Square with approximately 51 cm side
Ligidity of the viscosity:
14 CH and 7 rows = 10 cm
Description of the side of the pillow:
The front and back sides fit equally.
68 vp
Row 1: ( The market side ) 1 CH in 4 p. From the hook ( is counted for 2 CH ). 1 CH in each p. To the end of the row. Expand. 66 CH
Row 2: 1 vp 1 SBN in each of the first 3 SN. Bump next. CH. *1 SBN in each of the following 3 SN. Bump next. CH. Repeat from * to the last two p. 1 SBN in each of the last 2 loops. Expand.
Row 3: 3 vp ( are counted as CH ). 1 CH in each p. To the end of the row. Expand.
Row 4: 1 vp 1 SBN in each of the first 5 SN. Bump next. CH. *1 SBN in each of the following 3 SN. Bump next. CH. Repeat from * to the last four p. 1 SBN in each of the last 4 loops. Expand.
Row 5:3 vp ( are counted as CH ). 1 CH in each p. To the end of the row. Expand.
Repeat the last 4 rows until the size from the beginning is approximately 51 cm, finish face-to-face. Close the last loop.
Editing ( connection of the front and rear parts ):
KR 1: connect to each other with the help of a connection. Art. for any corner of the pillow. 1 pack. Continue working for both canvases, SBNs around three sides of the pillow, 3 SBN in each corner. Insert the pillow into the resulting pillow. Finish the circle of the SBN. Close the connection. Art. in the first SBN.
KR 2: 1 vp, continue knit from left to right, and not from right to left, as usual. Close the connection. İn the first SBN. Close the last loop.
Feel free to tag me (@freeamigurumii) in your photos on Instagram or Facebook if you’d like!
All Finished.