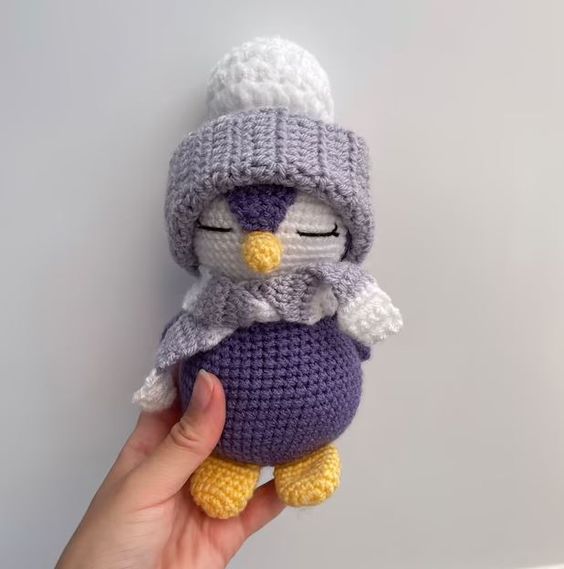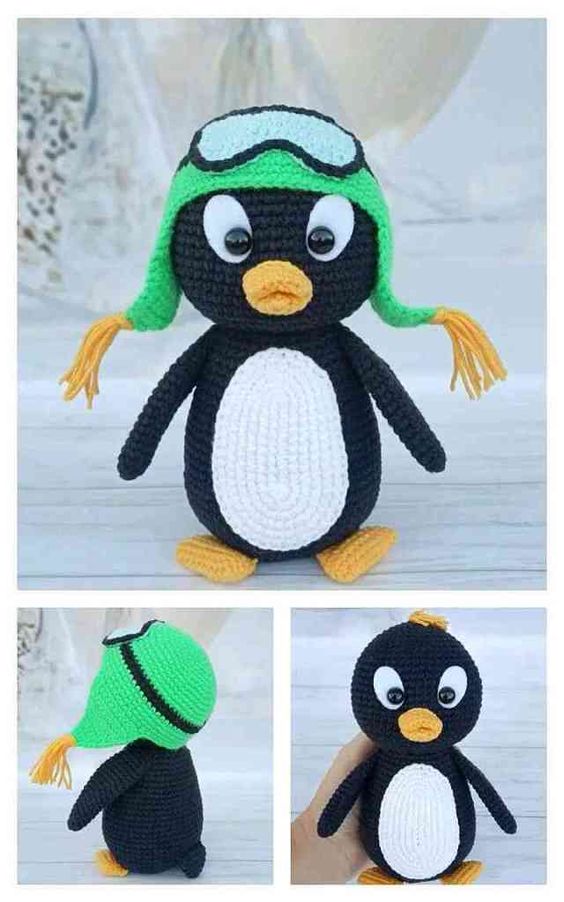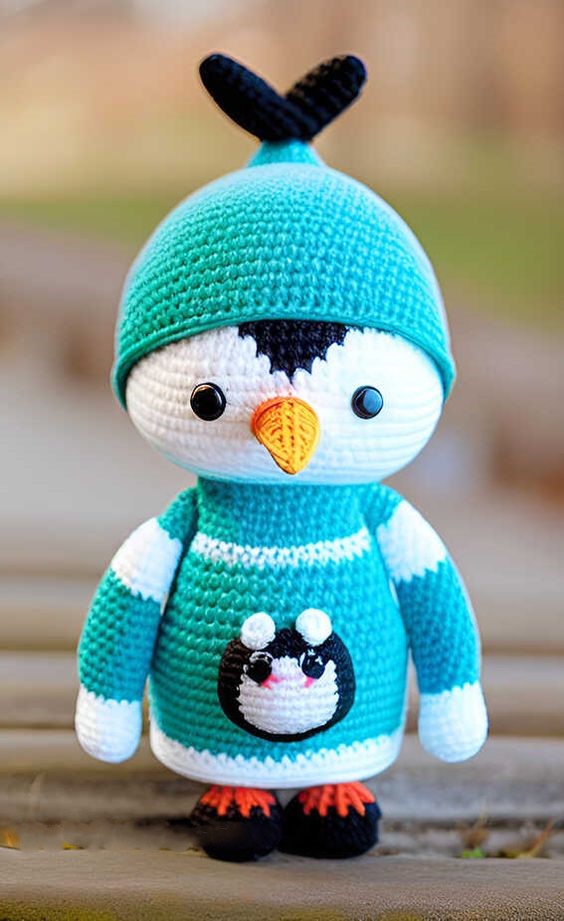
Crochet Cute Penguin Amigurumi Pattern
Hello amigurumi lovers and beautiful visitors, I wanted to share the free amigurumi patterns for you here. In my article I will share 1 pattern and how to make it for you. At the end of my article, I will share amigurumi patterns that can generate ideas for you.
Body
Blue yarn:
1st row: 6 Sat in the Amigurumi ring ( 6 )
2nd row: 2 Sat in each loop ( 12 )
3 row: * 1 Sat, increase * — 6 times ( 18 )
4 row: * 2 Sat, increase * — 6 times ( 24 )
5 row: * 3 Sat, increase * — 6 times ( 30 )
6 row: * 4 Sat, increase * — 6 times ( 36 )
7 row: * 5 Sat, increase * — 6 times ( 42 )
8 row: * 6 Sat, increase * — 6 times ( 48 )
9 row: * 7 Sat, increase * — 6 times ( 54 )
10-23 row: knit unchanged ( 54 )
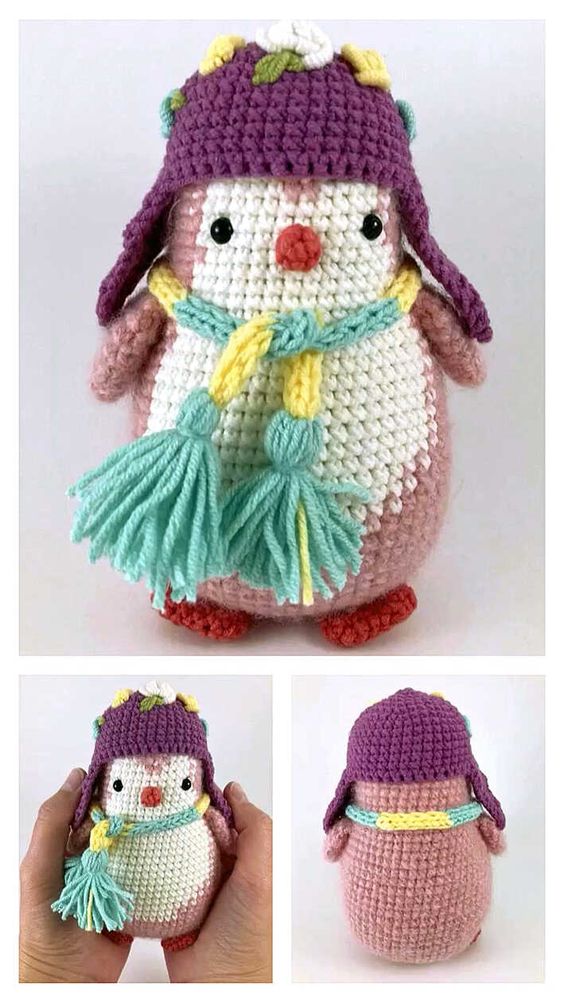
Sew your eyes at 12 rows. Remember to leave enough room for the beak.
Sew out the red cheeks.
24 row: * decrease, 7 Sat * — 6 times ( 48 )
25 row: * decrease, 6 Sat * — 6 times ( 42 )
26 row: * decrease, 5 Sat * — 6 times ( 36 )
27 row: * decrease, 4 Sat * — 6 times ( 30 )
28 row: * decrease, 3 Sat * — 6 times ( 24 )
29 row: * decrease, 2 Sat * — 6 times ( 18 )
Start stuffing your body. Add some small pebbles at the bottom of the body so that the penguin can stand confidently.
30 row: * decrease, 1 Sat * — 6 times ( 12 )
31 row: * decrease * — 6 times ( 6 )
Fasten the thread and refuel the ponytail.
Beak
Yarn yellow:
1st row: 7 Sat in the Amigurumi ring ( 7 )
2nd row: 2 Sat in each loop ( 14 )
3rd row: unchanged ( 14 )
Fasten the thread and leave a long end for sewing.
Zhivotok
Straight white:
1st row: 6 Sat in the Amigurumi ring ( 6 )
2nd row: 2 Sat in each loop ( 12 )
3 row: * 1 Sat, increase * — 6 times ( 18 )
4 row: * 2 Sat, increase * — 6 times ( 24 )
5 row: * 3 Sat, increase * — 6 times ( 30 )
6-15 row: unchanged ( 30 )
Fasten the thread and leave a long end for sewing.
Legs ( 2 details )
Yarn yellow:
1st row: 5 Sat in the Amigurumi ring ( 5 )
2nd row: 2 Sat in each loop ( 10 )
3 row: * increase, 1sbn * — 5 times ( 15 )
4-7 row: unchanged ( 15 )
flatten the part.
8 row: Sat through both sides, 2 vp, Sat in the same loop, 1 half-column without cape in the next. loop, 3 half-column with a cape in the next. loop, 1 loop skip, 1 half-column without caption next. loop, 1 Sat next. loop, 2vp, chain 2, Sat in the same loop, 1 half-column without caption next. loop.
Fasten the thread and leave a long end for sewing.
Paws ( 2 details )
1st row: 5 Sat in the Amigurumi ring ( 5 )
2nd row: 2 Sat in each loop ( 10 )
3-8 row: unchanged ( 10 )
Fasten the thread and leave a long end for sewing.
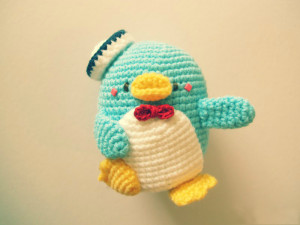
Sailor’s hat
White yarn:
1st row: 6 Sat in the Amigurumi ring ( 6 )
2nd row: 2 Sat in each loop ( 12 )
3 row: * 1 Sat, increase * — 6 times ( 18 )
4 – 5 row: unchanged ( 18 )
6 row: 2 Sat in each loop ( 36 )
7 row: decrease in each loop ( 18 )
Attach a blue thread. Leave the long end of the white yarn for sewing.
8 row: * increase, 1 Sat *, — 9 times ( 27 )
Fasten the thread and refuel the ponytail.
Butterfly
Red threads of the muline:
Chain of 5 wp
1 row: start with the 2nd loop from the hook, the Sat in the following 3 loops, 3 Sat in the last loop.
2nd row: turn knitting, Sat in the following 3 loops, 3 Sat in the last loop.
3 row: turn again, Sat in the following 3 loops, 3 Sat in the last loop.
Fasten the thread and leave a long end for sewing.
With a red thread of the mulina, wrap the part in the middle three times to visually divide it into two parts. Tighten the knot from behind.
Assembly
Sew the beak
Sew a white tummy on your body
Attach feet and legs
Add a little filler to the cap so that it takes shape. Sew it to your head so that later you can wrap the fields of the hat.
Sew a red butterfly.
Feel free to tag me (@freeamigurumii) in your photos on Instagram or Facebook if you’d like!
All Finished.