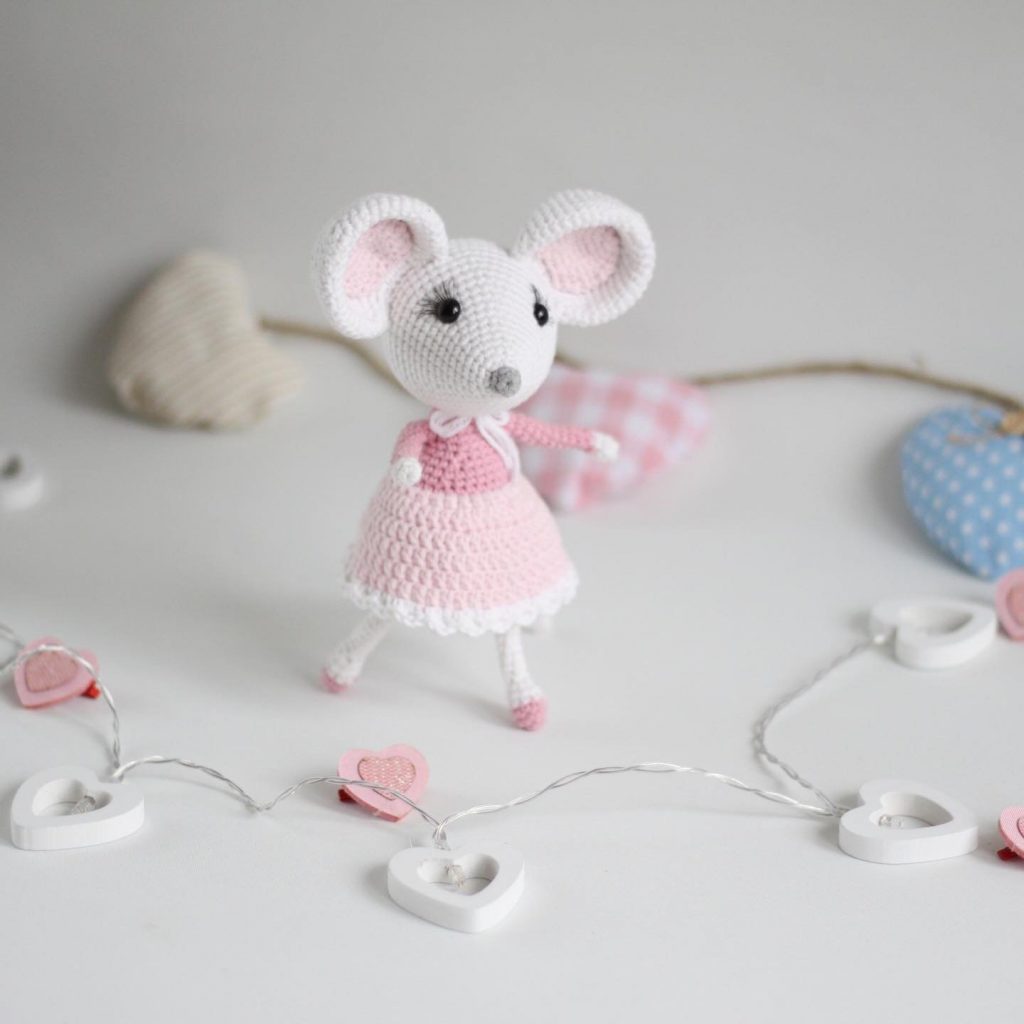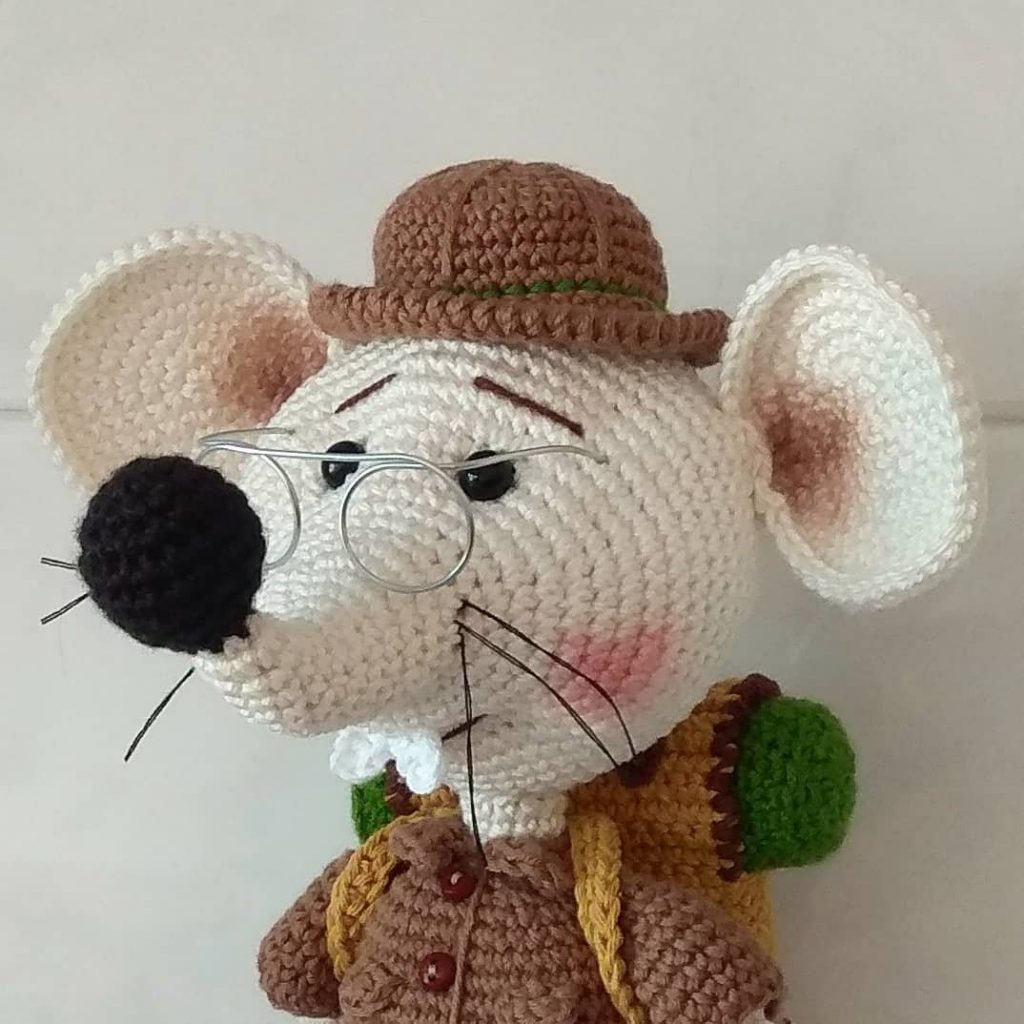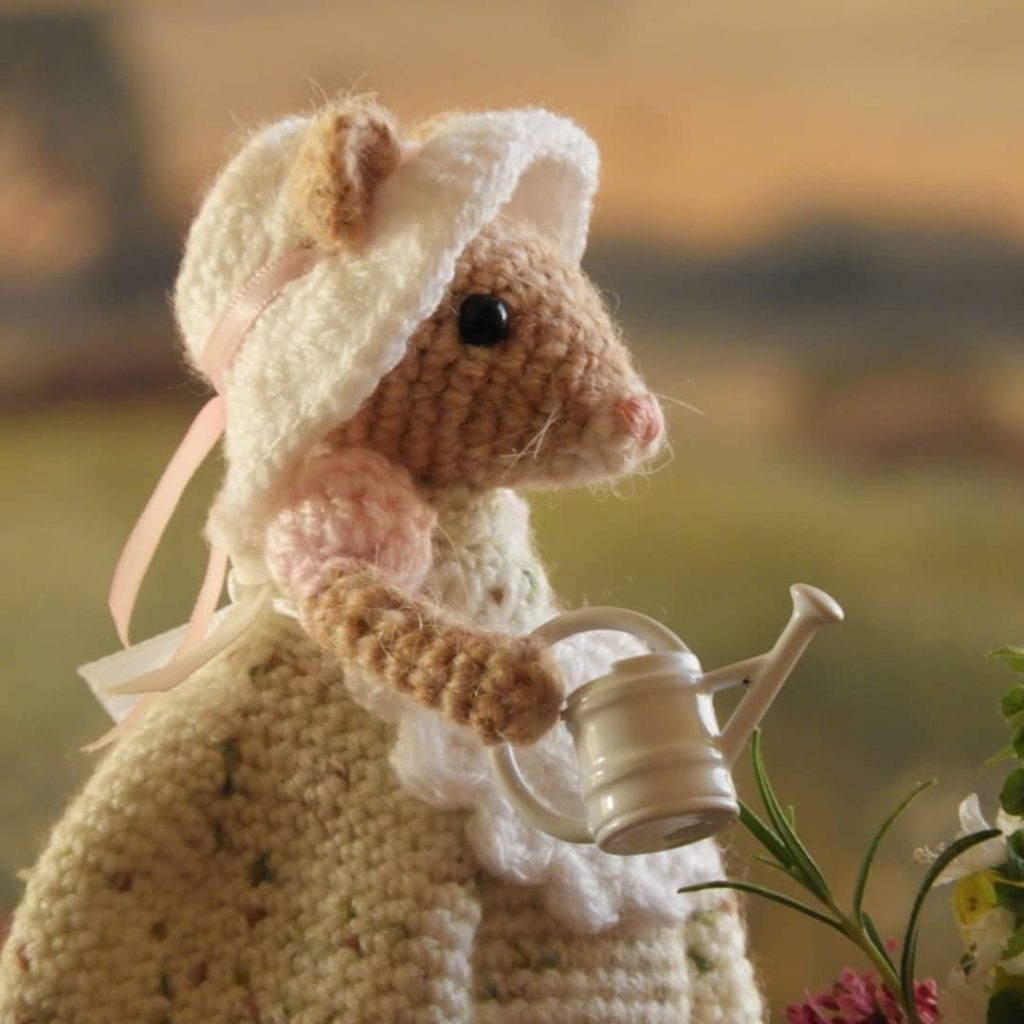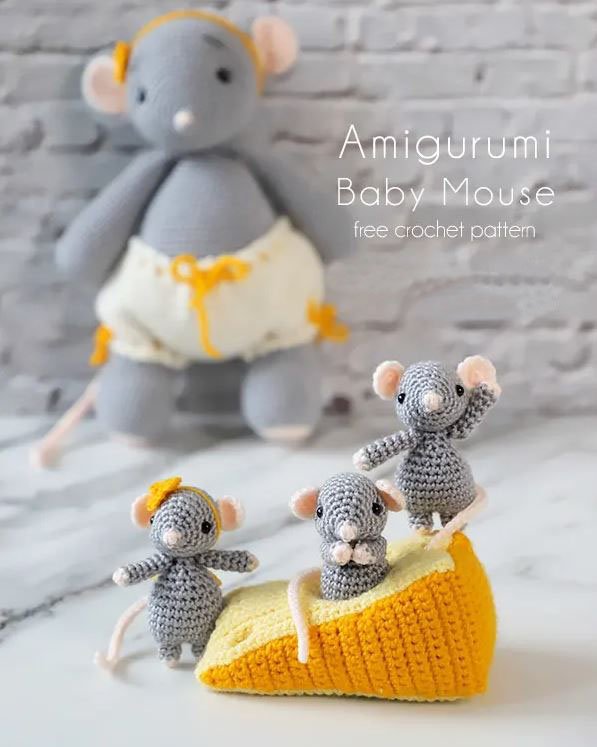
Crochet Baby Amigurumi Mice Pattern
Hello amigurumi lovers and beautiful visitors, I wanted to share the free amigurumi patterns for you here. In my article I will share 1 pattern and how to make it for you. At the end of my article, I will share amigurumi patterns that can generate ideas for you.
CRAFT SUPPLIES & TOOLS
What do you need to prepare to crochet this sweet little amigurumi mouse? You need some yarn in Gray color and Pink color (I used the stashed yarn from the crochet mouse), 6 mm black domed eye (or 6 mm safety eyes if you preferred), and of course some polyester fiberfill.
We are using a 2.5 mm crochet hook to crochet, and a tapestry needle to sew up the parts & pieces together. Other tools you will need are scissors, pins, and a marker. With all materials and tools, you will produce a 4 inches tall finished crochet baby mouse.
TYPE OF BASIC CROCHET STITCHES YOU MUST KNOW
In order to successfully crochet this amigurumi mouse baby, first, you must have at least some basics in crochet. For the baby crochet mouse amigurumi, you will need to know how to crochet with the magic ring, chain stitch, single crochet, and slip stitch, along with the increment and decrement stitches.
Though it is a beginner crochet craft, we’d raise the difficulty a little to challenge your skill; that’s changing yarn color at the beginning rounds at the head, arms, and legs. Depending on your skill level and comfort level in crochet amigurumi, you may always use the same single color for these parts.
MATERIALS
- Acrylic yarn in Gray color
- Acrylic yarn in Pink color
- 6mm Black Domed Eye, 1 pair
- Polyester fiberfill
TOOLS
- 2.5mm Crochet Hook
- Tapestry needle
- Fabric marker (water erasable), to mark the sewing positions
- Scissors
- Pins
INSTRUCTIONS
ABBREVIATIONS
(In US terms)
ch: chain
dc: double crochet
inc: 2sc increase
inv dec: invisible decrease
sc: single crochet
slst: slip stitch
mr: magic ring or magic circle
AMIGURUMI MOUSE CROCHET PATTERN
BODY & LEGS
This pattern is made by joining two leg pieces together followed by crocheting the body.
To make the first leg piece, Leg 1:
Begins With Pink Yarn.
Round 1: sc 6 in magic ring. {6}
Round 2: sc around. {6}
Change yarn to Gray.
Round 3 – 4: sc around. {6}
Fasten off and leave a long end for sewing.
To make the second leg piece, Leg 2:
Begins With Pink Yarn.
Round 1: sc 6 in magic ring. {6}
Round 2: sc around. {6}
Change yarn to Gray.
Round 3 – 4: sc around. {6}
Round 5: This will be where the two leg pieces join. Continue to inc 1 time on Leg 2, then inc around (6 times) on the Leg 1, followed by inc 5 times on the Leg 2. (you may use excess yarn from the first piece to tighten any gaps between the two pieces). {24}
Round 6 – 10: sc around. {24}
Stuff the legs firmly with polyester fiberfill.
Round 11: [inv dec, sc 4] around. {20}
Round 12: [sc 2, inv dec, sc] around. {16}
Round 13: [inv dec, sc 2] around. {12}
Round 14: [sc, inv dec] around. {8}
Round 15: sc around. {8}
Stuff the body firmly with polyester fiberfill.
Fasten and leave a long tail for sewing.
HEAD
With Pink Yarn
Round 1: sc 4 in magic ring. {4}
Change yarn to Gray.
Round 2: sc, [inc] 2 times, sc. {6}
Round 3: sc 2, [inc] 2 times, sc 2. {8}
Round 4: [inc, sc] around. {12}
Round 5: [sc 2. inc] around. {16}
Round 6: [inc, sc 3] around. {20}
Round 7: [sc 2, inc, sc 2] around. {24}
Round 8 – 11: sc around. {24}
Round 12: [sc 2, inv dec] around. {18}
Round 13: [inv dec, sc] around. {12}
Stuff with polyester fillings.
Round 14: [inv dec] around. {6}
Fasten and hide yarn end.
EARS
Make 2 with Pink Yarn
Round 1: sc 6 in magic ring. {6}
Round 2: [inc ] around. {12}
Fasten.
Flatten and sew to close the bottom. Leave a long tail for sewing.
ARMS
Make 2
Begins With Pink Yarn.
Round 1: sc 6 in magic ring. {6}
Round 2: sc around. {6}
Change yarn to Gray.
Round 3 – 8: sc around. {6}
Fasten and leave a long tail for sewing.
TAIL
Round 1: ch26, slst in 2nd ch from hook, continue to slst till the end.
Fasten and leave a long tail for sewing.
HOW TO ASSEMBLE BABY AMIGURUMI MOUSE
- Crochet parts for Baby Amigurumi Mouse and stuff them according to the crochet pattern: Body & Legs, Head, Ears, Arms, and Tail.
- Sew Eyes Head:
Sew 6mm black domed eyes to the head at Round 7, 9 stitches apart. Pull to sink the button into the head a little ao that they look natural.
You may use safety eyes instead, just remember to install them at the same place as mentioned above and do it before stuffing. - Sew Ears to Head:
Sew ears at Round 11, 11 stitches apart. - Sew Head to the Body:
Position the head on the top of the body. Mark the position and pin to secure it if necessary.
Sew to join the head to the body. - Sew Arms:
Sew arms at the side, next to the seam of the head and body. - Lastly, sew the tail to the back of the body.
FLOWER HEADBAND
Round 1: Leave long yarn at the beginning of the crochet, [sc, ch2, dc, ch2, sc] 5 times in magic ring, leave a long tail for the end.
Tie the yarn strings around the head of the Baby Amigurumi Mouse as a flower headband.
NOTES
Depending on the speed and hours you are spending on the project, the total time needed is only an approximation.
Stuff the parts firmly and densely to give your amigurumi doll a good shape.
Feel free to tag me (@freeamigurumii) in your photos on Instagram or Facebook if you’d like!
All Finished.