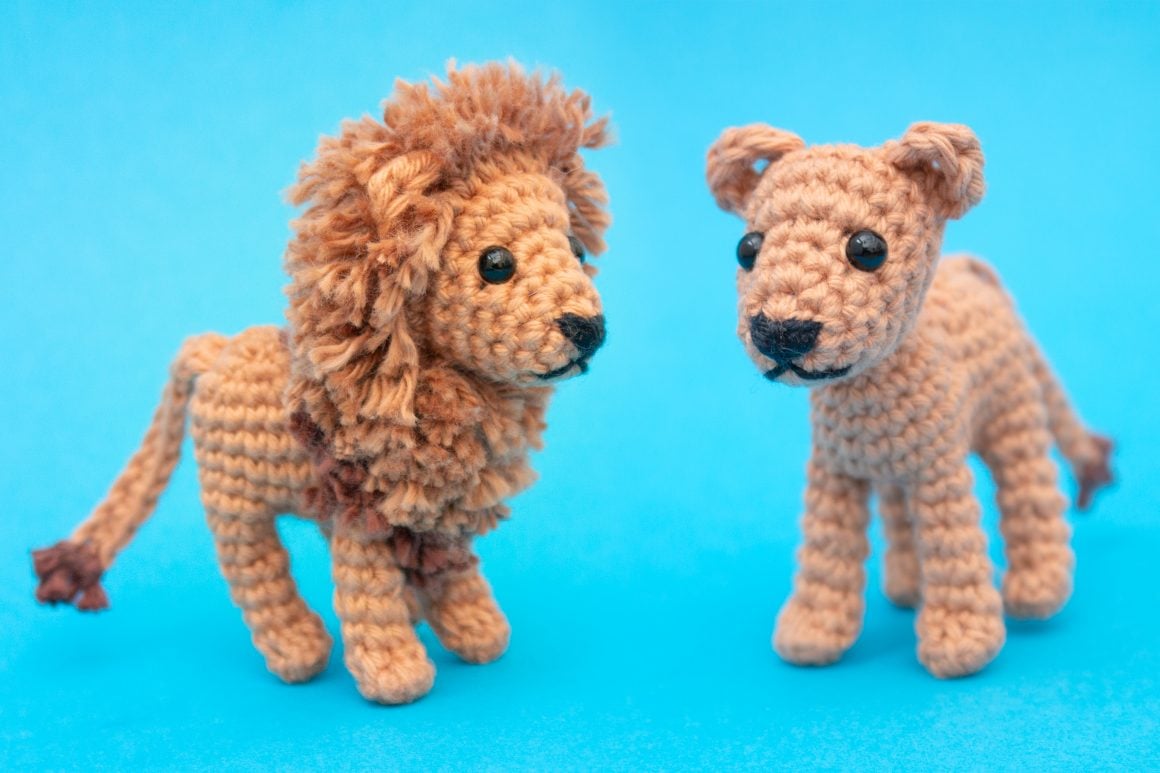
Amigurumi Lion Free Crochet Pattern
Hello amigurumi lovers and beautiful visitors, I wanted to share the free amigurumi patterns for you here. In my article I will share 1 pattern and how to make it for you. At the end of my article, I will share amigurumi patterns that can generate ideas for you.
Materials
DK / light worsted weight cotton yarn (I used Rico Creative Ricorumi in Caramel (053) for the head and body and Paintbox Cotton DK in Soft Fudge (410) and Coffee Bean (411) for the mane.
2.5mm / C-2 or B-1 crochet hook
5mm / 0.2″ safety eyes
Fiberfill
Darning needle / tapestry needle
Black embroidery floss
Large eyed sewing needle
Stitch marker
Pins
Scissors
Abbreviations
St = stitch
Ch = chain
Sc = single crochet (double crochet in British terms)
Inc = sc increase: single crochet 2 in same st
Dec = invisible sc decrease: Insert hook in front loops of next 2 sts, yarn over, pull through both front loops, yarn over, pull through 2 remaining loops
Hdc = half double crochet (half treble crochet in British terms)
Dc = double crochet (treble crochet in British terms)
BLO = back loops
(…) = stitches that are repeated in the rd
*… = number of repetitions
Instructions for the amigurumi lion
Crochet the forelegs (make 2)
Rnd 1: Sc 8 in magic ring (8)
Rnd 2: In BLO: [sc 2, dec]*2 (6)
Rnd 3: Sc 6 (6)
Rnd 4: [sc 2, inc 1]*2 (8)
Rnd 5: [sc 2, dec]*2 (6)
Rnd 6: Sc 6 (6)
Crochet the hind legs (make 2)
Rnd 1: Sc 8 in magic ring (8)
Rnd 2: In BLO: [sc 2, dec]*2 (6)
Rnd 3: Sc 6 (6)
Rnd 4: [sc 2, inc 1]*2 (8)
Rnd 5: [sc 2, dec]*2 (6)
Rnd 6: Sc 6 (6)
Rnd 7: [sc 2, inc 1]*2 (8)
Crochet the belly
Ch 4
Rnd 1: Sc 2 (starting in 2nd ch), sc 4 in last ch, sc 1 in other side of ch, sc 3 in last ch (10)
Rnd 2: Sc 8 around hind leg, sc 3, sc 6 around foreleg, sc 2, sc 6 around foreleg, sc 3, sc 8 around hind leg, sc 2 (38)
Rnd 3: Dec, sc 5, dec, sc 1, dec, sc 4, dec 2, sc 4, dec, sc 1, dec, sc 5, dec 1, sc 2 (30)
Rnd 4 and 5: Sc 30 (30)
Rnd 6: Sc 10, ch 4, sk 10, sc 10 (24)
Continue with the back
Rnd 7: [sc 2, dec]*6 (18)
Fill with fiberfill.
Rnd 8: [sc 1, dec]*6 (12)
Rnd 9: Dec 6 (6)
Crochet the neck
Join the yarn at the left corner of the neck opening.
Rnd 7: Sc 10, sc 4 out of other side of ch stitches (14)
Rnd 8: Sc 4, dec, sc 5, dec, sc 1 (12)
Rnd 9: [sc 1, dec]*4 (8)
Fasten off leaving a long tail for sewing.
Crochet the head
Rnd 1: Sc 6 in magic ring (6)
Rnd 2: Inc 6 (12)
Rnd 3: Sc 12 (12)
Rnd 4: Sc 8, inc 4 (16)
Rnd 5: Sc 9, inc 5, sc 2 (21)
Rnd 6 and 7: Sc 21 (21)
Embroider the nose with black embroidery floss.
Insert the safety eyes.
Rnd 8: [sc 5, dec]*3 (18)
Start filling the head.
Rnd 9: [sc 4, dec]*3 (15)
Rnd 10: [sc 3, dec]*3 (12)
Fill the head more if necessary.
Rnd 11: Dec 6 times (6)
Crochet the ears in (make 2)
Ch 4, Sc in 2nd ch from hook, hdc, dc, hdc in next ch, sc in last ch
Fasten off, leaving a long tail for sewing.
Crochet the tail
Ch 12, sc 11 (start in 2nd ch) (11)
Fasten off leaving a long tail for sewing.
Assembly
Cut 4 x 7cm/3” pieces of brown yarn and attach then to the end of the tail. Cut them to the desired length. Assembly Sew the ears on rnd 8 of the head with about 4 stitches space in between.
Sew the head on the neck opening.
Sew the tail on, centered at the back.
Attach the mane
Cut about 30 x 10cm/4” pieces of yarn in brown and 120 x 10cm/4” pieces of yarn in caramel. Attach them to the front of the body in rounds around the neck, starting with the brown yarn. Once 2 rounds of brown yarn are attached, attach the caramel yarn pieces in rounds, working your way up the neck and head. Trim the mane and fluff up the fibres to give it more volume.
Your little lion is now complete!