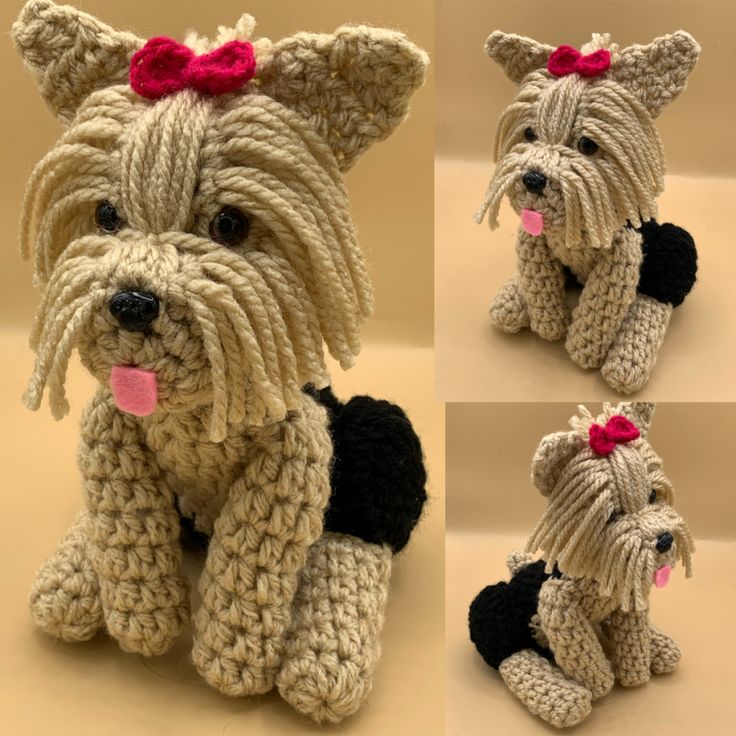
Toy Yorkie Dog Amigurumi Free Pattern
Hello amigurumi lovers and beautiful visitors, I wanted to share the free amigurumi patterns for you here. In my article I will share 1 pattern and how to make it for you. At the end of my article, I will share amigurumi patterns that can generate ideas for you.
You will need:
– black and sandy yarn,
– brown, gray and sandy floss,
– hook number 1.5.
Legend:
sbn – single crochet
increase – knit 2 sbn in one loop
decrease – 2 sbn knit together
* … * – repeat from * to * the required number of times
Head
Row 1: 6 sc in the amigurumi ring
Row 2: increase: 2 sc in each loop (12)
Row 3: * 1 sc, increase * – 6 times (18)
4 row: * 2 sc, increase * – 6 times ( 24)
5 row: * 3 sbn, increase * – 6 times (30)
6 row: * 4 sbn, increase * – 6 times (36)
7 row: * 5 sbn, increase * – 6 times (42)
8 row: we knit without changes (42)
9 row: * 6 sbn, increase * – 6 times (48)
10-11 row: without changes (48)
12 row: * 6 sbn, decrease * – 6 times (42)
13 row: without changes (42)
14 row: * 5 sbn, decrease * – 6 times (36)
15 row: * 4 sbn, decrease * – 6 times (30)
16 row: * 3 sbn, decrease * – 6 times (24)
17 -18 row: unchanged (24)
19 row: * 2 sc, decrease * – 6 times (18)
20 row: * 1 sc, decrease * – 6 times (12)
21 row: * 1 decrease * – 6 times (6)
Fasten the thread and leave the tail for sewing.
Trunk
1 row: 6 sb in the ring of amigurumi
2 row: increase: 2 sb in each loop (12)
3 row: * 1 s, increase * – 6 times (18)
4 row: * 2 sb, increase * – 6 times ( 24)
5 row: * 3 sbn, increase * – 6 times (30)
6 row: * 4 sbn, increase * – 6 times (36)
7 row: knit without changes (36)
8 row: * 5 sbn, increase * – 6 times (42)
9 row: * 6 sc, increase * – 6 times (48)
10-11 row: no change (48)
12 row: * 6 sc, decrease * – 6 times (42)
13 row: no changes (42)
14th row: * 5 sbn, decrease * – 6 times (36)
15th row: no changes (36)
16th row: * 4 sbn, decrease * – 6 times (30)
17th row: no changes (30)
18 row: * 3 sc, decrease * – 6 times (24)
19-26 row: unchanged (24)
Fasten the thread.
Frond legs (2 parts)
1 row: 6 sc in the amigurumi ring
2 row: increase: 2 sc in each loop (12)
3 row: * 1 sc, increase * – 6 times (18)
4-5 row: no change ( 18)
6 row: * 1 sc, decrease * – 6 times (12)
7 row: * 5 sc, decrease * – 2 times (10)
8-22 row: unchanged (10)
Fasten the thread, leave the end for sewing.
Hınd legs (2 parts)
1 row: 8 sc in the amigurumi ring
2 row: increase: 2 sc in each loop (16)
3 row: * 1 sc, increase * – 8 times (24)
4-5 row: no change ( 24)
6 row: * 1 sbn, decrease * – 8 times (16)
7 row: * 2 sbn, decrease * – 4 times (12)
8-12 row: unchanged (12)
Fasten the thread, leave the end for sewing.
Ears (2 parts)
Row 1: 4 sc in the amigurumi ring
Row 2: unchanged (4)
Row 3: increase: 2 sc in each loop (8)
Row 4: unchanged (8)
Row 5: * 1 sc, increase * – 4 times (12)
6 row: unchanged (12)
7 row: * 2 sc, increase * – 4 times (16)
8-10 row: unchanged (16)
Fasten the thread, leave the end for sewing.
Tail
1 row: 5 sc in the amigurumi ring
2 row: unchanged (5)
3 row: * 1 sc, increase * – 2 times, 1 sc (7)
4-7 row: unchanged (7)
8 row: * 1 sbn, increase * – 3 times, 1 sbn (10)
9-10 row: unchanged (10)
Fasten the thread, leave the end for sewing.
Muzzle
1 row: 6 sc in the amigurumi ring
2 row: increase: 2 sc in each loop (12)
3 row: unchanged (12)
4 row: * 1 sc, increase * – 6 times (18)
5-7 row: unchanged (18)
8 row: * 3 sbn, increase * – 4 times, 2 sbn (22)
Fasten the thread, leave the end for sewing.
Assembly
Stuff all parts, except for the ears, with filler. Sew the head to the body, then the paws, tail, ears and muzzle. Next, sew on the eyes and embroider the nose with black thread.
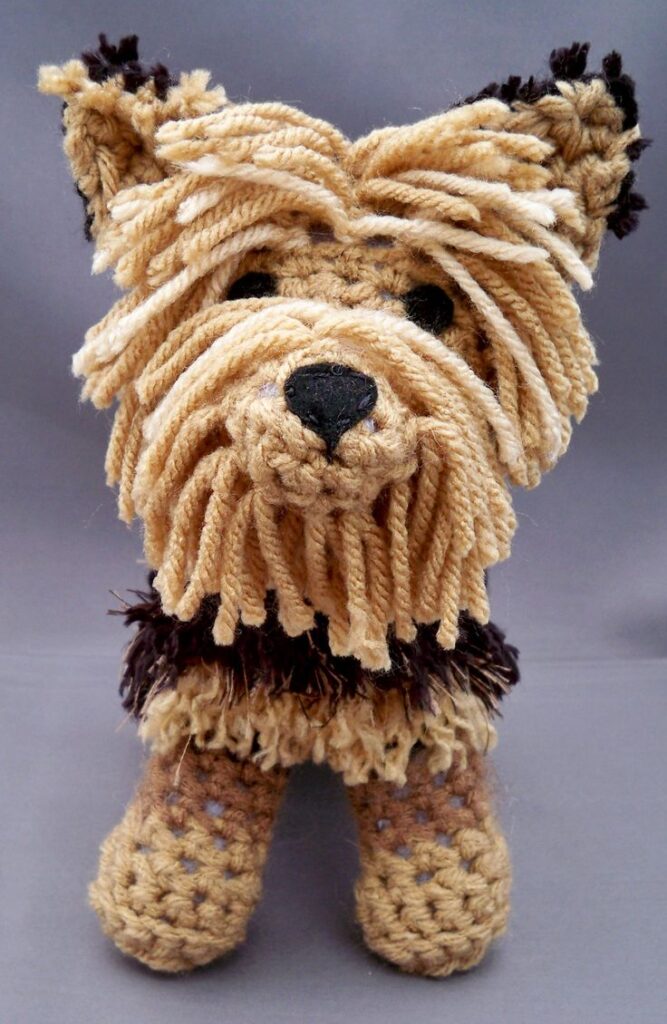
At the very last turn, we make our Yorkie fur. To do this, take the floss thread and insert it into the needle. We insert a needle with a thread into each loop, starting from the spout, stretch the thread to the desired length and tie a knot, cut off the excess thread.
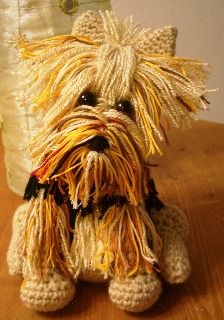
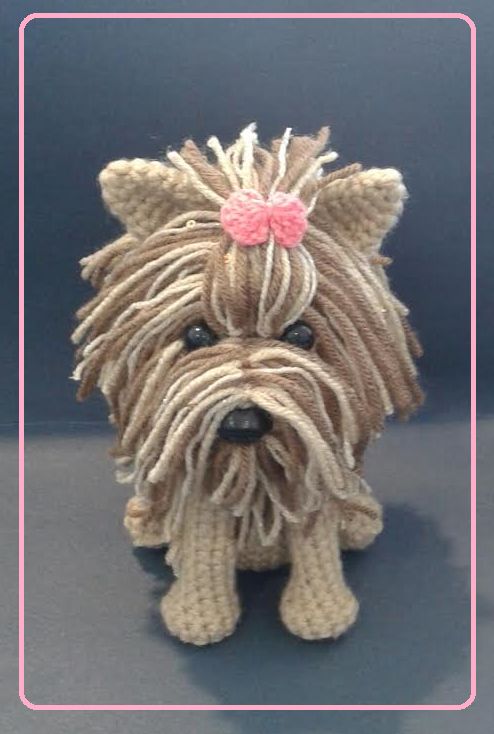
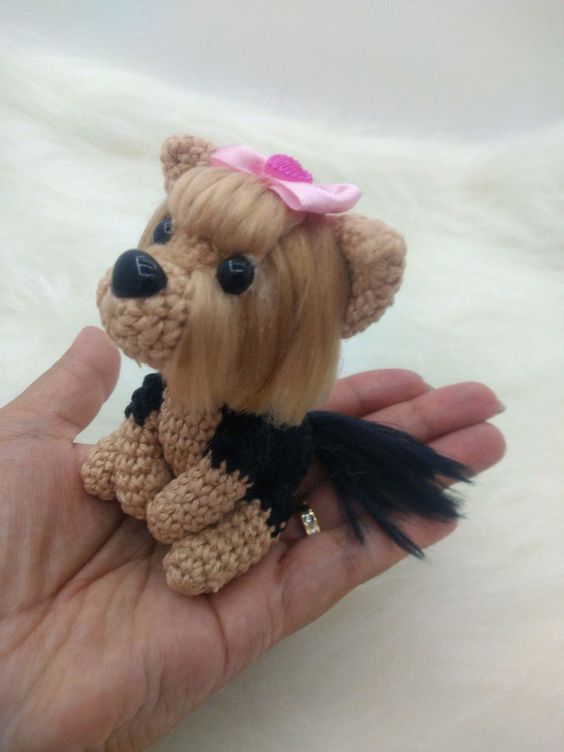
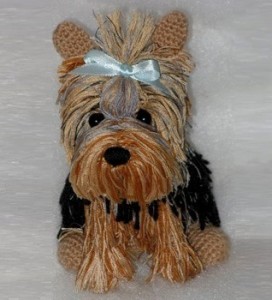
Threads can be left of arbitrary length, because at the next stage our dog is waiting for a haircut). When growing fur, rely on the photo in the selection of colors: for the muzzle and paws there are more red-brown and sandy threads, for the head more gray, for the back – black.
We cut our baby’s hair, comb it with the blunt end of the needle, and do the hair.
Feel free to tag me (@freeamigurumii) in your photos on Instagram or Facebook if you’d like!
All Finished.