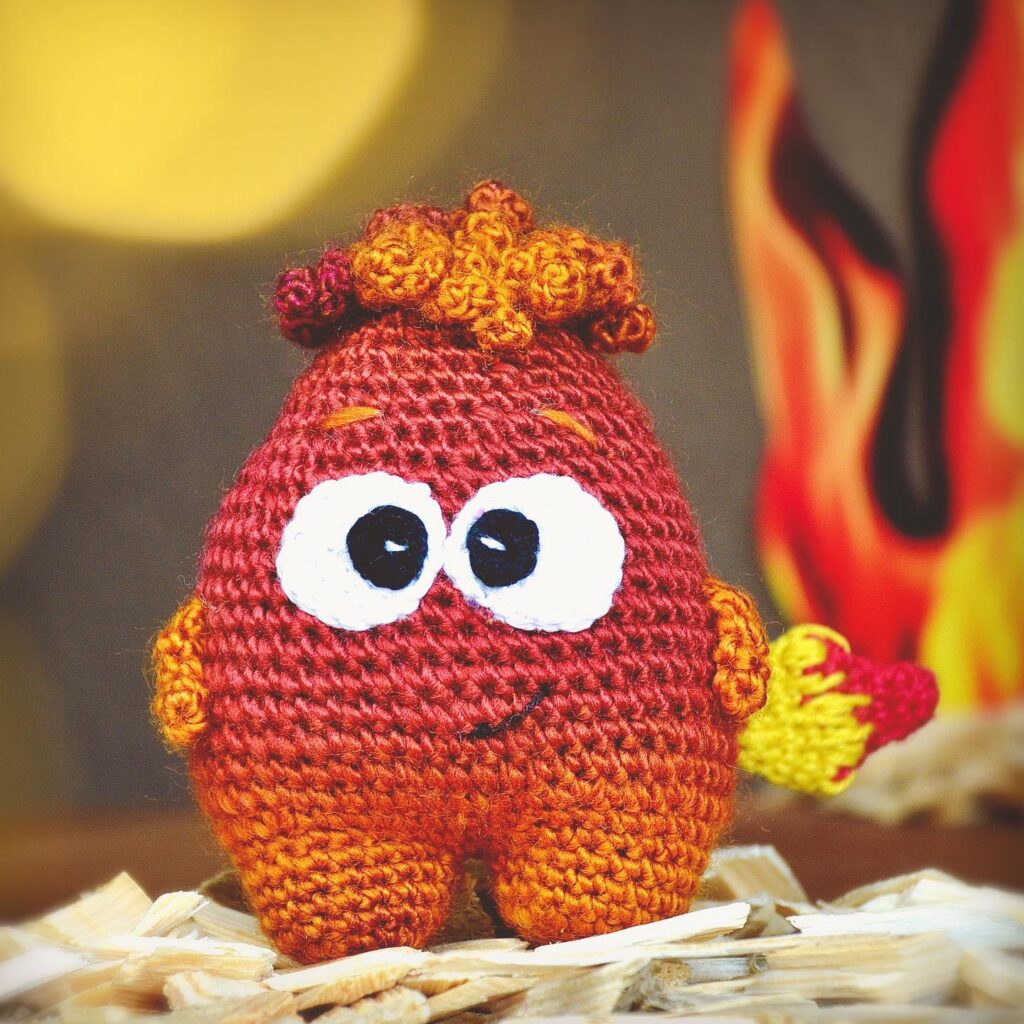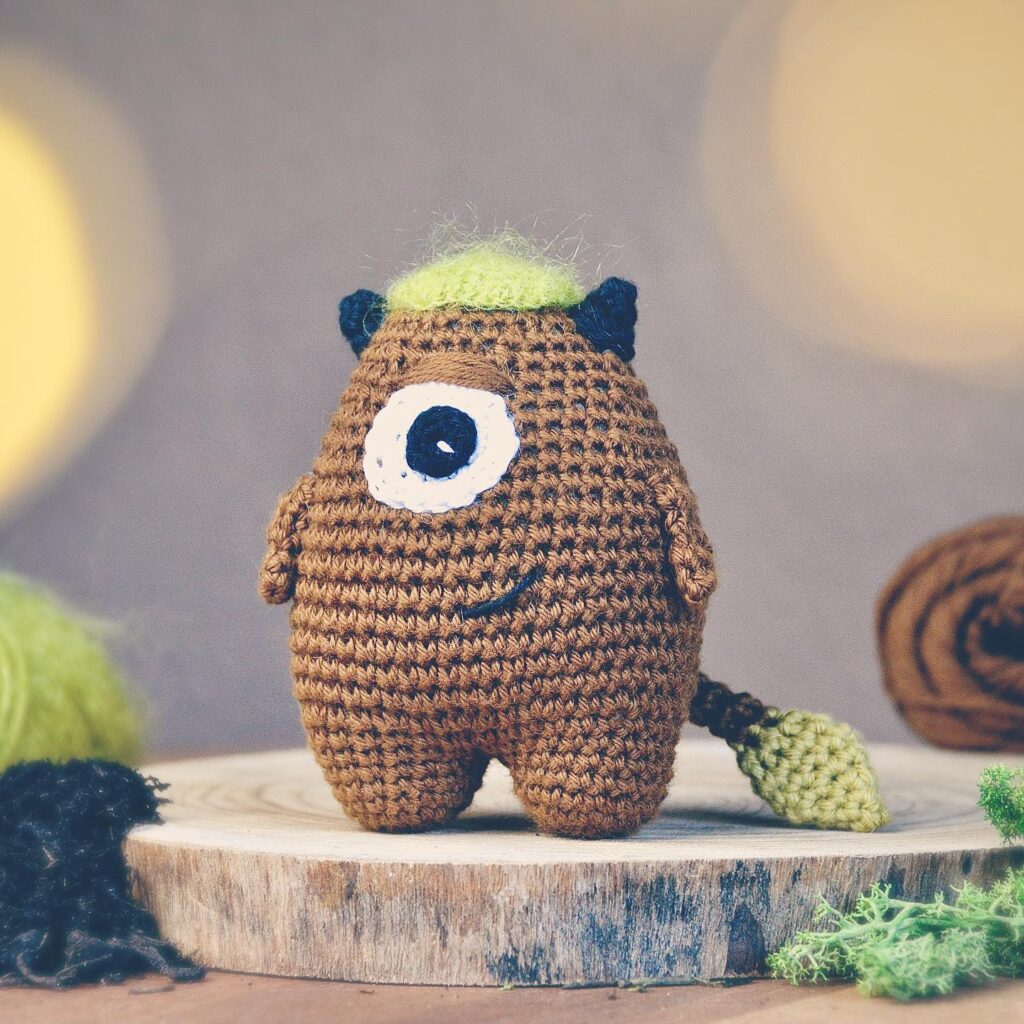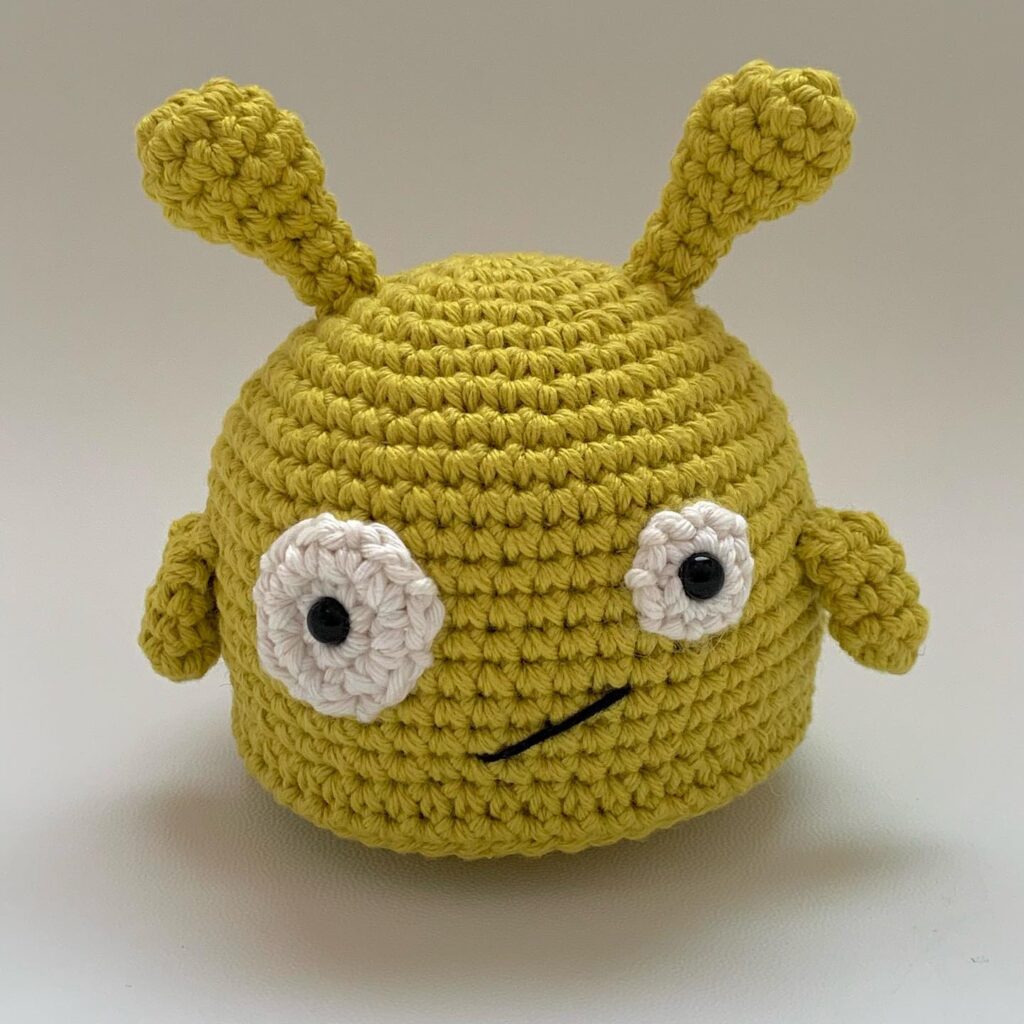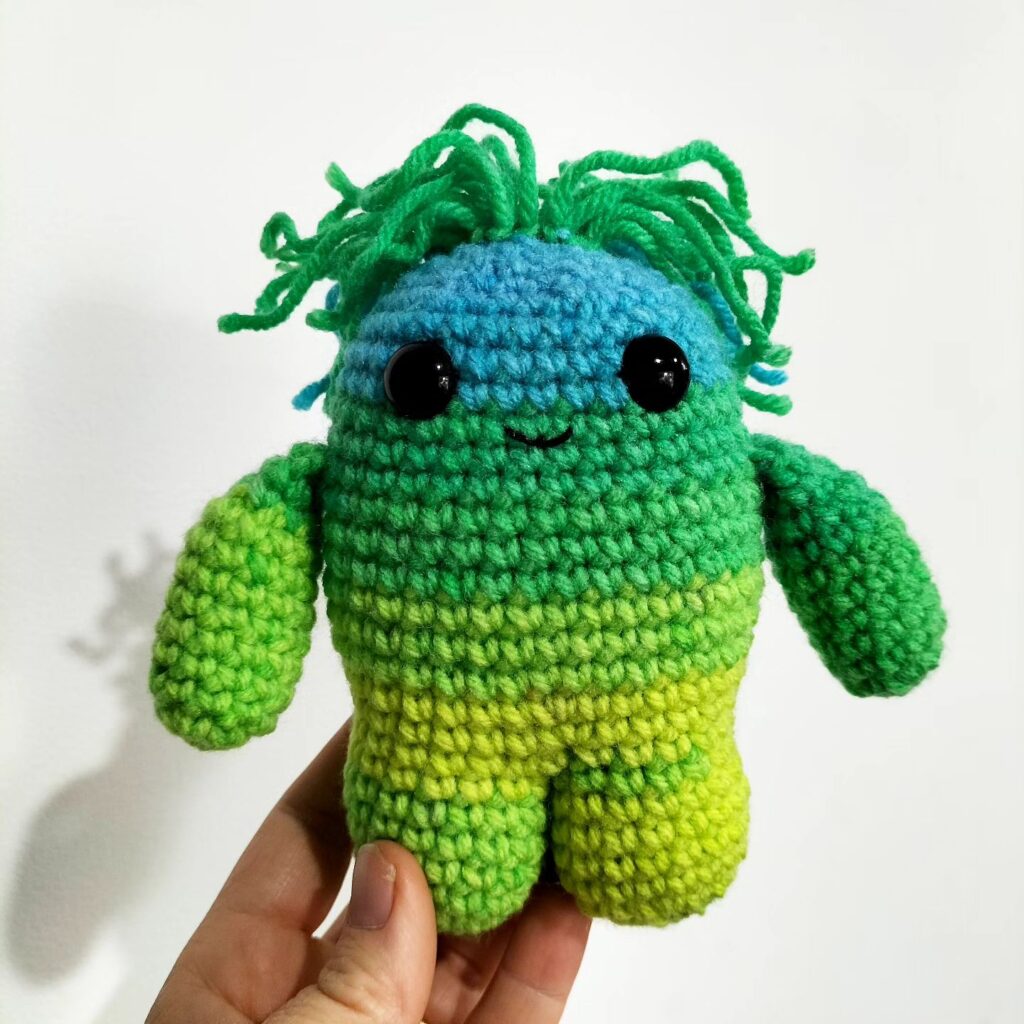
Toy Monster Crochet Pattern
Hello amigurumi lovers and beautiful visitors, I wanted to share the free amigurumi patterns for you here. In my article I will share 1 pattern and how to make it for you. At the end of my article, I will share amigurumi patterns that can generate ideas for you.
Legend:
sbn – single crochet
vp – air loop
decrease – 2 columns are knitted for one top
increase – 2 single crochet is displayed from one loop
* * – N times – repeat from * to * N times
Body
We knit with fluffy yarn and crochet 5.0 mm from the bottom up: 1 row: ch 6 in the amigurumi ring (6) 2 row: we knit b / n columns, adding in each loop, in a circle (12) 3 row: * 1 sc, 2 sc in the next loop * – 6 times (18) 4 row: * 2 sc, 2 sc in the next loop * – 6 times (24) 5 row: * 3 sc, 2 sc in the next loop * – 6 times (30) 6 row: * 4 sc, 2 sc in the next loop * – 6 times (36) 7 row: * 5 sc, 2 sc in the next loop * – 6 times (42) 8 row: * 6 sc, 2 sc in the next loop * – 6 times (48) 9-20 row: knit in a circle without changes (48) 21 row: * 6 sc, 1 subtract (knit two columns together) * – 6 times (42) 22 row: knit in a circle without changes (42) 23 row: * 5 sbn, 1 subtract * – 6 times (36)
24 row: * 4 sbn, 1 subtract * – 6 times (30)
25 row: * 3 sbn, 1 subtract * – 6 times (24)
26 row: * 2 sbn, 1 subtract * – 6 times (18)
If from the inside the body turned out to be more fluffy, turn it inside out. Stuff the toy tightly, but not too much so that it retains its softness.
27 row: * 1 sc, 1 decrease * – 6 times (12)
28 row: * 1 decrease * – 6 times (6)
Leave the long end of the thread for sewing.
Eyes (2 parts)
Crochet 3.5 mm:
1 row: black yarn 10 ch in the amigurumi ring, half single crochet in the first loop (10)
2 row: knit the iris of the eye, the color can be chosen to your taste, an increase in each loop , half single crochet in the first loop (20)
3 row: knit with white yarn without increments, half single crochet in the first loop (20)
4 row: 2 sc, increase, 6 half crochets with a crochet, increase, 2 sc, half single crochet in next 9 stitches, connect the round with a half crochet single crochet (23).
Fasten the thread, leave a long end for sewing.
Eyelids: work with blue yarn and crochet 3.5 mm
Left
Attach the thread to the last knitted column of the eye, 1 ch
1 row: we knit sbn through the front loops in a circle, a semi-column single crochet in the first loop, 1 ch, do not turn knitting (23)
2 Row: Sc through front sts into next 14 sts, double crochet into next st, ch 1, turn (14)
Row 3: Skip double crochet, sc into next st, double crochet into next 4 sts, sts double crochet in next 4 stitches, half double crochet in next 4 stitches, sc, ch 1, turn (14)
4th row: skip first stitch, double crochet in next 13 stitches, half crochet in next available stitch of 2nd circles (14)
Fasten the thread, leave the end for sewing.
Right
row 1-2: knit in the same way as the left eyelid
3 row: sc in the next loop, half double crochet in the next 4 loops, double crochet in the next 4 loops, half double crochet in the next 4 loops, sc, half crochet b / n in the next available loop of the 2nd round, ch 1, turn (14)
4th row: skip the half-column b / n, half-column b / n in the next 14 loops. (14)
Fasten the thread, leave the end for sewing.
Ears (2 parts)
Crochet 3.5 mm, using blue yarn 10 ch, connect into a ring, 1 ch When you make a ring, leave the long end of the thread for sewing. 1 row: sc in each loop in a circle (10) 2 row: * 4 sc, 2 sc in the next loop * – 2 times (12) 3 row: knit without increments (12) 4 row: * 5 sc, 2 sc in next loop * – 2 times (14) 5 row: * 6 sc, 2 sc in the next loop * – 2 times (16) 6 row: increase in the next two loops, 14 sc (18) 7-9 row: no change ( 18) 10 row: sc, decrease, 15 sc (17) 11 row: sc, decrease, 14 sc (16) 12 row: * 3 sc, decrease * – 3 times, 1 sc (13) 13 row: * decrease, 2 sbn * – 3 times, 1 sbn (10)
14th row: * decrease, 1 sbn * – 3 times, 1 sbn (7)
15th row: decrease 3 times (4)
16th row: decrease 2 times (2)
Pull the thread, fasten it and thread. Tassels can be made at the ends of the ears.
Feet (2 parts)
Crochet 3.5 mm blue yarn
Chain of 9 ch
1 row: 3 sc in the second loop from the hook, sc in the next 6 loops, 3sc in the next loop, 6 sc on the other side of the chain, half-column b / n in the first loop, 1 ch (do not turn) (18)
2-5 row: we knit without changes in a circle (18)
6 row: 18 sc, increase in the last 2 loops (20)
7 row: 2 sc, 2 half-columns double crochet, 1 sc, 2 half double crochets, 1 sc, 2 half double crochets, 11 sc (21) 8
row: 2 sc in each of the next 2 sts, 9 sc, 2 sc in each of the next 2 loops, 8 sb (25)
9 row: 5 sb, decrease, 3 sb, decrease, 13 sb (23)
10 row: 17 sb, * decrease * – 2 times, 2 sb (21)
11 row: * decrease, 1 sbn * – 7 times (14)
12 row: * decrease * – 7 times (7)
Fasten the thread. Leave the end for sewing.
We make fingers: we take the foot and at the level of the 6th row we sew the fingers with a thread and a needle (2 stitches for each finger). We lightly stuff the fingers, the rest of the foot area remains empty.
Beak
Knit with yellow yarn crochet 3.5 mm:
1 row: knit a chain of 20 ch, leaving a long end for sewing, close the ring with a half-column b / n, 1 ch (20)
2 row: knit in a circle (20)
3 row: * decrease, 3 sbn * – 4 times (16)
4 row: knit without changes (16)
5 row: * decrease, 2 sbn * – 4 times (12)
6 row: knit without changes (12)
7 row: * decrease , 1 sbn * – 4 times (8)
8 row: knit without changes (8)
9 row: * decrease * – 4 times (4)
Fasten the thread. Leave the end for sewing.
Tail
We knit with yarn with a long pile crochet 5.0 mm: 1 row: 6 sc in the ring of amigurumi (6) 2 row: increase: 2 sc in each loop (12) 3 row: * 1 sc, 2 sc in the next loop * – 6 times (18) 4 row: * 2 sbn, 2 sbn in the next loop * – 6 times (24) 5 row: without increments (24) Fasten the thread. Leave the end for sewing.
Fluff on the head
We knit with yarn with a long pile crochet 5.0 mm:
1 row: 6 sc in the amigurumi ring (6)
2 row: increase: 2 sc in each loop (12)
3 row: * 1 sc, 2 sc in the next loop * – 6 times (18)
4 row: without increments (18)
Fasten the thread. Leave the end for sewing.
Assembly
Lightly stuff the beak and eyes to shape them. Ears remain empty.
The tail and fluff on the head can also be slightly stuffed, or you can leave it empty (at your discretion).
Sew all the details to the body.
Feel free to tag me (@freeamigurumii) in your photos on Instagram or Facebook if you’d like!
All Finished.