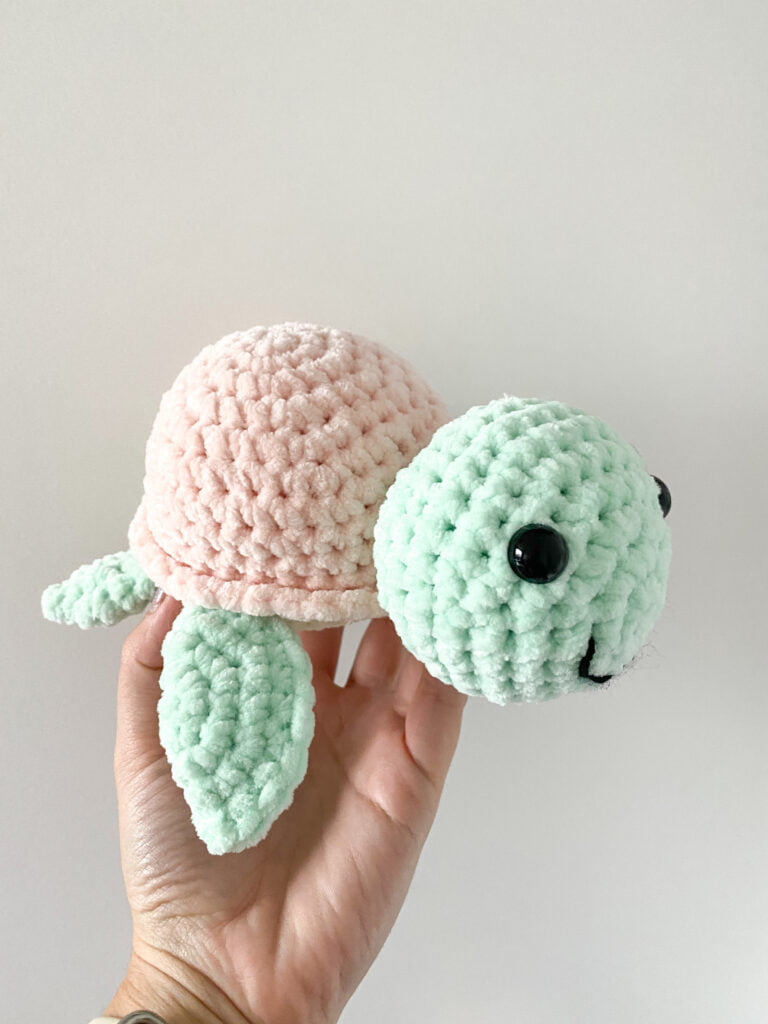
Plush Turtle Free Crochet Pattern
Hello amigurumi lovers and beautiful visitors, I wanted to share the free amigurumi patterns for you here. In my article I will share 1 pattern and how to make it for you. At the end of my article, I will share amigurumi patterns that can generate ideas for you.
YOU WILL NEED:
- Chenille Chunky Yarn in 3 colours. I used James C. Brett Flutterby Chunky in pink, blue and white.
- 6mm crochet hook
- 10mm plastic eyes
- sewing needle
- scissors
ABBREVIATIONS:
- ch – Chain
- sc – Single Crochet
- FLO – Front Loops Only
- BLO- Back Loops Only
- dc – Double Crochet
FRONT LEGS (MAKE 2)
Use colour of turtles skin (I used pink)
- ‘6sc into a MR’ or if you don’t like MR ‘ch.2 and 6sc in first ch.’ (6)
- ‘inc in each st’ x6 (12)
- ‘1sc then inc’ x6 (18)
- ‘2sc then inc’ x6 (24)
Fold over and 12 sc around the fold. Finish off and leave tail to sew legs to body.
BACK LEGS (MAKE 2)
Use colour of turtles skin (I used pink)
- ‘6sc into a MR’ or if you don’t like MR ‘ch.2 and 6sc in first ch.’ (6)
- ‘inc in each st’ x6 (12)
- ‘1sc then inc’ x6 (18)
Fold over and 9sc around the fold. Finish off and leave tail to sew legs to body.
TAIL
Use colour of turtles skin (I used pink)
- ‘6sc into a MR’ or if you don’t like MR ‘ch.2 and 6sc in first ch.’ (6)
- ‘2sc then inc’ x2 (8)
- sc in each st. (8)
- sc in each st. (8)
Fold over and 4sc around the fold. Finish off and leave tail to sew legs to body.
HEAD
Use colour of turtles skin (I used pink)
- ‘6sc into a MR’ or if you don’t like MR ‘ch.2 and 6sc in first ch.’ (6)
- ‘inc in each st’ x6 (12)
- ‘1sc then inc’ x6 (18)
- ‘2sc then inc’ x6 (24)
- ‘3sc then inc’ x6 (30)
Place eyes between rounds 4 and 5 spaced 8 st. apart.
6-8. sc in each st. (30)
9. ‘3sc then dec’ x6 (24)
10. ‘2sc then dec’ x6 (18)
Start Stuffing.
11. ‘sc then dec’ x6 (12)
12. ‘dec’ x6 (6)
Finish off and leave tail to sew head to body.
SHELL
Use colour of turtles shell (I used blue).
- ‘6sc into a MR’ or if you don’t like MR ‘ch.2 and 6sc in first ch.’ (6)
- ‘inc in each st’ x6 (12)
- ‘1sc then inc’ x6 (18)
- ‘2sc then inc’ x6 (24)
- ‘3sc then inc’ x6 (30)
- ‘4sc then inc’ x6 (36)
7-10. sc in each st. (36)
11. FLO sc in each st.
Switch to the bottom shell colour (I used white)
Stuff throughout.
12. In the Back Loops of round 11. sc in each st. (36)
13. ‘4sc then dec’ x6 (30)
14. ‘3sc then dec’ x6 (24)
15. ‘2sc then dec’ x6 (18)
16. ‘sc then dec’ x6 (12)
17. ‘dec’ x6 (6)
Finish Off
ASSEMBLY
Sew the head between rows 8 and 11 so that it sits at the bottom of the shell. Sew the front legs either side of the head between rows 12 and 13, the curve should be facing forwards. Sew the tail between rows 12 and 13 on the opposite side of the head. Then the back legs either side of the tail between rows 12 and 13 with the curve facing backwards. See image underneath for example.