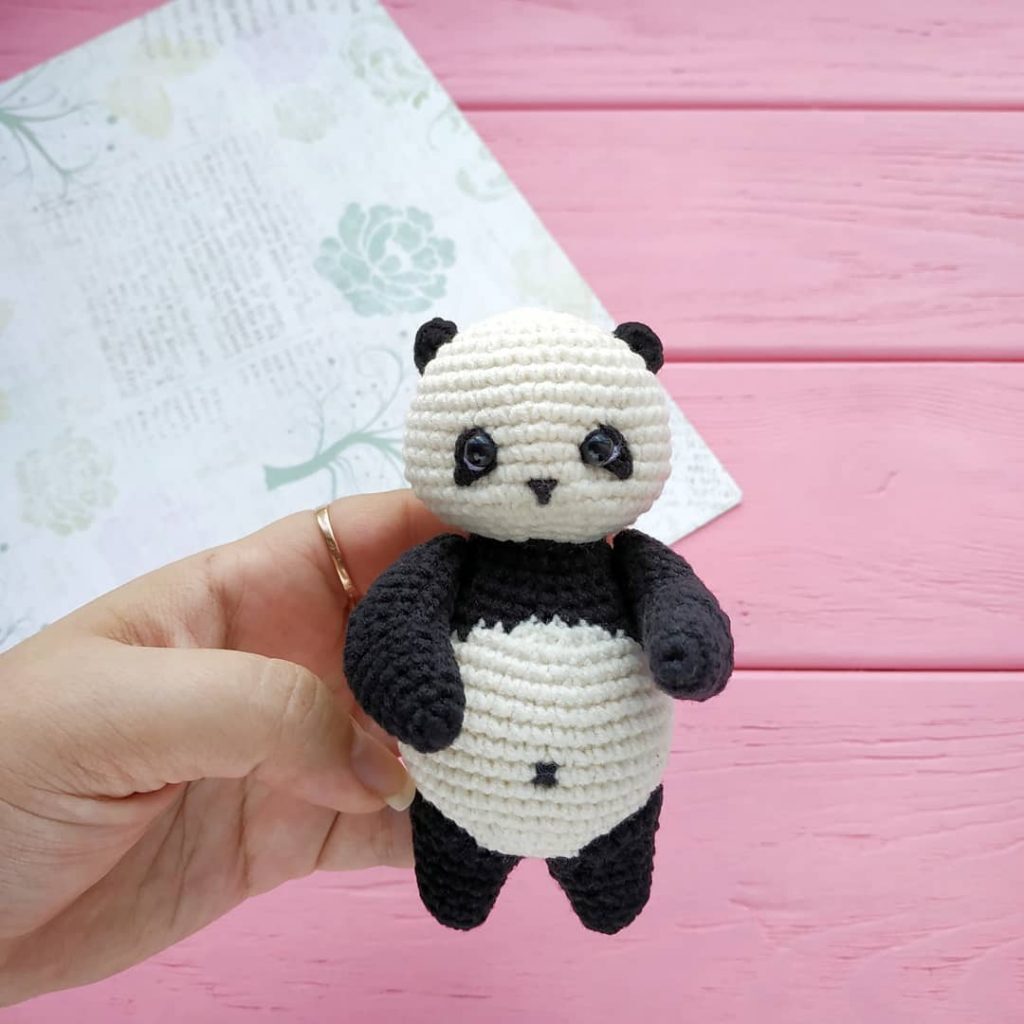
Panda Amigurumi Free Pattern
Hello amigurumi lovers and beautiful visitors, I wanted to share the free amigurumi patterns for you here. In my article I will share 1 pattern and how to make it for you. At the end of my article, I will share amigurumi patterns that can generate ideas for you.
Supplies:
I use Red Heart Comfort or Red Heart Super Saver
4.5mm hook – use a smaller hook if you see gaps in your stitches
blunt end yarn needle for sewing
scissors
100% polyester stuffing
felt, paint, buttons, or yarn for eyes or safety eyes
fabric glue for felt and buttons
This pattern uses the following stitches:
st = stitch
sc = single crochet
sl st = slip stitch
2tog = crochet 2 stitches together
f/o = finish off
How to print the pattern,
Use the free service here
Click here for the video tutorial on how to sew the panda together and also how to do the color changes. Video was filmed in the following order:
- stuff and sew on muzzle
- sew on eye patches
- how to do the color changes
- stuff the head
- how to close up the body
- sew on the limbs, tail, ears
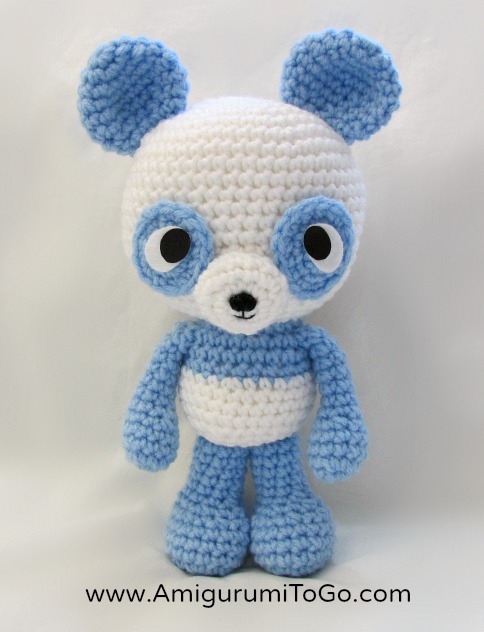
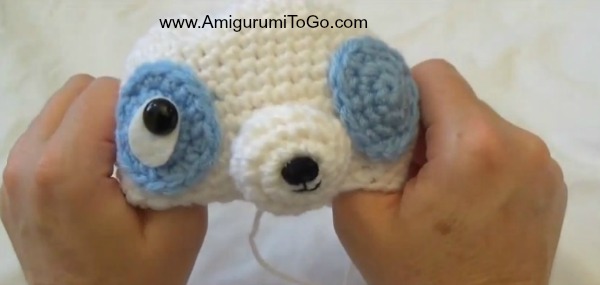
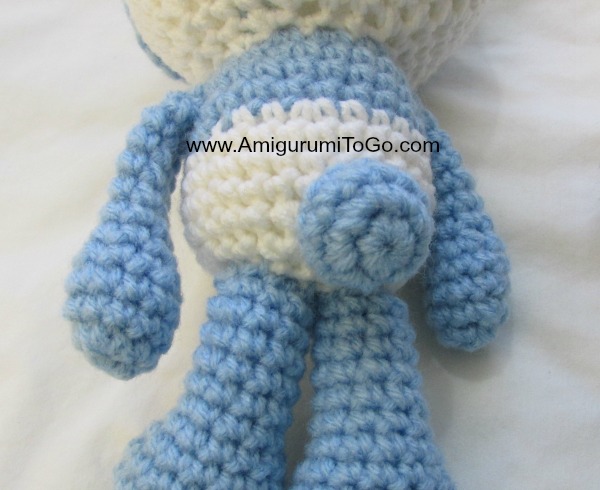
If you prefer to sew on the muzzle and eye patches before the doll head is done then make all those pieces first. At the end of row 21 of the head you can sew them in place. I show how to do this in the video. In the video I sewed the eye patches too far apart so after I finished filming I took them off and glued them on closer together.
Starting with white at the top of the head working down to bottom of body:
1) magic circle with 6sc (6)
2) 2sc in each st (12)
3) 1sc then 2sc in next st (18)
4) 1sc in next 2st then 2sc in next st (24)
5) 1sc in next 3st then 2sc in next st (30)
6) 1sc in next 4st then 2sc in next st (36)
7) 1sc in next 5st then 2sc in the next st (42)
8) 1sc in next 6st then 2sc in the next st (48)
9-16) 1sc in each st for 8 rows
17) 1sc in next 6st then 2tog (42)
18) 1sc in each st
19) 1sc in next 5st then 2tog (36)
20) 1sc in next 4st then 2tog (30)
21) 1sc in next 3st then 2tog (24) At the end of this row you can sew on the muzzle and eye patches
22) 1sc in next 2st then 2tog (18)
23) 1sc then 2tog Switch colors on last 2tog (12)
24) 2sc in each st (24)
25-26) 1sc in each st for 2 rows
Cut free from the white yarn and knot off the color changes
Stuff head add in more stuffing as needed as you continue the body
27) 1sc in each st switch colors on last st of this row
28) ( sl st first st, 1sc in next 2st then 2sc in next st) for the remainder of the row, 1sc in next 3st then 2sc in next st (30)
29-31) 1sc in each st for 3 rows
After one of these rows, cut free from the darker color and knot off the color changes
32) 1sc in next 3st then 2tog (24)
33) 1sc in next 2st then 2tog (18)
34) 1sc then 2tog (12)
stuff body, add in more stuffing as needed over the next 2 rows
35) 1sc then 2tog (8)
36) 2tog twice and f/o. Weave yarn tail in and out the remaining stitching and pull tight to close the gap. Knot off and hide yarn tail in body
Tail with white or darker color:
1) magic circle with 6sc (6)
2) 2sc in each (12)
3) 1sc in each
4) 1sc in the next 2st then 2tog (9)
sl st next st and f/o leaving a long tail for sewing. Stuff then sew in place
Muzzle with white:
1) magic circle with 6sc (6)
2) 2sc in each st (12)
3) 1sc in the next 3st then 2sc in next st (15)
4) 1sc in each st
5) 1sc in the next 3st then 2tog (12)
sl st next st and f/o leaving a long tail for sewing. Add in the mouth before sewing muzzle to head. Sew most of the muzzle in place then stuff before sewing on completely.
Eye Patches with darker color:
1) magic circle with 6sc (6)
2) 2sc in each st (12)
3) 1sc in the next 3st then 2sc in next st (15)
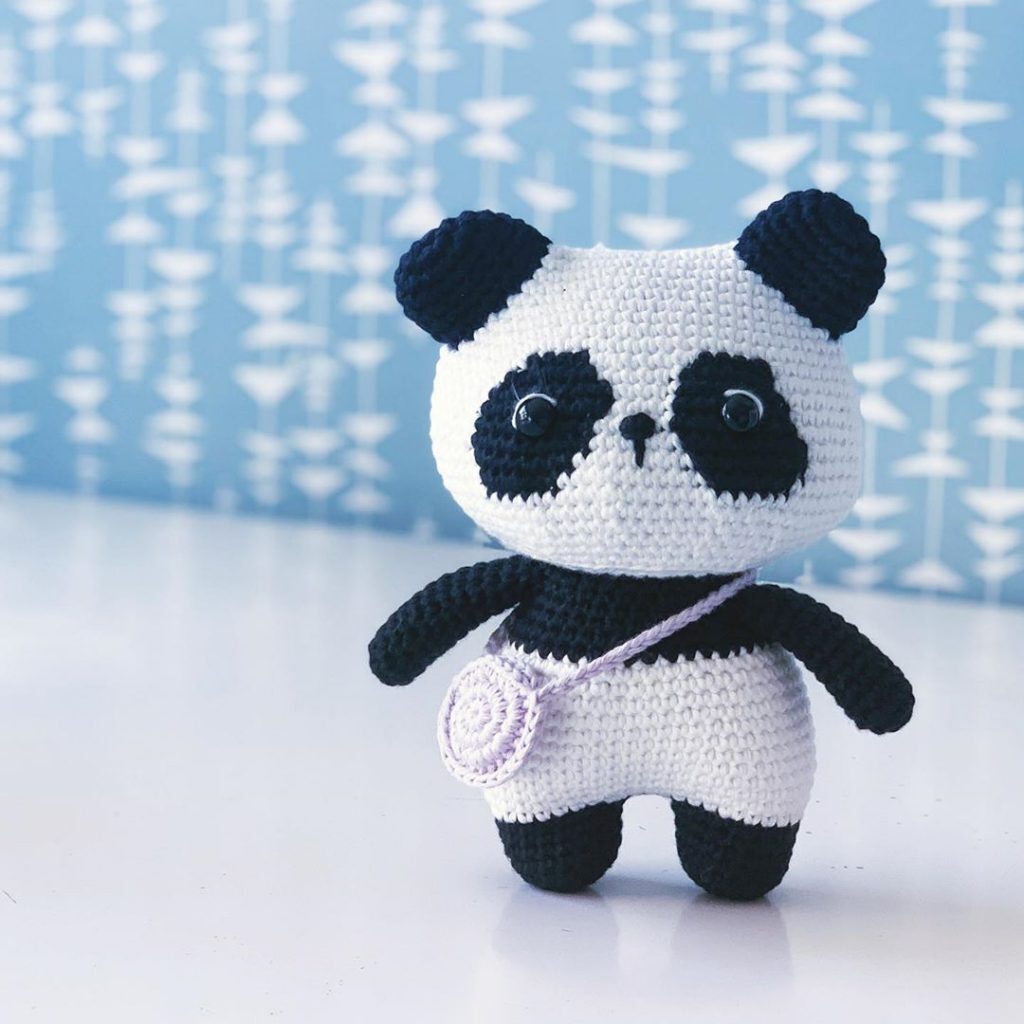
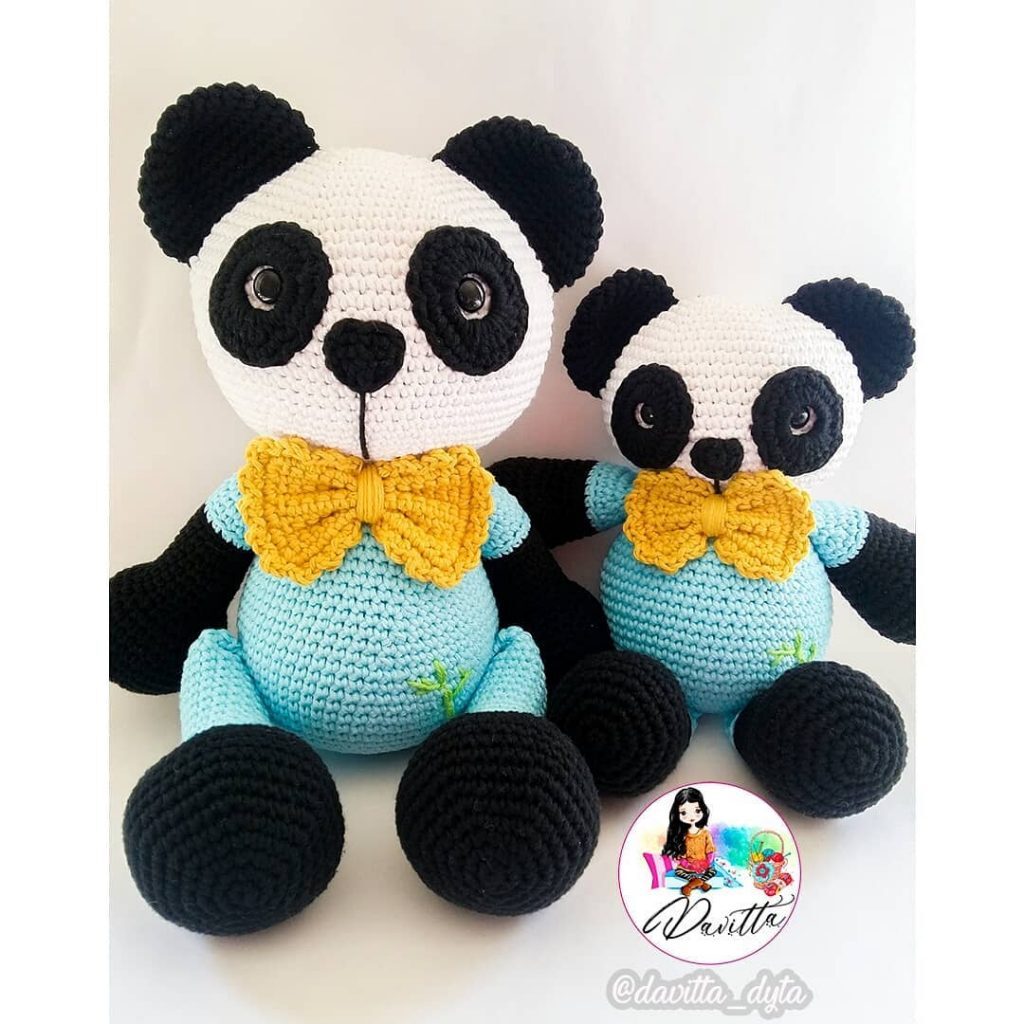
sl st next st and f/o leaving a long tail for sewing. Stretch out and shape the patches. You can try white felt under the eyes to make the eyes stand out. Eye size in the purple panda is 10mm. The black panda has buttons
Ears with darker color:
1) magic circle with 6sc (6)
2) 2sc in each st st (12)
3) 1sc then 2sc in next st (18)
4) 1sc in next 2st then 2sc in next st (24)
5) 1sc in each st
6) 1sc in the next 2st then 2tog (18)
7) 1sc in each st for 1 row
8) 1sc then 2tog (12)
9) 1sc in each st
sl st next st and f/o leaving a long tail for sewing
Arms with darker color:
1) magic circle with 6sc (6)
2) 2sc in each st (12)
3-4) 1sc in each st for 2 rows
5) 1sc in next 2st then 2tog (9)
6) 2tog then 1sc in next 7st (8)
7-12) 1sc in each st for 6 rows
sl st next st and f/o leaving a long tail for sewing. Lightly stuff hand, do not stuff arm.
Legs with darker color:
1) magic circle with 6sc (6)
2) 2sc in each st (12)
3) 1sc then 2sc in next st (18)
4-6) 1sc in each st for 3 rows
7) (2tog then 1sc in next st, repeat 4 times) 1sc in next 6st (14)
8) (2tog then 1sc in next st, repeat 3 times) 1sc in next 5st (11)
9) 2tog then 1sc in next 9st (10)
10-14) 1sc in each st for 5 rows
sl st next st and f/o leaving a long tail for sewing. Stuff and shape foot and stuff leg

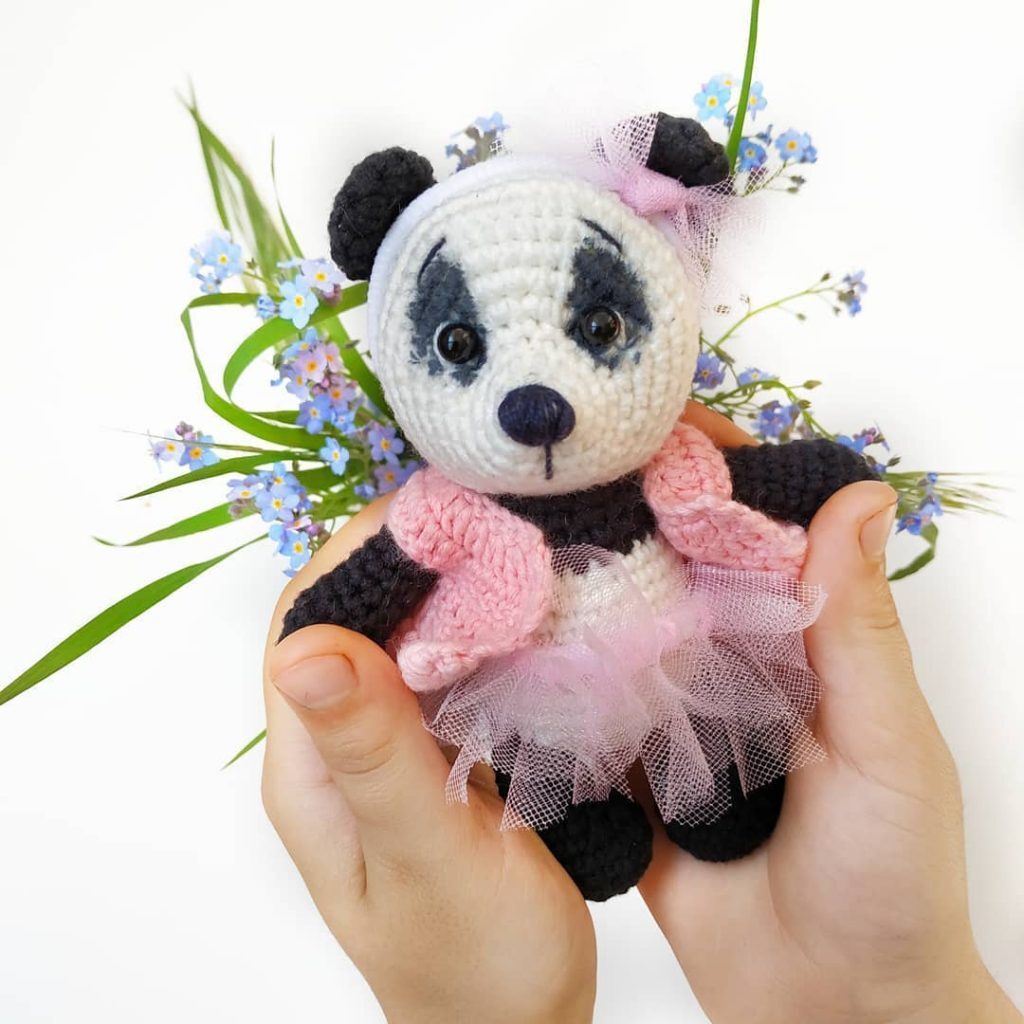
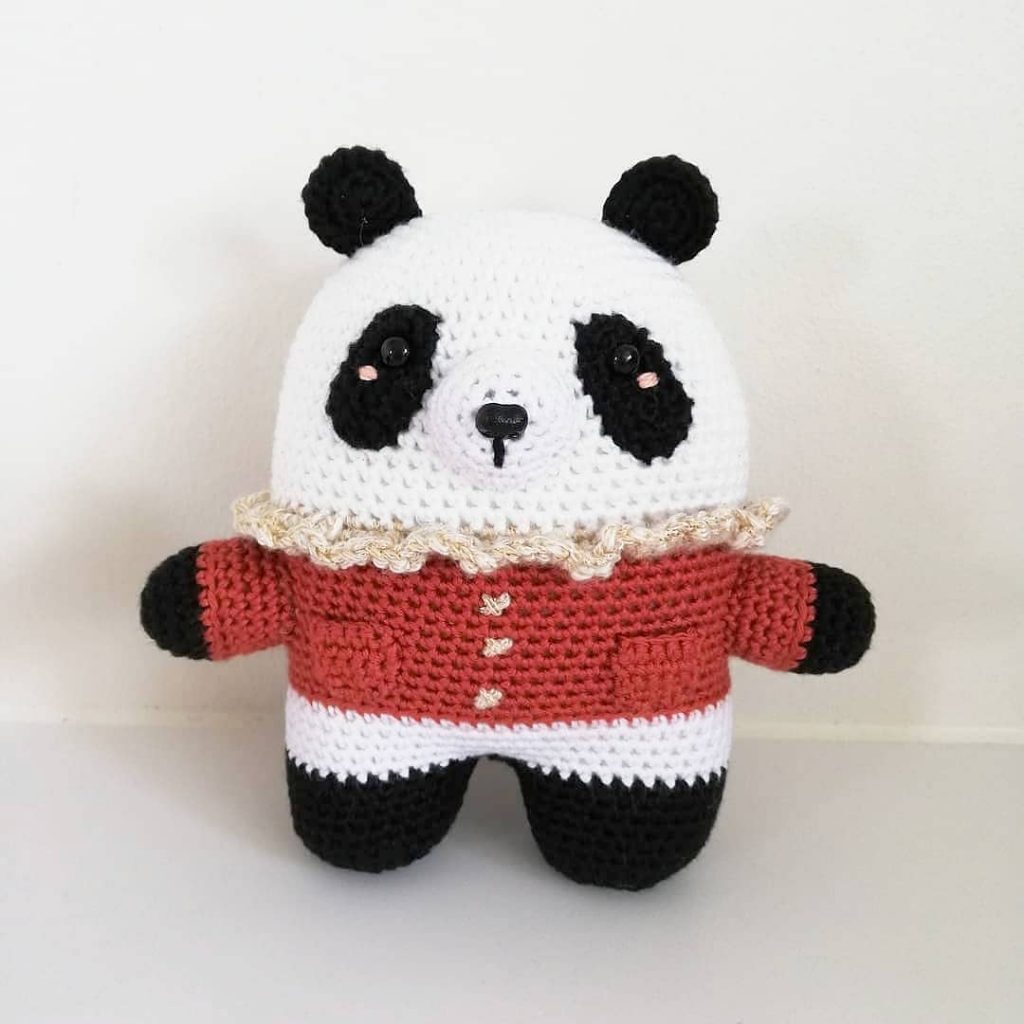
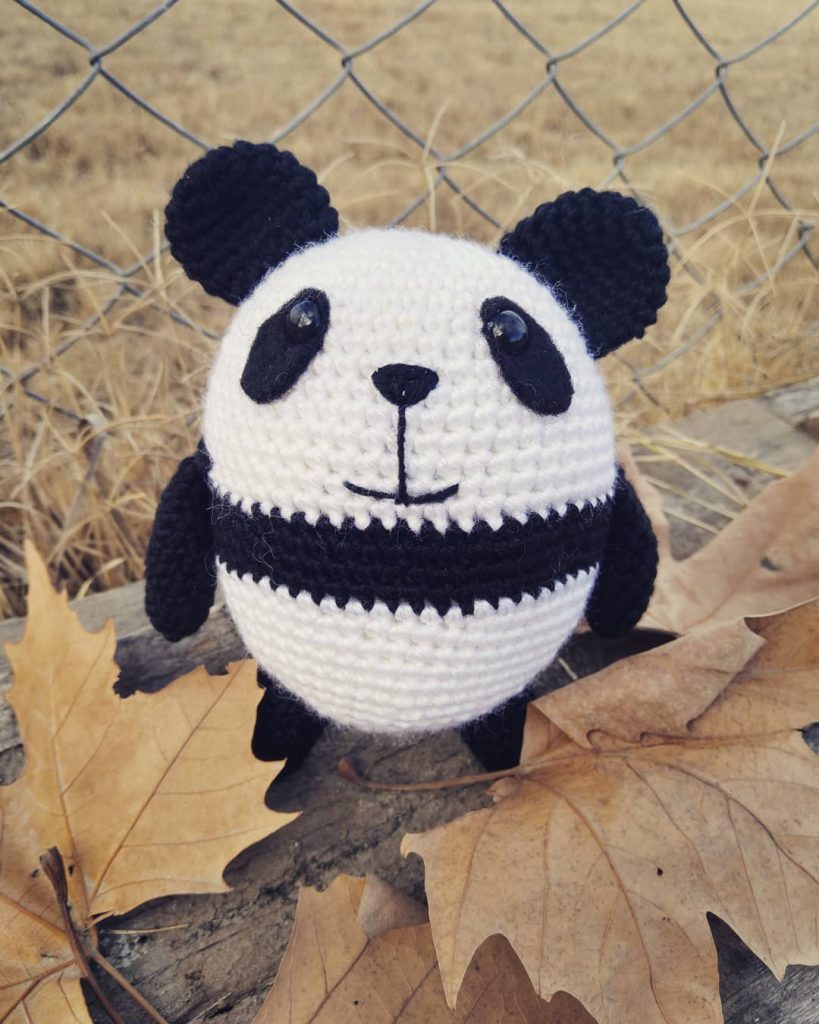
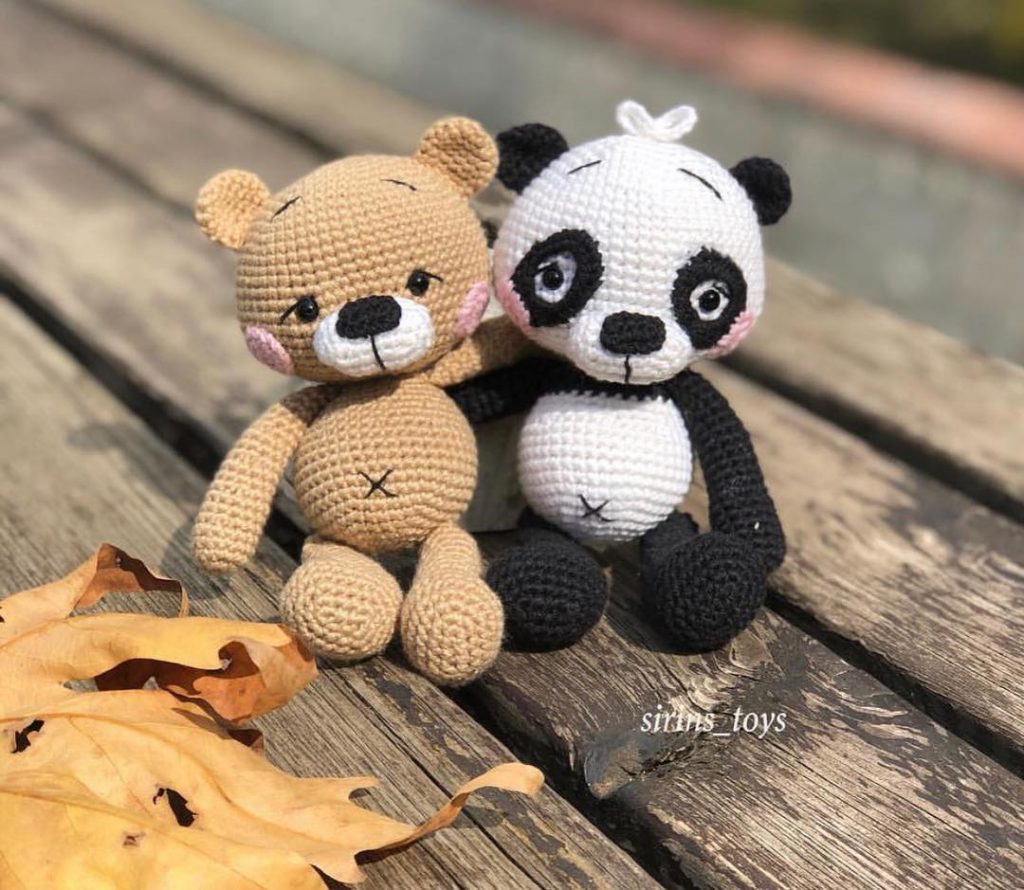
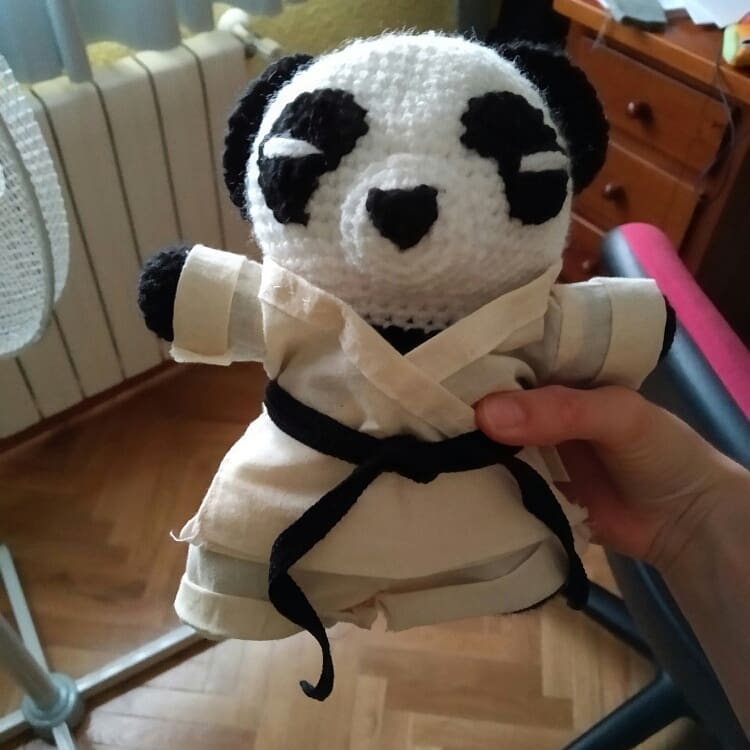
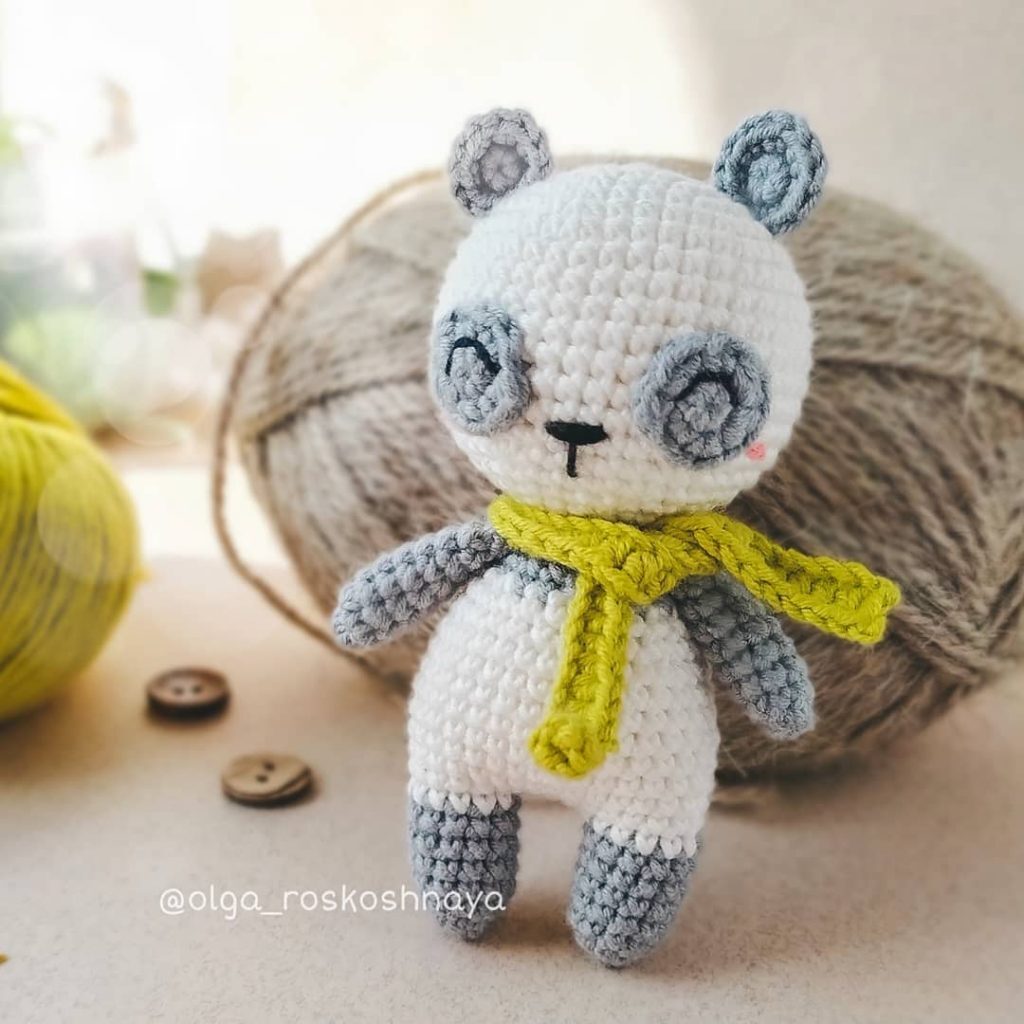
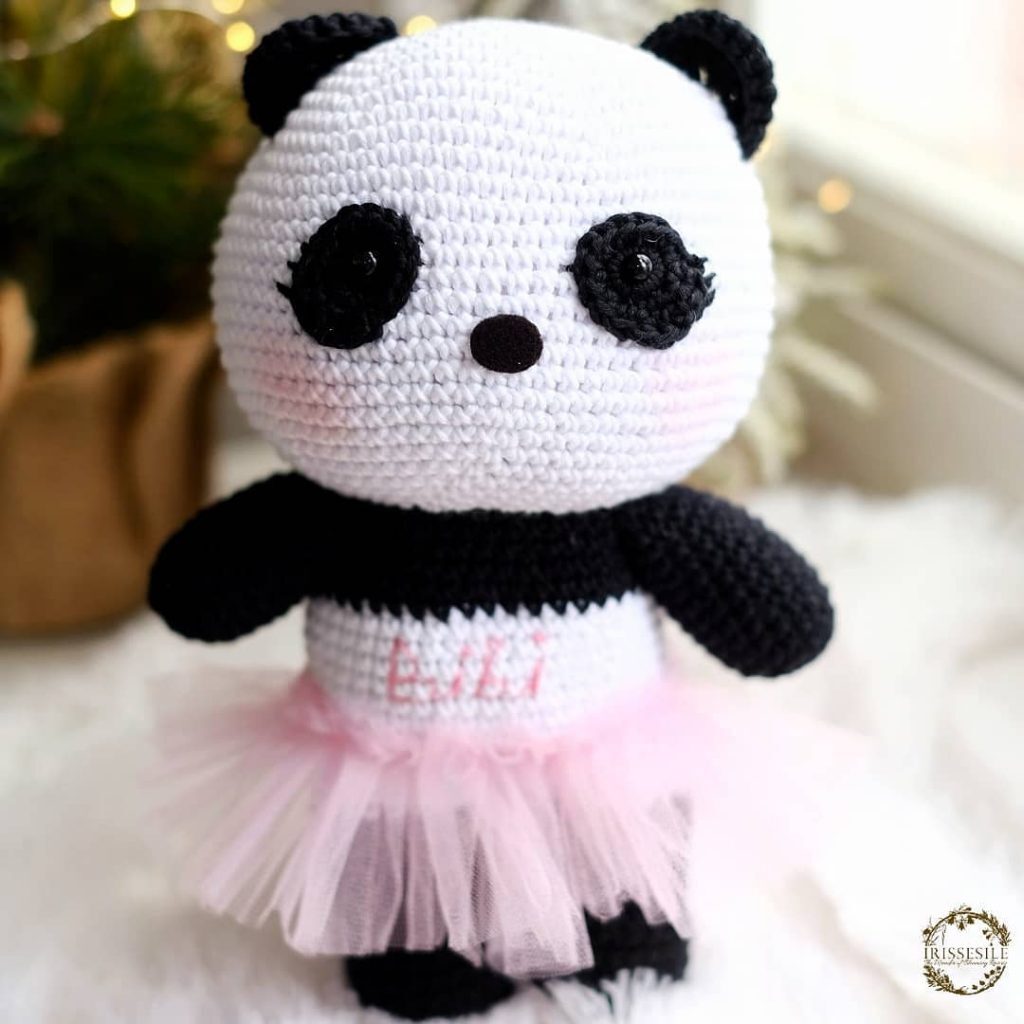
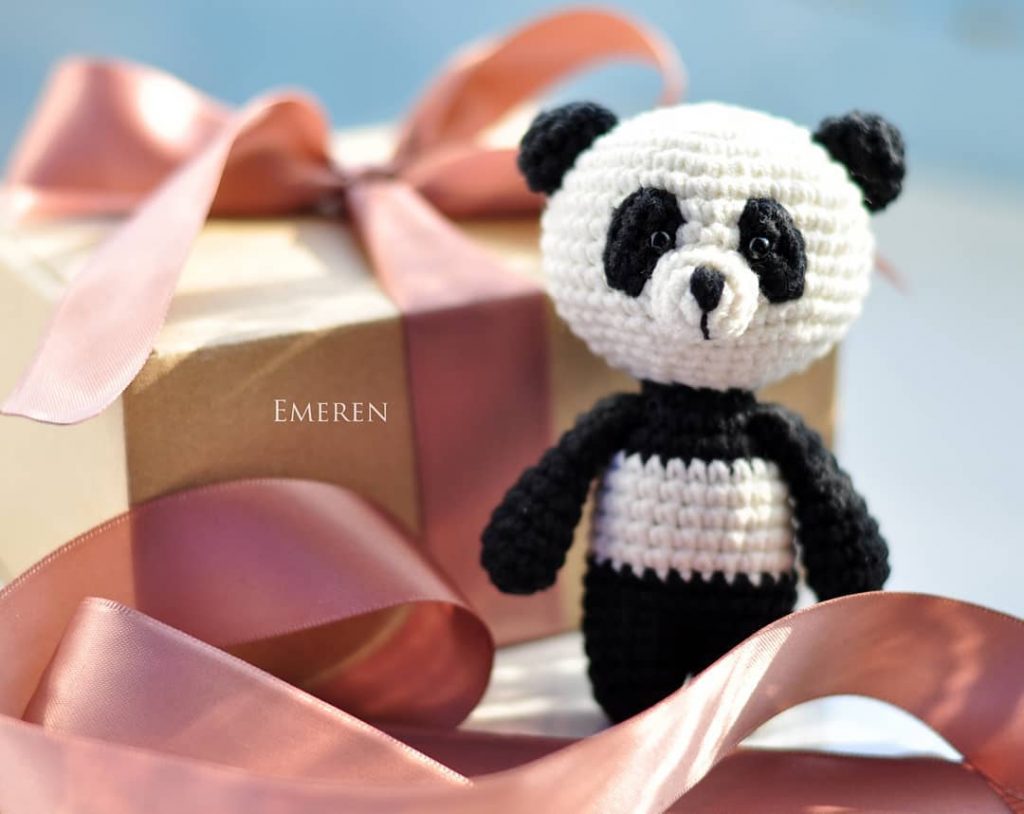
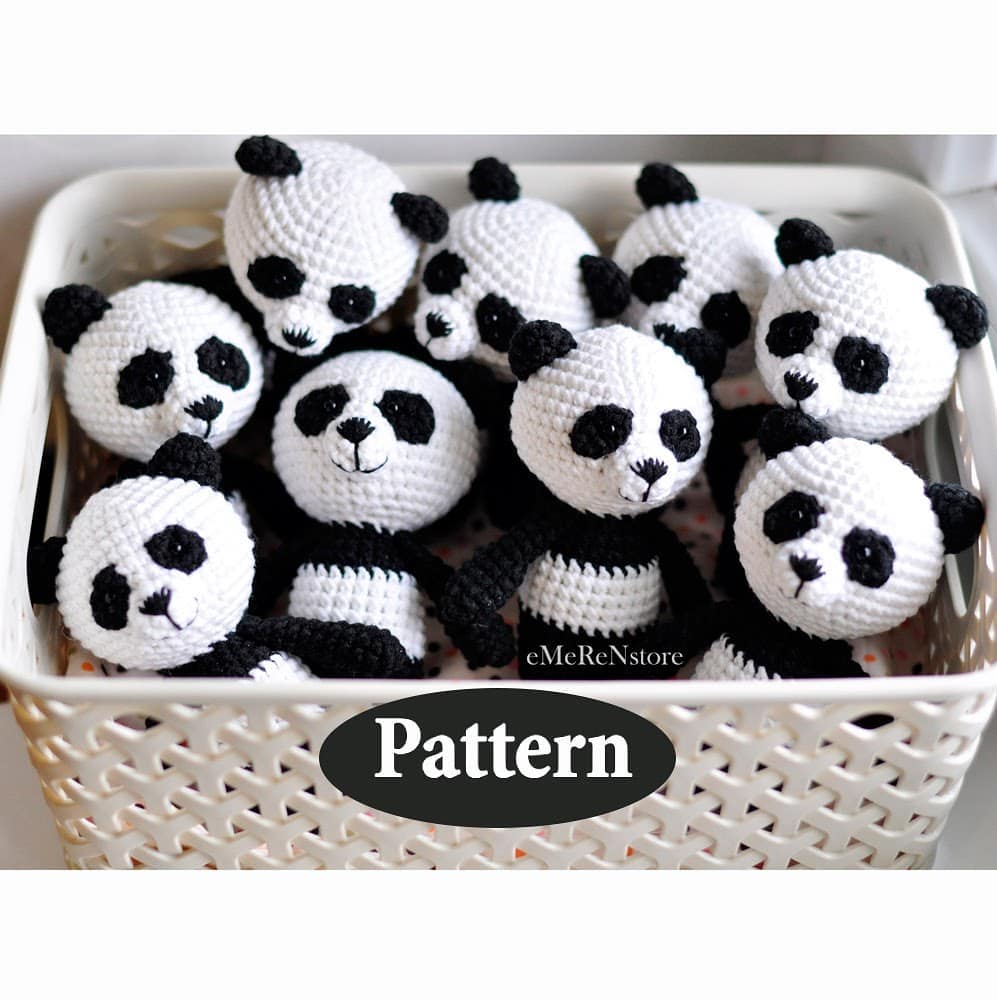
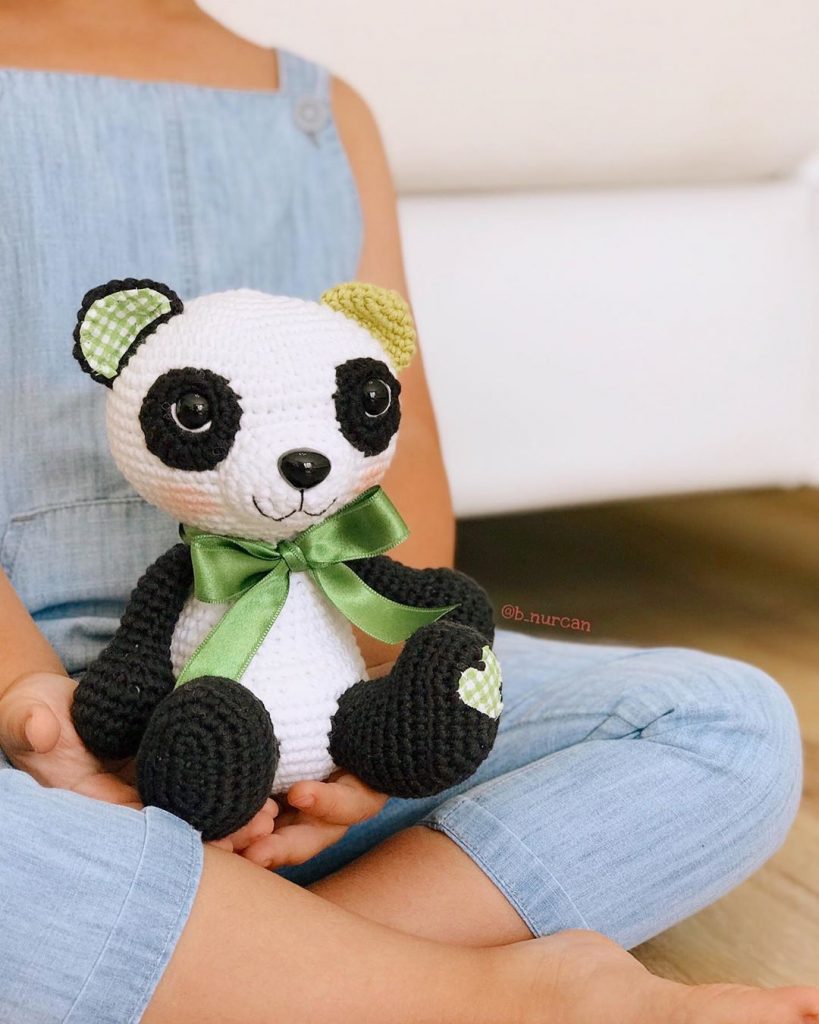
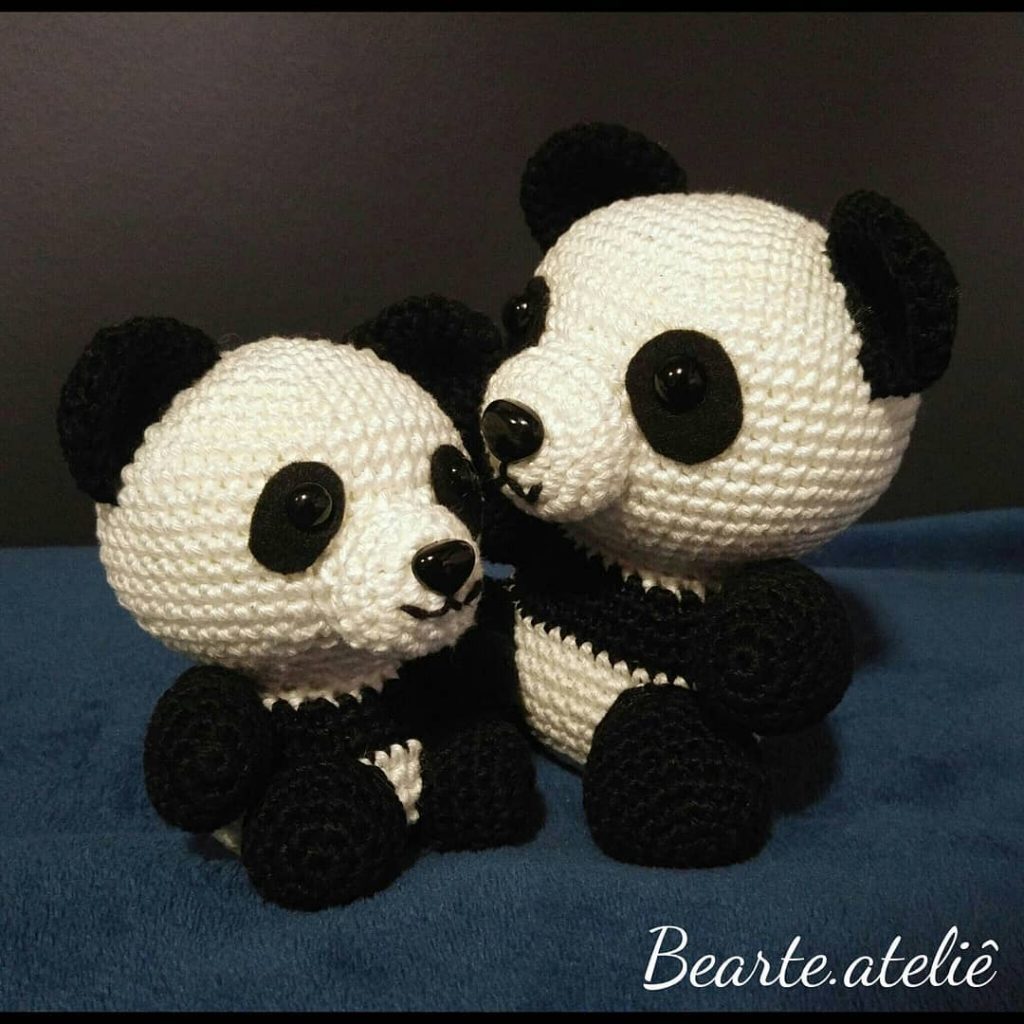
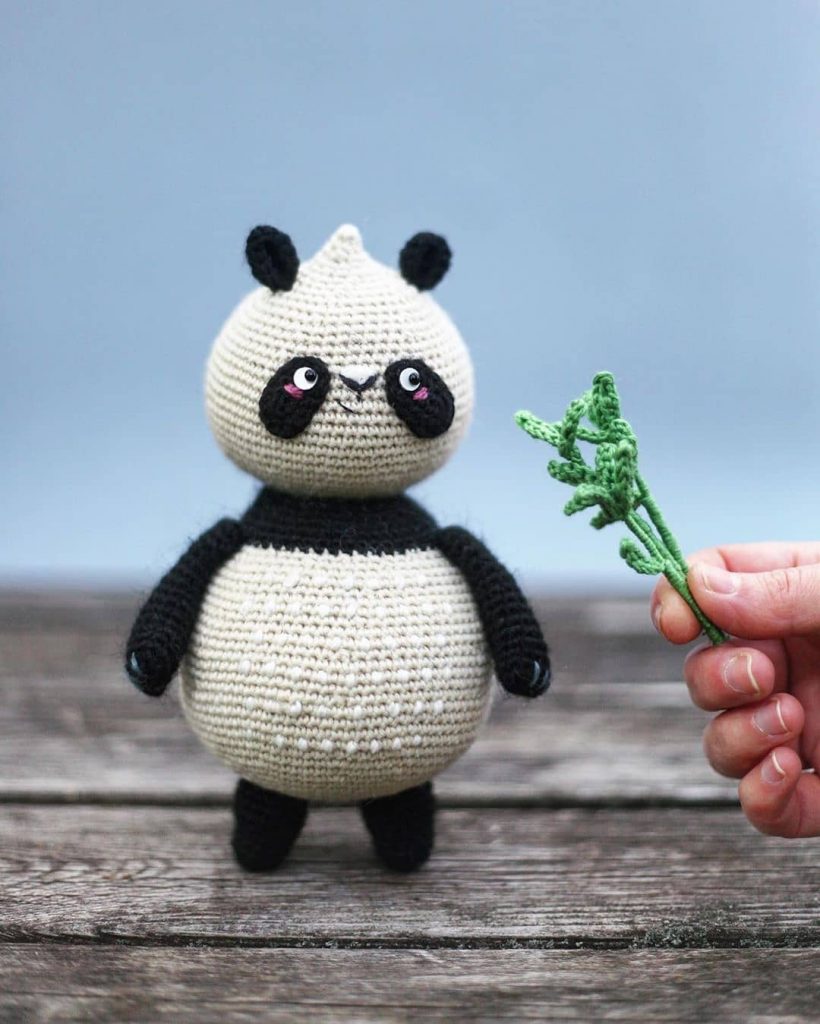
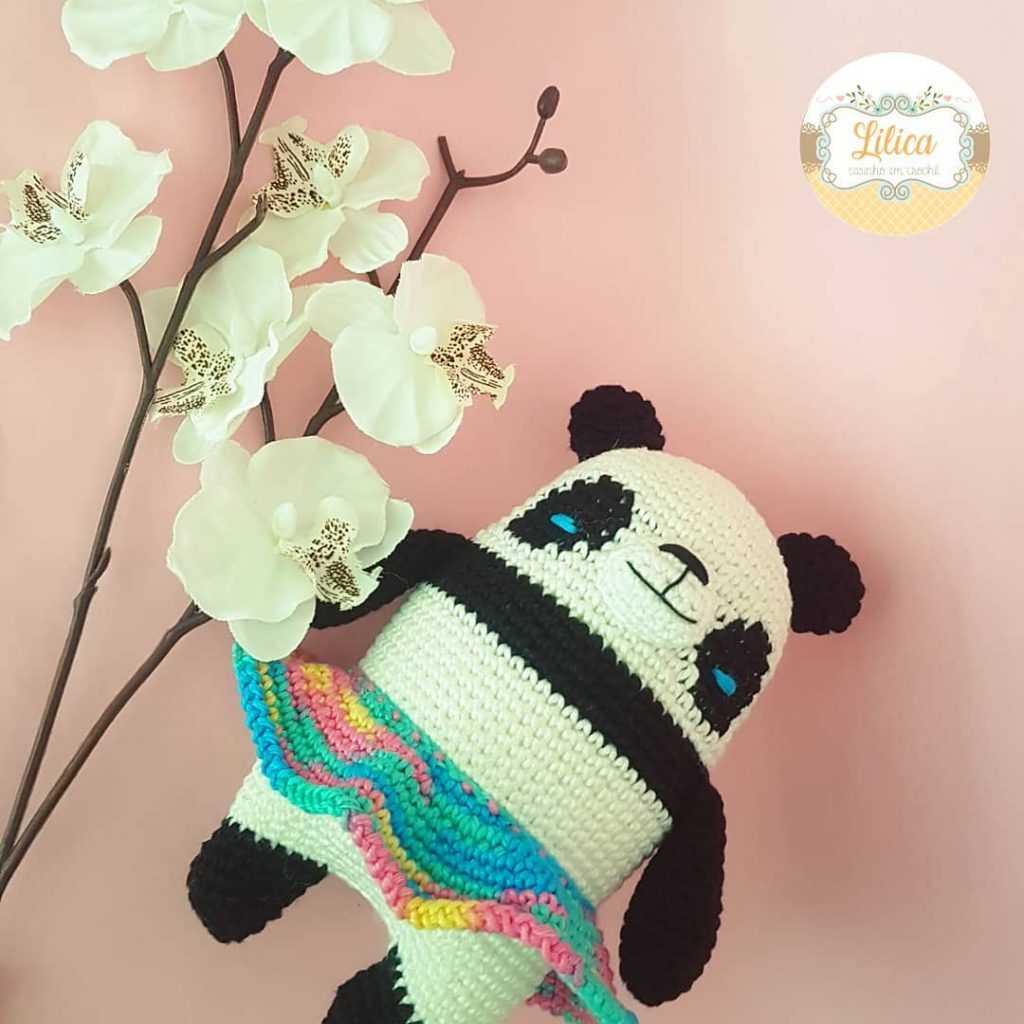
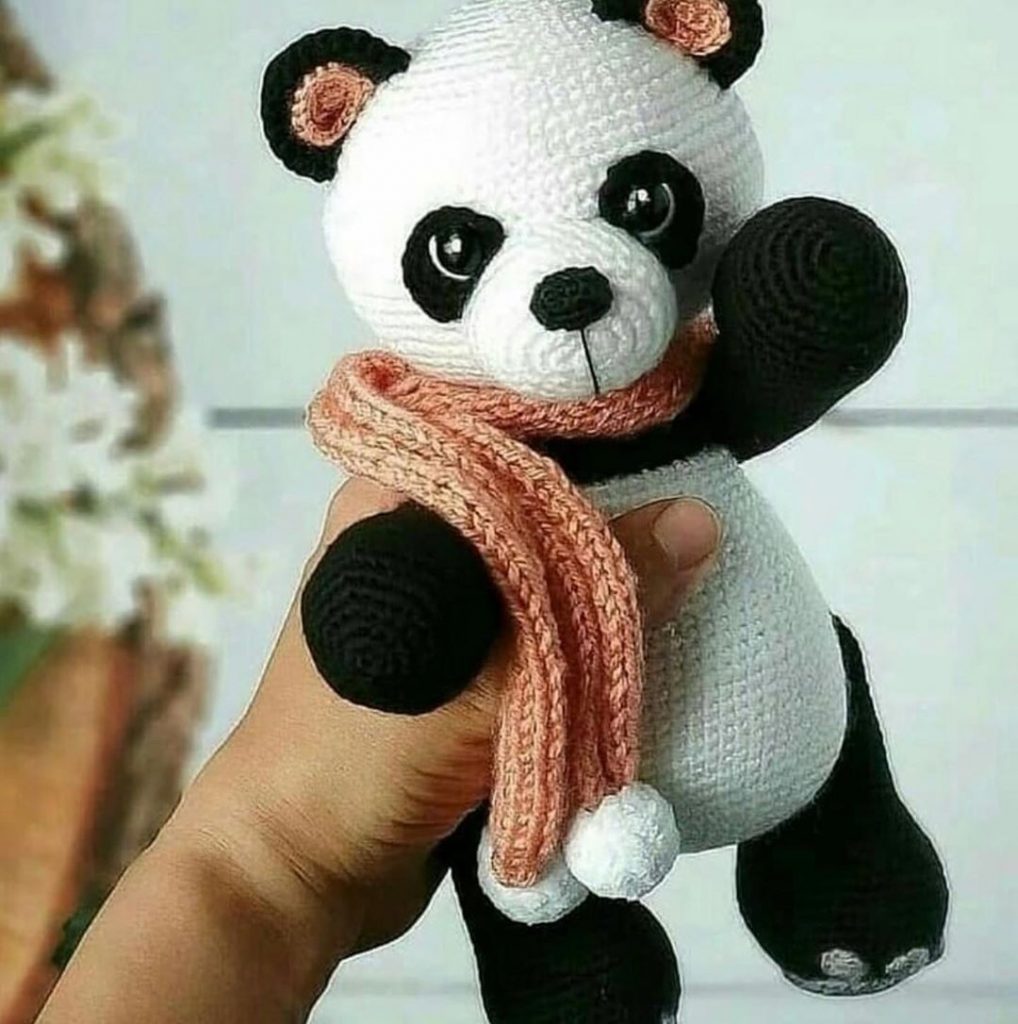
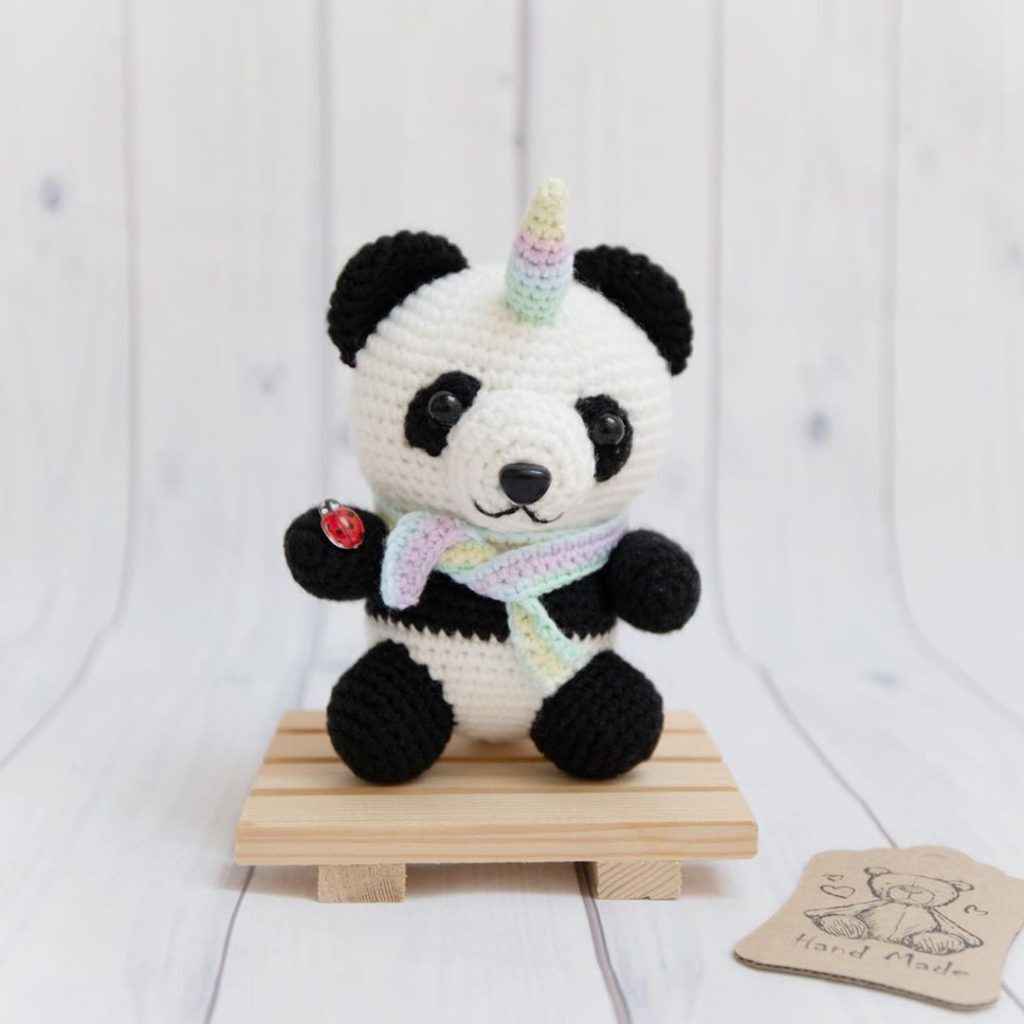
More Amigurumi Panda Ideas: