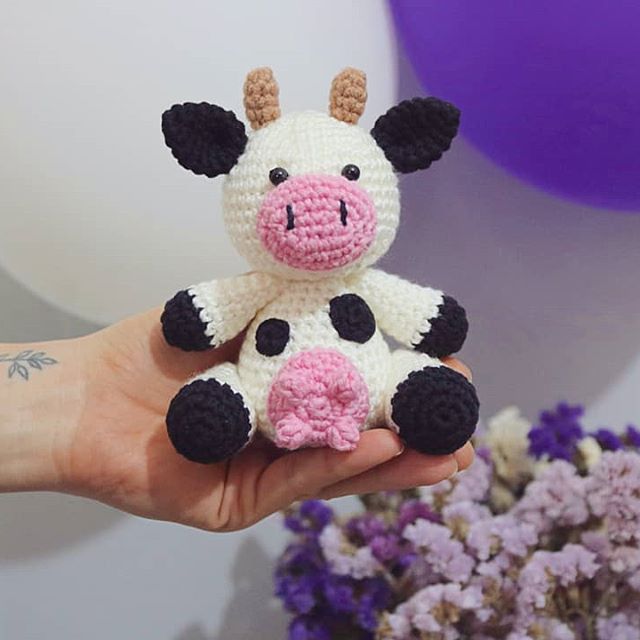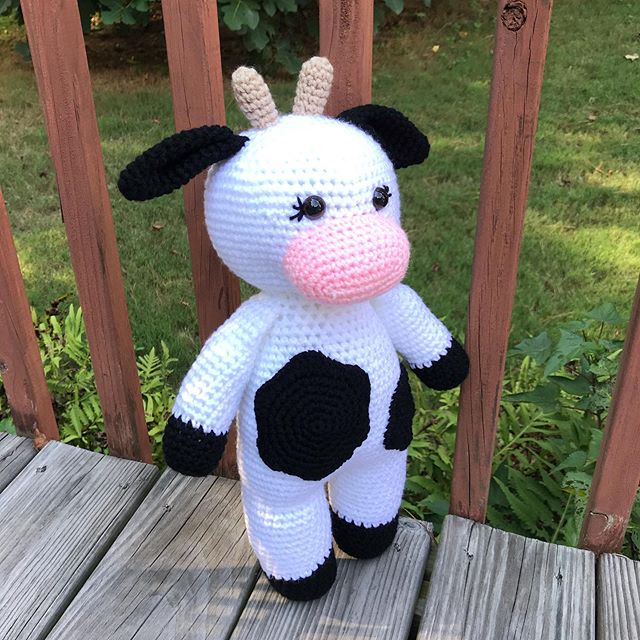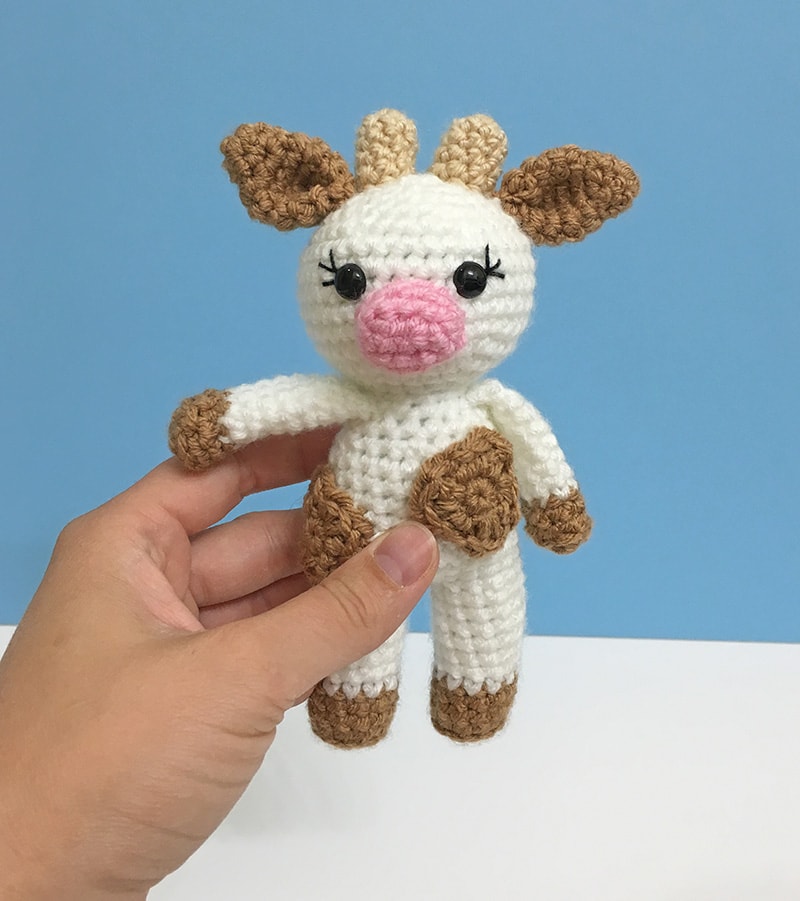
MINI AMIGURUMI COW FREE CROCHET PATTERN
Hello amigurumi lovers and beautiful visitors, I wanted to share the free amigurumi patterns for you here. In my article I will share 1 pattern and how to make it for you. At the end of my article, I will share amigurumi patterns that can generate ideas for you.
Materials
- Size 4 worsted weight yarn (50g of white yarn, small amounts of brown or black, pink for the nose, and beige for the horns)
- 3.5 mm crochet hook (these are my favorites!)
- 9mm safety eyes
- Black crochet/embroidery thread for eyelashes (optional)
- Scissors and tapestry needle
- Stuffing
- Stitch markers (a piece of scrap yarn works great!)
Abbreviations: US terminology
MC- Magic circle
SC- Single crochet
SC INC- Single crochet increase
INV DEC- Invisible decrease
DC- Double crochet
St(s)- Stitch(es)
*Slowly stuff as you go, you want it to be firm but not stretched. You will be working in the round, I like using a stitch marker at the beginning of each round. The legs, body and head are made as one piece.
Nose/Mouth-
This piece is worked crocheting on both sides of the foundation chain to create an oval shape, you will want to keep your chain fairly tight to help avoid the look of ‘holes’, we will also be working in the round
Ch 5
Round 1: SC in the 2nd chain from hook, SC in the next 2 chains, 3SC in the last chain; working down the other side of the foundation chain (see picture for reference), SC in the next 2 chains, complete 2SC in the last chain (which is also the first chain we started with) (10 SC)
Rounds 2-3: SC around (10 SC)
Fasten off leaving a long tail for sewing
Legs –
Make 2 – Using black or brown
Round 1: Create a magic circle with 6 SC
Round 2: SC INC in each st (12 SC)
Round 3: SC in the back loops only (12 SC)
Rounds 4-5: SC around (12 SC) Change to white
Rounds 6-12: SC around (12 SC)
Fasten off (when you finish the 2nd leg do not fasten off, proceed to round 13)
*Round 13 joins the legs together and starts the body, we will not be making a chain to connect the legs.
Round 13: Attach to the first leg with a SC (I like to make sure both color changes are facing the same way, I make this the back of the mini cow). SC around the first leg and then the second leg (24 SC) This completes your join and is where your next round will start, from here we will work the body.
Rounds 14-20 SC around (24 SC)
Round 21: SC in the first 2 sts, INV DEC in the next, repeat around (18 SC)
Round 22: SC around (18 SC)
Round 23: SC in the first stitch, INV DEC in the next, repeat around (12 SC)
Round 24: SC around (12 SC)
*Here is where we will start the head*
Round 25: SC in the first st, SC INC in the next, repeat around (18 SC)
Round 26: SC in the first 2 sts, SC INC in the next, repeat around (24 SC)
Round 27: SC in the first 3 sts, SC INC in the next, repeat around (30 SC)
Round 28: SC in the first 4 sts, SC INC in the next, repeat around (36 SC)
Rounds 29-33: SC around (36 SC)
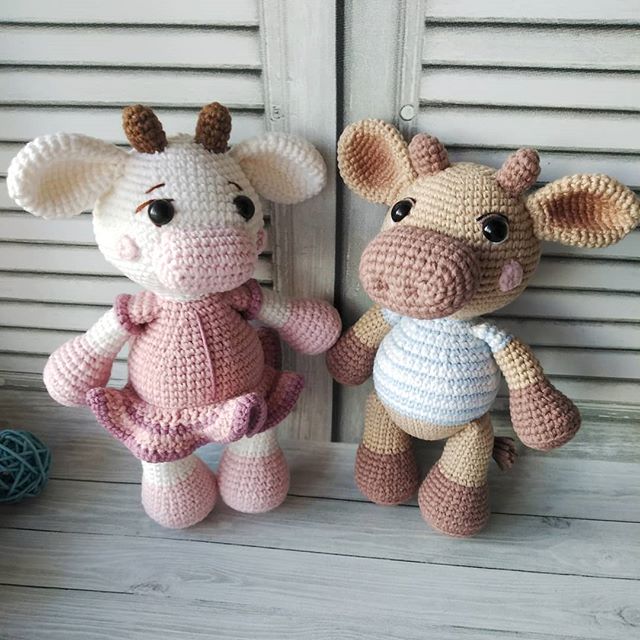
NOTE: Here is where we will attach the facial features. Place the safety eyes 4 stitches apart between rounds 31-32. (For the girl version, I recommend sewing on the eyelashes before securing your safety eyes). Sew the nose piece centered between the eyes.
Round 34: SC in the first 4 sts, INV DEC in the next, repeat around (30 SC)
Round 35: SC in the first 3 sts, INV DEC in the next, repeat around (24 SC)
*Continue to stuff the head and neck firmly
Round 36: SC in the first 2 sts, INV DEC in the next, repeat around (18 SC)
Round 37: SC in the first stitch, INV DEC in the next, repeat around (12 SC)
Round 38: INV DEC around (6 SC)
Fasten off and sew remaining part closed, weave in your end
Ears
Make 2
With black or brown
Round 1: Create a magic circle with 7 SC
Rounds 2-3: SC around (7 SC)
Round 4: SC INC in each stitch around (14 SC)
Rounds 5-7: SC around (14 SC)
Fasten off leaving a long tail for sewing, fold ear in half and sew across to close the ear as pictured.
Horns
Make 2
With beige
Round 1: Create a magic circle with 8 SC
Rounds 2-5: SC around (8 SC)
Fasten off leaving a long tail for sewing
Arms
Make 2 stuffing lightly at the bottom
With black or brown
Round 1: Create a magic circle with 6 SC
Round 2: SC in the first st, SC INC in the next, repeat around (9 SC)
Round 3: SC in the back loops only (9 SC)
Round 4: SC around (9 SC) Change to white
Rounds 5-11: SC around (9 SC)
At the end of round 11 pinch the arm flat and make 4 SC across the top to close, fasten off and leave a long tail to sew onto the body.
Spots
Make 3
Round 1: Create a magic circle with 6 SC, join with a slip stitch to the first SC, ch 1
Round 2: *2 DC in the same stitch, ch1, 2 SC in the next stitch*, repeat 2 more times, join with a slip stitch to the first SC (12 SC)
Fasten off leaving a long tail for sewing
Attaching everything together-
– Sew the arms onto the body centered with the head at round 23
– Sew the ears onto the head at round 4 on each side
– Next, sew the horns evenly spaced between the ears
– Lastly, sew your spots onto the body (I placed two on the front and one on the back)
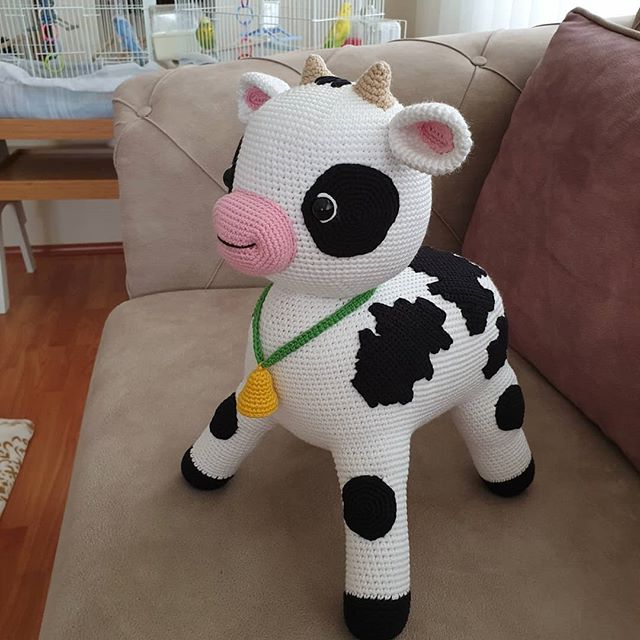
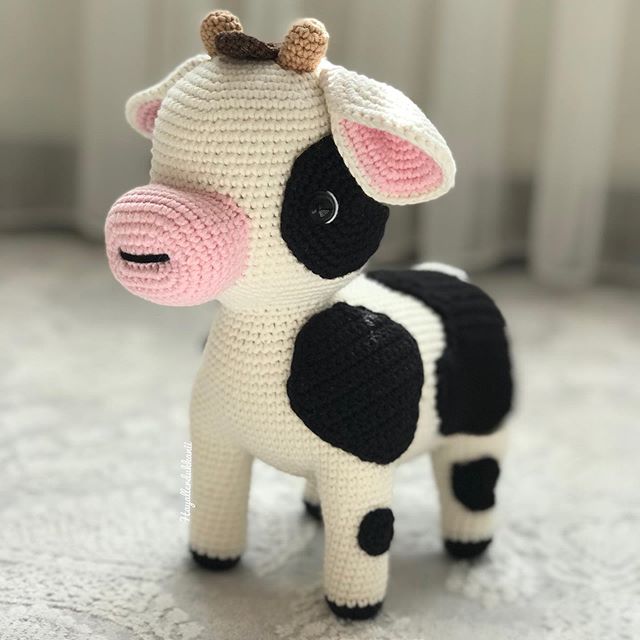
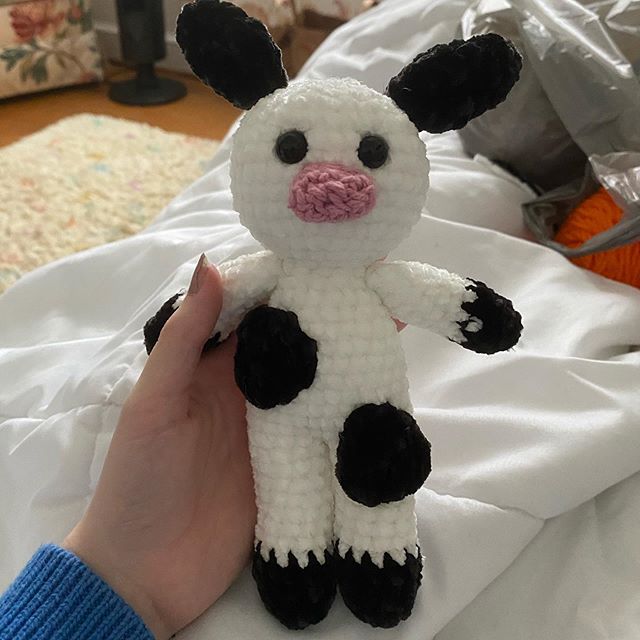
Your mini cow is complete! I hope you have enjoyed making this pattern.
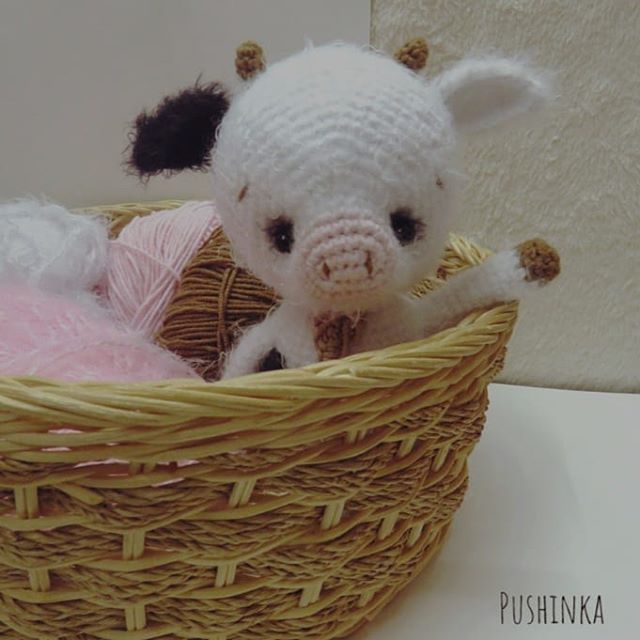
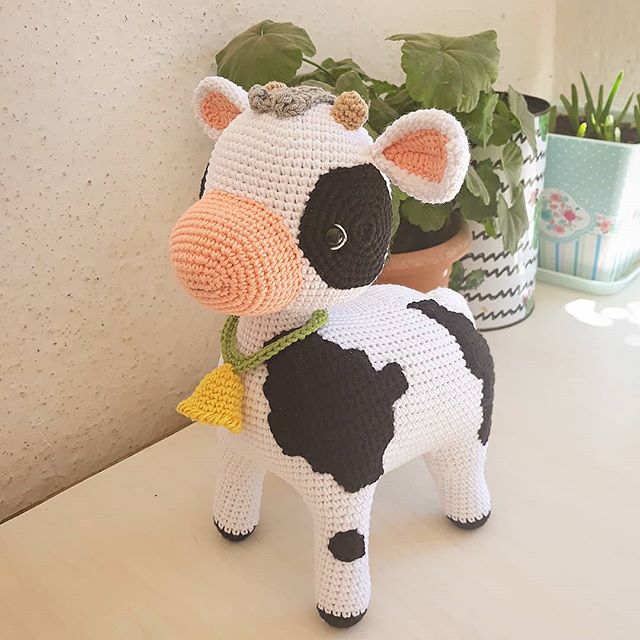
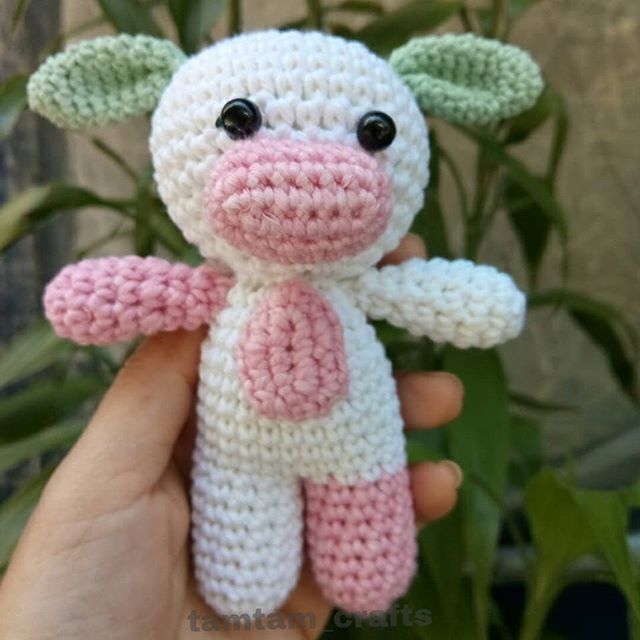
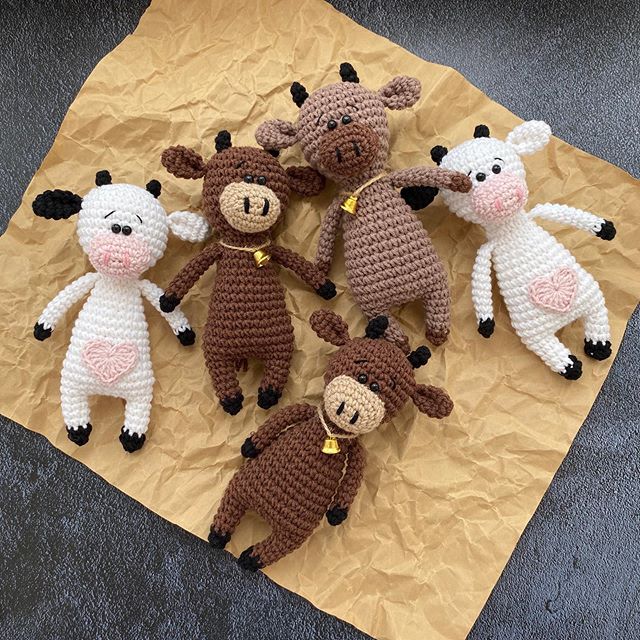
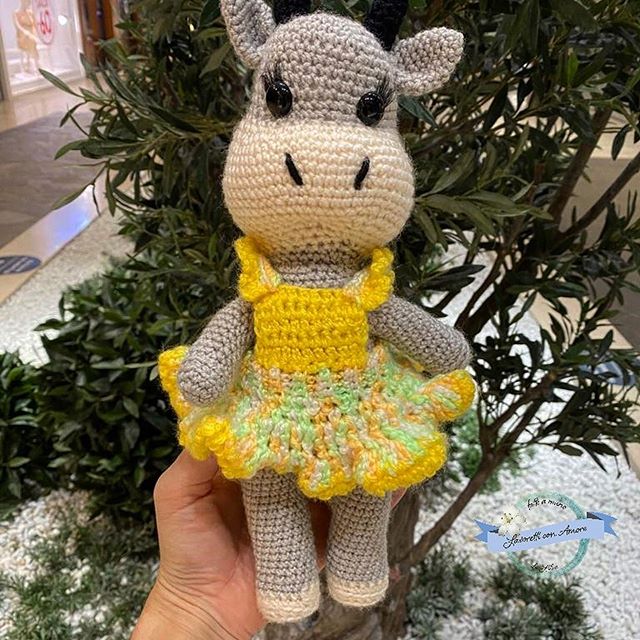
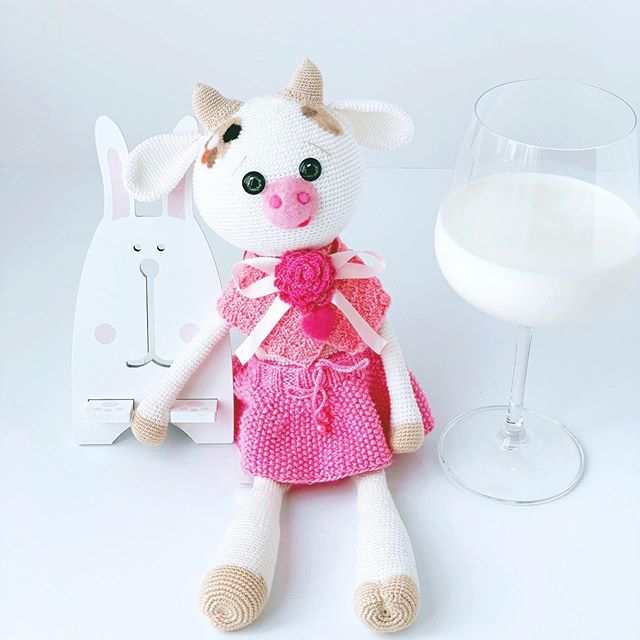
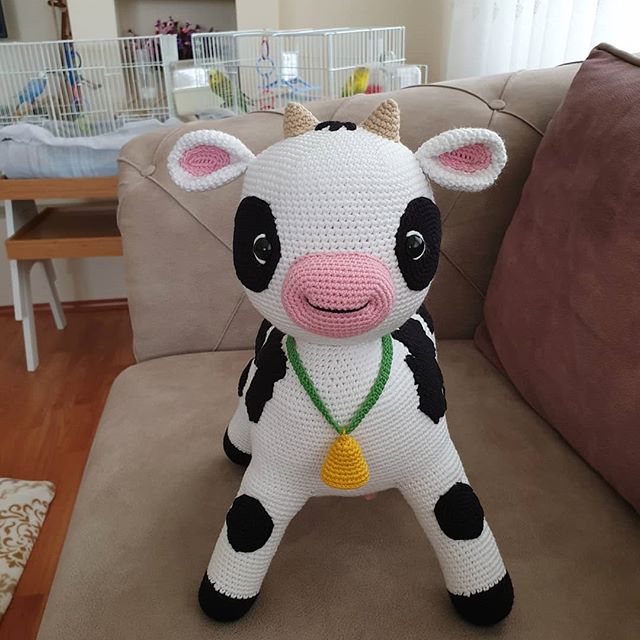
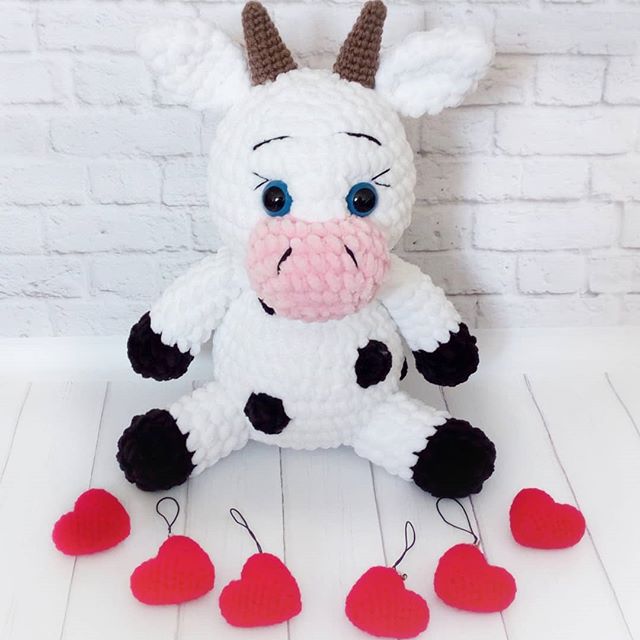
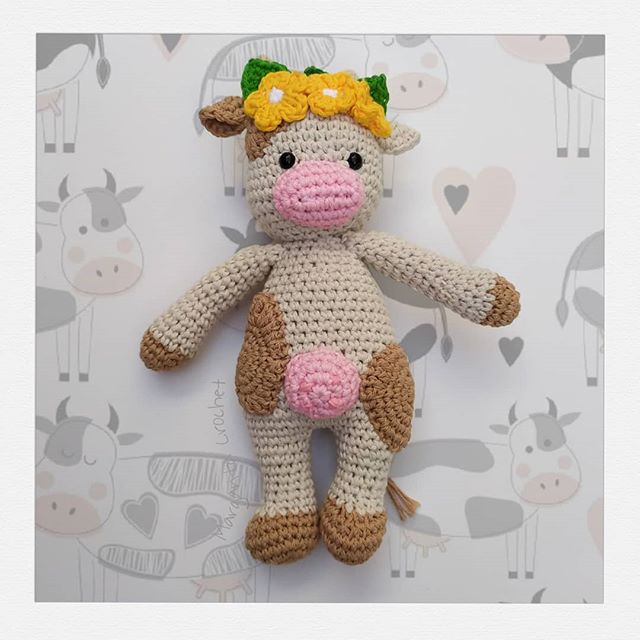
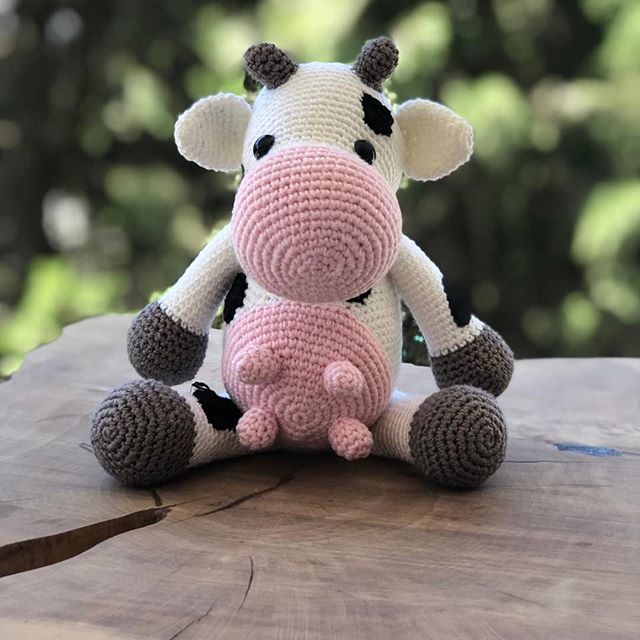
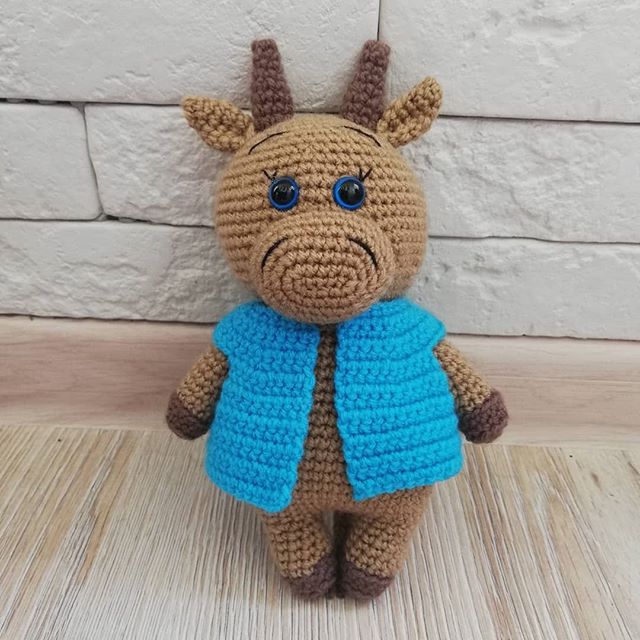
More Amigurumi Cow İdeas