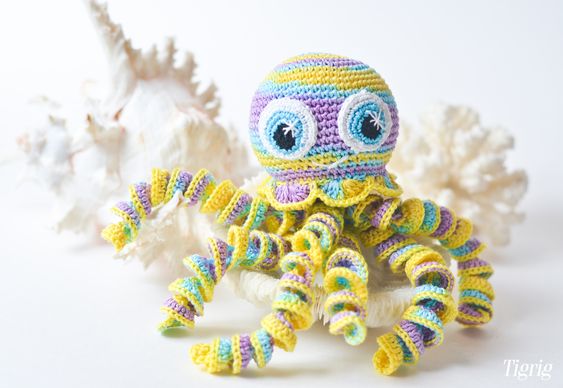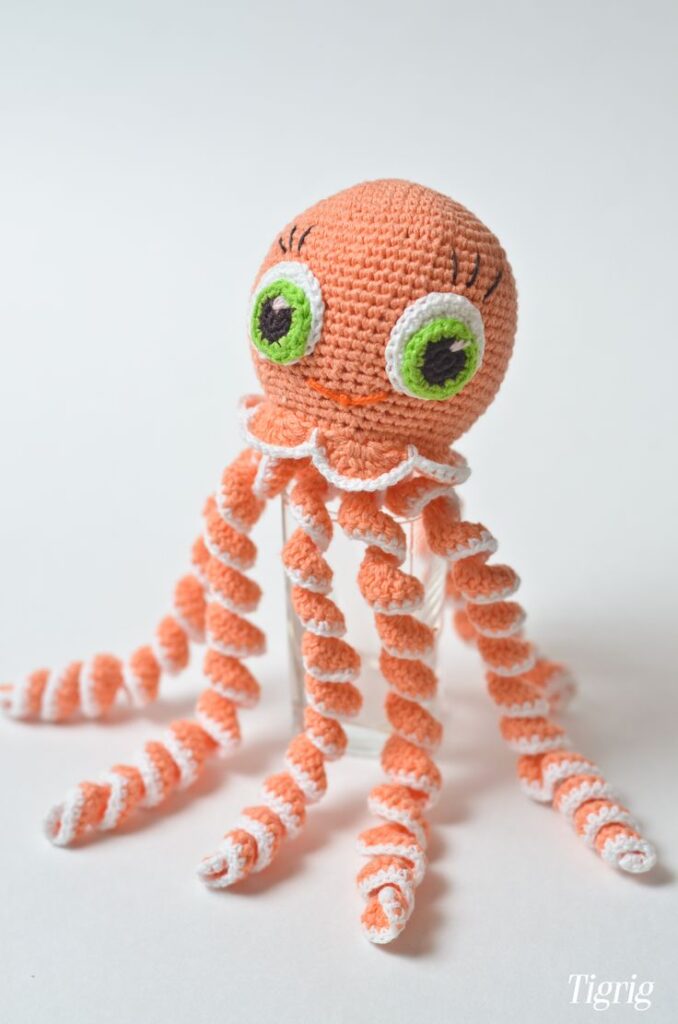
Jellyfish Amigurumi Crochet Pattern
Hello amigurumi lovers and beautiful visitors, I wanted to share the free amigurumi patterns for you here. In my article I will share 1 pattern and how to make it for you. At the end of my article, I will share amigurumi patterns that can generate ideas for you.
Materials
- hook 4 mm;
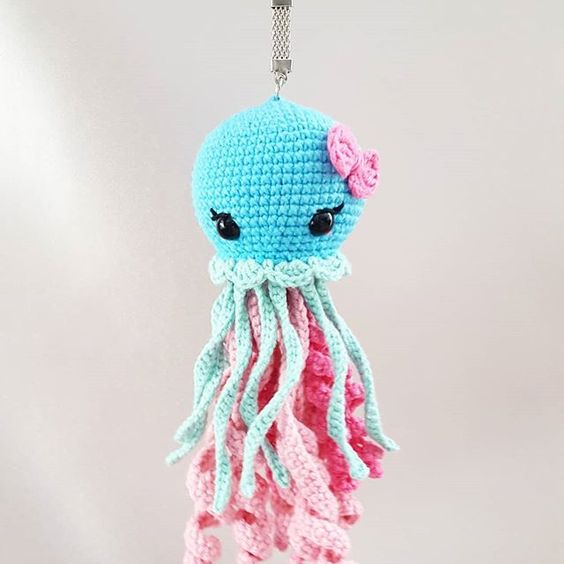
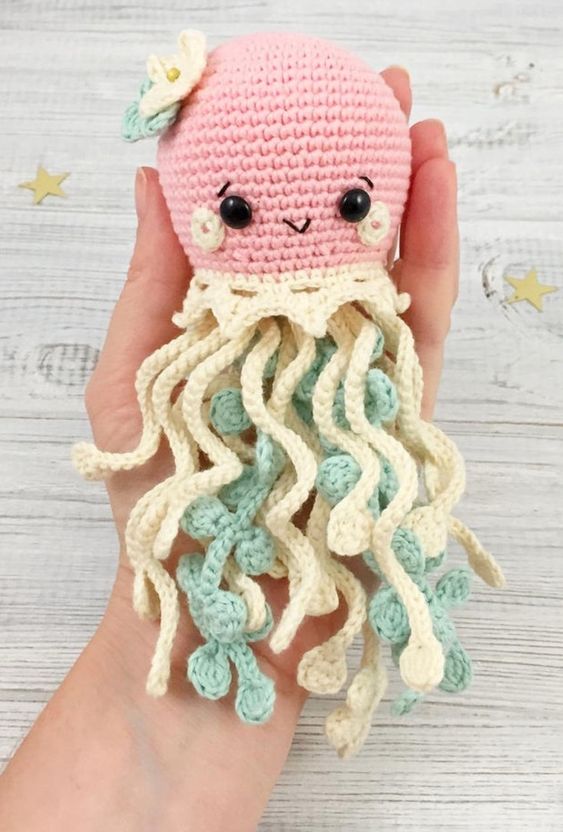
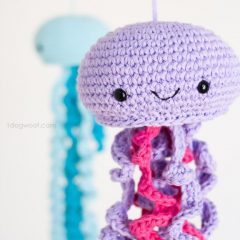
- cotton yarn: main color – 2 skeins, second color – 1 skein. For blue jellyfish, two shades of blue were used, for purple jellyfish – light purple and pink;
- safe eyes 9 mm;
- threads of the mulina are black;
- scissors;
- polystyrene filler.
Note: the author used a 4 mm hook to knit the head, for the tentacles used a 4 mm hook ( for blue jellyfish ) and 5 mm ( for purple ).
Symbols
connection art. – connecting column
vp — air loop
Satn – table without cape
psn – half-column
ssn – table with nakid
* * – the retractor section is highlighted with asterisks
Head / Face
Row 1: Tie 8 Satins into the Amiugurumi Ring. Soyed. Art. Sat ( 8 )
Row 2: 1 vp, 2 Sat in each. Sat to the end of the row. Soyed. Art. Sat ( 16 )
Row 3: 1 vp, * 1 Sat next. Satn, increase * repeat to the end of the row. Soyed. Art. Sat ( 24 )
Row 4: 1 vp, * 1 Sat in each. from the next. 2 Sat, increase * repeat to the end of the row. Soyed. Art. Sat (32 )
Row 5: 1 vp, * 1 Sat in each. from the trace. 3 Sat, increase * repeat to the end of the row. Soyed. Art. Sat (40 )
Row 6: 1 vp, * 1 Sat in each. from the trace. 4 Sat, increase * repeat to the end of the row. Soyed. Art. Sat (48 )
Rows 7-8: 1 vp, 1 Sat in each. Sat to the end of the row. Soyed. Art. Sat ( 48 )
Row 9: 1 vp, * 1 Sat in each. from the trace. 5 Sat, increase * repeat to the end of the row. Soyed. Art. Sat (56 )
Rows 10-14: 1 vp, 1 Sat in each. Sat to the end of the row. Soyed. Art. Sat ( 56 )
Row 15: 1 vp, * 1 sbn in cajd. from the next. 2 sbn, decrease, 1 sbn in the next. Satn, decrease * repeat until the end of the row. Soyed. Art. Sat ( 40 )
Fasten the thread and hide the ends.
Lower jellyfish
Row 1: 1 vp, 8 sbn in the ring of amiugurumi. Soyed. Art. Sat ( 8 )
Row 2: 1 vp, 2 Sat in each. Sat to the end of the row. Soyed. Art. Sat ( 16 )
Row 3: 1 vp, * 1 Sat next. Satn, increase * repeat to the end of the row. Soyed. Art. Sat ( 24 )
Row 4: 1 vp, * 1 Sat in each. from the next. 2 Sat, increase * repeat to the end of the row. Soyed. Art. Sat (32 )
Row 5: 1 vp, * 1 ss in each. from the trace. 3 abn, increase * repeat to the end of the row. Soyed. Art. Sat (40 )
Fasten the thread, but leave a long enough end to execute the connection row of the Sat in the circle (about 60 cm ).
Dumbass
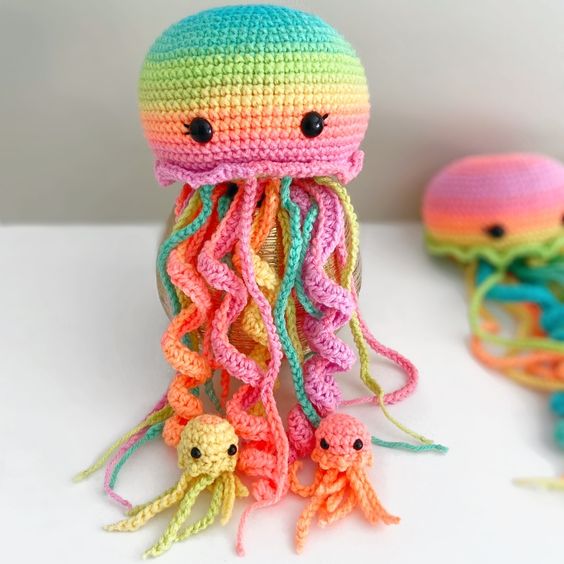
According to the author, tentacles in the technique of freemasons are best obtained. They all differ, but you can use one principle to make them similar. You can bind the sample from this description of the amigurumi jellyfish to understand how each type of curl will look. In addition, you can change the hook number to get a different result. For blue jellyfish, the author used a hook of 4 mm, and for purple — 5 mm. Each jellyfish has 8 tentacles, different widths and lengths.
Type a chain of 30, 40, 50, 60 or even 70 pack.
Link 2 ( or 3 ) Sat to each loop of the chain OR tie 2 ( or 3 ) psn to each loop of the chain. If you knit the Sat, then start with the 2nd loop from the hook. If you knit a psn, then start with the 3rd loop from the hook.
Choose your knitting method. Continue to knit sbn or psn, 2 or 3 each. loop to the end of the chain, fix the thread, leaving the end.
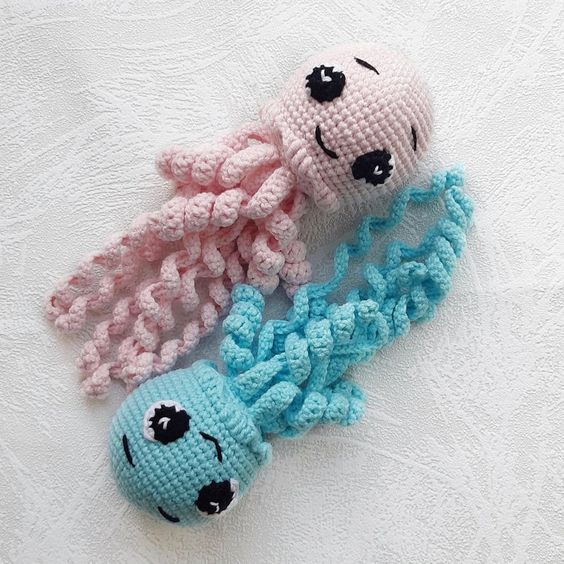
If you adhere to one principle of knitting ( Satn or Psn ) on a sufficiently long stretch, then you get the correct curl, then you can change the technique and get another type of curl. Do not change the type of column too often. You can give the curls the correct shape or leave them disordered as you like best!
Assembly
Step 1: Attach safe eyes between rows 12 and 13 at a distance of 8 Sat between them.
Step 2: Use mulina to embroider the mouth.
Step 3: Attach the tentacles to the bottom of the jellyfish, threading both ends of the threads through the holes between the columns and tying the double knot. The ends will be hidden inside the filled head of the jellyfish.
Step 4: Combine the edges of the bottom of the jellyfish and its head. Connect the parts by tying them around the edge through all 4 walls of the ( hinges and the bottom panel ) with columns without a cape.
Step 5: When you finish almost to the end, fill your head, then continue to knit the Satn to close the hole. Tie the connection. Art. in the first Sat. Fasten the thread and hide the ends.
Feel free to tag me (@freeamigurumii) in your photos on Instagram or Facebook if you’d like!
All Finished.