Dinosaur Amigurumi Crochet Pattern
Hello amigurumi lovers and beautiful visitors, I wanted to share the free amigurumi patterns for you here. In my article I will share 1 pattern and how to make it for you. At the end of my article, I will share amigurumi patterns that can generate ideas for you.
Materials:
- green yarn (weight classification No. 3);
- dark green yarn (for the mouth);
- white felt;
- brown felt;
- black felt;
- dark green felt;
- filler;
- needle;
- scissors;
- glue;
- hook 2.75 mm;
- tweezers (optional)
Body
We knit the tail, body and neck of Arlo with one cloth. The scheme starts from the tail.
R 1: Knit a magic ring of 5 sc
R 2: 5 sc (5)
R 3: 2 sc in the first loop, 3 sc, 2 sc in the last loop (7)
R 4: 2 sc in the first loop, 5 sc, 2 Sc in the last stitch (9)
R 5: 2 Sc in the first stitch, 7 Sc, 2 Sc in the last stitch (11)
R 6: 11 Sc in the last stitch (11)
R 7: 2 Sc in the first stitch, 3 Sc, 2 Sc in next loop, sc, 2 sc in the next loop, 3 sc, 2 sc in the last loop (15)
R 8: * 2 sc, 2 sc in the next loop * – 5 times (20)
R 9: 20 sc (20)
R 10: *3 sc, 2 sc in next st* 5 times (25)
P 11-12: 25 RLS (25)
P 13 : * 3 RLS, decrease 1 RLS * – 5 times (20)
R 14: 5 RLS, 10 PSN, 5 RLS (20)
R 15: 3 half-columns without a crochet, 2 PSN, 10 CH, 2 PSN, 3 half-columns without a crochet (20)
Now we will fill the body with filler. Next, we will take the neck, filling the amigurumi as we knit
R 16-18: repeat R15
R 19: * 2 RLS, decrease 1 RLS * – 5 times (15)
R 20-23: 15 RLS (15)
R 24: * 3 RLS , decrease 1 RLS * – 3 times (12)
R 25-30: 12 RLS (12)
We fix the thread, leaving a long tail to attach the head later.
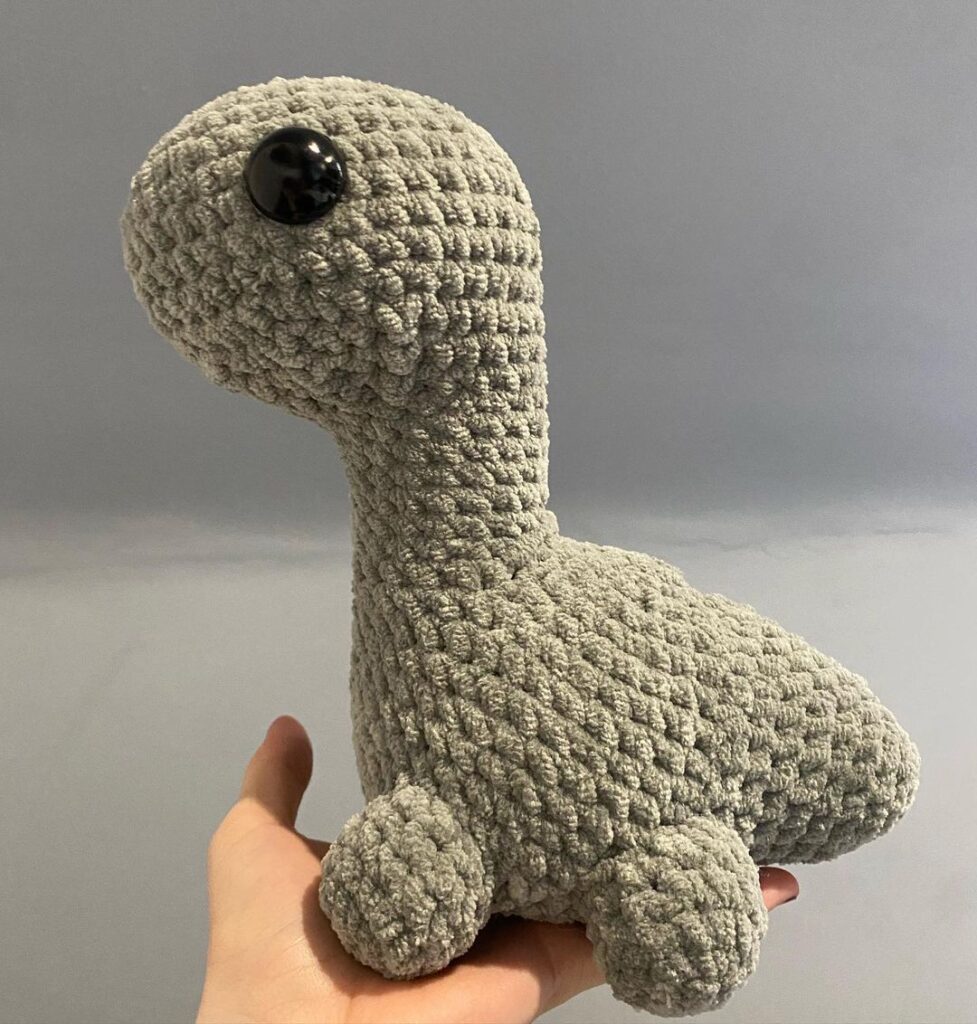
Arlo’s body will look like this when you’re done. The neck should look bigger, because. More rows have been added to the chart.
Front Legs (do 2)
R 1: Knit a magic ring of 6 sc
R 2: 2 sc in each loop (12)
R 3: *sc, 2 sc in the next loop * – 6 times (18)
R 4: 18 sc ( 18)
R 5: * RLS, decrease 1 RLS * – 6 times (12)
R 6: * 2 RLS, decrease 1 RLS * – 3 times (9)
Fill the feet. I did not fill in the rest of the leg so that Arlo’s legs looked long and thin
R 7-11: 9 sc (9)
R 12 : *sc, decrease 1 sc* – 3 times (6)
Fasten the thread, leaving a long tail for sewing to the body.
Hınd Legs (do 2)
R 1: Knit a magic ring of 6 sc (6)
R 2: 2 sc in each loop (12)
R 3: *sc, 2 sc in the next loop * – 6 times (18)
R 4: 18 RLS (18)
R 5: * RLS, decrease 1 RLS * – 6 times (12)
R 6: * 2 RLS, decrease 1 RLS * – 3 times (9)
We fill the feet.
R 7-10: 9 RLS (9)
R 11 : * RLS, decrease 1 RLS * – 3 times (6)
Fasten the thread, leaving a long tail for sewing to the body.
Head
Initial chain of 7 VP
R 1: In the 2nd loop from the hook 4 sc for the back loops. 4 sc in next st. Turn over and knit 4 sc in the front loops. 4 sc in the last loop (16)
R 2: * 3 sc, 2 sc in the next loop * – 4 times (20)
R 3-5: 20 sc (20)
R 6: 2 sc in the first loop, 2 sc, decrease 1 RLS, 16 RLS (22)
R 7-8: 22 RLS (22)
R 9: Decrease 1 RLS, 2 RLS, decrease 1 RLS, 16 RLS (20)
R 10: 20 RLS (20)
R 11 : * 2 RLS, decrease 1 RLS * – 5 times (15)
P 12: PSN, 3 CH, PSN, 10 RLS (15)
R 13: 2 PSN in the first loop, 2 PSN, 2 PSN in the next loop, PSN, 10 RLS ( 19)
R 14: 18 PRS, 2 PRS in the last loop (20)
We fill the head
P 15: * 2 PRS, decrease 1 PRS * – 5 times (15)
P 16: * PRS, decrease 1 PRS * – repeat to the end of the row (10)
We finish the head filler
R 17: Decrease RLS – 5 times (5)
Fasten the thread
[adrotate group = “5”]
Assembling arlo
Sew the legs to the body.
Embroider the mouth with dark green yarn.
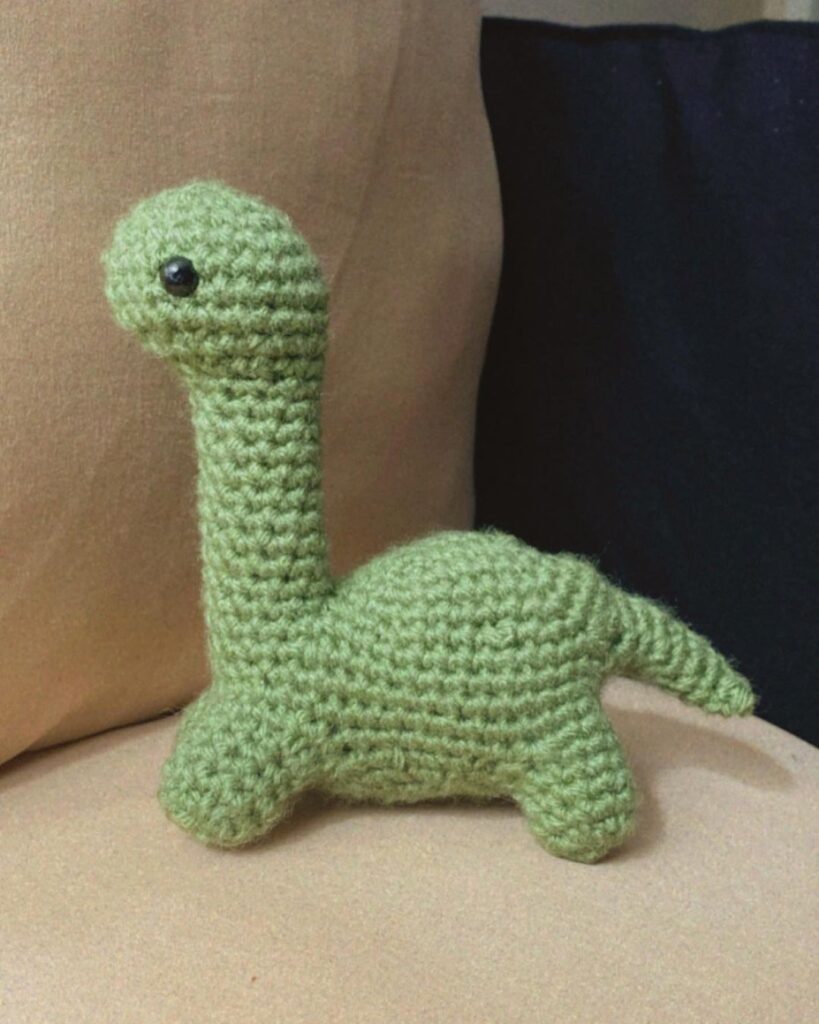
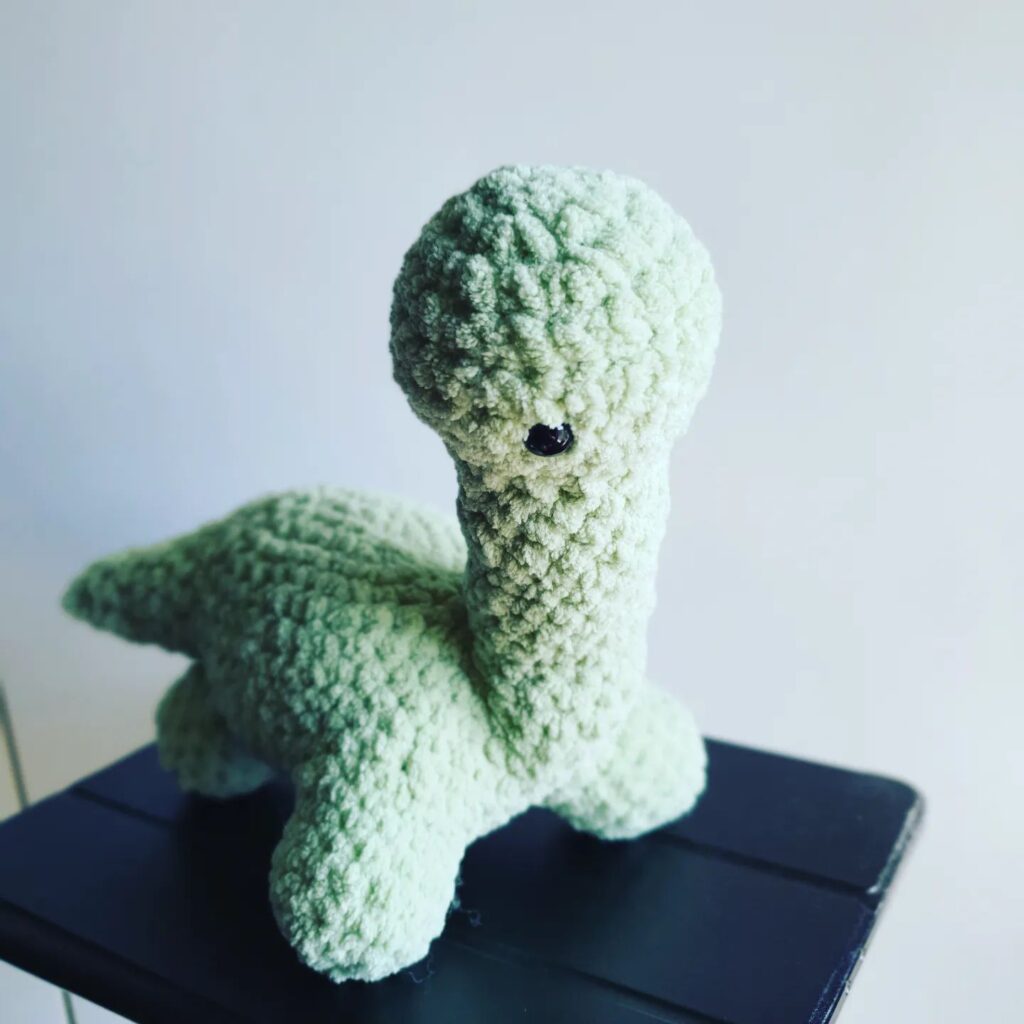
Attach Arlo’s head to the body. I sewed it at an angle – I thought that it looks more characteristic this way. Now Arlo will look something like this:
Cut out the following pieces of felt
Glue different pieces of felt to Arlo. Since the pieces are quite small, you can help yourself with tweezers.
Feel free to tag me (@freeamigurumii) in your photos on Instagram or Facebook if you’d like!
All Finished.