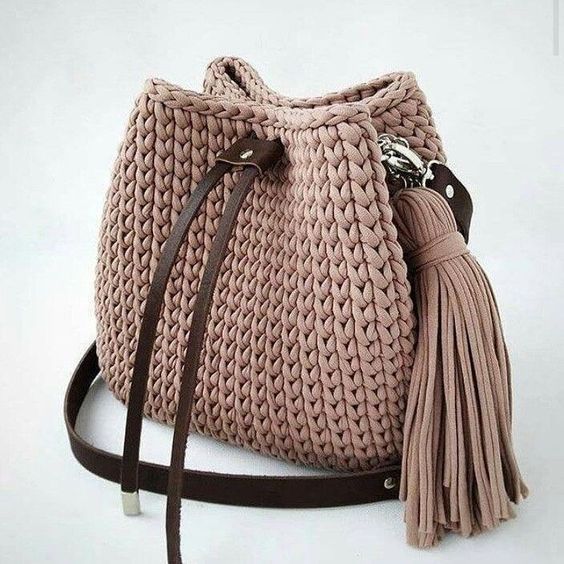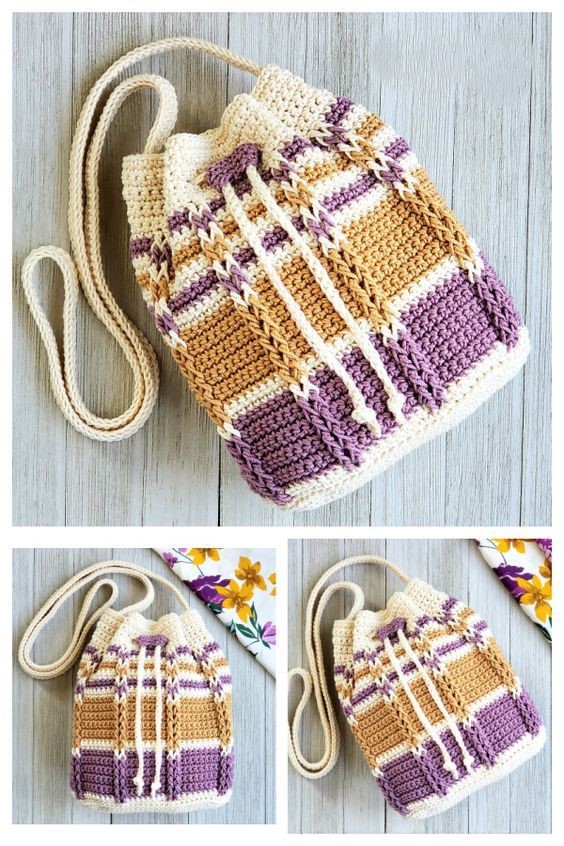
Crochet Bag Free Pattern
Hello amigurumi lovers and beautiful visitors, I wanted to share the free amigurumi patterns for you here. In my article I will share 1 pattern and how to make it for you. At the end of my article, I will share amigurumi patterns that can generate ideas for you.
Symbols:
vp — air loop
Satn — table without cape
ssn — table with nakid
connection. Art — connecting column
Step 1: The Basis of the Bag
Start working with 8 + 1 columns to get a width of 11 cm. Then turn and knit the Sat until you get a rectangle of the desired size. We recommend not making the bag too large, but stick to approximately this size: 11 x 25 cm
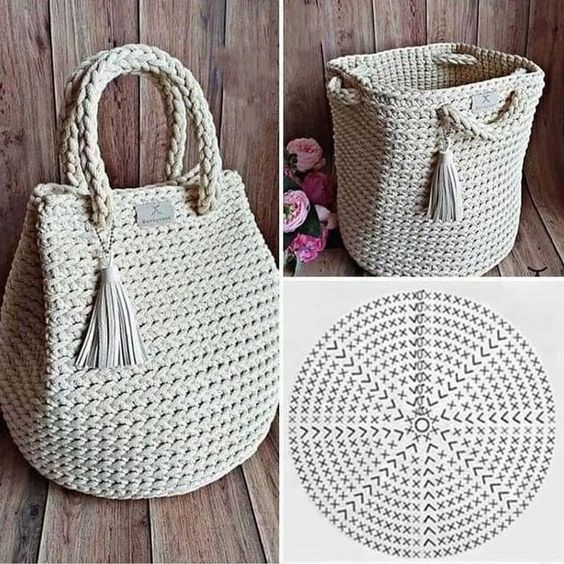
Row 1: Start knitting the Sat in a circle, adding 1 Sat in each of 4 angles. ( to add, connect two Satins to each corner column )
Rows 2-18: Continue knitting in a circle, in a spiral, until you reach the desired height of the bag.
Step 2: Combine the corners of the bag
Mark the 4 angles of the bag ( check the number of columns on each side of the bag ) in contrasting with the hook.
Enter the hook in the 2nd corner on the left ( left side of the bag ) and tie them together with 2 Sat. Do not knit tight! Next, knit the Satn to 2 corners of the bag on the right, repeating the — process, connect the two sides of the bag, injecting the hook into both corners and tying 2 Sat. Link to the left corner and complete the row. Complete the neighbor next to. Art.
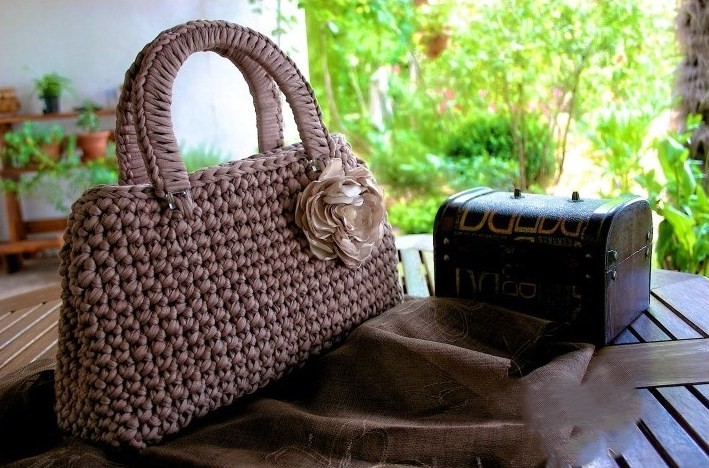
Step 3: Pens
Attach the pens to the bag, sewing them to the knitted canvas of the so-called « running seam ». Wrap the yarn pens and fasten it with your hips. Art. Keep wrapping ( from left to right and from right to left ) and tie the soy. Art. until you cover the pens completely. Fasten the thread and hide the ends of the threads in the knitted canvas.
For the work to look complete, make a simple lining and sew it manually into your knitted bag.
Feel free to tag me (@freeamigurumii) in your photos on Instagram or Facebook if you’d like!
All Finished.