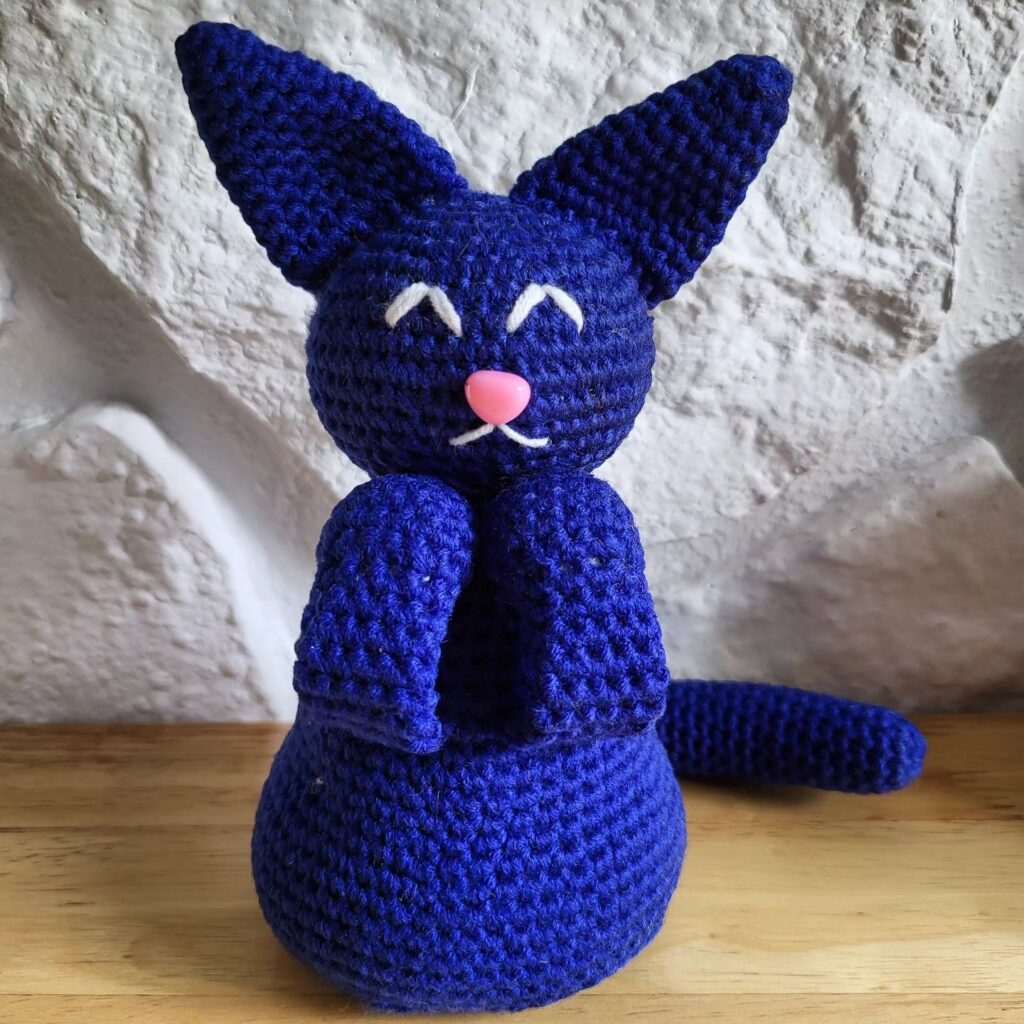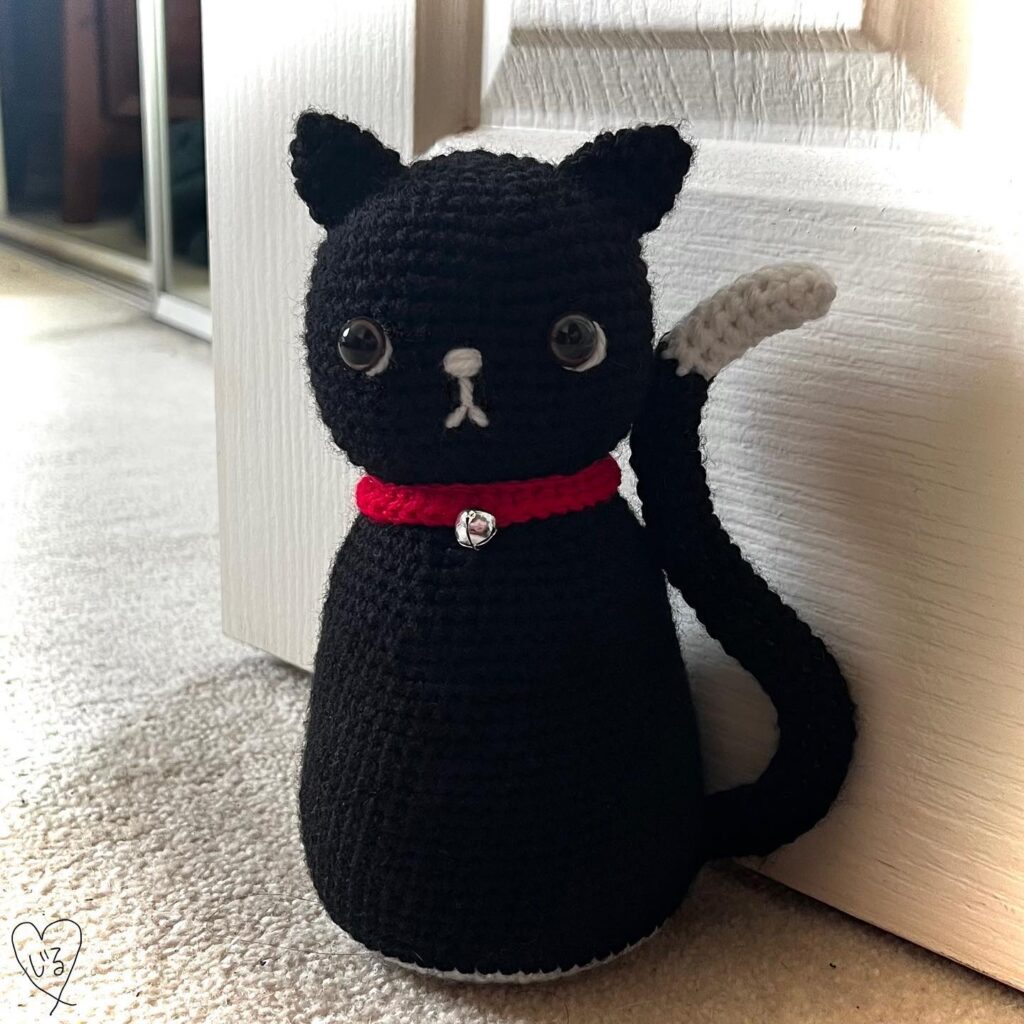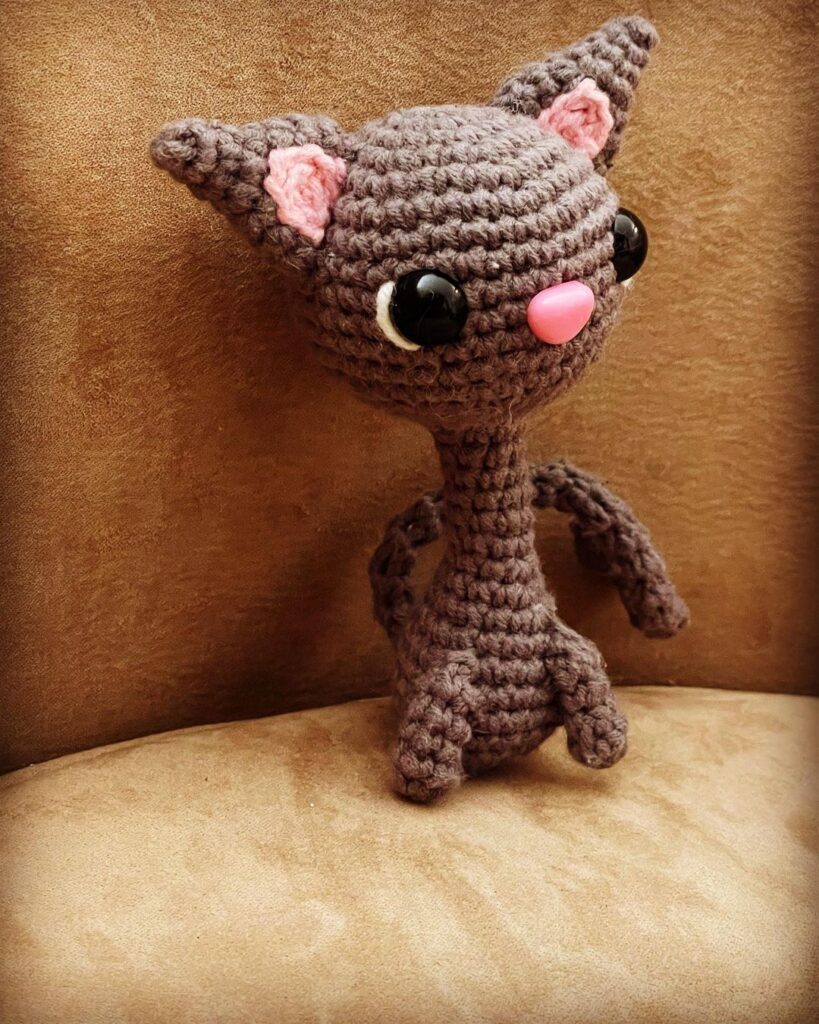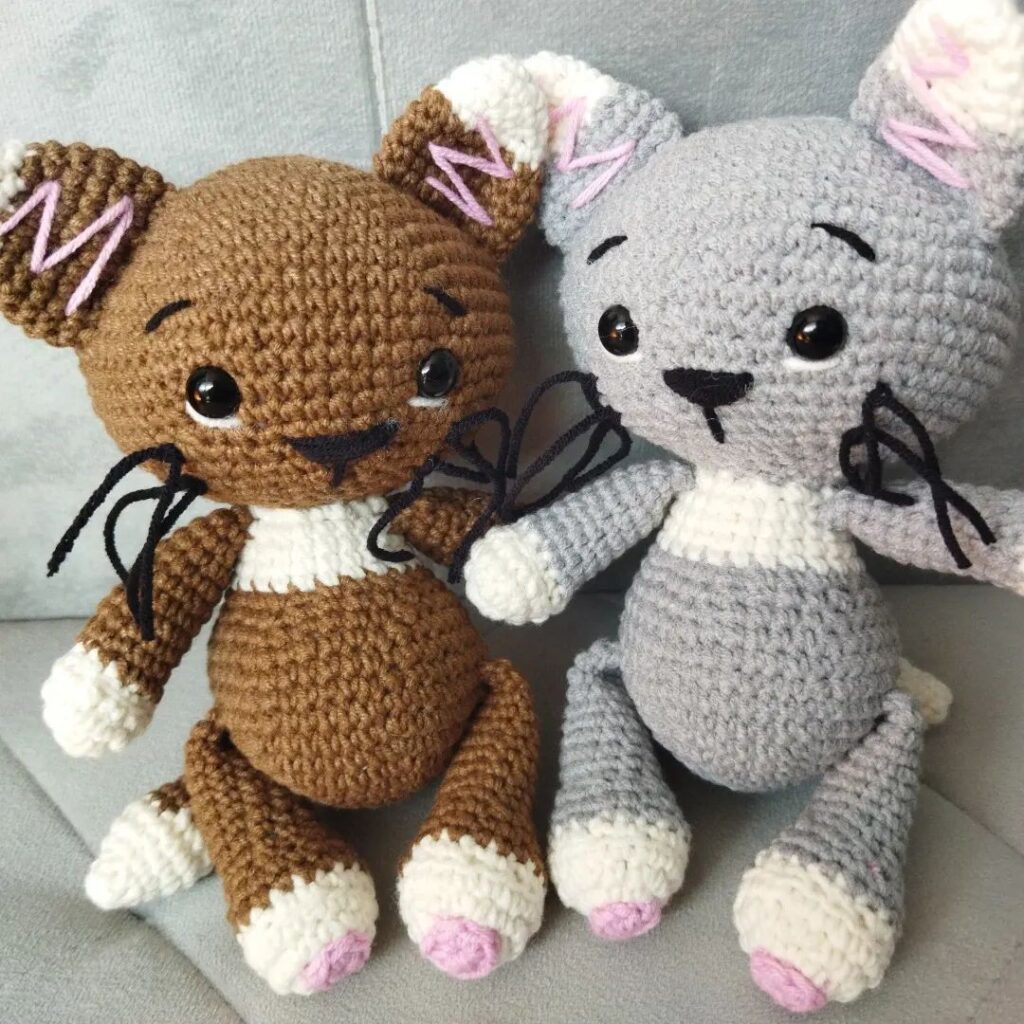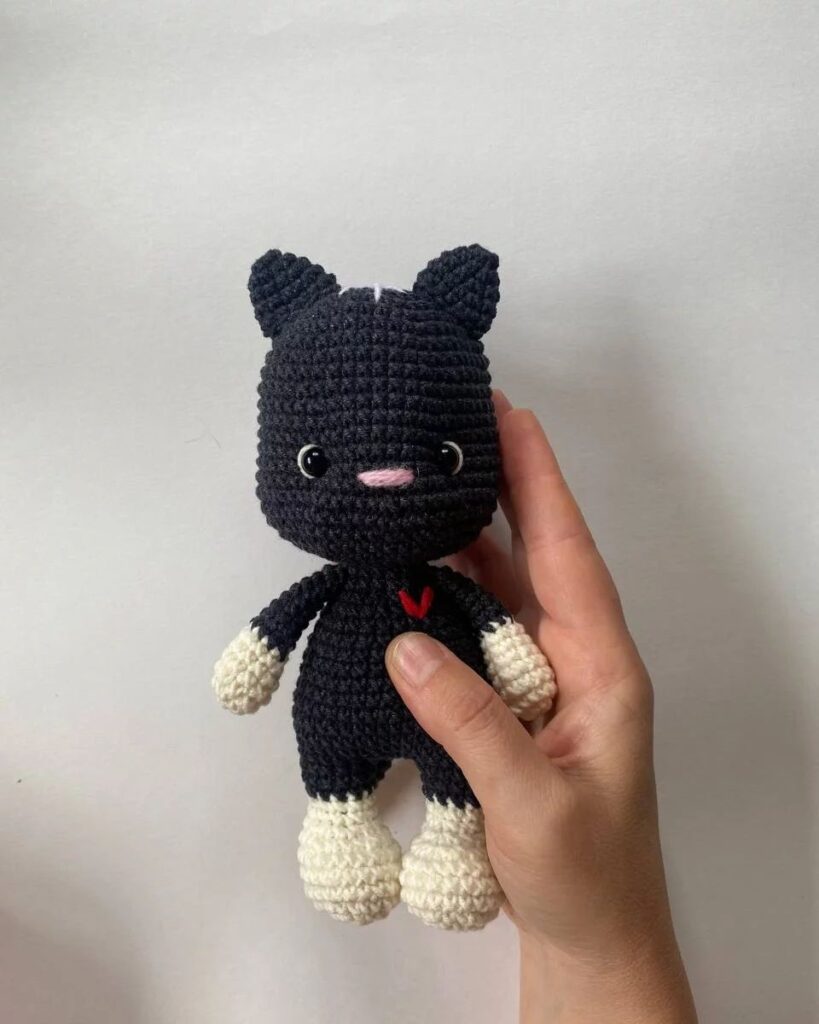
Cat Amigurumi Crochet Pattern
Hello amigurumi lovers and beautiful visitors, I wanted to share the free amigurumi patterns for you here. In my article I will share 1 pattern and how to make it for you. At the end of my article, I will share amigurumi patterns that can generate ideas for you.
Materials:
- yarn of black, light gray, pumpkin and white colors;
- hook 5 mm;
- safety eyes 12 mm;
- safe spout for animals 12 mm;
- tapestry needle;
- filler;
- one chenille wire for each tail (so that the tail bends).
Conditional abbreviations:
sbn = single crochet subtract
. = Decrease sbn
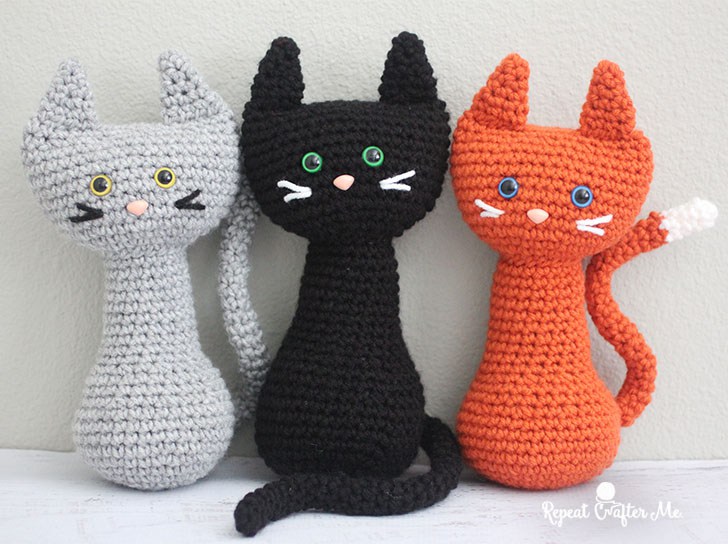
Size of the finished product: from the tip of the ear to the bottom about 25.5 cm, the head is about 13 cm wide.
Cat’s head
amigurumi ring, ch 1 and tie 10 sc in the ring, connect with the first. sc, 1 ch (10 sc)
Row 2: 2 sc in each. st to the end of the row, connect, 1 ch (20 sc)
Row 3: sc in each. st to end of row (20 sbn)
Row 4: 2 sbn in the first, sbn in the next, repeat to the end of the row, connect, 1 ch (30 sbn)
Row 5: sbn in each. st to the end of the row, connect, 1 ch (30 sc)
Row 6: 2 sc in the first, sc in the next. 2, rep to end of row, connect, ch 1 (40 sc)
Row 7-13: sc in each. st to the end of the row, connect, 1 ch (40 sbn)
Row 14: sbn decrease., sbn in the next. 2, repeat to the end of the row, join, ch 1
Row 15: sb in every st to the end of the row, fasten the thread, leaving a long end.
The body of the cat
(The first 6 rows knit in the same way as the first 6 rows of the head)
amigurumi ring, 1 ch and tie 10 sc in the ring, connect with the first. sc, 1 ch (10 sc)
Row 2: 2 sc in each. st to the end of the row, connect, 1 ch (20 sc)
Row 3: sc in each. st to end of row (20 sbn)
Row 4: 2 sbn in the first, sbn in the next, repeat to the end of the row, connect, 1 ch (30 sbn)
Row 5: sbn in each. st to the end of the row, connect, 1 ch (30 sc)
Row 6: 2 sc in the first, sc in the next. 2, rep to end of row, connect, ch 1 (40 sc)
Row 7-10: sc in each. st to the end of the row, connect, 1 ch (40 sc)
Row 11: sc decrease, sc in the next. two, repeat to the end of the row, connect, ch 1
Row 12-13: sc in each. st to the end of the row, connect, ch 1
Row 14: sc decrease, sc in the next, repeat to the end of the row, connect, ch 1
Row 15-25: sc in each. st to the end of the row, connect, ch 1
Fasten the thread after row 25, leaving a long end to sew the heifer to the head.
Cat ears: (2 pcs.)
Amigurumi ring, ch and tie 4 sc into the ring, tighten tightly and continue to knit sc in a spiral.
Row 2: sc in each. st to the end of the row (4 sbn)
Row 3: 2 sbn in the first. st, sb in the next., repeat to the end of the row (6 sb)
Row 4: sb in each. st to the end of the row (6 sc)
Row 5: 2 sc in the first. st., sbn in the next. 2, repeat to the end of the row (8 sc)
Row 6: sc in each. st to the end of the row (8 sbn)
Fasten the thread, leaving a long end to sew the ears to the head.
Cat tail
ring amigurumi, ch 1 and work 5 sc into a ring, tighten tightly and continue to knit sc in a spiral, making the host as long/short as you want. The cat’s tail in the photo is about 30 rows. After knitting 10 rows, you will need to insert the wire. Fold it in half, twist and insert into the tail (not the length of the tail) and knit around it, leaving about 1 cm sticking out of the tail.
To assemble, follow the instructions:
Insert the safety eyes 9 rows from the bottom, and then attach the nose two rows below, centered between the eyes.
Take a long piece of white (or black) yarn and embroider a mustache. Fill the head with holofiber and sew the hole with a tapestry needle over the edge.
Sew the ears on the edges of the head.
Fill your body with holofiber. The upper edge of the body coincides with the 3rd row of the head. Sew the head and body together.
Stick the tip of the wire that sticks out of the tail into the body from the back / side (stepping back 9 rows from the bottom). Sew the tail to the body.
Feel free to tag me (@freeamigurumii) in your photos on Instagram or Facebook if you’d like!
All Finished.
