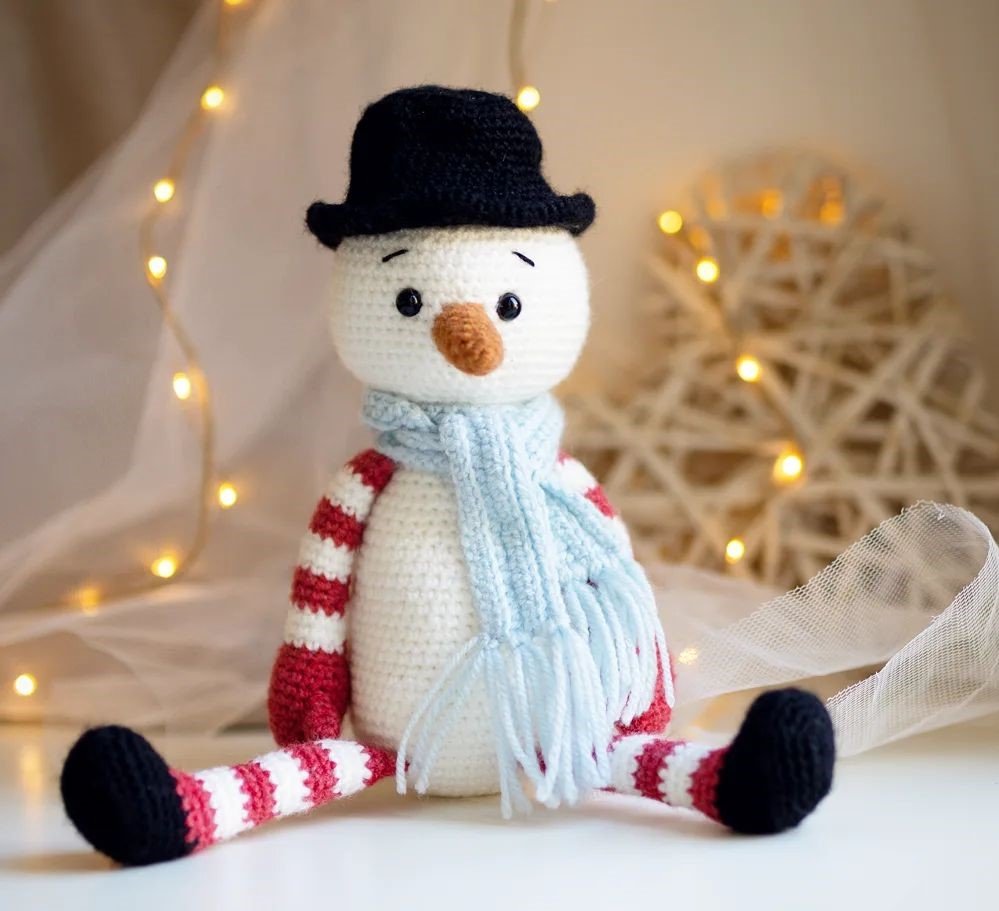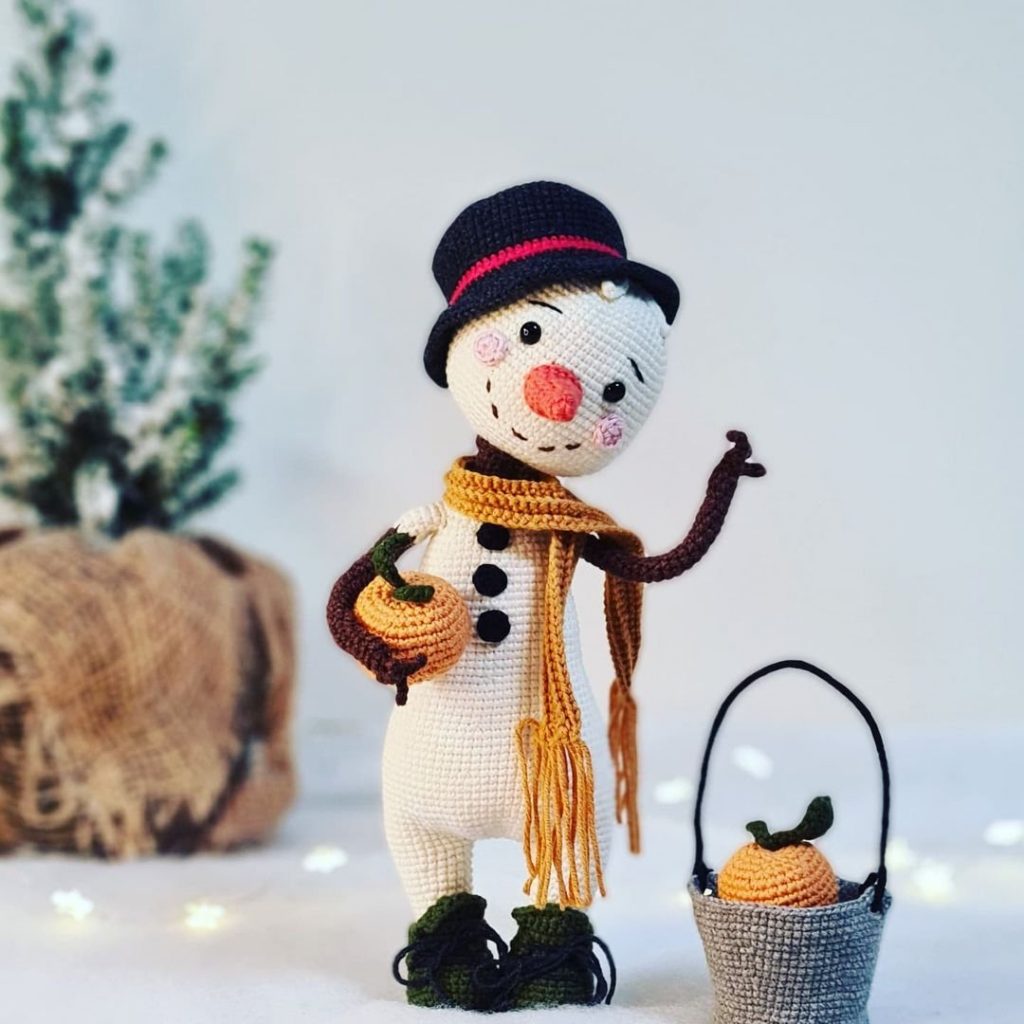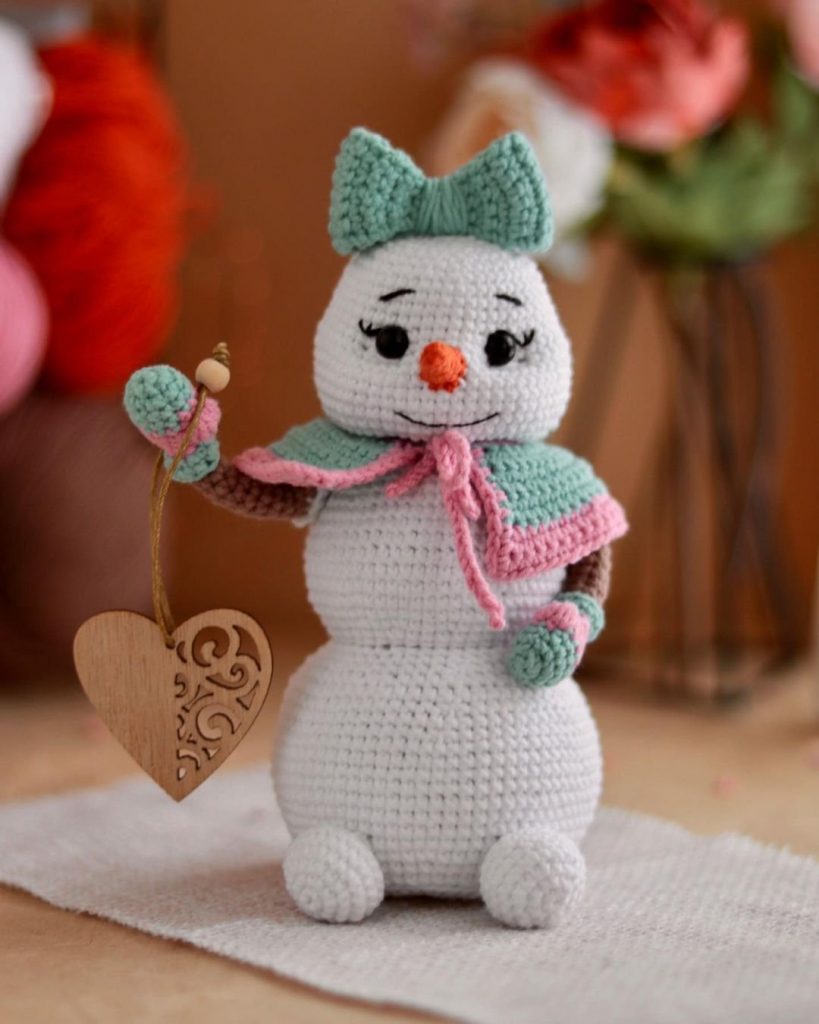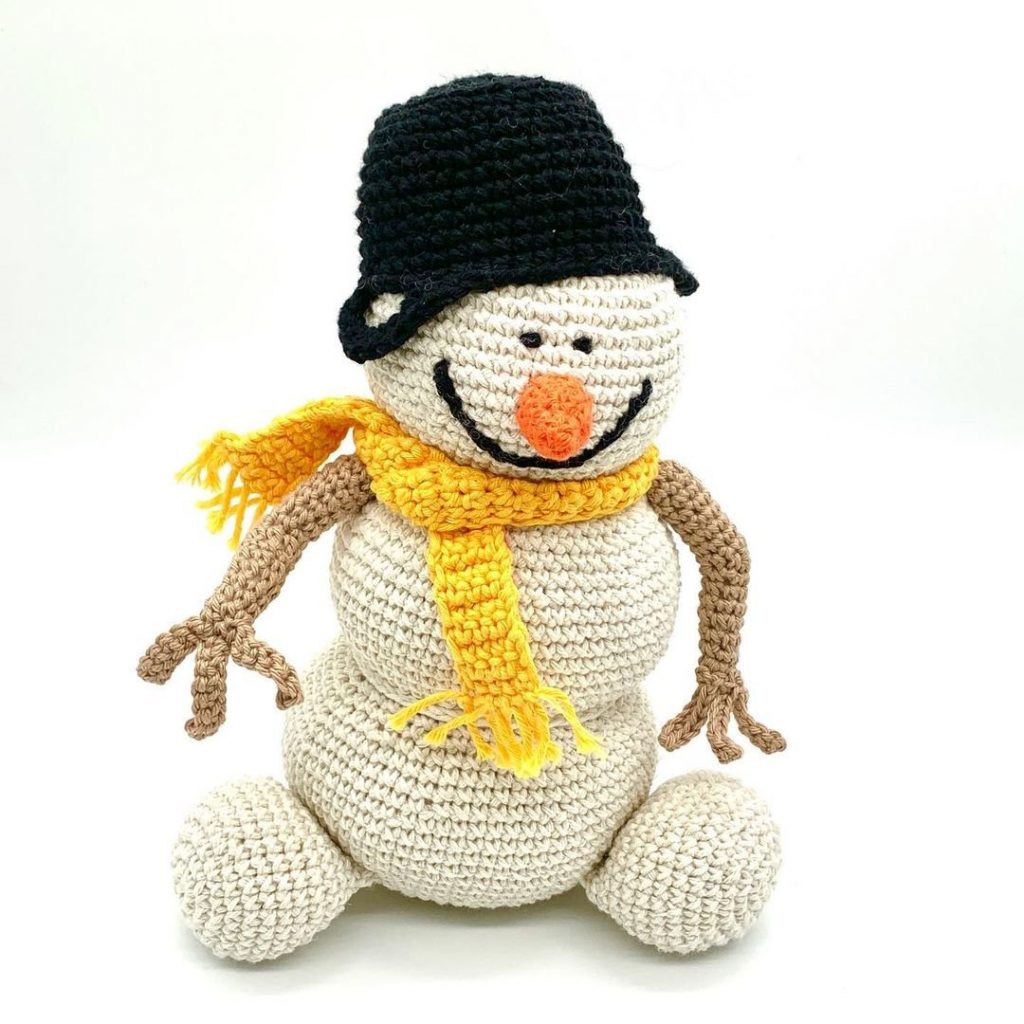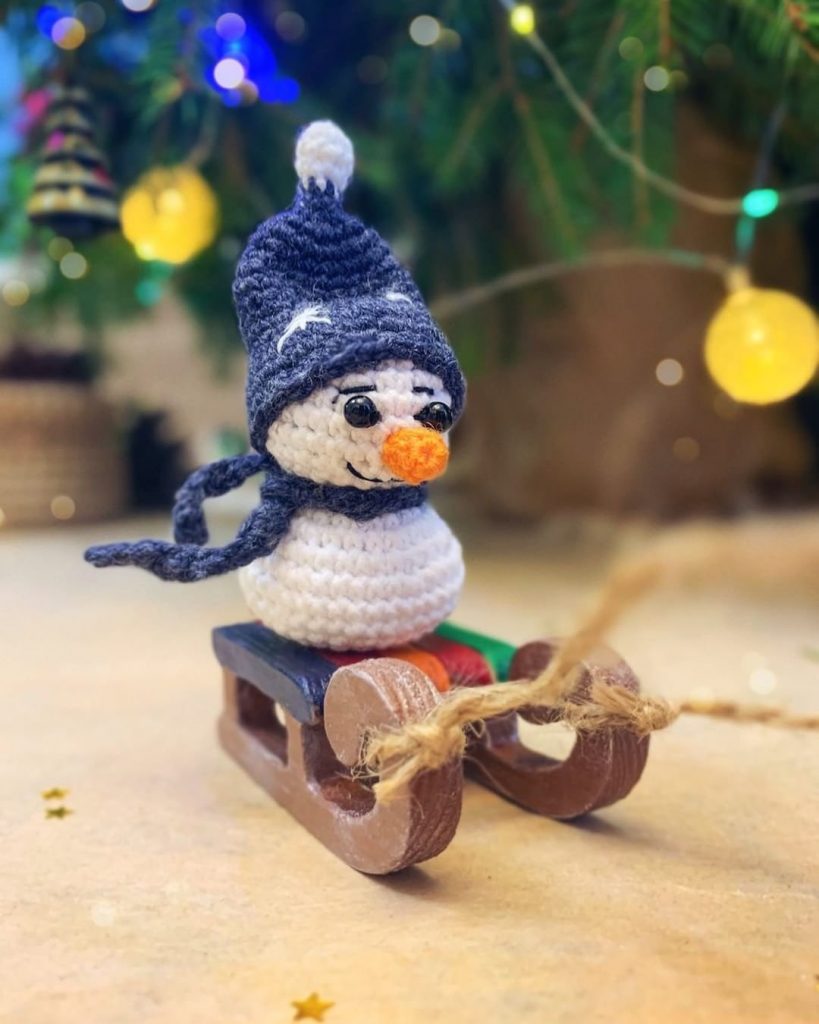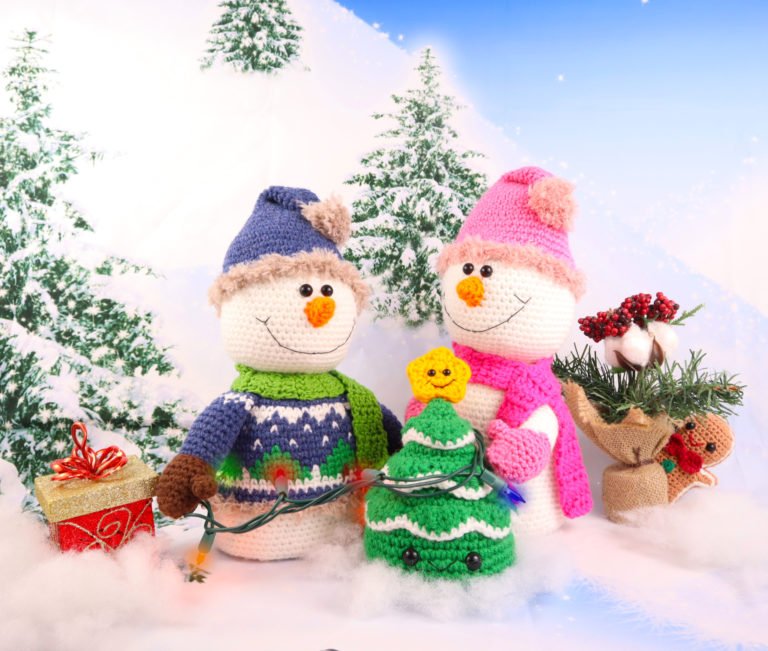
Big Snowman & Girl Amigurumi Free Pattern
Hello amigurumi lovers and beautiful visitors, I wanted to share the free amigurumi patterns for you here. In my article I will share 1 pattern and how to make it for you. At the end of my article, I will share amigurumi patterns that can generate ideas for you.
Supplies:
• Yarn 4/Medium Weight Yarn in…
Sweater Snowman: White, Orange, Blue, Green, Brown, and Scarf Color
Regular Snowman: White, Orange, Hat, Glove, & Scarf Color.
• Fuzzy Yarn in any weight
• 4mm Crochet Hook
•10mm safety eyes
•Tapestry needle
•Scissors
•Stuffing
Black Embroidery Thread
•Card Board for Bottom of snowman
Additional Information:
Difficulty: Intermediate
• Size
From the bottom to the top of the hat, the snowman is 11.5″ tall / 30 cm tall.
• Before we get started…
There are 2 different versions of the snowmen. One is made with a sweater, and the other is without a sweater. Each one has their own pattern included in this PDF.
• Making the snowman
We start by making the head. The head works into the body and sweater. They are all one continuous piece. For the sweater we will use a “split stitch” for clean color changes and a knit look. If you don’t know how to do this stitch – no worries! I will show you how when we get to it.
Snowman With Sweater:
In White
Follow this pattern to make the snowman with the sweater. The sweater is crocheted on with a special stitch, called a split stitch!
To make a regular all white snowman follow the pattern after the sweater snowman pattern.
Round 1: 6 Sc into a Magic Ring (6)
Round 2: *Inc* all around (12)
Round 3: *Inc, Sc* all around (18)
Round 4: *Inc, Sc 2* all around (24)
Round 5: *Inc, Sc 3* all around (30)
Round 6: *Inc, Sc 4* all around (36)
Round 7: *Inc, Sc 5* all around (42)
Round 8: *Inc, Sc 6* all around (48)
Round 9: *Inc, Sc 7* all around (54)
Round 10-11: *Sc* all around (54)
In the next round we will add two eye stitch markers. These will marks where to place the eyes later.
Round 12: Sc in the next 25 st. Sc in the next st and add a different colored st marker to the Sc just made. Sc in the next 2 st. Sc in the next st and add a different colored st marker to the Sc just made. Sc in the next 25 st (54)
Round 13-26: *Sc* all around (54)
Round 27: *Dec, Sc 7* all around (48)
Round 28: *Dec, Sc 6* all around (42)
Round 29: *Dec, Sc 5* all around (36)
Round 30: *Dec, Sc 4* all around (30)
Round 31: *Dec, Sc 3* all around (24)
Note: Stuff the head now. You can add eyes now. I would recommend securing them later to see if they align how you prefer with the sweater!
Round 32: Change to Blue for the sweater. In the FLO (Front Loop Only) *Inc, Sc 3* all around (30)
Round 33: In BOTH Loops, *Inc, Sc 4* all around (36)
Round 34: *Inc, Sc 5* all around (42)
Round 35: *Inc, Sc 6* all around (48)
Round 36: *Sc* all around (48)
Round 37: Crochet this round looser than usual. *Sc* all around (48)
Sweater Time!
Note: The split stitch not only makes a “knit” look, but it also makes color changes line up perfectly!
Now we will make the “knit” look of the sweater. We do this by making a split stitch. To make the split stitch insert the crochet hook directly in between the “v” Make sure to NOT crochet above the “v” like we usually do in crochet.
Crochet these sweater rounds a bit looser than usual. When pulling second loop up, pull that loop looser to the height of the current stitch This makes it easier to later crochet back into the stitch. We will be crocheting these rounds using a split stitch until we work the white body.
Remember to use the split stitch until the pattern states to do a regular single crochet!
Round 38: Change to White. *Inc, Sc 7* all around (54)
Round 39: Repeat *In White Sc 3. In Blue Sc 1* 13 times. Change to White and Sc in the next st, Inc in the last st (55)
Having Trouble Making Color Changes?
Here’s how to make a clean color change! No cutting of yarn needed, no untwisting yarns, no carrying yarns. Just put the old color to the right. Yarn over the old color with the new color Pull this new color through Yarn over Pull through
Remember to use the split stitch until the pattern states to do a regular single crochet!
Round 40: Change to Blue and Sc in the next st. Repeat *Change to White and Sc in the next st. Change to Blue and Sc in the next 3 st* 13 times. Change to White and Sc in the next st. Change to Blue and Sc in the last st (55)
Round 41: Repeat *In Blue Sc in the next 3 st. Change to White and Sc in the next st* 13 times. Change to Blue and Sc in the next 3 st (55)
Round 42: In Blue, *Sc* all around (55)
Round 43: In Blue Sc in the next st. Repeat *Change to White Sc in the next st. Change to Blue Sc in the next 3 st* 13 times. Change to White and Sc in the next st. Change to Blue and Sc in the next st (55)
Round 44: In Blue Sc in the next 3 st. Change to Green and Sc in the next st. Repeat *Change to Blue and Sc in the next 7 st. Change to Green and Sc in the next st* 6 times. Change to Blue and Sc in the last 3 st (55)
Round 45: In Blue Sc in the next 2 st. Repeat *Change to Green and Sc in the next 3 st. Change to Blue and Sc in the next 5 st* 6 times. Change to Green and Sc in the next 3 st. Change to Blue and Sc in the last 2 st (55)
Round 46: In Blue Sc in the next st. Repeat *Change to Green and Sc in the next 5 st. Change to Blue and Sc in the next 3 st* 6 times. Change to Blue and Sc in the next 5 st. Change to Blue and Sc in the last st (55)
Round 47: Repeat *Change to Green and Sc in the next 7 st. Change to White and Sc in the next st* 6 times. Change to Green and Sc in the next 7 st. Change to White and Sc into the last st again. (56)
(To clarify, the last stitch will have a green and a white stitch in it. That makes the last stitch an increase.)
Round 48: Repeat *Change to Green and Sc in the next 3 st. Change to Brown and Sc in the next st. Change to Green and Sc in the next 3 st. Change to White and Sc in the next st* 7 times. (56)
Round 49: In White Sc in the next 3 st. Repeat *Change to Brown and Sc in the next st. Change to White and Sc in the next 7 st* 6 times. Change to Brown and Sc in the next st. Change to White and Sc in the next 4 st (56)
Round 50: In White *Sc* all around (56)
Round 51: In Blue *Sc* all around (56)
Round 52: *Inc, Sc 8* 6 times, Sc in the last 2 st (62)
We are now done with making the sweater. In the rest of the rounds go back to making a regular single crochet. Move safety eyes if wanted and secure them.
Round 53: Change to White and in the BLO (Back Loop Only) *Sc* all around (62)
Round 54-60: In BOTH Loops, *Sc* all around (62)
NOTE: Cardboard is optional. It simply makes the snowman stand better and the bottom looks flatter. You will have to lightly hand wash the snowman and air dry if you do this.
Round 61: In the BLO *Dec, Sc 8* 6 times. Sc in the last 2 st (56)
Stuff firmly here. Be sure to add in the all of the stuffing needed! We won’t add anymore stuffing after placing in the cardboard.
Round 61: In the BLO *Dec, Sc 8* 6 times. Sc in the last 2 st (56)
Stuff firmly here.
Round 62: In BOTH Loops *Dec, Sc 7* 6 times, Sc in the last 2 st (50)
Round 63: *Dec, Sc 6* 6 times, Sc in the last 2 st (44)
Round 64: *Dec, Sc 5* 6 times, Sc in the last 2 st (38)
Round 65: *Dec, Sc 4* 6 times, Sc in the last 2 st (32)
Round 66: *Dec, Sc 3* 6 times, Sc in the last 2 st (26)
Round 67: *Dec, Sc 2* 6 times, Sc in the last 2 st (20)
Round 68: *Dec, Sc* 6 times, Sc in the last 2 st (14)
Round 69: *Dec* 6 times, Sc in the last 2 st (8)
Finish off. Sew the end closed, Weave in ends.
Nose:
In Orange
Round 1: 3 Sc into a Magic Ring (3)
Round 2: Sc loosely into each stitch (3)
Round 3: *Inc* all around (6)
Round 4: *Sc* all around (6)
Round 5: *Inc, Sc 2* all around (8)
Finish off, leaving a long tail for sewing.
Pin the nose on as shown. Specifically the top between Round 12 & 13 and the bottom between 16 & 17. Sew on.
The regular snowman pattern is next. To continue making the rest of the snowman parts, scroll past the regular snowman pattern.
Regular Snowman:
In White
Follow this pattern to make the snowman with no sweater!
Round 1: 6 Sc into a Magic Ring (6)
Round 2: *Inc* all around (12)
Round 3: *Inc, Sc* all around (18)
Round 4: *Inc, Sc 2* all around (24)
Round 5: *Inc, Sc 3* all around (30)
Round 6: *Inc, Sc 4* all around (36)
Round 7: *Inc, Sc 5* all around (42)
Round 8: *Inc, Sc 6* all around (48)
Round 9: *Inc, Sc 7* all around (54)
Round 10-11: *Sc* all around (54)
In the next round we will add two eye stitch markers. These will marks where to place the eyes later.
Round 12: Sc in the next 26 st. Sc in the next st and add a different colored st marker to the Sc just made. Sc in the next st. Sc in the next st and add a different colored st marker to the Sc just made. Sc in the next 25 st (54)
Round 13-26: *Sc* all around (54)
Round 27: *Dec, Sc 7* all around (48)
Round 28: *Dec, Sc 6* all around (42)
Round 29: *Dec, Sc 5* all around (36)
Round 30: *Dec, Sc 4* all around (30)
Round 31: *Dec, Sc 3* all around (24)
Round 32: In the FLO (Front Loop Only) *Inc, Sc 3* all around (30)
Round 33: In BOTH Loops, *Inc, Sc 4* all around (36)
Round 34: *Inc, Sc 5* all around (42)
Add safety eyes in the marked areas now. Stuff the head firmly.
Round 35: *Inc, Sc 6* all around (48)
Round 36-37: *Sc* all around (48)
Round 38: *Inc, Sc 7* all around (54)
Round 39-51: *Sc* all around (54)
Round 52: *Inc, Sc 8* all around (60)
Round 53-60: *Sc* all around (60)
Round 61: In the BLO *Dec, Sc 8* all around (54)
Stuff firmly here. Be sure to add in the all of the stuffing needed! We won’t add anymore stuffing after placing in the cardboard.
Take a piece of cardboard Place the body onto the cardboard as shown and outline around it You will have a circle on your cardboard, go ahead and cut it around the outline Now place it into the snowman , you will have to fiddle around to get it completely in!
Round 62: In BOTH Loops *Dec, Sc 7* all around (48)
Round 63: *Dec, Sc 6* all around (42)
Round 64: *Dec, Sc 5* all around (36)
Round 65: *Dec, Sc 4* all around (30)
Round 66: *Dec, Sc 3* all around (24)
Round 67: *Dec, Sc 2* all around (18)
Round 68: *Dec, Sc* all around (12)
Round 69: *Dec* all around (6)
Finish off and sew the bottom closed.
Nose:
In Orange
Round 1: 3 Sc into a Magic Ring (3)
Round 2: Sc loosely into each stitch (3)
Round 3: *Inc* all around (6)
Round 4: *Sc* all around (6)
Round 5: *Inc, Sc 2* all around (8)
Finish off, leaving a long tail for sewing. Pin the nose on as shown. Specifically the top between Round 12 & 13 and the bottom between 16 & 17.
Arms:
These instructions apply for both snowmen. I will tell you when to change things for the different snowmen!
Thumb:
In Any Glove Color
Round 1: 6 Sc into Magic Ring (6)
Round 2-3: *Sc* all around (6)
Finish off. Set the thumb aside for now.
Glove:
In Any Glove Color
Round 1: Ch 4 Sc 3 times in 2nd Ch from hook. Be sure to add a stitch marker to the very first Sc you made. Sc next st. Sc 3 times in next st. Now we meet the end of the chain Turn to other side of ch and Sc in the next st This is the end of the round. (8)
Round 2: *Inc* in the next 3 st, Sc next st, *Inc* in the next 3 st, Sc next st (14)
Round 3-4: *Sc* all around (14)
Round 5: Sc in the next 3 st, *Inc* in the next 3 st, Sc in the next 4 st, *Inc* in the next 3 st, Sc in the next st (20)
Round 6: Sc in the next 3 st Line up the thumb’s stitches to the glove and going through BOTH the thumb and hand , Sc in the next 3 st Continuing on ONLY the hand, Sc in the next 14 st (20)
Round 7: Sc in the next 3 st Now we meet the thumb, Sc in the next 3 st on the thumb Continuing on hand Sc in the next 14 st (20)
Round 8: *Sc* all around (20)
Round 9: *Dec, Sc* 6 times, Sc in the last 2 st (14)
Round 10: Change to Blue for Sweater snowman. Change to White for Regular Snowman. In the BLO (Back Loop Only) *Sc* all around (14)
For sweater snowman follow the rest of this pattern:
Round 11-17: In BOTH loops, *Sc* all around (14)
Round 18: Repeat *Change to White and Sc in the next st. Change to Blue and Sc in the next 3 st* 3 times. Change to White and Sc in the next st. Change to Blue and Sc in the last st. (14)
Round 19: In White *Sc* all around (14)
Round 20: Change to Blue and *Sc* all around (14)
Finish off, leaving a long tail for sewing on. Stuff the glove and arm lightly. Pin the arm on as shown, making sure the white of the arm lines up to the white of the sweater. Specifically, pin the arm between Round 36 & 37. Sew on. Weave in ends and cut excess yarn.
Arms: For regular no sweater snowman follow the rest of this pattern
Round 10-19: In BOTH loops, *Sc* all around (14)
Finish off, leaving a long tail for sewing on. Pin the arm on as shown. Specifically, pin the arm between Round 36 & 37. Sew on. Weave in ends and cut excess yarn.
Hat:
In Any Color
Round 1: 6 Sc into a Magic Ring (6)
Round 2-3: *Sc* all around (6)
Round 4: *Inc* all around (12)
Round 5-10: *Sc* all around (12)
Round 11: *Inc, Sc 3* all around (15)
Round 12: *Sc* all around (15)
Round 13: *Inc, Sc 4* all around (18)
Round 14: *Sc* all around (18)
Round 15: *Inc, Sc 2* all around (24)
Round 16: *Sc* all around (24)
Round 17: *Inc, Sc 3* all around (30)
Round 18: *Sc* all around (30)
Round 19: *Inc, Sc 4* all around (36)
Round 21: *Inc, Sc 5* all around (42)
Round 22: *Sc* all around (42)
Round 23: *Inc, Sc 6* all around (48)
Round 24: *Sc* all around (48)
Round 25: *Inc, Sc 7* all around (54)
Round 26-28: *Sc* all around (54)
Finish off leaving a very long tail for sewing. Let’s go to the next instructions for assembly…
Hat Assembly:
- Bend the tip of the hat towards you, a little to the right Take a needle with hat colored yarn and sew the bent hat top in place Tie the ends of yarn into firm knots and bring them to the inside of the hat to hide.
- Pin the hat onto the snowman as shown. Specifically the front of the hat between Rounds 13 & 14. The back of the hat between Rounds 23 & 24.
- Sew the hat on. Be sure to add stuffing to the hat before fully sewing closed.
- Once fully sewed on, tie the end of yarn into a firm know and hide in the head. Weave in ends.
Fur Strip:
In Fuzzy Yarn
Make a chain that reaches around the entire circumference of the hat Sc down the chain for 1 row. Finish off, leaving a long tail for sewing. Pin the fur strip to the hat as shown Sew on, going from the BLO of the hat to the strip.
Tie yarn ends into firm knots and hide into the head. Cut any excess yarn.
Hat Assembly:
First, cut a 12″ piece of white or fuzzy yarn and set aside for later. Now, take white or fuzzy yarn and wrap it around for 3 fingers 80 times for worsted yarn or 50 times for fuzzy yarn Now take the yarn off your fingers
Wrap the 12″ piece of yarn around the yarn a few times Do this tightly to secure. Now, cut the loops of yarn as shown Be sure to cut all the longer pieces of yarn off to get a puffy ball. Finally, sew the pom pom to the tip of the hat
Sweater Fuzzy Trim:
Make a chain that reaches around the entire circumference of the bottom of the sweater Once you’ve made this, finish off leaving a long tail for sewing. Pin the strip around the bottom of the sweater and sew on Sew it on going from the back loops left from the body! Tie yarn ends into firm knots and bring them into the body to hide. Cut any excess yarn.
Scarf:
In Any Color
Row 1: Ch 6. Dc into 3rd ch from hook. Dc into next 3 st (4)
Row 2- 41: Ch 2 and Turn. Dc next 4 st (4)
Note: You can also just make the scarf without counting rows. Just measure the scarf until it’s 19″/47 cm.
Finish off and weave in the ends. Place the scarf on as shown.
Assembly:
Drape half of the scarf in front of the snowman Bring the scarf behind the head Bring this same piece to the front Done! If preferred, you can sew the scarf into place with scarf colored yarn.
Smile:
In Black Embroidery Thread
Take a very long piece on black embroidery thread (15″/38 cm). Pin the thread to the snowman, making sure the majority of the tail end of thread ends up at the right side of the smile The very bottom of the smile is pinned between R 25 & 26. The very top part is pinned between R 20 & 21 Place the thread onto your needle Insert needle into where the very same stitch the top right of the smile is pinned Pull needle out at the next pin BELOW the smile line Reinsert needle into that very same stitch ABOVE the smile
Pull needle out to the very middle UNDER the smile Reinsert needle into very same stitch ABOVE the smile Pull needle out to the next pin UNDER the smile
Lightly tug the thread where shown to make the smile smoother You can do this after every step. Insert needle into same stitch we just pulled out of, ABOVE the smile and pull out at the last pin BELOW the smile We will now be at the very top of the smile Insert needle into the same stitch ABOVE the smile and pull needle out 2 stitches up and to the left Reinsert needle into same stitch and pull out two stitches up Reinsert into same stitch
and pull out at the other corner of the mouth Insert needle two stitches up and to the left, and pull needle out two stitches to the left Reinsert needle where shown Pull needle out a few stitches away. Tie thread end into firm knot and bring it into the head to hide. Cut any excess thread.
All Finished.
Feel free to tag me (@freeamigurumii) in your photos on Instagram or Facebook if you’d like!
