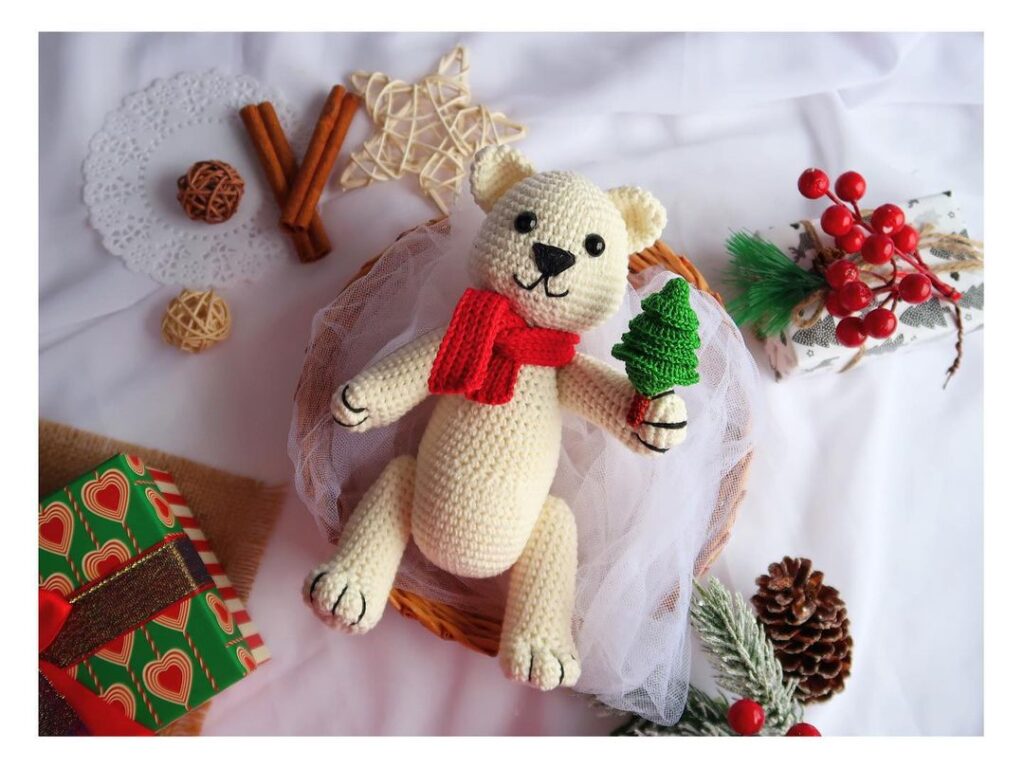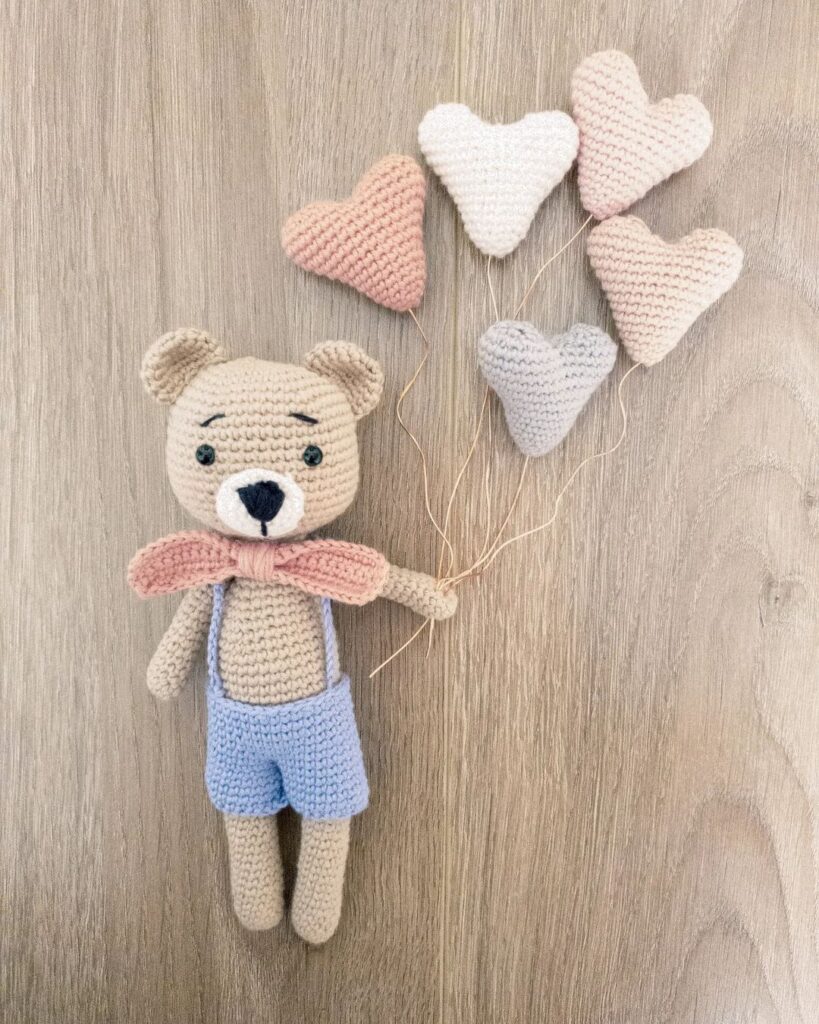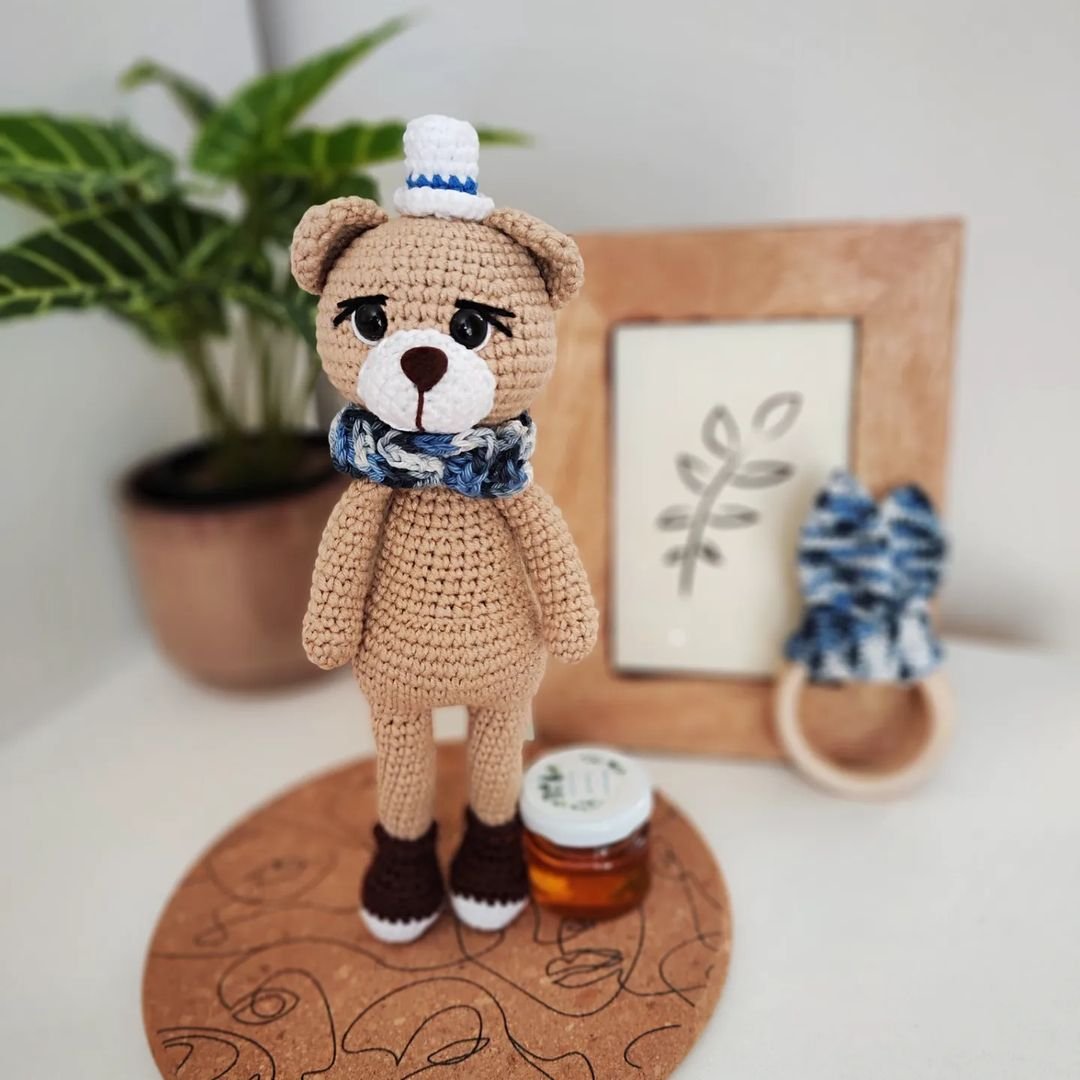
Bear Amigurumi Crochet Pattern
Hello amigurumi lovers and beautiful visitors, I wanted to share the free amigurumi patterns for you here. In my article I will share 1 pattern and how to make it for you. At the end of my article, I will share amigurumi patterns that can generate ideas for you.
Materials and tools
• Yarn of your choice. I used Hobbii Rainbow 100% cotton yarn (50g/170m)
• Crochet hook 2.5 mm, or the one that fits your yarn
• Stuffing material for toys
• Pair of safety eyes – 6mm
• Scissors
• Black and pink thin thread to embroider the nose, cheeks and mouth
• Stitch Marker (I usually use a piece of thin thread to mark the end of each round)
• Yarn needle for sewing
Abbreviation
• mr – magic ring
• SC – single crochet stitch
• hdc – half double crochet stitch
• inc – increase (2 sc in the same stitch)
• dec – invisible decrease (2 sc together)
• ()*… – repeat instructions in brackets … times
• Number in () at the end of the round indicates number of stitches in that round.
Arms (make two)
1 6 sc in mr (6) – start with brown yarn
2 inc*6 (12)
3-4 12 sc (12)
5 dec, dec, 8 SC (10)
6-18 10 sc (10)
Stuff only the palm. Press the edges of the arm together. Make sure that the palm curve is pointing forward (see the picture), add or remove a few stitches to make the edges even. Crochet a row with 4 sc, joining two sides of the arm. Leave a short tail and hide it inside the body later.
Legs (make two)
1 6 sc in mr (6) – start with brown yarn
2 inc*6 (12)
3 (sc, inc)*6 (18)
4-6 18 sc (18)
7 6 sc, dec*3, 6 sc (15)
8 6 sc, dec, 7 sc (14)
Change color to blue
9-15 14 SC (14)
16 First leg: 4 sc, fasten off. Place the stitch marker in the 6th stitch, Second leg: 11 sc, do not cut the yarn.
Body – Part 1 (Stuff firmly as you go)
Continue with second leg. Chain 4 and join the first leg with sc in the stitch we marked before. This stitch will be the first stitch of the body (belly side).
1 14 sc in the first leg (including the joining stitch), 4 sc in the chain, 14 sc in the second leg, 4 sc in the chain (36)
2 7 sc, inc, (8 sc, inc)*3, sc (40)
3-8 40 SC (40)
9 8 sc, change color to brown, 32 sc (40)
10 8 sc, dec, 17 sc, dec, 11 sc (38)
11 38 sc (38)
12 7 sc, dec, 17 sc, dec, 10 sc (36)
13 36 SC (36)
14 (dec, 10 sc)*3 (33)
15 33 sc (33)
16 (dec, 9 sc)*3 (30)
17 30 SC (30)
18 (dec, 8 SC)*3 (27)
19 27 sc (27)
20 (dec, 7 sc)*3 (24)
21 24 sc (24)
Body – Part 2 (Stuff firmly as you go)
In the rounds 23 and 24 we will attach the arms with the body. To join an arm, place it to the body and crochet through stitches on the arm and body together. Secure the arm tails inside the body.
Make sure that the arms are placed symmetrically on the sides of the body.
22 (dec, 6 SC)*3 (21)
23 14 sc, 4 sc (with the arm), 3 sc (21)
24 3 sc, 4 sc (with the arm), 14 sc (21)
25 (dec, 5 sc)*3 (18)
26 10 sc, end the round here, cut the yarn and fasten off.
Head (Stuff firmly as you go)
1 6 sc in mr (6) – start with brown yarn
2 inc*6 (12)
3 (sc, inc)*6 (18)
Insert safety eyes between rounds 12 and 13, 8-9 stitches between or embroider the eyes later.
4 (2 sc, inc)*6 (24)
5 (3 sc, inc)*6 (30)
6 (4 sc, inc)*6 (36)
7 (5 sc, inc)*6 (42)
8 42 sc (42)
9 (6 sc, inc)*6 (48)
10-13 48 sc (48)
14 (7 sc, inc)*6 (54)
15 4 sc, inc, (8 sc, inc)*5, 4 sc (60)
16-17 60 sc (60)
18 4 sc, dec, (8 sc, dec)*5, 4 sc (54)
19 (dec, 7 sc)*6 (48)
20 3 sc, dec, (6 sc, dec)*5, 3 sc (42)
21 (dec, 5 SC)*6 (36)
22 2 sc, dec, (4 sc, dec)*5, 2 sc (30)
23 (dec, 3 sc)*6 (24)
24 sc, dec, (2 sc, dec)*5, sc (18)
Fasten off, leave a long tail for sewing
Ears (make two)
1 6 sc in mr (6)- start with brown yarn
2 inc*6 (12)
3 (sc, inc)*6 (18)
4 18 sc (18)
Press the edges of the ear together and crochet a row with 8 sc, joining two sides of the ear. Leave a long tail for sewing.
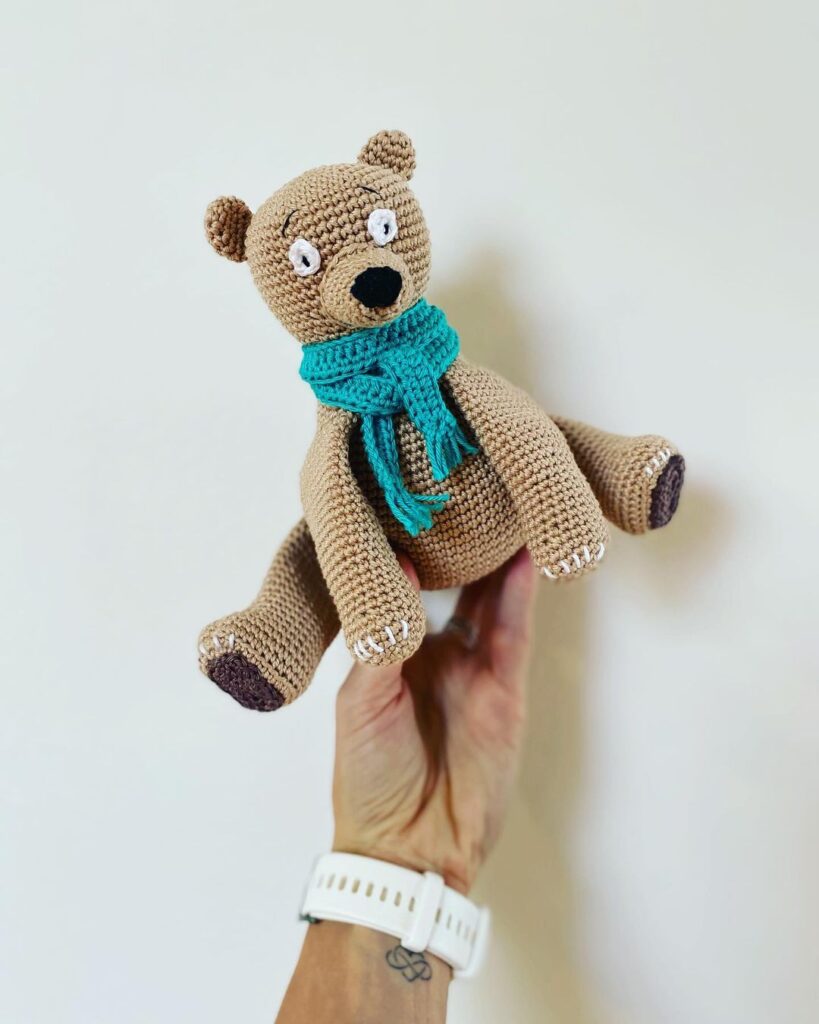
Scarf (make one)
Chain 66, start working into the 3rd stitch from the hook, 64 hdc, fasten off and hide the yarn tails.
Assembling
1 Embroider the nose between rounds 13 and 14, eyes (if you didn’t use safety eyes), eyebrows, mouth and cheeks.
2 Sew the ears to the head, between 4th and 9th rounds.
3 Sew the head to the body.
4 Put on the scarf.
Feel free to tag me (@freeamigurumii) in your photos on Instagram or Facebook if you’d like!
All Finished.