Beanie Free Crochet Pattern
Hello amigurumi lovers and beautiful visitors, I wanted to share the free amigurumi patterns for you here. In my article I will share 1 pattern and how to make it for you. At the end of my article, I will share amigurumi patterns that can generate ideas for you.
Notes:
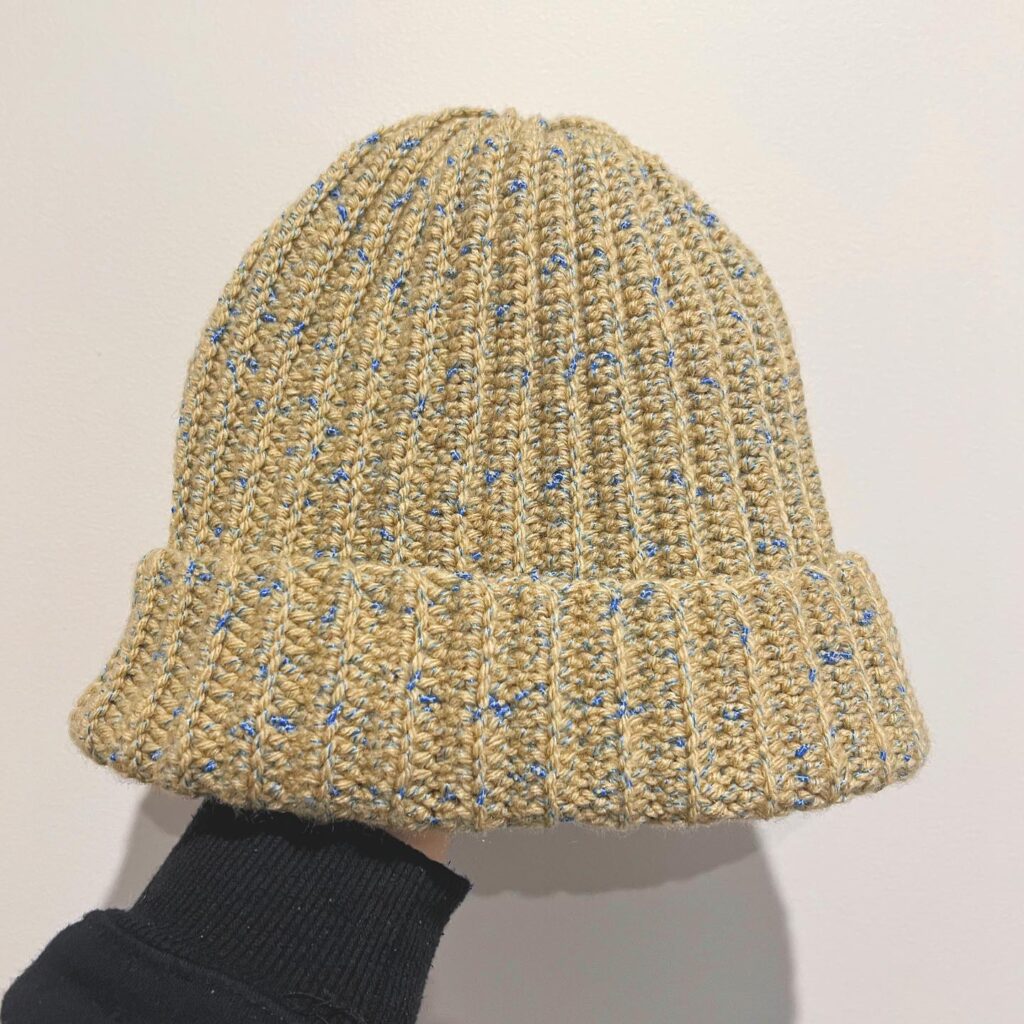
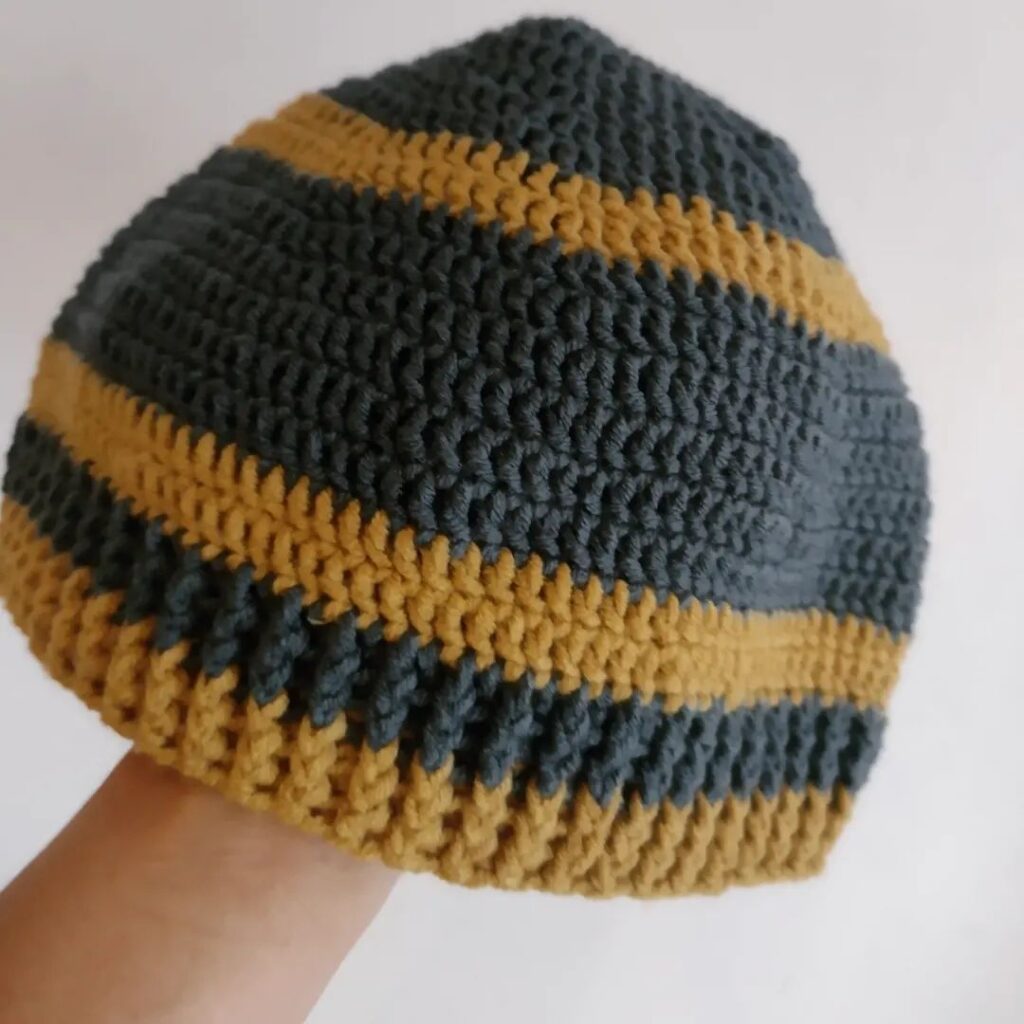
- This beanie is knit in the round starting with the ribbing at the bottom and the dot stitch for the main body.
- The ribbed band is about 2″ tall- you can add or subtract rounds depending on how much ribbing you want.
- If you would like to adjust the number of stitches for the cast-on, be sure to make it a multiple of 4. Add more stitches to make the hat wider, decrease the number of stitches to make it narrower.
- To make the hat slouchier with more height, add more rounds to the body. To make the hat shorter, decrease the number of rounds in the body.
- This pattern uses the dot stitch which staggers purl stitches among knit stitches for a beautifully textured and dotted look. The dot stitch is worked over four rounds.
- Keep checking to make sure your purl stitches are lining up appropriately in the body of the hat. Once you begin the decreases, the purl stitches will no longer line up, but it is not very noticeable since it is towards the top of the hat.
- For a seamless join, I cast on an extra stitch as demonstrated in this video here.
- The decreases (K2tog or knit 2 stitches together) are worked in the knit stitch rounds (not the rounds where there are purl stitches).
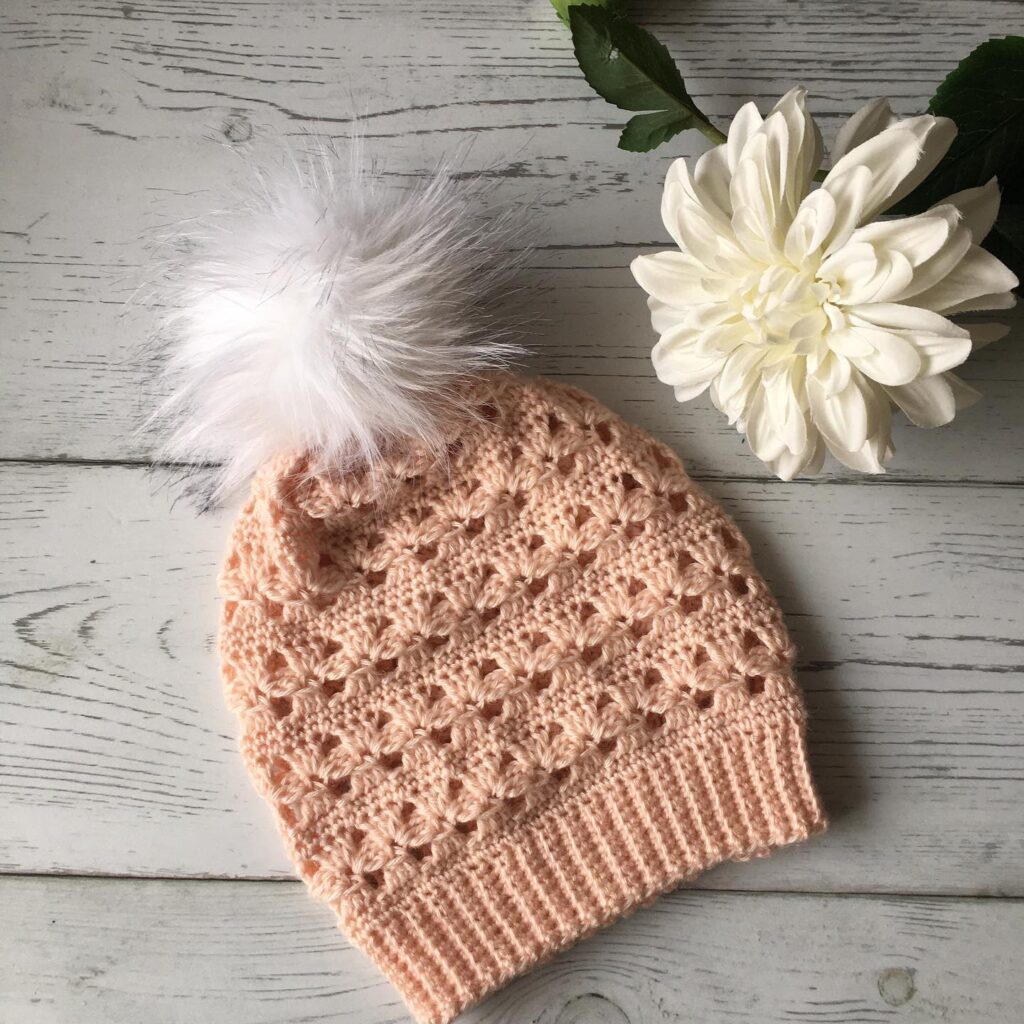
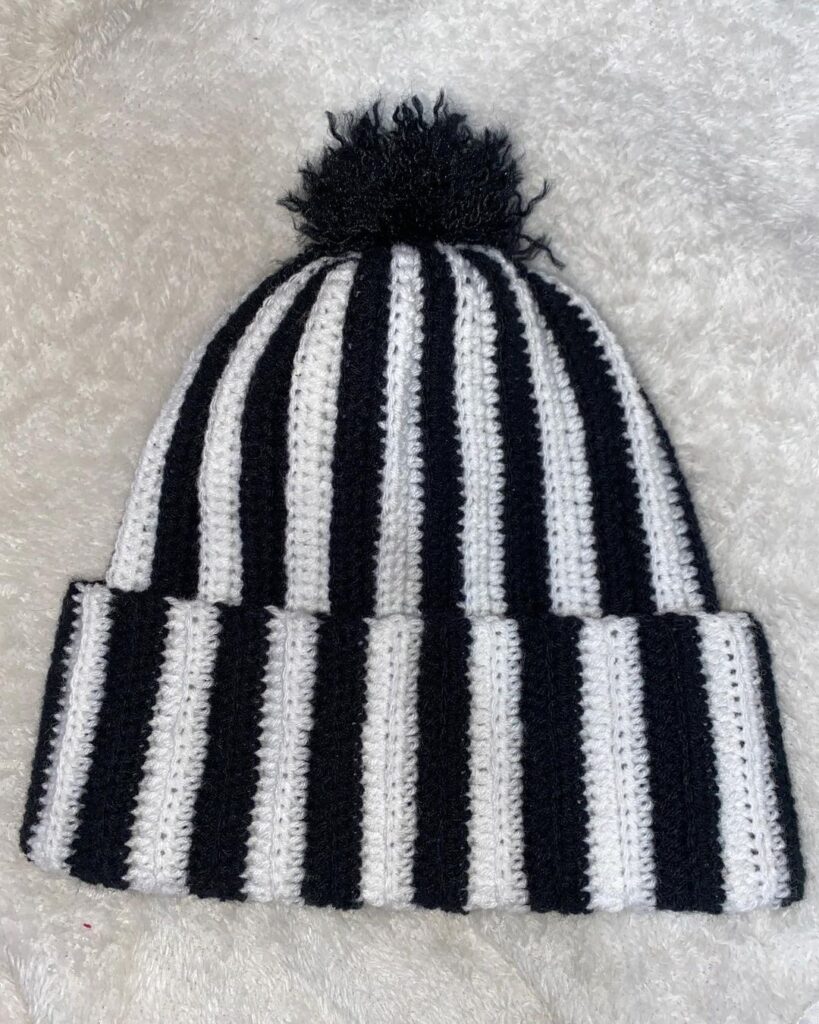
- The Dotty Beanie has plenty of stretch with a beautiful slouch.
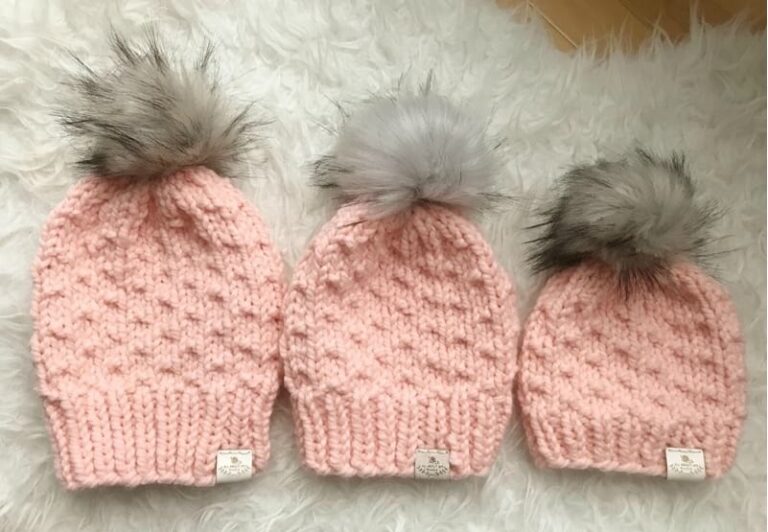
- Add a yarn or faux fur pom pom as an optional finishing touch!
- This hat size fits children who are approximately 3-10 years old.
- 9 mm and 10 mm 16″ circular knitting needles
- Wool-Ease Thick & Quick by Lion Brand Yarn, 74-84 grams (I used the colourway “Antique” and “Arctic Ice”)
- Stitch Marker
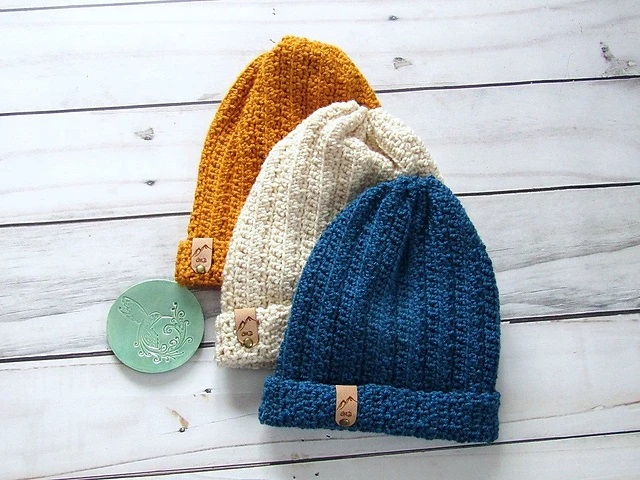
- Ultraleather garment tag by Brickbubble (optional)
- Faux fur pom pom (the removable white ones paired with the “Arctic Ice” set are from Amazon here; the statement poms on the Duo-Color Beanie & pink child beanie are by “Perfectly Knotted“; light grey pom poms on baby and adult pink beanies are removable and attach through a button and elastic loop – find them on Amazon here) or yarn pom pom (optional)
Gauge: 9.5 sts and 14.5 rounds in dot stitch = 4″ in dot stitch
We will begin with the ribbing. Using 9 mm needles and long tail cast on (need 50″ tail for the cast-on), cast on 36 stitches.
R1-8: *K1, P1* around. (36 sts)
We will now begin the dot stitch. Switch to 10 mm needles,
R9: *P1, K3* around. (36 sts)
R10: Knit around. (36 sts)
R11: K2. *P1, K3*, repeat around until two stitches remain. P1, K1. (36 sts)
R12: Knit around. (36 sts)
Rounds 9-12 make up the four round repeat that will be repeated for the body of the hat.
R13-24: Repeat Rounds 9-12.
R25: *P1, K3* around. (36 sts)
We will now begin the decreases and crown shaping. The purl stitches will no longer exactly line up, but it is not noticeable towards the top.
R26: *K7, K2tog*, rep 4 times. (32 sts).
R27: K2. *P1, K3*, repeat around until two stitches remain. P1, K1. (32 sts)
R28: *K6, K2tog*, rep 4 times. (28 sts)
R29: *P1, K3* around. (28 sts)
R30: *K2tog*, rep 14 times. (14 sts)
Cut yarn and thread tail through remaining stitches. Pull tight, tie knots and hide end.
Finished dimensions: 15″/38 cm in circumference, 8″/20 cm in height
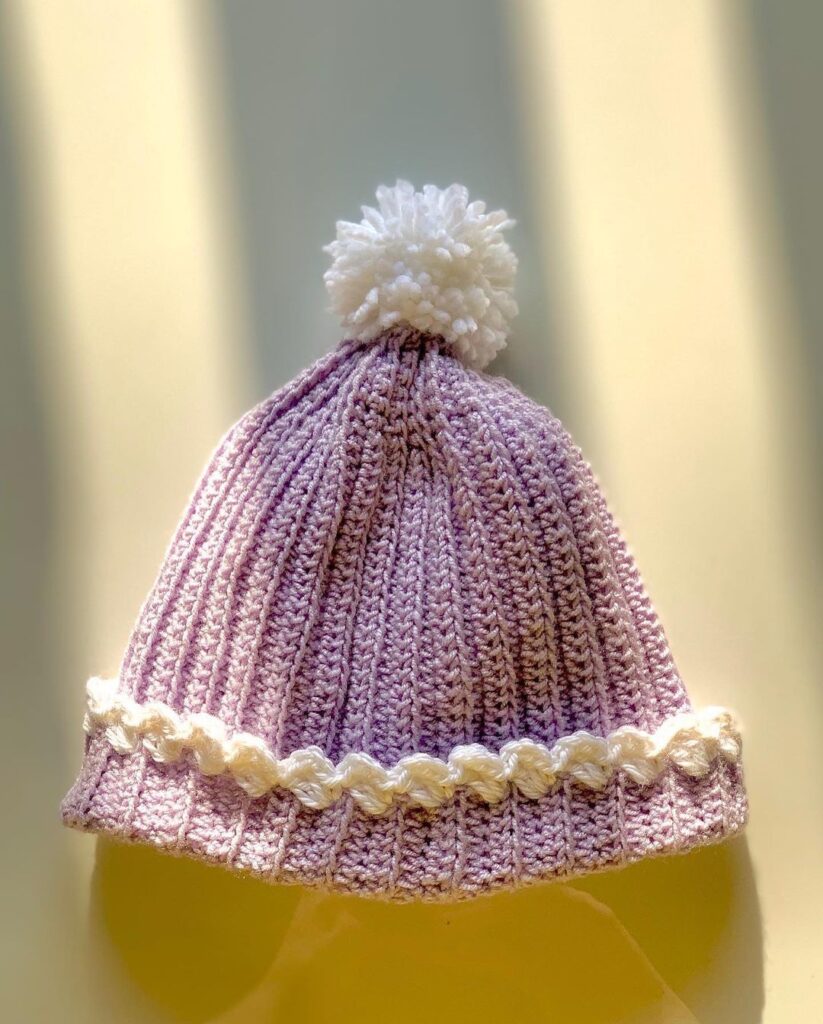
s a bonus, here is a BABY SIZE that I just whipped up too:
We will begin with the ribbing. Using 9 mm needles and long tail cast on (need 45″ tail for the cast-on), cast on 32 stitches.
R1-6: *K1, P1* around. (32 sts)
We will now begin the dot stitch. Switch to 10 mm needles,
R7: *P1, K3* around. (32 sts)
R8: Knit around. (32 sts)
R9: K2. *P1, K3*, repeat around until two stitches remain. P1, K1. (32 sts)
R10: Knit around. (32 sts)
Rounds 7-10 make up the four round repeat that will be repeated for the body of the hat.
R11-21: Repeat Rounds 7-10. (You will end on a R9 repeat.)
We will now begin the decreases and crown shaping. The purl stitches will no longer exactly line up, but it is not noticeable towards the top.
R22: *K2, K2tog*, rep 8 times. (24 sts)
R23: *P1, K3* around. (24 sts)
R24: *K2tog*, rep around. (12 sts)
R25: *K2tog*, rep around. (6 sts)
Cut yarn and thread tail through remaining stitches. Pull tight, tie knots and hide end.
Finished dimensions: 13.5″/34 cm in circumference, 7″/18 cm in height
Feel free to tag me (@freeamigurumii) in your photos on Instagram or Facebook if you’d like!
All Finished.