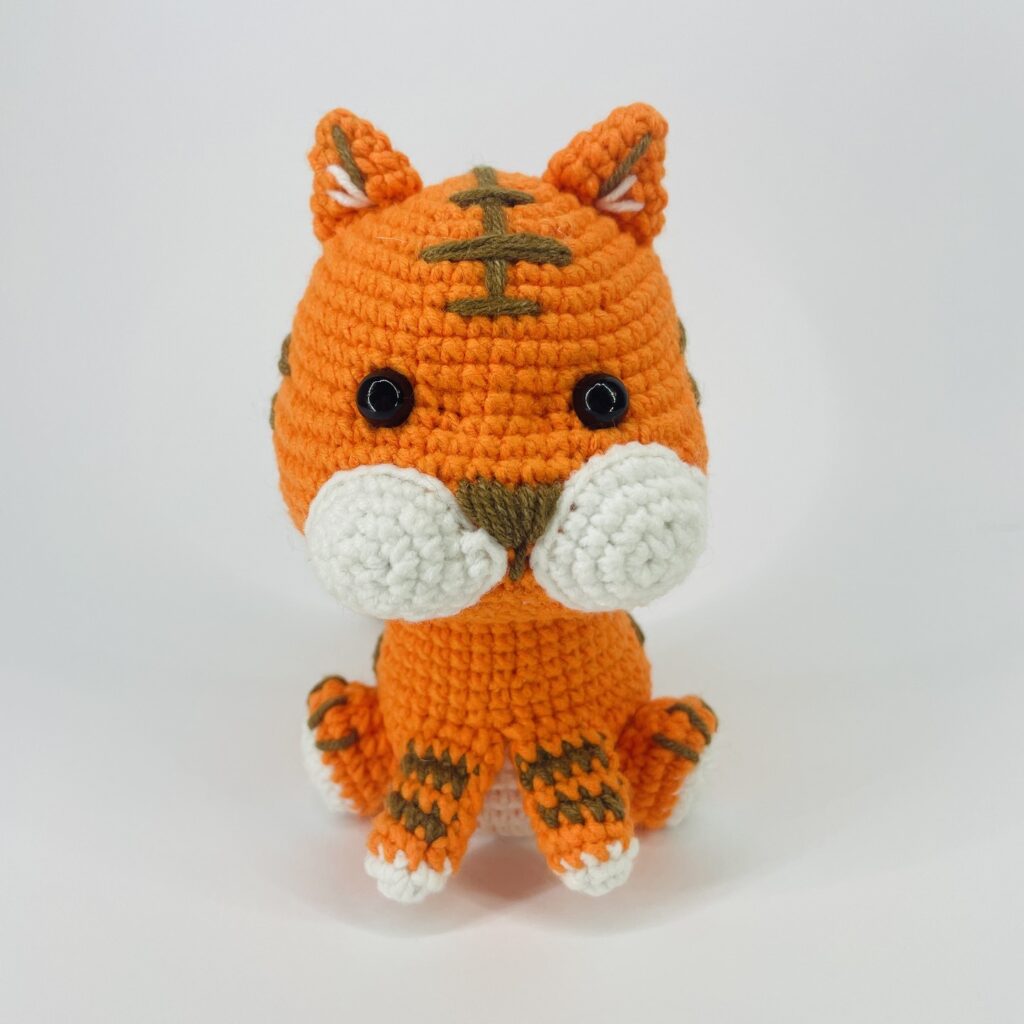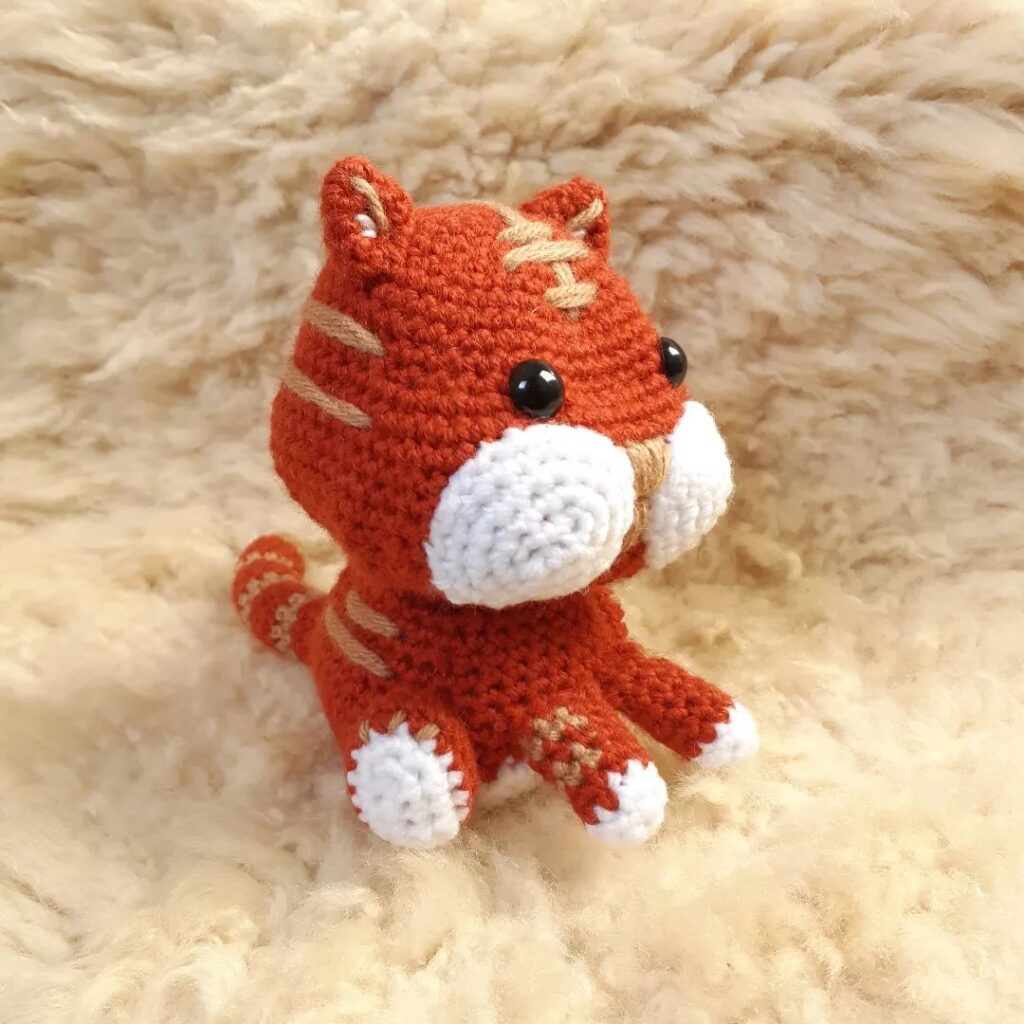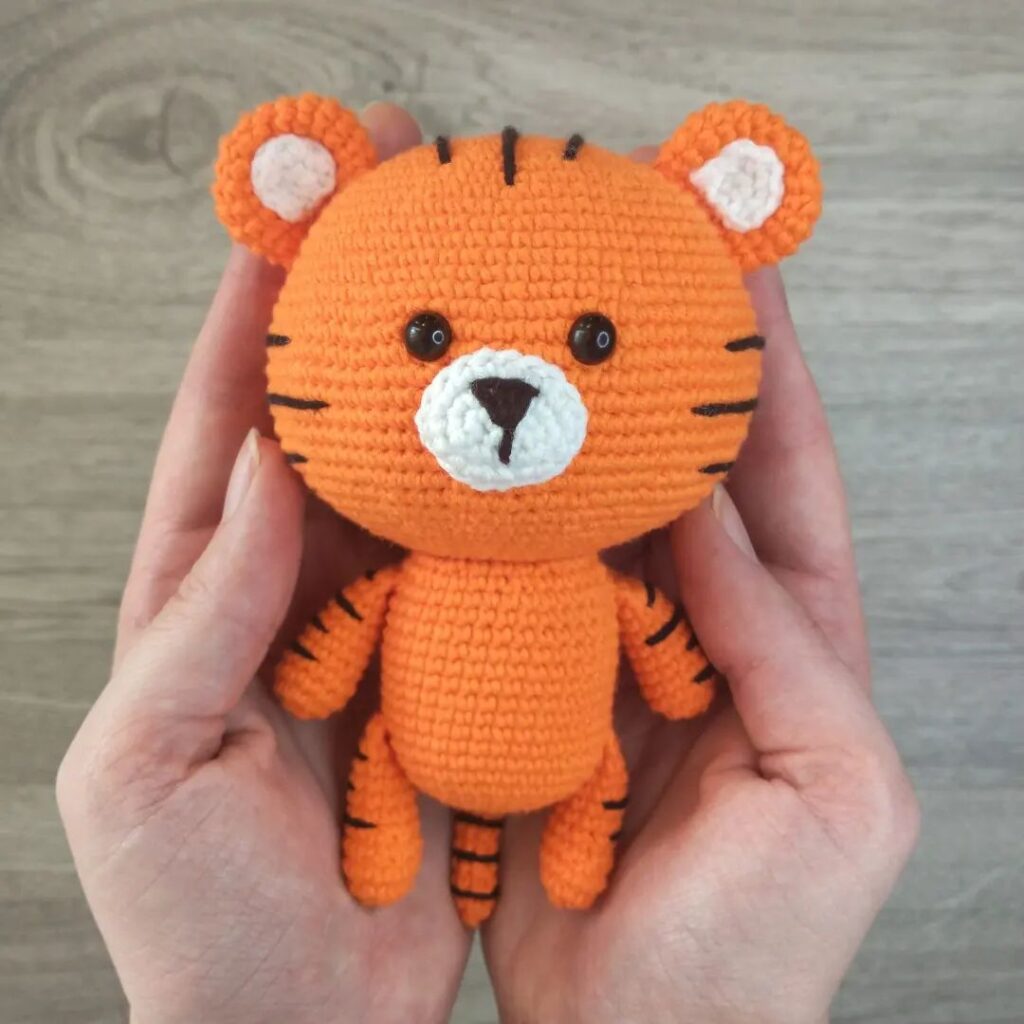
Amigurumi Tiger Crochet Pattern
Hello amigurumi lovers and beautiful visitors, I wanted to share the free amigurumi patterns for you here. In my article I will share 1 pattern and how to make it for you. At the end of my article, I will share amigurumi patterns that can generate ideas for you.
Materials Needed:
- Sport weight cotton yarn in orange, white and black colour.
- 2 mm crochet hook.
- Fiber fill for stuffing.
- 8 mm safety eyes.
- Tapestry needle.
- Black embroidery thread and needle.
Head:
Using orange colour yarn,
R1: 6 sc in a magic ring (6).
R2: Inc in each st (12).
R3: [ Sc, inc ] x 6 (18).
R4: [ Sc 2, inc ] x 6 (24).
R5: [ Sc 3, inc ] x 6 (30).
R6: [ Sc 4, inc ] x 6 (36).
R7: [ Sc 5, inc ] x 6 (42).
R8-15: Sc in each st (42).
R16: [ Sc 4, dec ] x7 (35).
R17: [ Sc 3, dec ] x 7 (28).
Insert 8 mm safety eyes between R13 and R14 with 7 stitches in between.
Start stuffing with fiberfill and continue to stuff as you go.
R18: [ Sc 2, dec ] x 7 (21).
R19: [ Sc, dec ] x 7 (14).
Stuff firmly and fasten off leaving a long tail for sewing.
Ears (make 2):
Using orange colour yarn,
R1: 6 sc in magic ring (6).
R2: Inc in each st (12).
R3: Sc in each st (12).
Fasten off leaving a long tail for sewing.
Muzzle:
Using white colour yarn,
R1: 6 sc in magic ring (6).
R2: Inc in each st (12).
Fasten off invisibly leaving a long tail for sewing.
Embroider a triangle shape for nose using black embroidery thread.
Arms (make 2):
Using orange colour yarn,
R1: 6 sc in magic ring (6).
R2: [ Sc 2, inc ] x 2 (8).
R3-R7: Sc in each st (8).
Sc through both the top layers to close.
Fasten off leaving a long tail for sewing.
Legs (make 2):
Using orange colour yarn,
R1: 6 sc in magic ring (6).
R2: [ Sc, inc 2 ] x 2 (10).
R3-5: Sc in each st (10).
Fasten off the first leg but don’t cut off the yarn in second one. Stuff the legs and continue to body part.
Body:
R6: With the second leg, chain 2 and join to the first leg and sc around the first leg (10 sts), sc in the 2 chains (2 sts), sc around the second leg (10 sts) and sc in the other side of 2 chains (2 sts). [24 sts in total].
R7-14: Sc in each st (24).
R15: [ Sc 2, dec ] x 6 (18).
R16: Sc in each st (18).
R17: Sc 3, dec 2, sc 5, dec 2, sc 2 (14).
Stuff the body, fasten off and weave in the ends.
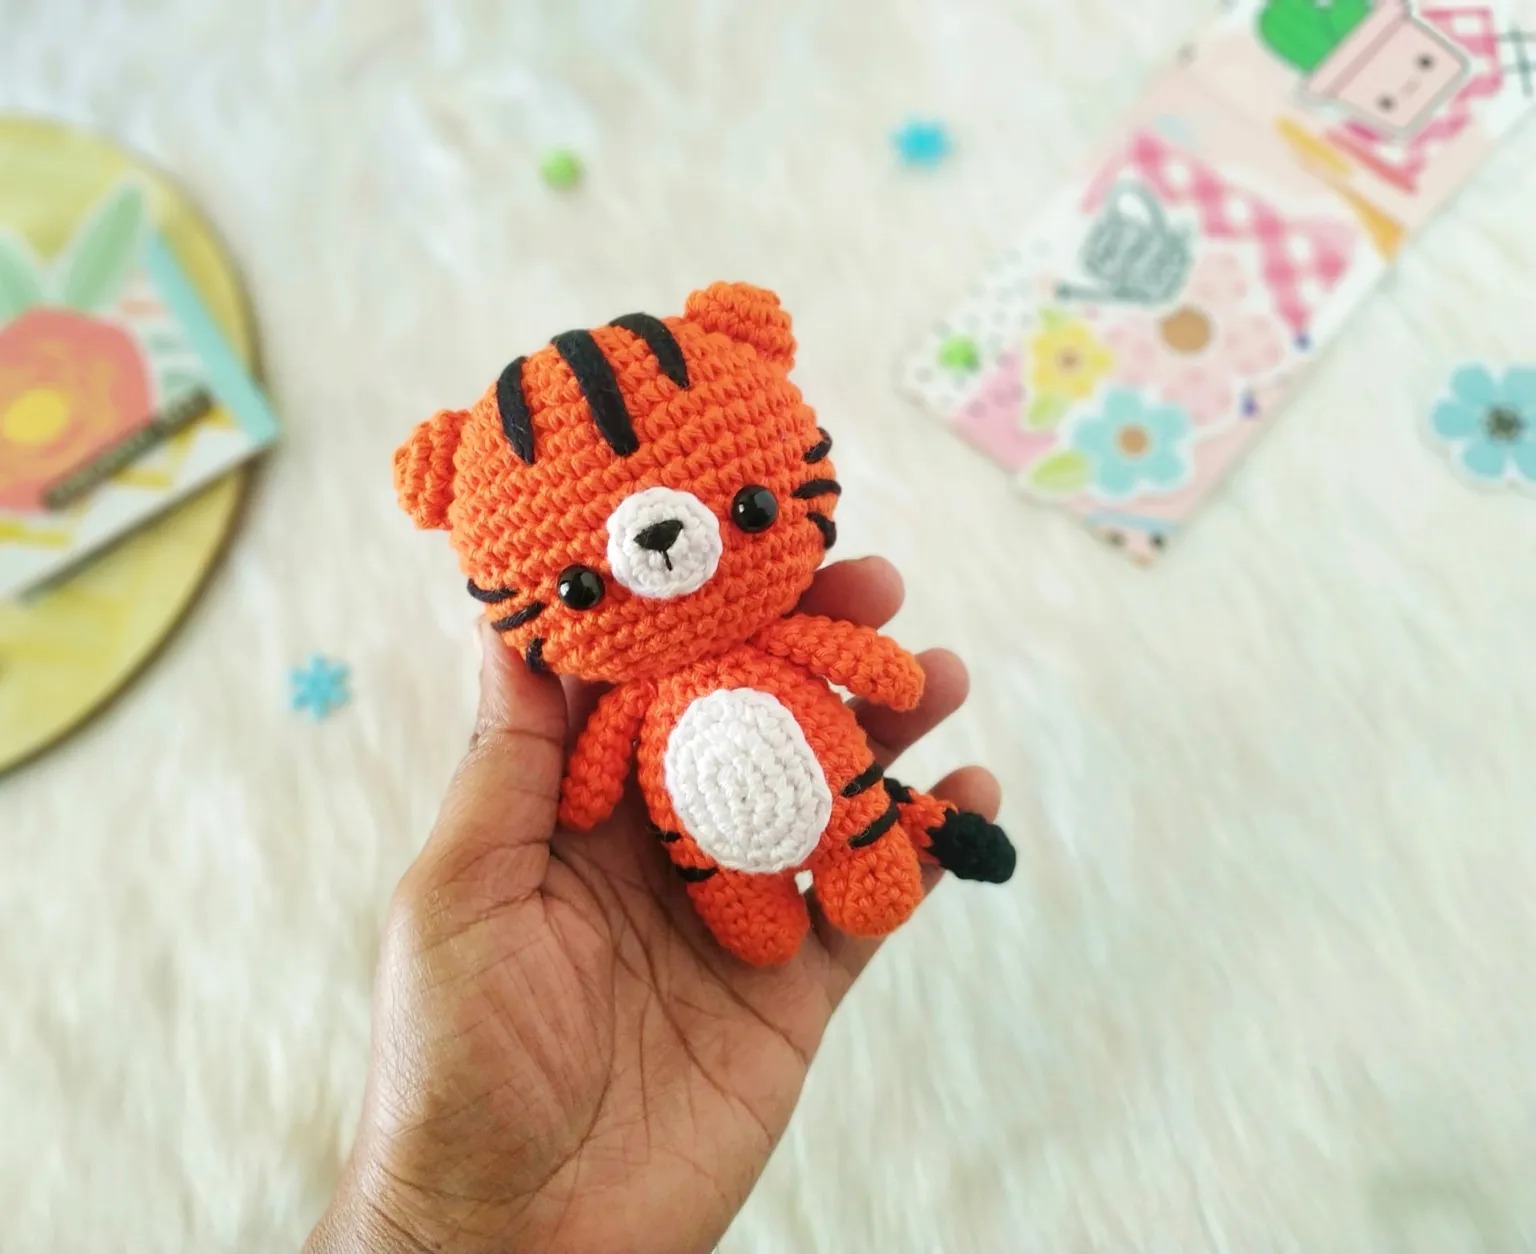
Belly patch:
Using white colour yarn,
R1: ch 5, starting from 2nd ch on hook, sc 3, 3 sc in last ch. Continue to work on other side of the chain and sc 2, inc in last (10).
R2: Inc, sc 2, inc 3, sc 2, inc 2 (16).
R3: Sc, inc, sc 2, (sc, inc) x 3, sc 2, (sc, inc) x 2 (22).
Fasten off invisibly leaving a long tail for sewing.
Tail:
Start with black colour yarn,
R1: 6 sc in magic ring.
R2: [ Sc 2, inc ] x 2 (8).
R3: Sc in each st (8).
R4-R5: (Orange colour) Sc in each st (8).
R6-R7: (Back colour) Sc in each st (8).
R8-R9: (Orange colour) Sc in each st (8).
R10-R11: (Black colour) Sc in each st (8).
R12: (Orange colour) Sc in each st (8).
Sc through both the top layers to close. Fasten off leaving a long tail for sewing.
Assembling:
- Sew the muzzle in between the eyes.
- Attach the ears from R6-R9 of the head.
Forehead stripes:
- Using tapestry needle and black yarn, sew 3 long stripes from top of the head to R9 at the center.
- Sew 2 more stripes from R2 to R8 on both sides from center.
Side stripes:
- Make 2 center stripes covering 7 stitches on R13, two stitches away from the eyes.
- Make 2 stripes slantingly from R12 to R11 and another from R14-R15, 3 stitches away from the eyes.
- Attach the head to body using the remaining yarn tail.
- Add in belly patch to the center of the body.
- Sew the arms where the head and body meets.
- Add in two stripes covering about 4 stitches on R8 and R10 from the bottom of the body
- Finally sew the tail slantingly between R11 and R12 at the back of the body.
Feel free to tag me (@freeamigurumii) in your photos on Instagram or Facebook if you’d like!
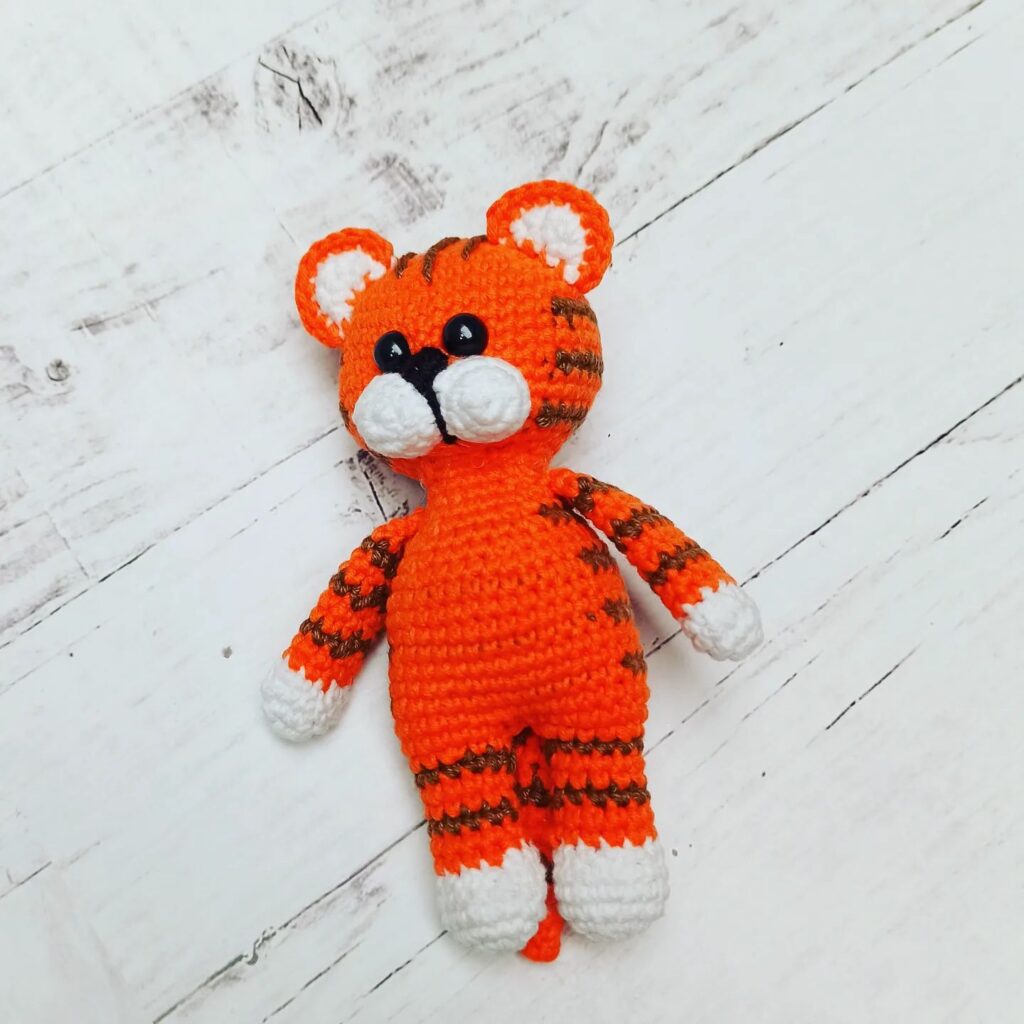
All Finished.