AMIGURUMI TEDDY BEAR KEYCHAIN FREE PATTERN
Hello amigurumi lovers and beautiful visitors, I wanted to share the free amigurumi patterns for you here. In my article I will share 1 pattern and how to make it for you. At the end of my article, I will share amigurumi patterns that can generate ideas for you.
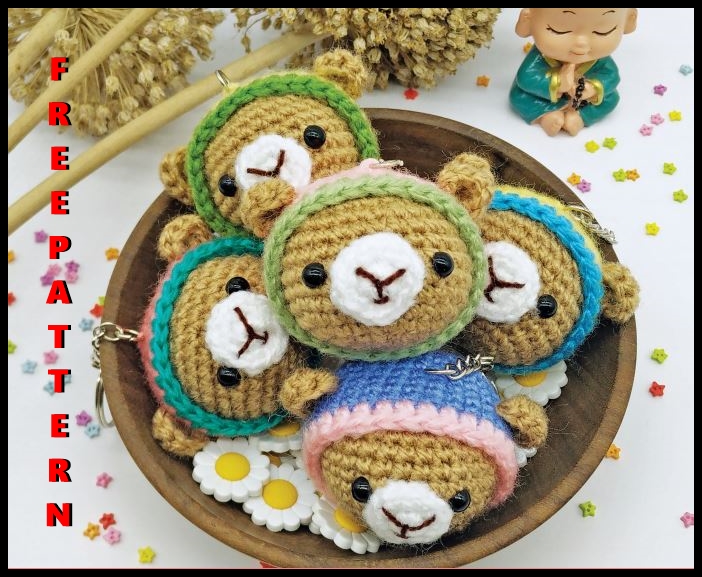
If you enjoy making amigurumi, here I share this easy and free amigurumi pattern for you for free. Your kids will love these toys.
Materials
• Sock weight yarn in light brown for teddy
bear, white for muzzle, Color 1 for hat and
Color 2 for hat band
• Crochet or embroidery thread in dark
brown
• 2.5mm crochet hook
• A pair of 6mm black safety eyes
• Polyfiber fill for stuffing
• Sewing needle
• Keychain with ring
Terminology (US)
magic ring
stitch (st)
single crochet (sc)
half double crochet (hdc)
double crochet (dc)
increase (inc)
decrease (dec)
slip stitch (sl st)
Skill level: Easy
HEAD
Note: The head is worked from the bottom up.
Round 1: With light brown yarn, 6 sc in a magic ring. (6)
Round 2: inc X 6. (12)
Round 3: (sc, inc) X 6. (18)
Round 4: (2 sc, inc) X 6. (24)
Round 5: (3 sc, inc) X 6. (30)
Round 6-11: sc around. (30)
Round 12: (3 sc, dec) X 6. (24)
Round 13: (2 sc, dec) X 6. (18)
Insert 6mm safety eyes between Round 7 & 8, 5 st
apart.
Round 14: (sc, dec) X 6. (12)
Stuff firmly.
Round 15: dec X 6. (6)
Fasten off and sew gap closed.
MUZZLE
Round 1: With white yarn, 6 sc in a magic ring. (6)
Round 2: inc X 6; sl st in the first st to join. (12)
Fasten off, leaving a long tail for sewing.
NOSE & MOUTH
Using crochet/embroidery thread in dark brown, embroider a Y with a short horizontal line below it on the
muzzle [see diagram on next page]. Sew the muzzle
between the eyes between Round 4 & 9 of the head.
EAR [make 2]
Round 1: With light brown yarn, 1 hdc, 4 dc, 1 hdc in a
magic ring.
Pull the tail of the magic ring to close it and form a
semi-circle. Leave a long tail for sewing.
HAT
Round 1-11: With Color 1, follow instructions Head.
Round 12: Join Color 2, ch 1 and hdc around; sl st in
the first st to join. (30)
Fasten off, leaving a long tail for sewing.
Sew ears between Round 9 & 10 of the hat, 8 st apart.
FINISHING
Secure keychain on Round 7 of the hat, just
between the ears. Place hat over the head and
sew it in place.