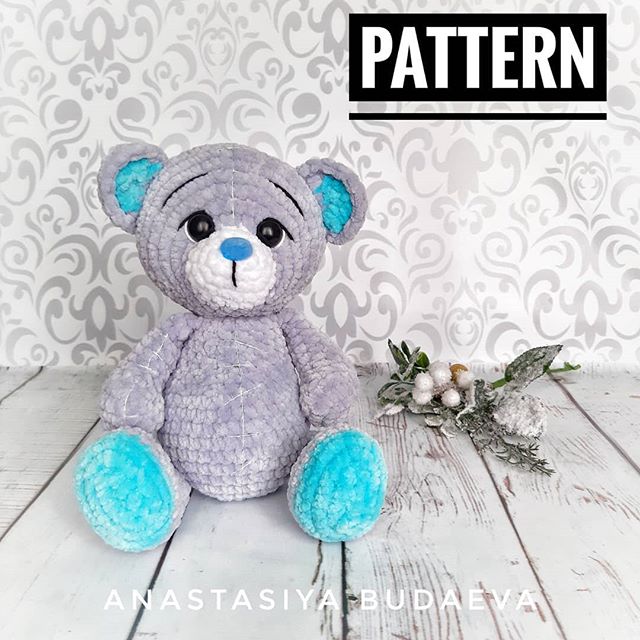
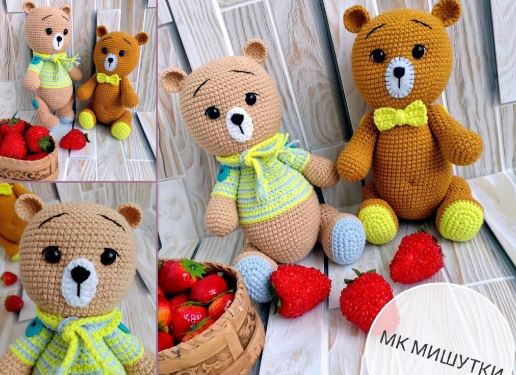
AMIGURUMI TEDDY BEAR FREE CROCHET PATTERN
Hello amigurumi lovers and beautiful visitors, I wanted to share the free amigurumi patterns for you here. In my article I will share 1 pattern and how to make it for you. At the end of my article, I will share amigurumi patterns that can generate ideas for you.
If you enjoy making amigurumi, here I share this easy and free amigurumi pattern for you for free. Your kids will love these toys.
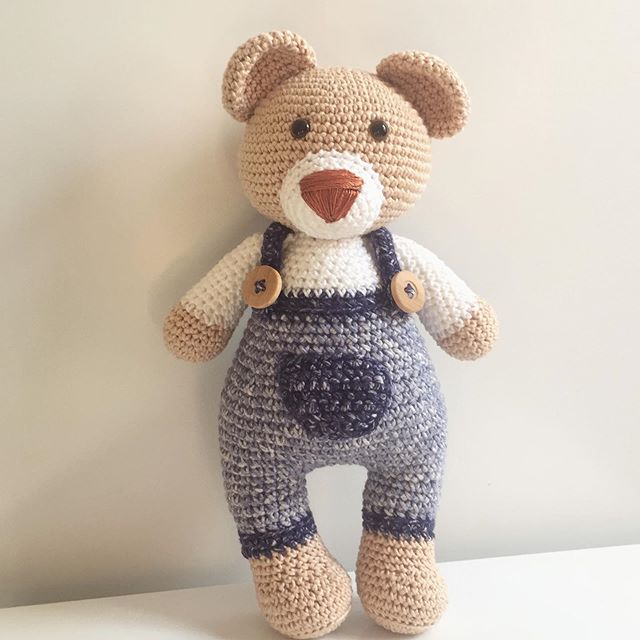
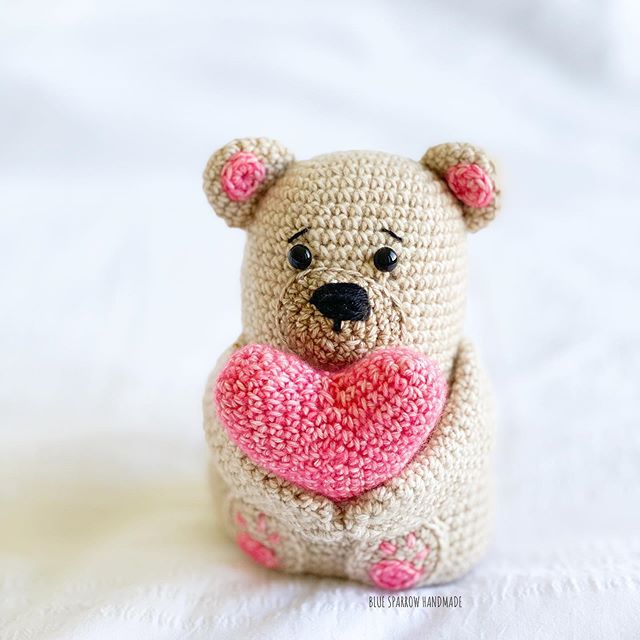
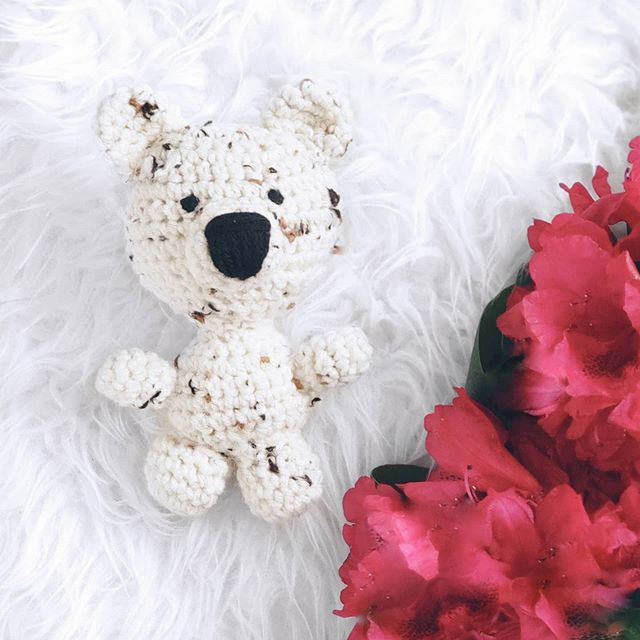
A new free pattern amigurumi teddy bear is for you. For more patterns, please visit our site.
Pattern: Alina Erukova
Crochet workshop
A toy, according to this description, can be used at its discretion, sale, including via the Internet, is allowed
Please indicate the name of the author when showing the toy, I will be very grateful to you!)
Have a nice knitting !!!
Materials
- Yarn (I use jarnart jeans, one plain teddy bear took a little less than a skein)
- Additional color yarn
- White felt for the muzzle (you can knit the muzzle)
- Hook number 1.75
- Filler (I use holofiber)
- Eyes 7 mm or 8 mm
- 4 buttons
- Needle for sewing parts, marker, scissors, threads
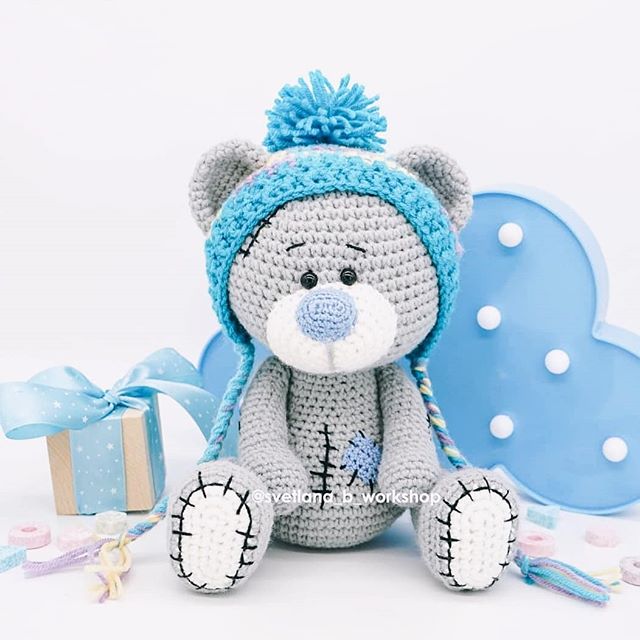
- When using the necessary materials, Mishutka turns out to be about 24 cm tall)))
Legend
İnc – single crochet
Dc – Double crochet
İnc – increase
Dec – decrease
Ch – air loop
Sl-st – connecting column
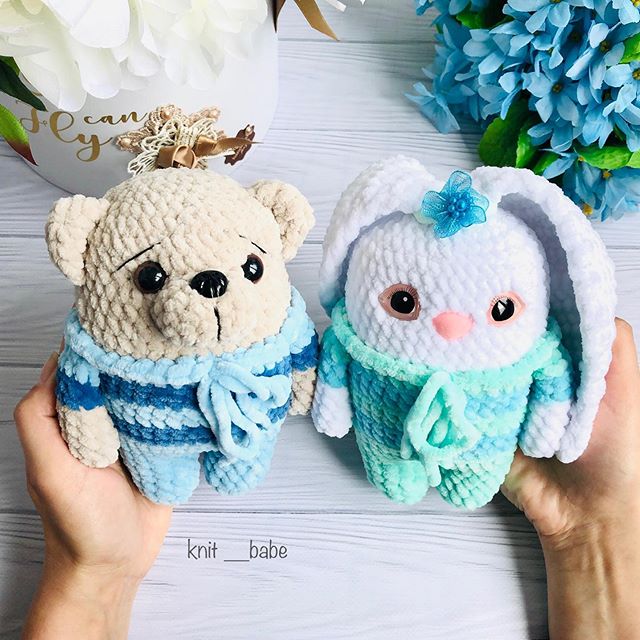
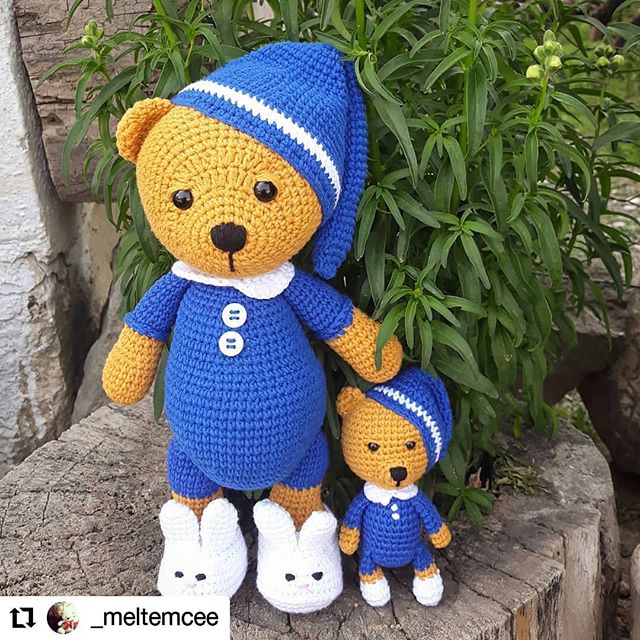
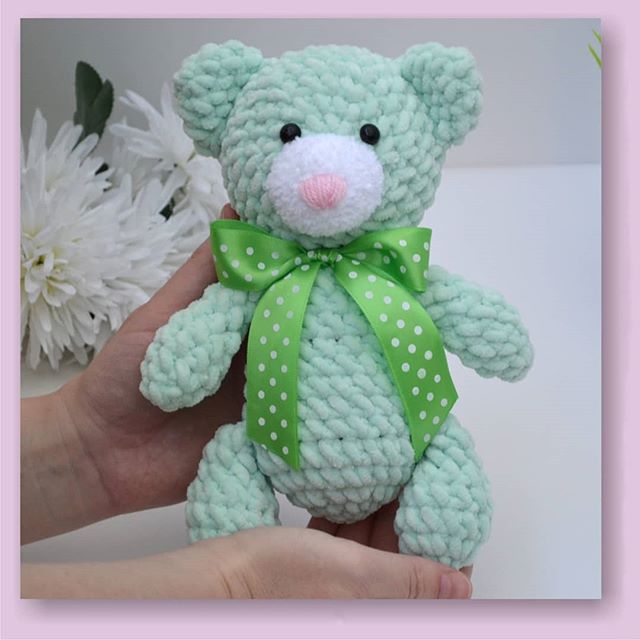
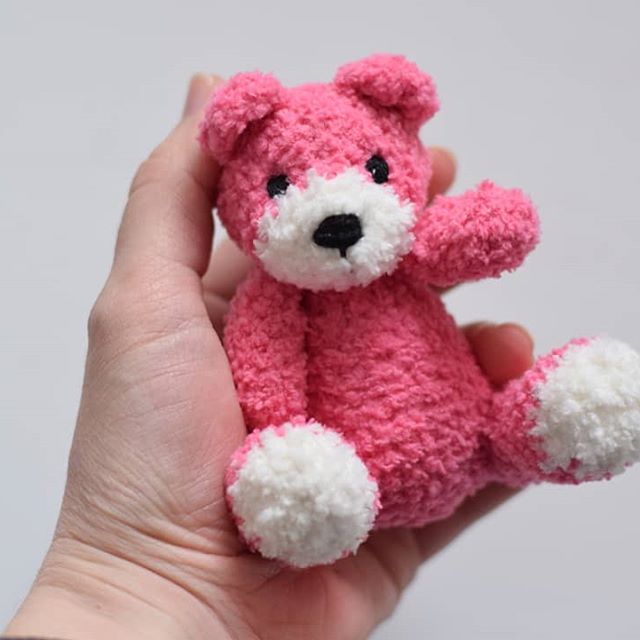
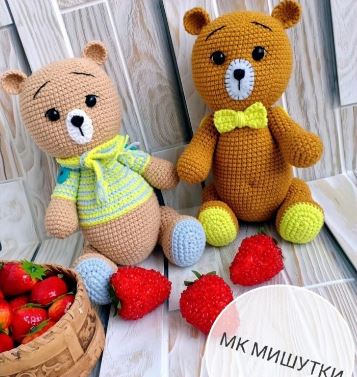
Both Bears are connected according to the same description, but are slightly different from each other. Depends on where you decide will be in front of the toys))) We knit in a spiral. We fill in the course of knitting.
The body and head are knitted in one piece:
1.6 inc into magic ring (6)
2. (inc) * 6 (12)
3. (inc, inc) * 6 (18)
4. (2 inc, inc) * 6 (24)
5. (3 inc, inc) * 6 (30)
6. (4 inc, inc) * 6 (36)
7. (5 inc, inc) * 6 (42)
8. (6 inc, inc) * 6 (48)
9. (7 inc, inc) * 6 (54)
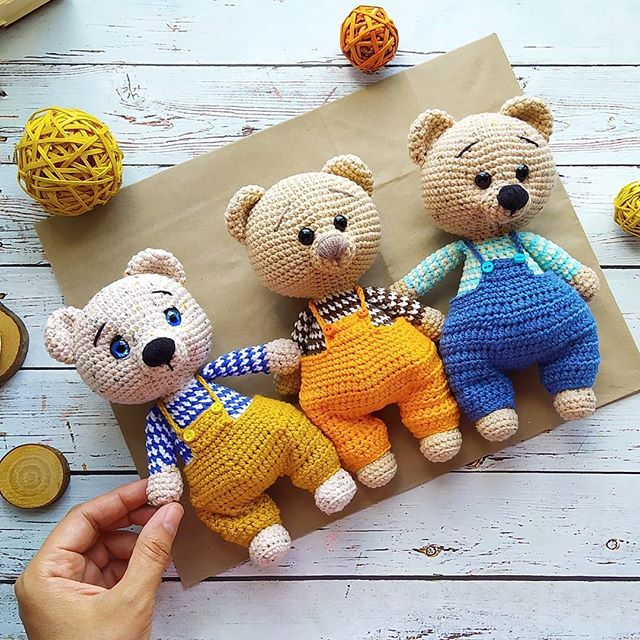
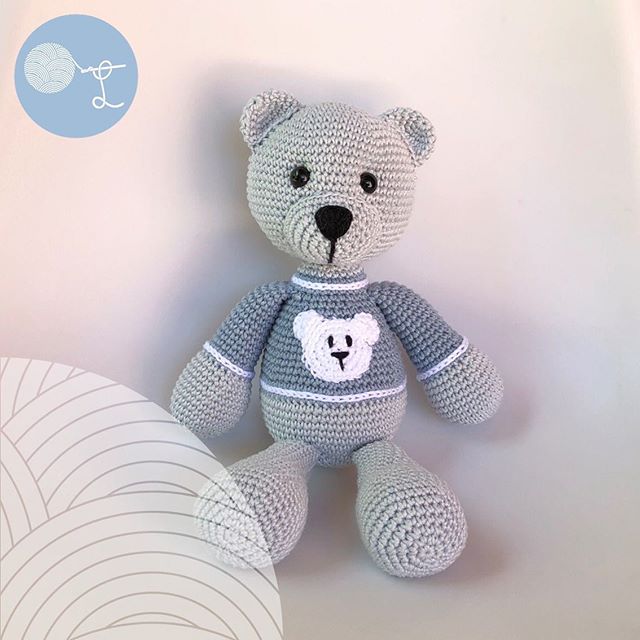
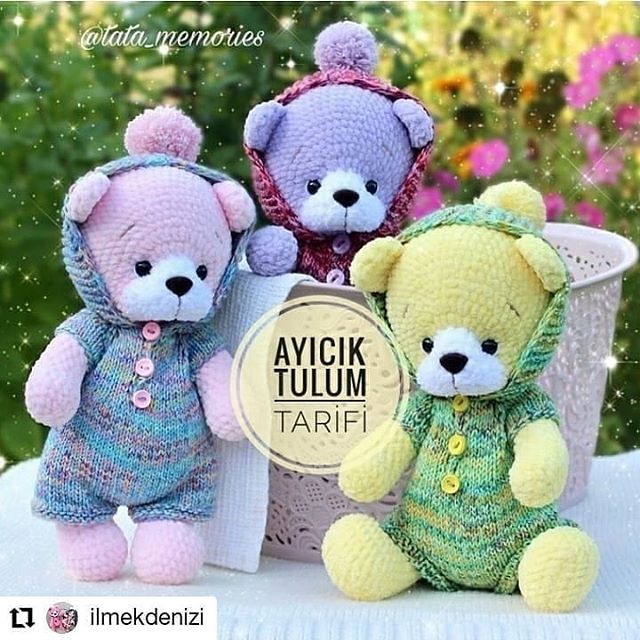
10. (8 inc, inc) * 6 (60) If Mishutka is in a sweater, then from the 19th row we knit with additional color yarn. Where the transition of yarn can be sewn with a chain stitch.
11. – 20. 60 inc (60) 10 rows
21. (2 inc, dec) * 6, 36 inc (54)
22. – 24. 54 inc (54) 3 rows
25. (inc, dec) * 6, 36 inc (48)
26.- 27. 48 inc (48) 2 row
28. (dec) * 6, 36 inc (42)
29. 42 inc (42)
30. (5 inc, dec) * 6 (36)
31.36 inc (36)
32. (4 inc, dec) * 6 (30)
33. 30 inc (30)
34. (3 inc, dec) * 6 (24)
We continue to knit a head:
35. (3 inc, inc) * 6 (30)
36. (4 inc, inc) * 6 (36)
37. (5 inc, inc) * 6 (42)
38. (6 inc, inc) * 6 (48)
39. (7 inc, inc) * 6 (54)
40. (8 inc, inc) * 6 (60)
41. 60 inc (60)
42. (9 inc, inc) * 6 (66)
43. – 55. 66 inc 13 rows
Eyes if on a secure mount, then insert between 49 and
50 rows at a distance of 7 inc. Fix your eyes where you like best.
Do you want the pot-bellied Mishutka fasten, where it is more convex.
56. (9 inc, dec) * 6 (60)
57. (8 inc, dec) * 6 (54)
58. (7 inc, dec) * 6 (48)
59. (6 inc, dec) * 6 (42)
60. (5 inc, dec) * 6 (36)
61. (4 inc, dec) * 6 (30)
62. (3 inc, dec) * 6 (24)
63. (2 inc, dec) * 6 (18)
64. (inc, dec) * 6 (12)
65. (dec) * 6 (6)
Pull the hole, hide the thread.
Ears
1.6 inc into magic ring (6)
2. (inc) * 6 (12)
3. (inc, inc) * 6 (18)
4.18 inc
5. Make (dec) * 3
Leave a thread for sewing.
Pens
1.6 inc into magic ring (6)
2. (inc) * 6 (12)
3. (inc, inc) * 6 (18)
4. (2 inc, inc) * 6 (24)
5. – 7. 24 inc (24) 3 rows
8. (dec) * 3, 18 inc (21)
9.21 inc (21)
10. (4 inc, dec) * 3, 3 inc (18)
11.2 inc, dec, 7 inc, dec, 5 inc (16)
12.2 inc, dec, 12 inc (15)
If Mishutka is in a sweater, then from the 13th row we knit with a yarn of a different color. Also sew a needle with a chain stitch, where the transition of yarn.
13. – 18. 15 inc (15) 6 rows
19.10 inc, dec, 3 inc (14)
20.14 inc (14)
21. (dec) * 7 (7)
Pull the hole, hide the thread)
Legs
We knit with additional color yarn.
Dial a chain of 6 Ch, from the second loop from the hook:
1.4 inc, 3 inc in one loop, on the other side 3 inc, inc (12)
2. İnc, 3 inc, (inc) * 4, 2 inc, (inc) * 2 (19)
3. (inc) * 2, 4 inc, (inc) * 5, 6 inc, (inc) * 2 (28)
4. İnc, inc, 7 inc, (inc) * 2, 3 inc, (inc) * 2, 9 inc, inc, 2 inc (34)
5. Change the color of the thread 34 inc (34)
6. – 7. 34 inc (34) 2 rows
8.11 inc, (dec) * 6, 11 inc (28)
9. dec, 10 inc, (dec) * 2, 12 inc (25)
10.10 inc, dec, 13 inc (24)
11. (2 inc, dec) * 6 (18)
12. – 15. 18 inc (18) 4 rows
16. (2 inc, inc) * 6 (24)
17.12 inc, inc, 10 inc, inc (26)
18. – 19. 26 inc (26) 2 rows
20. dec, 11 inc, dec, 11 inc (24)Paragraf
21. (2 inc, dec) * 6 (18)
22. (inc, dec) * 6 (12)
23. (dec) * 6 (6)
Pull the hole.
Tail
1.6 inc into magic ring (6)
2. (inc) * 6 (12)
3.12 inc (12)
Leave the thread for sewing.
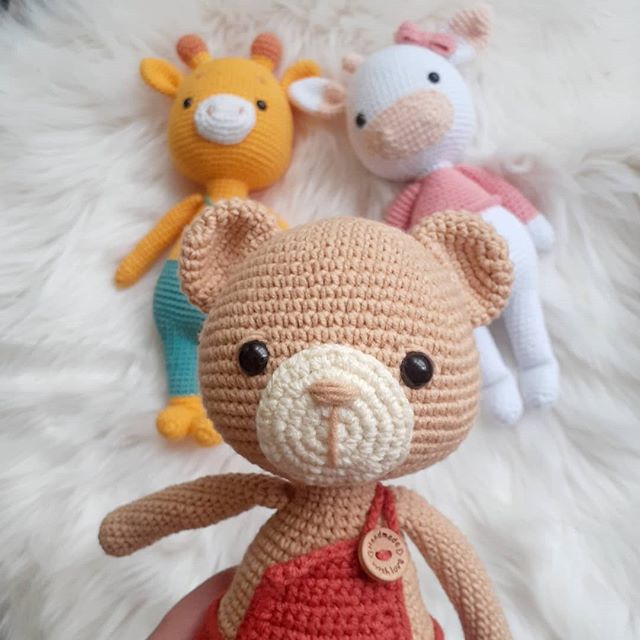
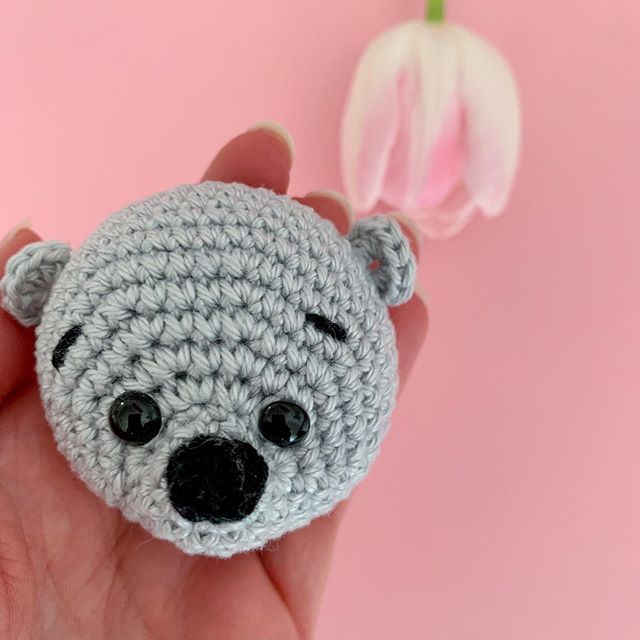
Muzzle
Muzzle, if it is made of felt: cut an oval measuring 3.5 cm by 2 cm. Embroider the nose. Sew the muzzle over the edge.
If knitted. Draw a chain of 7 Ch, into the second loop from the hook 5 Dc, 3 Dc in one loop, on the other side 4 Dc, inc Dc.
Muzzle decoration
Eye peening
We make the thread the main color. We start the needle at point 1 (the back of the head), leave the tip of the thread sticking out, bring it to point 2, then to point 3 and return to point 1. Without tearing the strings, do the same with the second eye. From point 1 we take to point 4, then to point 5, and return back to point
1 (see photo).
Tie the strings on the knot tightly tightened. The design of the face see photo)))
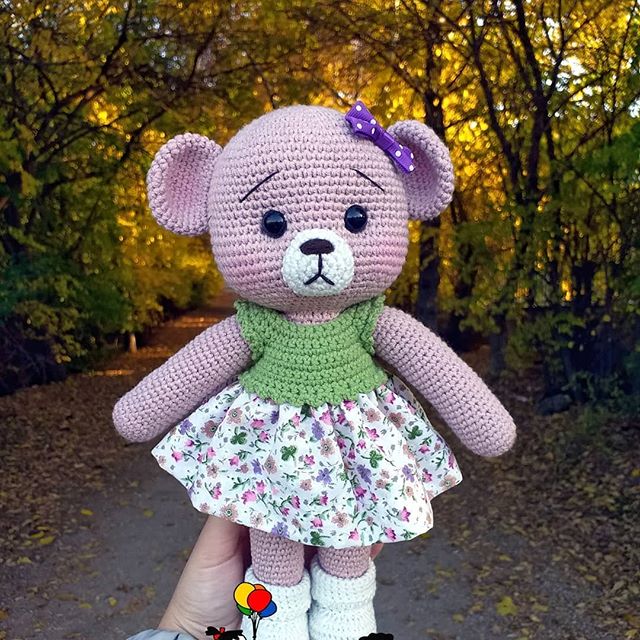
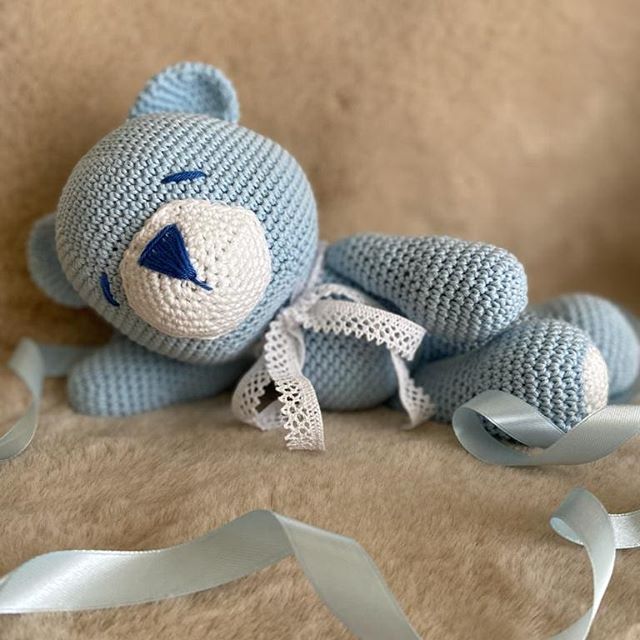
Knitted a scarf and a bow as an accessory.
Scarf: dial a chain of 95 Ch, in the second knit the loop from the hook inc into each loop. You can change the color of the thread and knit the desired number of rows, at the beginning of each row we make a lifting loop. (I have 2 rows)
Bow: Dial a chain of 11 Ch, in the second loop from the hook, tie 10 inc. Next, make a lifting loop, unfold the knitting and perform another 10 inc. Thus, you need to knit 5 rows. Link a chain of 60 Ch. The center of the bow is pulled together with a chain Ch.
Assembly
Handles and legs We will make a thread fastener.
Following the pattern, you can understand that the thread attachment of the limbs is quite simple.
For button fastening, we need strong buttons, a strong thread and a long needle. Although the buttons can be successfully replaced with strong beads.
Pull the thread in circles at the same level
through the body and two legs at once, pierce the thread in a very
close places, do not pull too much – these are the basic rules.
At the end of the work, carefully tighten the thread. For arms and legs, it is better to take separate strings, just in case.
Now the paws are spinning at the base – the toy can sit, hold something, fold or raise the paws.
Sew ears from the 8th row of the beginning of the head. The tail is at the level of the beginning of the legs.
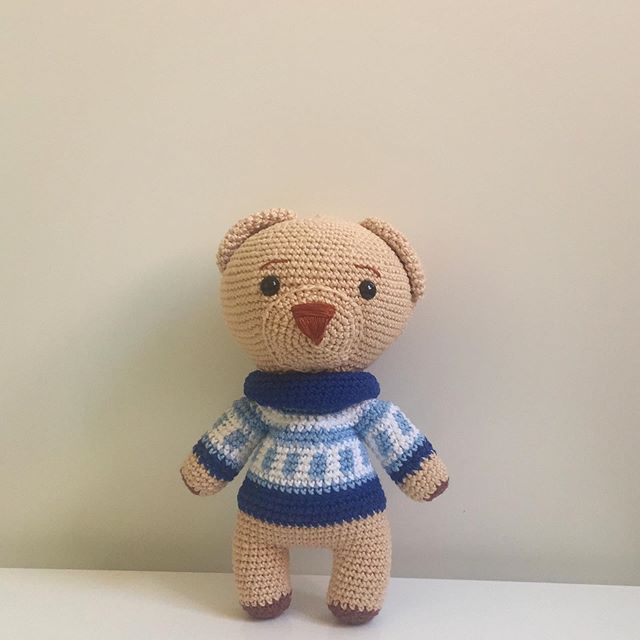
The teddy bear is ready !!!
More Amigurumi Bears Ideas: