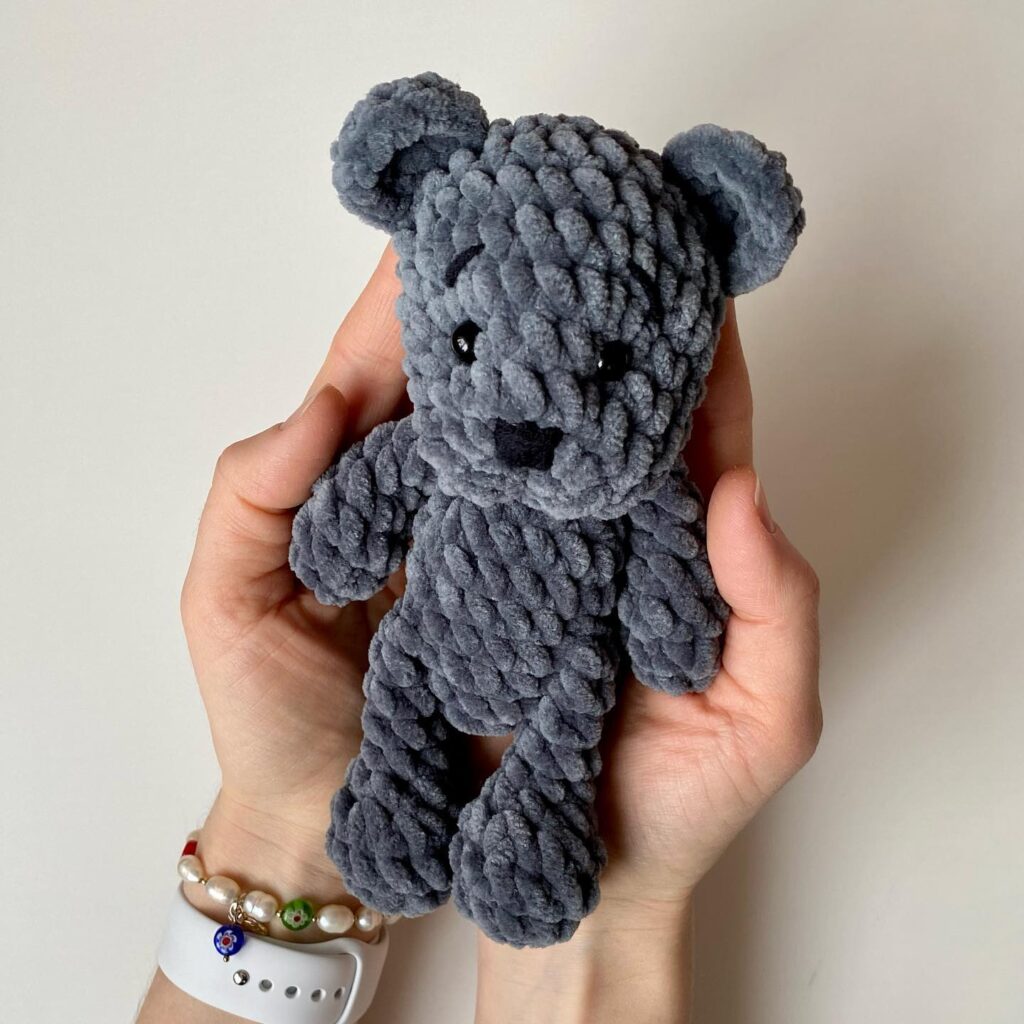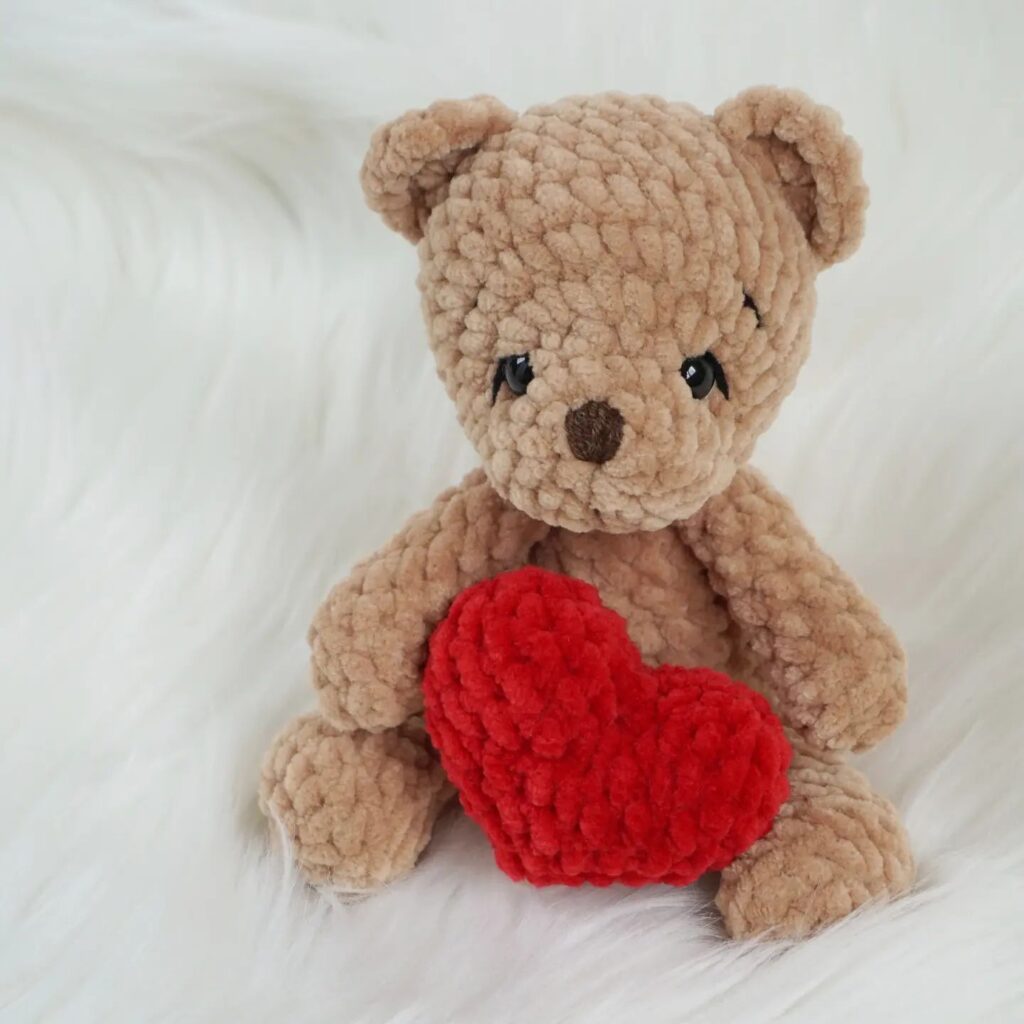
Amigurumi Teddy Bear Crochet Pattern
Hello amigurumi lovers and beautiful visitors, I wanted to share the free amigurumi patterns for you here. In my article I will share 1 pattern and how to make it for you. At the end of my article, I will share amigurumi patterns that can generate ideas for you.
Materials and tools:
- Yarn Himalaya Dolphin Beige No. 80317 (main color), white No. 80301 (secondary color)
- YarnArt Jeans black yarn No. 53 for embroidery and muzzle tie
- Hook 3.5-4.0 mm
- Eyelets 12 mm on a secure mount
- Plastic nose 12-13 mm
- Needle for sewing on parts
- scissors
- Filler for toys
Legend:
KA – ring amigurumi vp
– air loop
sbn – single column
ss – connecting column
pr – increase dec
– decrease
(…) x n – repeat n times
Legs (2 parts)
We start knitting with an additional color:
1: 6 sc in KA (6)
2: (pr) x 6 (12)
3: (1 sc, inc) x 6 (18)
4: 1 sc, inc, ( 2 sc, inc) x 5, 1 sc (24)
5: (3 sc, inc) x 6 (30)
Change the thread to the main color:
6: knit behind the back wall 30 sc
7: 30 sc
8: 3 sc, 6 yb, 3 sb (24)
9: 7 sb, 5 yb, 7 sb (19)
10: 6 sb, 3 yb, 7 sb (16)
Fill the leg with filler.
11-14: 16 sc (4 rows)
15: (6 sc, dec) x 2 (14)
16-17: 14 sc (2 rows)
We knit another +2 sc.
We fold in half and knit 7 sc together.
Ηit fasten and cut.
Handles (2 parts)
We start with an additional color:
1: 6 sc in KA (6)
2: (pr) x 6 (12)
3: (2 sc, inc) x 4 (16)
Change the thread to the main color:
4: Knit behind the back wally 16 sb
5: 16 sb
6: 5 sb, 3 yb, 5 sb (13)
7: 13 sb
8: 4 sb, 3 yb, 3 sb (10)
9-15: 10 sb (7 rows)
Knit + 2 sc.
Fold in half and knit together 5 sc.
Fasten and cut the thread.
Mοpdοchκa
Recruit 5 ch.
We knit from the 2nd loop from the hook on both sides of the chain, forming an oval :
1: from the second loop from the hook: inc, 2 sc, 3 sc in the last loop, turn: 3 sc (on the other side of the chain) (10)
2: 2 inc, 2 sc, 3 inc, 2 sc, inc (16)
3: (1 sc, inc) x 2, 2 sc, (1 sc, inc) x 3, 3 sc, inc (22)
4: 22 sc
Knit cc, fasten the thread, leave a long end for sewing.
Body
We knit in the main color:
1: 6 sc in KA (6)
2: (pr) x 6 (12)
3: (1 sc, inc) x 6 (18)
4: 1 sc, inc, (2 sc, inc) x 5, 1 sc (24)
5: (3 sc, inc) x 6 (30)
6: 2 sc, inc, (4 sc, inc) x 5, 2 sc (36)
7: (5 sc, inc) x 6 (42)
Β next row we knit legs.
8: 7 sc, 7 sc together with leg, 14 sc, 7 sc together with leg, 7 sc (42)
9-11: 42 sc (3 rows)
12: (5 sc, yb) x 6 (36)
13: 36 sb
14: 13 sb, 6 yb, 11 sb (30)
15: 30 sb
16: (3 sb, dec) x 6 (24)
17: 24 sb
18: (2 sb, yb) x 6 (18)
B the next row we knit the handles.
19: 4 sbn, 5 sbn together with the handle, 3 sbn, 5 sbn together with the handle, 1 sbn (18)
Knit another + 1 sbn, ss.
Fasten the thread, put a long end for sewing.
Head
with the main color:
1: 6 sc in KA (6)
2: (pr) x 6 (12)
3: (1 sc, inc) x 6 (18)
4: 1 sc, inc, (2 sc, inc) x 5, 1 sc (24)
5: (3 sc, inc) x 6 (30)
6: 30 sc
7: 2 sc, inc, (4 sc, inc) x 5, 2 sc (36)
8: (5 sc, inc) x 6 (42)
9: 3 sc, inc, (6 sc, inc) x 5, 3 sc (48)
10-13: 48 sc (4 rows)
14: (6 sc, yb) x 6 (42)
15: (5 sc, yb) x 6 (36)
16: (4 sc, dec) x 6 (30)
17: (3 sc, dec) x 6 (24)
18: (2 sc, yb) x 6 (18)
Knit ss, fasten the thread, cut.
Ears (2 parts)
1: 6 sc in KA (6)
2: (inc) x 6 (12)
3: (1 sc, inc) x 6 (18)
4-5: 18 sc (2 rows)
Knit cc, fasten the thread, leave a long end for sewing to the head.
(Do not knit the ears together).
Assembly and decoration
1. It is good to fill the head with filler, pay special attention to the cheeks.
2. Insert the eyes in the 9th row, where they did (inc, 6 sbn, inc), that is, insert the first eye into one increase, skip 6 sbn and insert the second eye into the next increase. Before fixing the eyes, check that they are evenly spaced! If not, then move 1 sc to the right or left.
3. We begin to sew on the muzzle between 9 and 15 rows. When sewn to the middle, fill with filler and insert the spout between 4-5 rows so that it is in the middle of the eye. If everything is smooth, we fix the nose and finish sewing on the muzzle.
4. Sew the ears evenly between 2 and 8 rows.
5. We make an eye retraction.
6. We embroider a muzzle and eyebrows.
7. Sew the head to the body.
Feel free to tag me (@freeamigurumii) in your photos on Instagram or Facebook if you’d like!
All Finished.