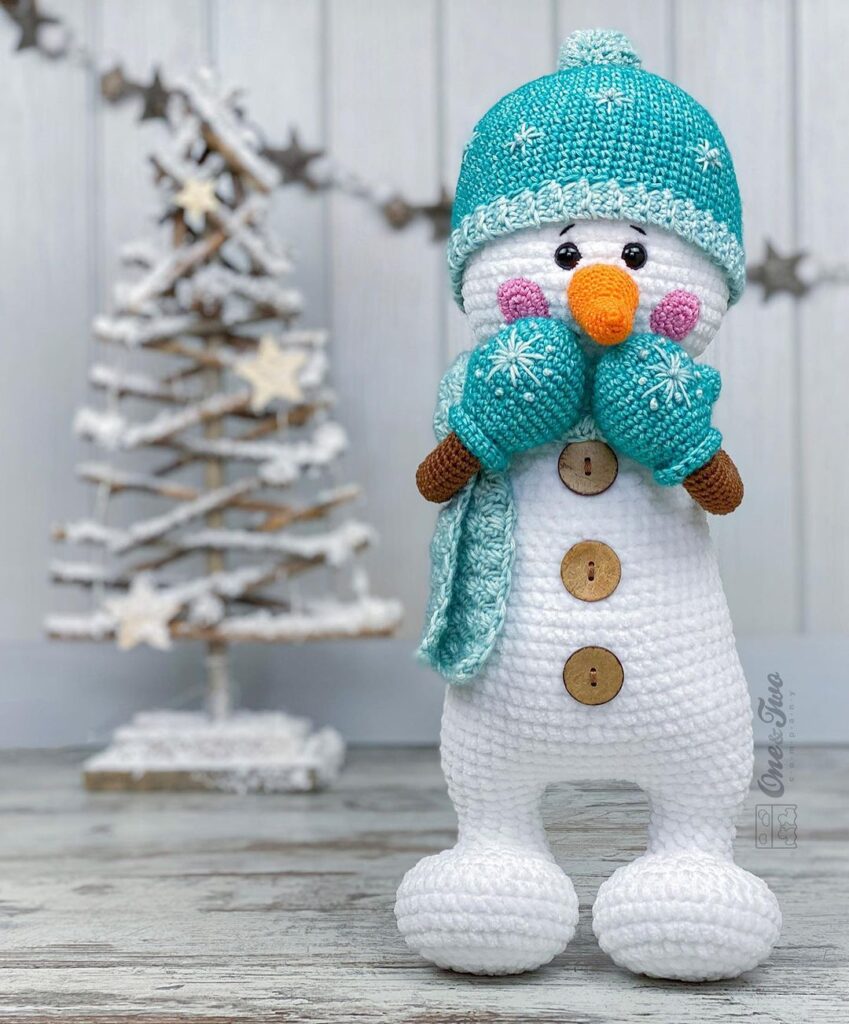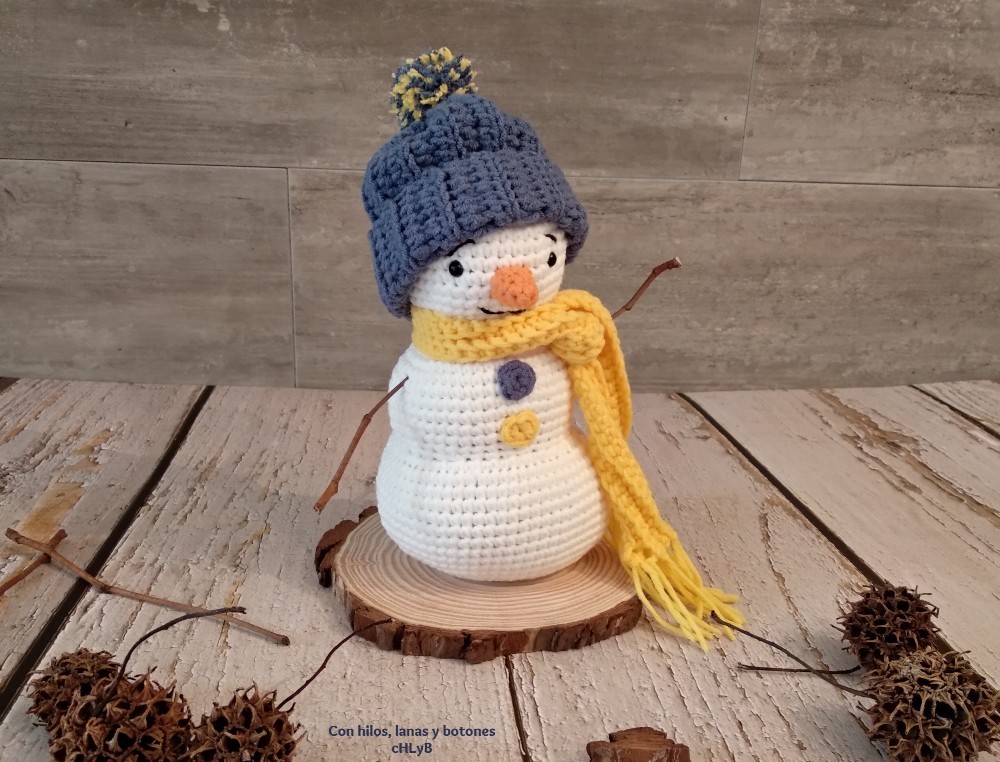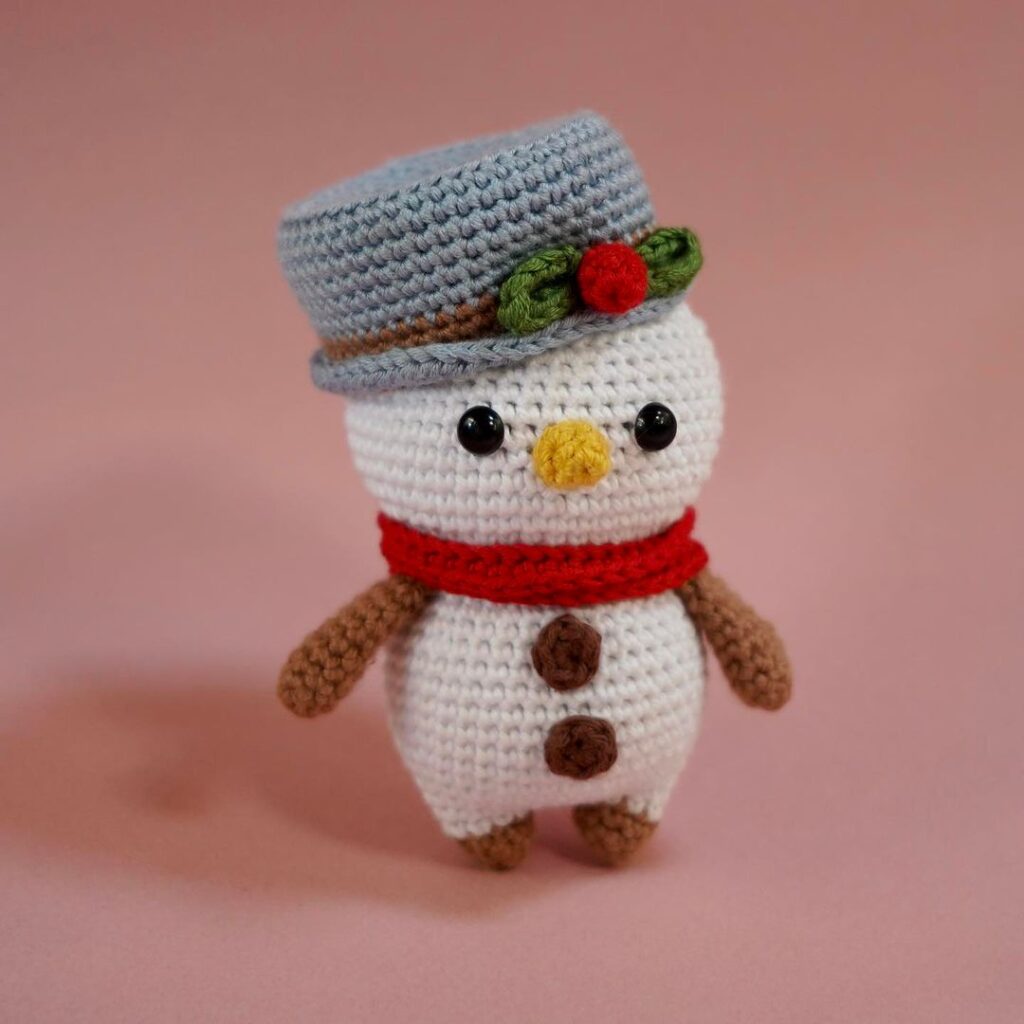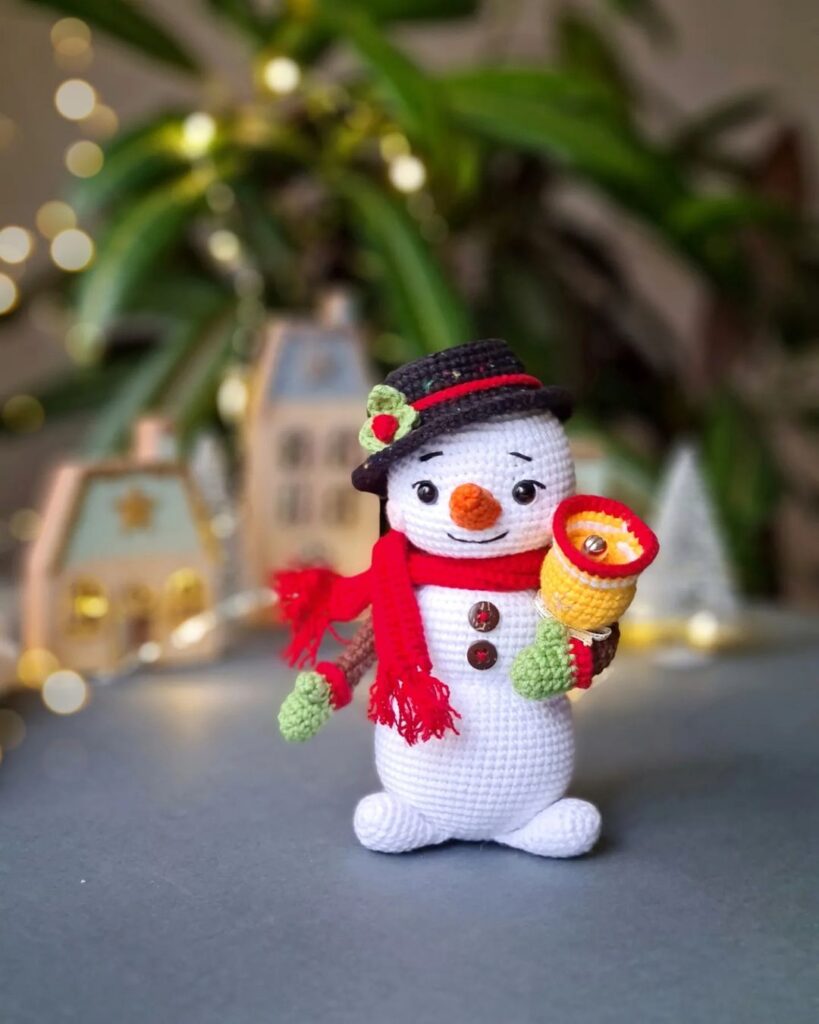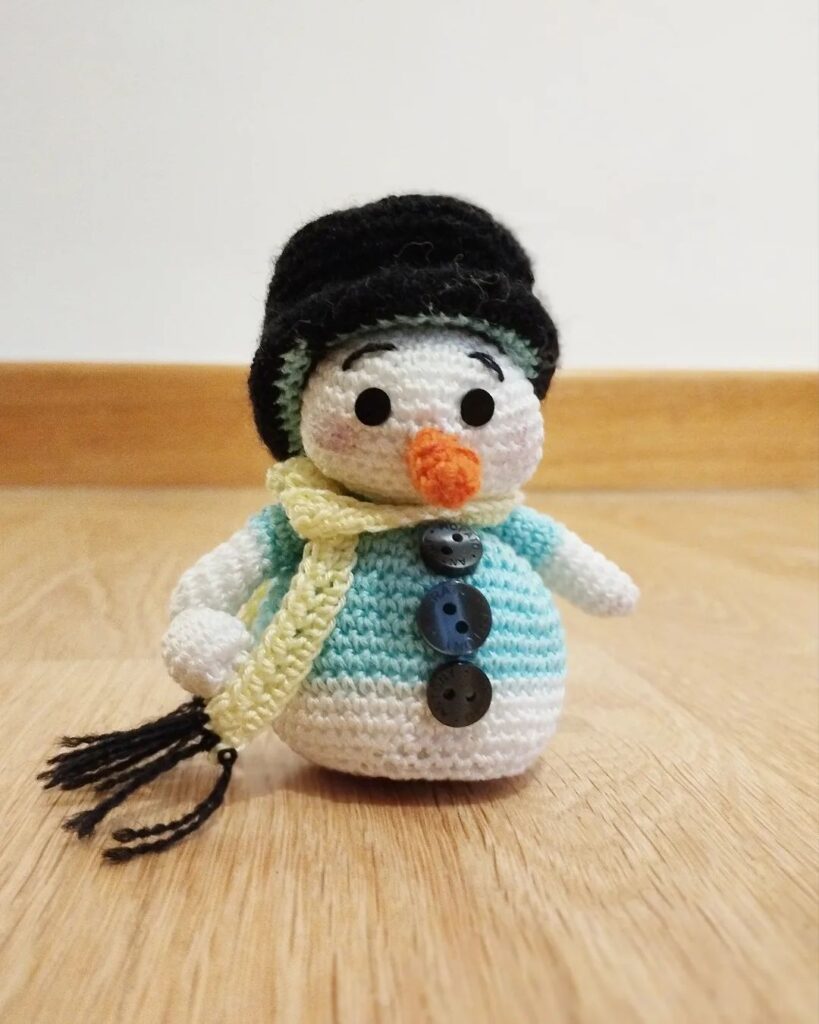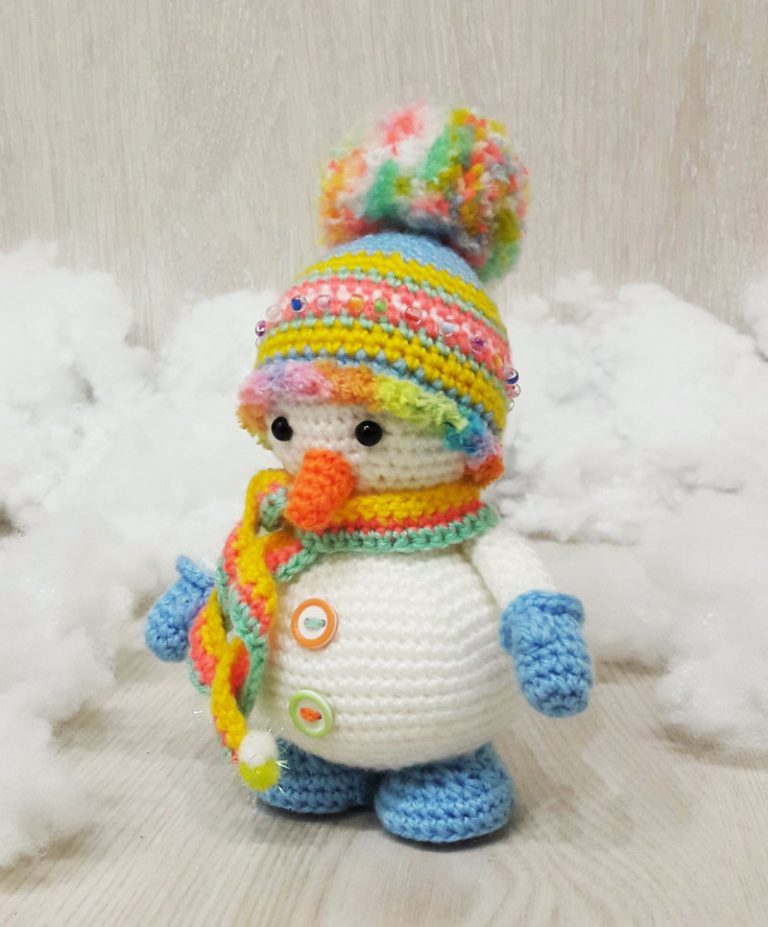
Amigurumi Snowman Crochet Pattern
Hello amigurumi lovers and beautiful visitors, I wanted to share the free amigurumi patterns for you here. In my article I will share 1 pattern and how to make it for you. At the end of my article, I will share amigurumi patterns that can generate ideas for you.
Materials:
- Yarn “Children’s novelty” 50gr/200m, 100% acrylic, hook 2.5 mm
- A little Alize Softy for the hem of the hat
- Safety eyelets or beads
- Thick cardboard, tape
- Beads and buttons for decoration
- Scissors
- Needle
Head
Row 1: Ch 2, in the second loop from the hook 6 sc
Row 2: in each loop 2 sc = 12
Row 3: in each 2nd loop 2 sc = 18
Row 4: in each 3rd loop 2 sc = 24
Row 5: in every 4th loop, 2 sc = 30
Row 6: in every 5th loop, 2 sc = 36
Row 7: in every 6th loop, 2 sc = 42
Row 8: in every 7 Row 9: 2 sc
in every 8th stitch = 54
Row 10-12: 1 sc without increase
Row 13: knit together every 8 and 9 stitches = 48
Row 14: 1 sc in each loop in a circle = 48
Row 15:every 7 and 8 stitches knit together = 42
Row 16: every 6 and 7 stitches knit together = 36
Row 17: every 5 and 6 stitches knit together = 30
Row 18: every 4 and 5 stitches knit together = 24
Row 19: every 3 and 4 loops knit together = 18
Row 20: every 2 and 3 loops knit together = 12
Row 21: decrease in each loop = 6
Fasten off the thread, leaving a tail for sewing.
Insert eyes between 12 and 13 rows. Stuff the detail.
The body of a knitted snowman Row
1: ch , inthe second from the hook 6sb= 24 Row 5: in every 4th loop, 2 sc = 30 Row 6: in every 5th loop, 2 sc = 36 Row 7: in every 6th loop, 2 sc = 42 Row 8: in every 7 Row 9: 2 sc in every 8th stitch = 54 Row 10: 2 sc in every 9th stitch = 60 Row 11: 2 sc in every 10th stitch = 66 Row 12-16: 1 sc without increments = 66Row 17:
every 10 and 11 stitches knit together = 60
Row 18: every 9 and 10 stitches knit together = 54
Row 19: every 8 and 9 stitches knit together = 48
Row 20: every 7 and 8 stitches knit together = 42
Row 21: every 6 and 7 loops knit together = 36
Row 22: every 5 and 6 loops knit together = 30
Row 23: every 4 and 5 loops knit together = 24
Cast on.
Row 24: every 3 and 4 sts knit together = 18
Row 25: every 2 and 3 sts knit together = 12
Row 26: dec in each st = 6
Pull off the hole, fasten the thread and cut.
Mittens
Row 1: 2 ch, in the second loop from the hook we knit 6 sbn = 6
Row 2: in each loop 2 sbn = 12
Row 3-4: we knit 1 sbn in a circle = 12
Row 5: we knit 5 sbn and knit lush column (this will be a finger on the mitten), then we knit another 6 sbn = 12
Row 6: knit every 3 and 4 loops together = 9
Row 7: we knit for the front wall of the loop: increases in each loop in a circle. It turns out the cuff of the mittens.
We change the thread to white and begin to knit the handle behind the back walls of the loops of the sixth row = 9
Do not forget to fasten the thread when switching from mittens to the handle so that the knitting does not bloom later.
Row 8-16: 1 sc in a circle = 9
Row 17:every 2 and 3 loops knit together
Pull off (do not forget to fill the handle before this) and fasten the thread, cut and hide the ends.
Legs
We prepare cardboard for the base of the feet, adhesive tape and scissors.
Row 1: we cast on a chain of 6 ch, in the second loop from the hook we knit 3 sc, then in each loop one sc and in the last loop again 3 sc, and one sc in the next 3 loops = 12 Row 2: in the next
three loops we knit 2 sbn each, in the next three – one at a time, in the next three – again 2 sbn each, in the last three in this circle – one sbn each, it turns out an oval = 18 Row 3: in the next 6 loops, alternating, knit 2
sbn , 1 sc (3 times), in the next three loops knit one sc, in the next six loops repeat the alternation of 2 sc, 1 sc (3 times); in the next three loops we knit one sc = 24
Row 4:in the next nine loops we knit 1 sbn, 2 sbn, 1 sbn (3 times), we knit the next three loops one sbn; in the next nine loops, knit 1 sc, 2 sc, 1 sc (3 times); in the next three loops we knit one sc each = 30
Row 5: we knit without increments in a circle 30 sc for the back walls of the loops = 30
Row 6: again in a circle without increases for both walls of the loops = 30
Row 7: 7 decreases in a row, 5 sc in We knit one and three decreases on the heel, and we knit 5 sbn further.
Now we cut out an oval according to the size of the sole from the cardboard, try it on inside the boot. If it doesn’t fit, cut or remake.
It is necessary that the cardboard is perfect – the size is in size, otherwise it will stick out, or it will move out and the snowman will not be stable. Happened? Great, immediately cut out another piece of cardboard and glue it neatly with tape and put it in the shoe.
Row 8: three decreases and knit one sc to the heel, fasten the thread. We stuff.
Carrot nose
Row 1: ch 2 in the second from the hook 6 sc
Row 2: 1 sc = 6
Row 3: 2 sc in each 3rd loop = 9
Row 4-5: one without increments = 9
Row 6: in each 4th loop, 2 sc = 11
You can make the nose shorter or longer at your discretion.
Fasten the thread, leave a tail for sewing.
Sew the head and body with holes to each other. Sew on arms and legs. Embroider a smile.
The scarf is knitted from right to left, each time in a new color. Pick up a chain from ch, at the end, fasten the thread and cut it off. And on the new right, a new row with a new color. It turns out beautifully – on the one hand, the front rows, on the other – the wrong side.
Beanie
Choose the color of the beanie and its stripes at your discretion.
Row 1: Pick up a chain of chain stitches and connect so that you get 56 stitches. Try on the snowman, if necessary, decrease or add 1 loop.
Row 2-8: Work 1 sc in a circle
Row 9: Work 1 sc in a circle every 8 and 9 stitches
Row 10: Work 1 sc in a circle
Row 11: Work 1 sc in a circle every 7 and 8 stitches
Row 12: Work 1 sc in a circle
Row Row 13: every 6 and 7 stitches knit together
Row 14: every 5 and 6 stitches knit together
Row 15: every 4 and 5 stitches knit together
Row 16:every 3 and 4 loops knit together
Row 17: every 2 and 3 loops knit together
Row 18: decrease in each loop, pull off the loops
Make a pompom and sew to the hat.
We dress a knitted snowman and the toy is ready!
If you have any questions about the crochet snowman pattern, write them in the comments to the post! All the best in your preparations for the New Year!
Feel free to tag me (@freeamigurumii) in your photos on Instagram or Facebook if you’d like!
All Finished.
