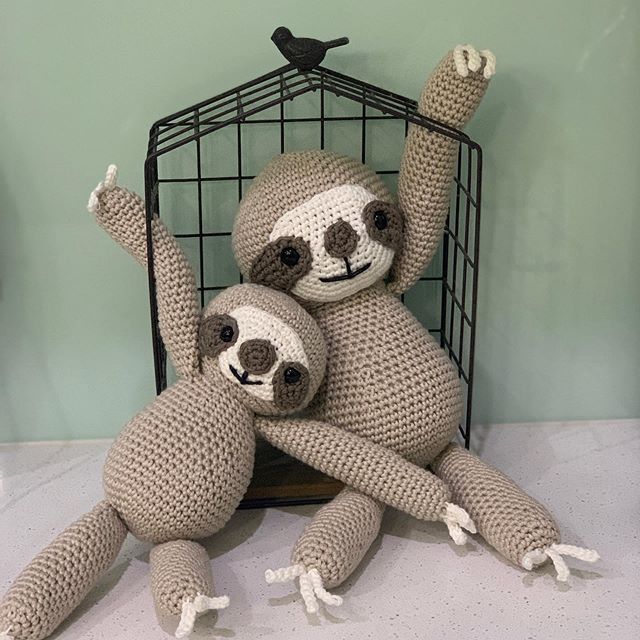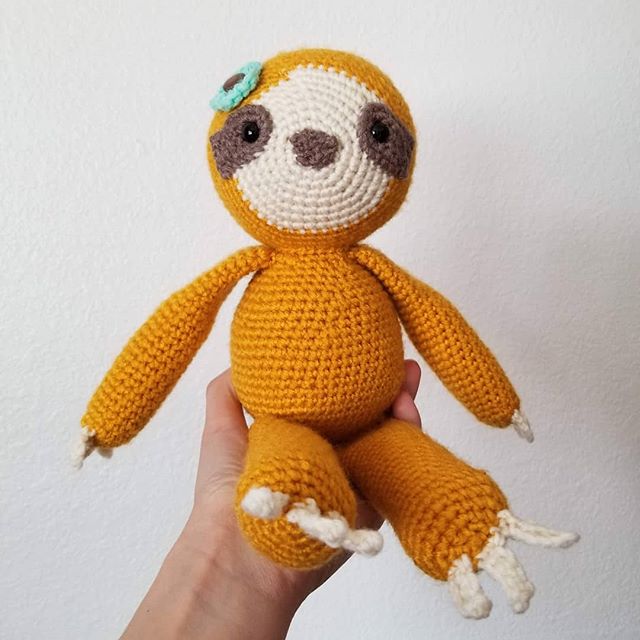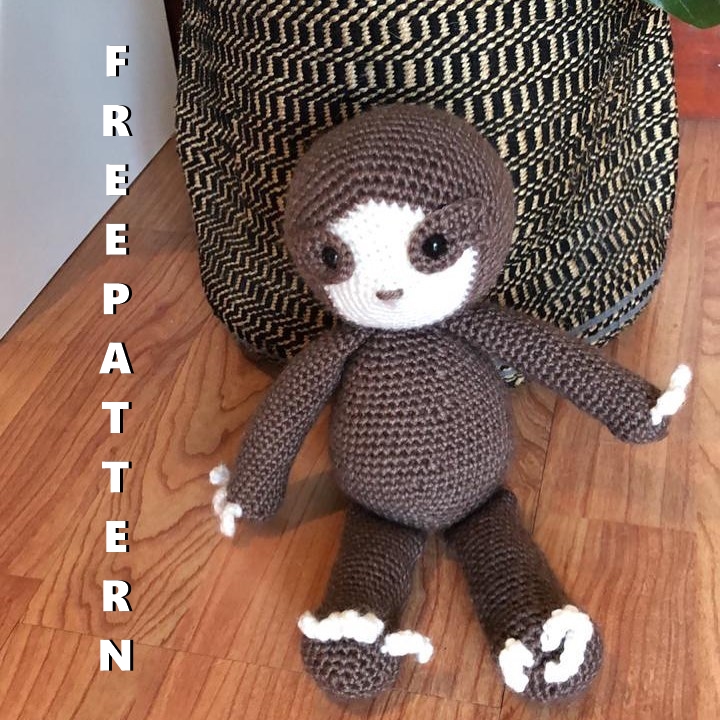
AMIGURUMI SLOTH FREE CROCHET PATTERN
Hello amigurumi lovers and beautiful visitors, I wanted to share the free amigurumi patterns for you here. In my article I will share 1 pattern and how to make it for you. At the end of my article, I will share amigurumi patterns that can generate ideas for you.
If you enjoy making amigurumi, here I share this easy and free amigurumi pattern for you for free. Your kids will love these toys.
Materials:
Approx 120 g size 4 yarn in main color (I used I Love this Yarn in Graymist, Red Heart Hygge in Sterling, or Yarn Bee Romantique in Cedar)
Small amount of Ivory worsted weight, or Lion Brand Made with Color in Ivory (a size 5 bulky weight yarn)
Small amount of brown worsted weight yarn
Crochet Hook in Size 3.75
Tapestry Needle
Polyfil
15mm safety eyes
20mm safety nose or small amount of Black yarn
stitch marker
Please note this pattern is only for PERSONAL USE. Please feel free to make as many
items as you wish for yourself, or as gifts. You may sell items made with this pattern but
PLEASE LINK BACK OR GIVE CREDIT TO ME AS DESIGNER. In no way can you
share, reproduce, or sell this pattern. Please respect my rights as designer, this pattern belongs to The Friendly Red Fox.
Abbreviations
SC- single crochet
SC INC- single crochet increase (2 SC in each stitch)
INV DEC- Invisible decrease (put hook through the FRONT LOOP ONLY of two consecutive stitches [two loops on hook] Yarn over pull through both loops. [two loops on hook] Yarn over pull through two loops)
Magic Circle- Make a loop, leaving a long tail to work with. Insert hook in center of loop, yarn over and draw up a loop. Yarn over, pull through to make the first chain (this does not count as a stitch!). Continue to crochet over the loop and tail with the number of stitches called for. (If you need 6 SC, then crochet 6 SC inside the ring.) Pull the tail to close the circle.
DC- Double Crochet
TRC- Triple Crochet
Eye Piece
Chain 11. In the 4th chain from the hook TRC. TRC in the next. DC in the next 3 stitches. HDC in the next 2. SC in the remaining stitch. (8)
SC in each stitch around, with a SC in each of the 3 chain at the beginning of the eye piece.
Head
With Ivory:
Round 1: In a magic circle, 6 SC.
Round 2: SC INC in each around. (12)
Round 3: SC in first, SC INC in next. Repeat around. (18)
Round 4: SC in each around. (18)
Round 5: SC in first 2, SC INC in next. Repeat around. (24)
Round 6: SC in each around. (24)
Round 7: SC in first 3, SC INC in next. Repeat around. (30)
Round 8: SC in first 4, SC INC in next. Repeat around. (36)
Round 9: SC in first 5, SC INC in next. Repeat around. (42)
Change to gray.
Round 10: SC in first 6, SC INC in next. Repeat around. (48)
Rounds 11-14: SC in each around.
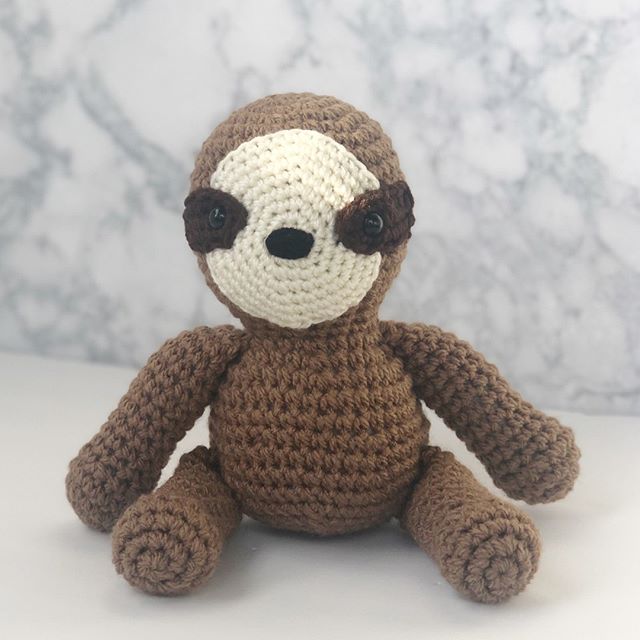
Insert nose between rows 4 and 5, or embroider one with black yarn. Try to line it up with a straight edge from the ivory yarn. Use a hook or pencil to create a large enough hole. Insert the eyes between the two TRC in the brown eye piece. Then push the post of the eye through rows 6 and 7 lined up above the nose, about 11 stitches apart. Then sew the brown eyepiece onto the head.
Round 15: SC in the first 6, INV DEC in the next. Repeat around. (42)
Round 16: SC in the first 5, INV DEC in the next. Repeat around. (36)
Round 17: SC in the first 4, INV DEC in the next. Repeat around. (30)
Round 18: SC in the first 3, INV DEC in the next. Repeat around. (24)
Round 19: SC in the first 2, INV DEC in the next. Repeat around. (18)
Round 20: SC in the first, INV DEC in the next. Repeat around. (12)
Round 21: INV DEC around. (6)
Fasten off and sew the remaining hole. Weave in the end.
Take a minute and watch this video on how I attach amigurumi pieces before you begin!
Body
Round 1: In a magic circle, 6 SC.
Round 2: SC INC in each around. (12)
Round 3: SC in first, SC INC in next. Repeat around. (18)
Round 4: SC in first 2, SC INC in next. Repeat around. (24)
Round 5: SC in first 3, SC INC in next. Repeat around. (30)
Round 6: SC in first 4, SC INC in next. Repeat around. (36)
Round 7: SC in first 5, SC INC in next. Repeat around. (42)
Rounds 8-13: SC in each around. (42)
Round 14: SC in first 5, INV DEC in the next. Repeat around. (36)
Rounds 15-16: SC in each around. (36)
Round 17: SC in first 4, INV DEC in the next. Repeat around. (30)
Rounds 18-19: SC in each around. (30)
Begin stuffing here.
Round 20: SC in first 3, INV DEC in the next. Repeat around. (24)
Rounds 21-22: SC in each around. (24)
Round 23: SC in first 2, INV DEC in the next. Repeat around. (18)
Round 24-25: SC in each around.
Fasten off and leave a long tail to attach the head.
Arms
Before you make the magic circle, pull out a long tail and keep it on the outside of the circle. This is what you will use to attach the leg to the body.
With gray:
Round 1: SC 7 in a magic circle.
Round 2: SC INC in each around (14)
Rounds 3-21: SC in each around. (14)
Change to ivory.
Round 22: SC in each around. (14)
Chain 7. *In the third chain from the hook, HDC. HDC in the remaining 4 chains for a total of 5 HDCs.* Flatten the arm and put your hook through the touching stitches and slip stitch. Slip stitch once more and then chain 7. Repeat * * two more times, for a total of 3 toes. Fasten off and weave in the ends.
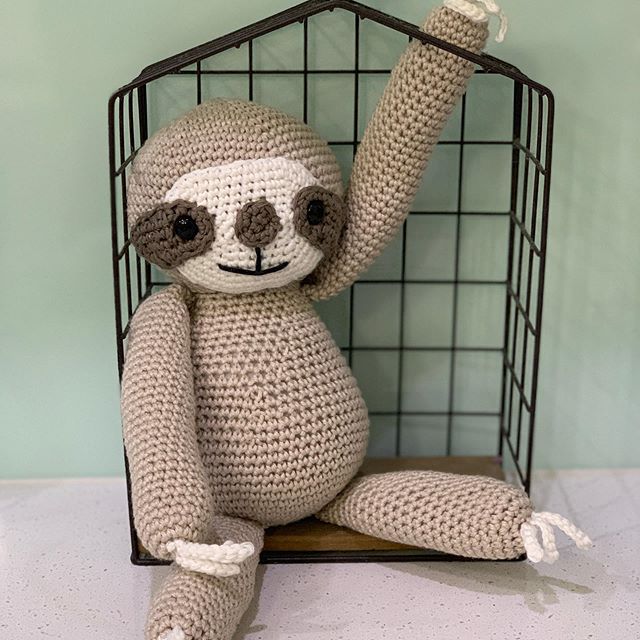
Attach at the top of the body, just under the head with an angle slightly forward. The toes will curve in naturally, have that curve go in towards the body, like a sloth’s feet would.
Legs
Before you make the magic circle, pull out a long tail and keep it on the outside of the circle. This is what you will use to attach the leg to the body.
With gray:
Round 1: SC 7 in a magic circle.
Round 2: SC INC in each around (14)
Rounds 3-21: SC in each around. (14)
Change to ivory.
Round 22: SC in each around. (14)
Chain 7. *In the third chain from the hook, HDC. HDC in the remaining 4 chains for a total of 5 HDCs.* Flatten the arm and put your hook through the touching stitches and slip stitch. Slip stitch once more and then chain 7. Repeat * * two more times, for a total of 3 toes. Fasten off and weave in the ends.
With the sloth sitting, pin the legs so that they are the same on both sides of the body (about rows 7-9) and sitting flat. Like the arms, have the toes curl in.
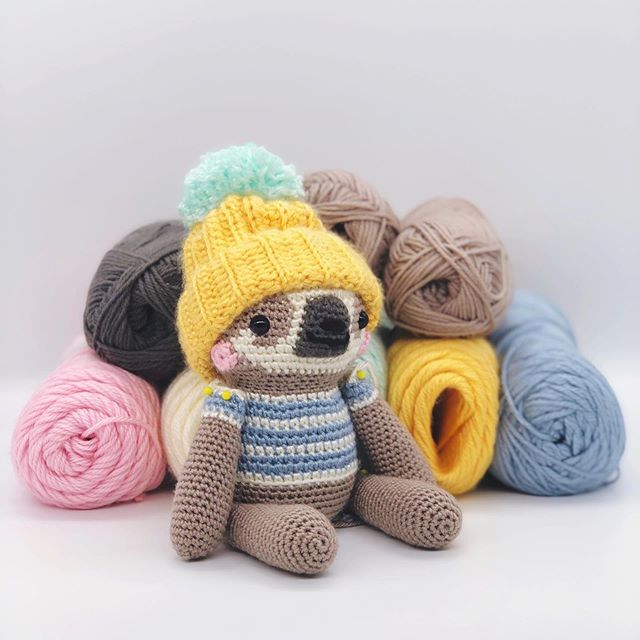
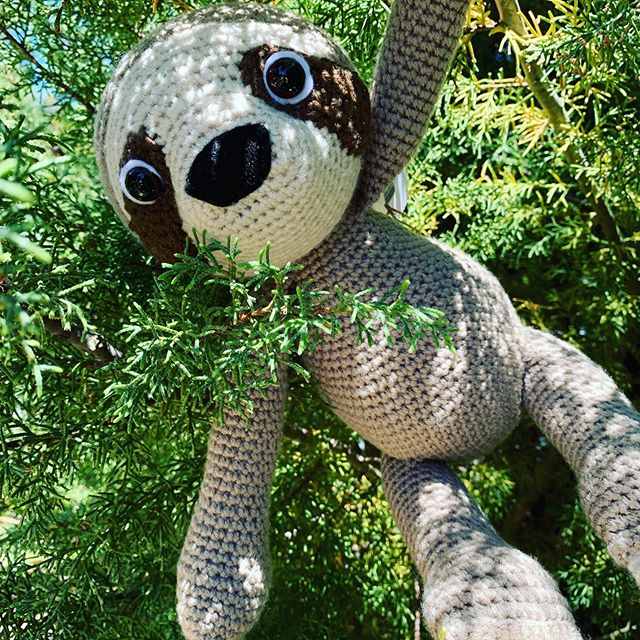
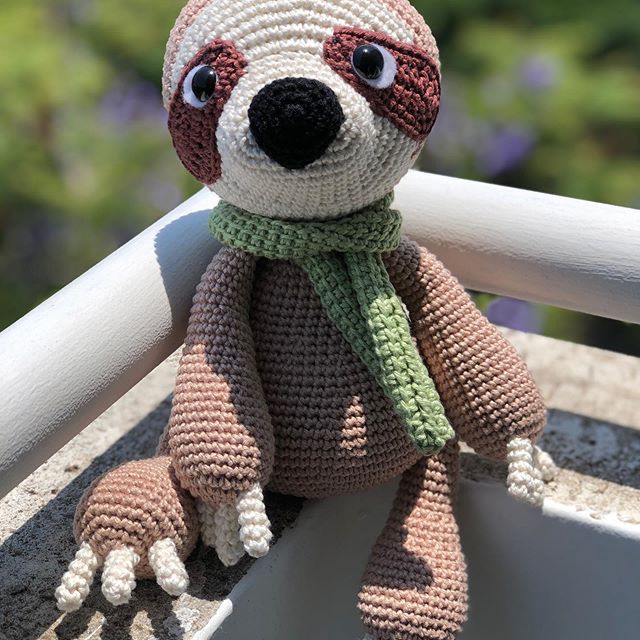
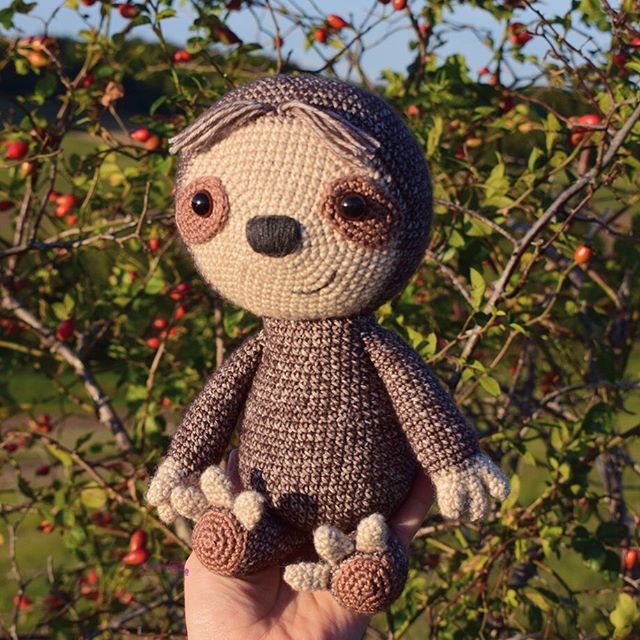
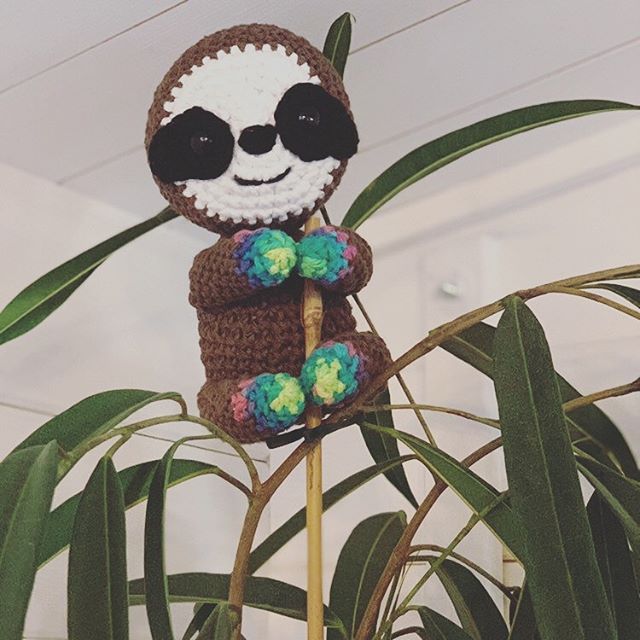
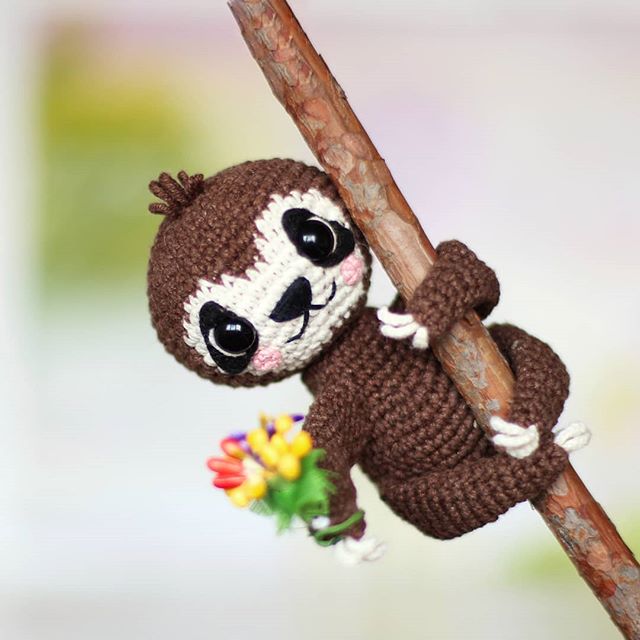
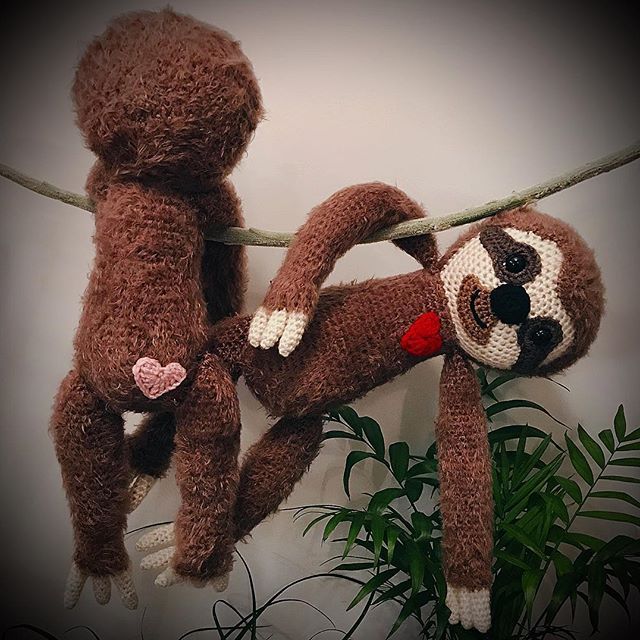
More Amigurumi Sloth İdeas