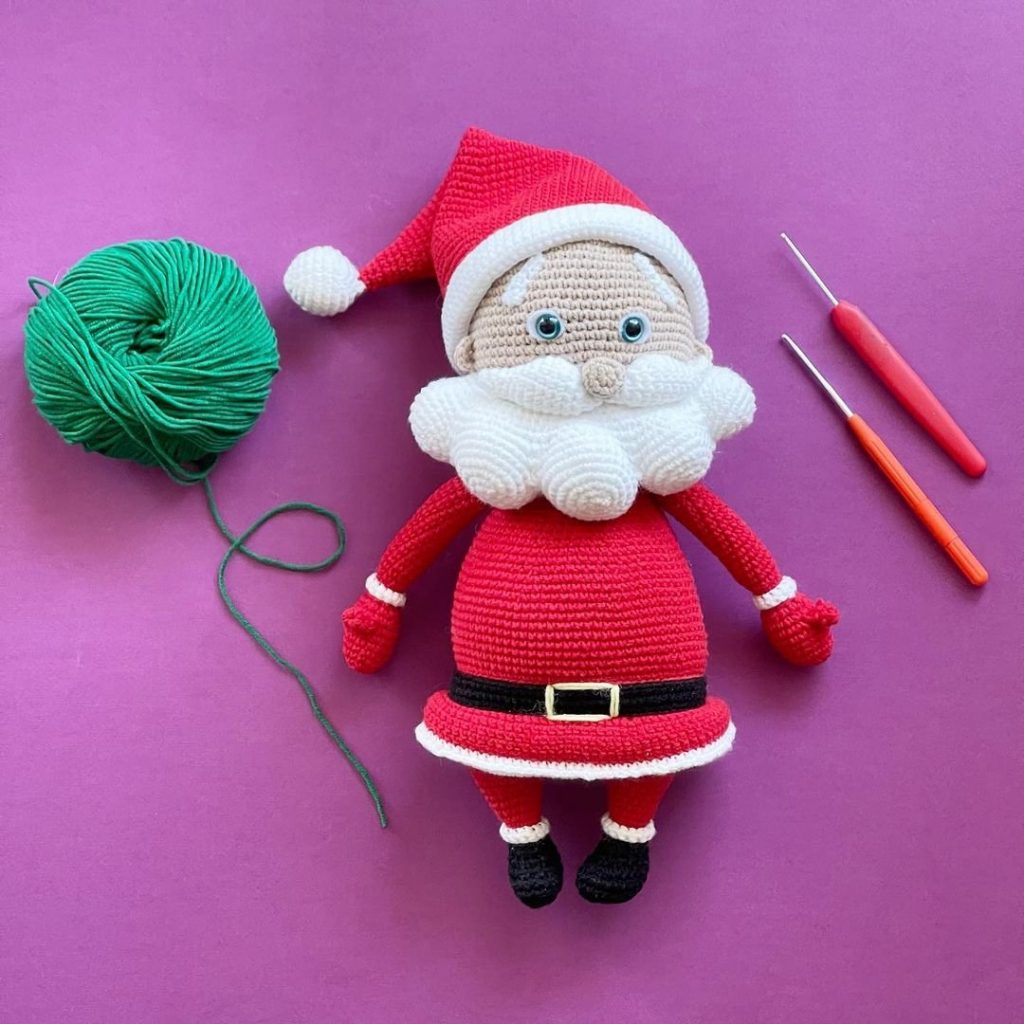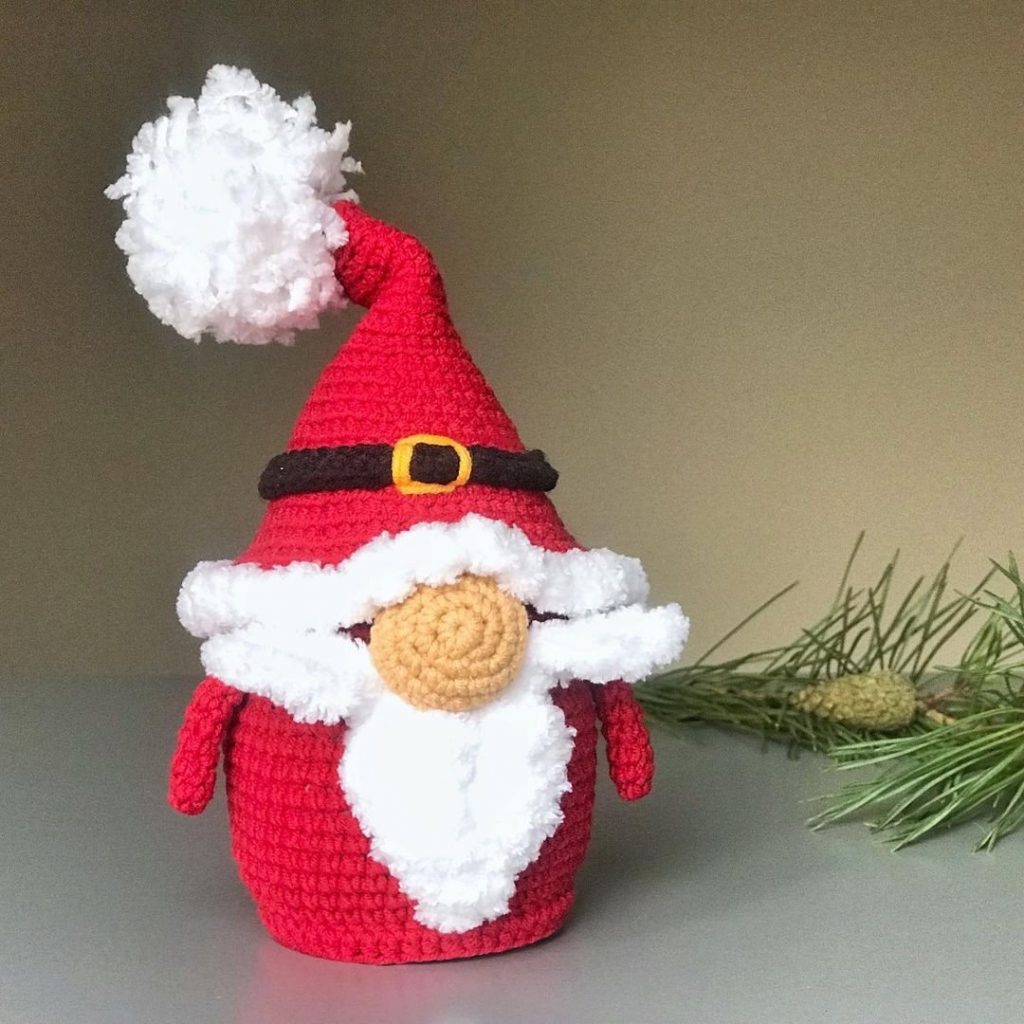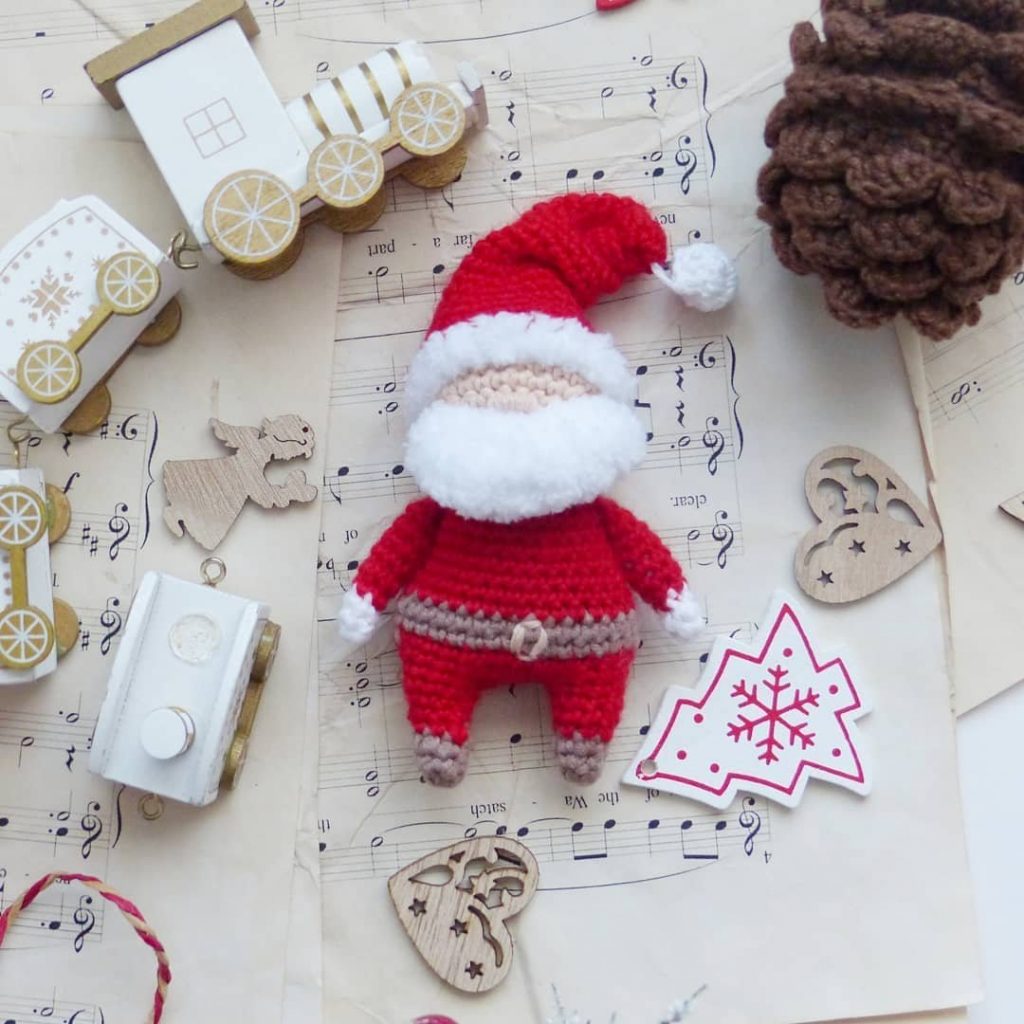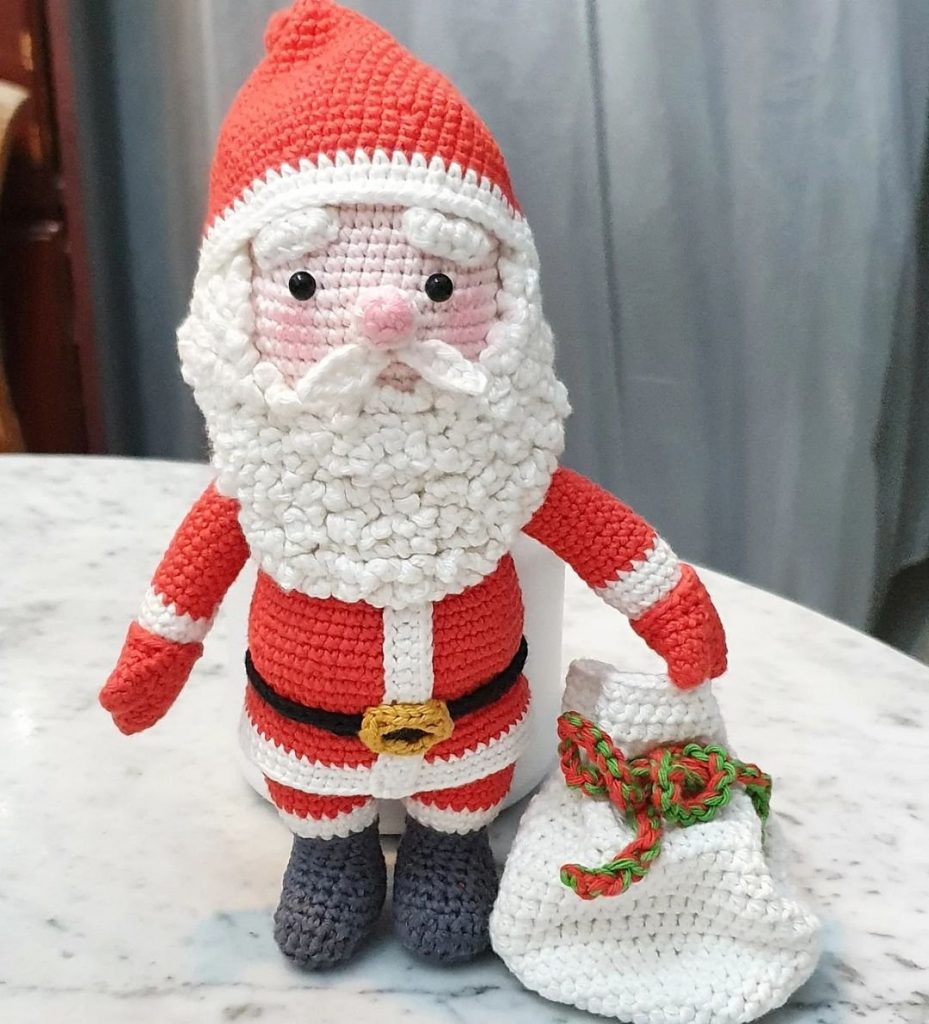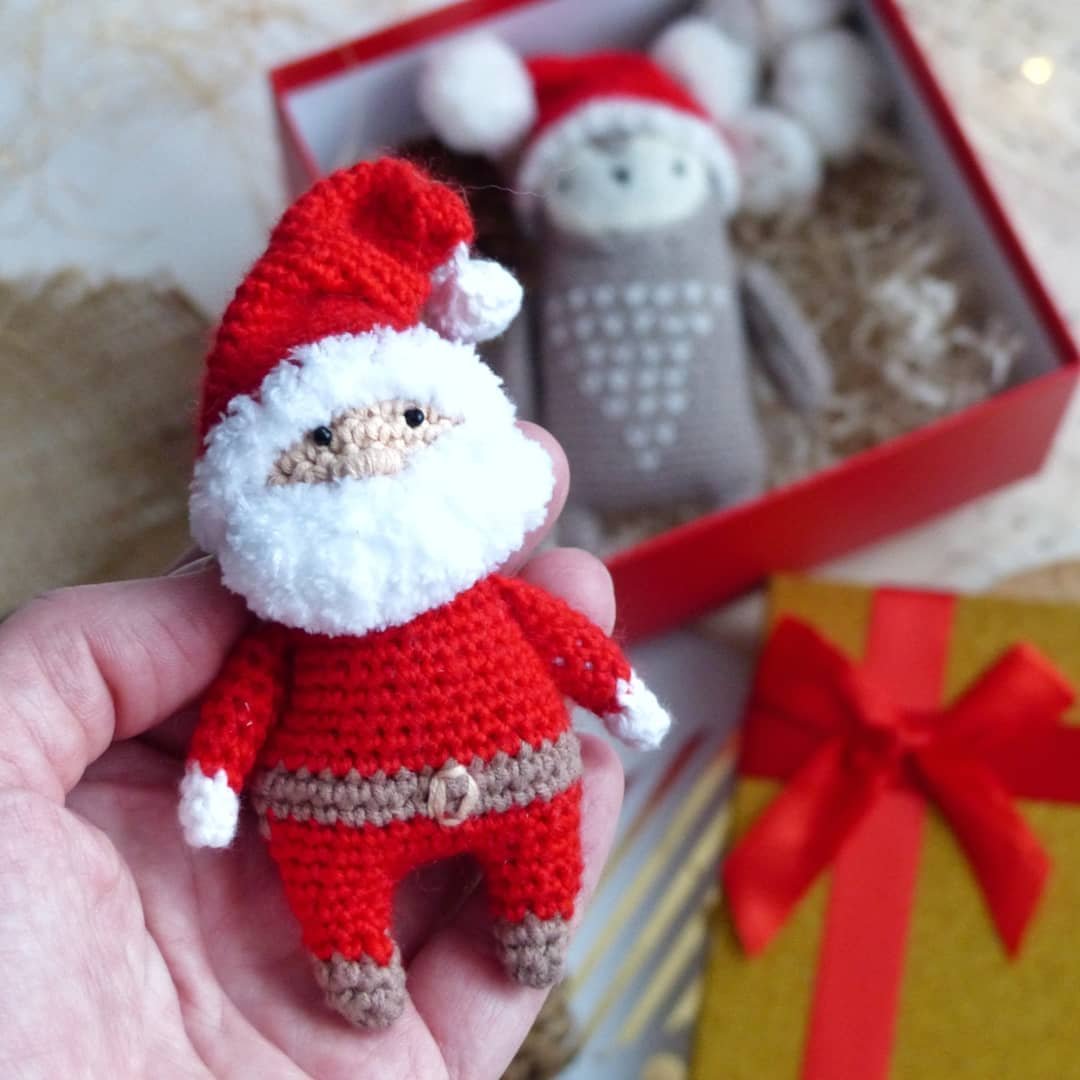
Amigurumi Santa Claus Crochet Pattern
Hello amigurumi lovers and beautiful visitors, I wanted to share the free amigurumi patterns for you here. In my article I will share 1 pattern and how to make it for you. At the end of my article, I will share amigurumi patterns that can generate ideas for you.
You will need:
- Vita Cotton Coco yarn: red and white color
- Alize Softy yarn: white for beard
- YarnArt Jeans yarn: brown
- Alize Bella yarn: beige
- 1.5 mm crochet hook and 2.5 mm for Alize Softy
- Black beads for eyes
- Yellow embroidery floss
- Sewing needle and scissors
- Fiberfill
Abbreviations:
R – row
ch – chain
st – stitch
sl st – slip stitch
sc – single crochet
dc – double crochet
inc – increase (2 sc in one stitch)
dec – decrease (2 sc together)
[…] – number of stitches you should have at the end of the row
(…) – repeat whatever is between the brackets the given number of times
Arms (make 2)
With white yarn:
R 1: 4 sc in magic ring [4]
R 2: 1 sc, inc, 2 sc [5]
R 3: 5 sc
Change to red yarn:
R 4: 2 sc, inc, 2 sc [6]
R 5: 3 sc, inc, 2 sc [7]
R 6-10: 7 sc (5 rows)
Stuff gently with fiberfill.
Fold the top opening flat and 4 sc through both sides.
Beard
With Alize Softy yarn and 2.5 mm crochet hook.
Make 11 ch.
R 1: from the 2nd ch from hook: 10 sc, turn
R 2: sl st, (3-dc-bobble-stitch) repeat 8 times, sl st
Fasten off and leave a long tail for sewing.
Head
With beige yarn and 1.5 mm crochet hook.
Make 7 ch.
Make an oval, starting from the 2nd ch from hook, work on both sides of the chain.
R 1: from the 2nd ch from hook: 5 sc, 3 sc in last st, turn: 4 sc, inc [14]
R 2: inc, 4 sc, 3 inc, 4 sc, 2 inc [20]
R 3: 1 sc, inc, 4 sc, inc, 1 sc, (1 sc, inc) repeat 2 times, 4 sc, (inc, 1 sc) repeat 2 times [26]
R 4-9: 26 sc (6 rows)
R 10: (dec, 11 sc) repeat 2 times [24]
R 11: (2 sc, dec) repeat 6 times [18]
R 12: (1 sc, dec) repeat 6 times [12]
Stuff with fiberfill.
Fasten off and leave a long tail for sewing.
The legs and body are made as one piece.
Legs (make 2)
With brown yarn:
R 1: 5 sc in magic ring [5]
R 2: 1 sc, inc, 3 sc [6]
R 3: 2 sc, inc, 3 sc [7]
Change to red yarn:
R 4: 3 sc, inc, 3 sc [8]
R 5: 4 sc, inc, 3 dc [9]
R 6: 9 sc
Crochet the second leg, do not fasten off.
Make 6 ch and join with the first leg.
Continue crocheting the body in the round:
R 7: 9 sc on the first leg, 6 sc in 6 ch, 9 sc on the second leg, 6 sc in 6 ch (opposite side) [30]
Crochet additional 4 sc to get the position of the yarn marker in the side of the body.
R 8: 30 sc
R 9: inc, 14 sc, inc, 14 sc [32]
Change to brown yarn:
R 10-11: 32 sc (2 rows)
Change to red yarn:
R 12: (if you need crochet additional 1 sc) 32 sc
R 13-14: 32 sc (2 rows)
R 15: dec, 14 sc, dec, 14 sc [30]
R 16: dec, 13 sc, dec, 13 sc [28]
R 17: dec, 12 sc, dec, 12 sc [26]
R 18: dec, 11 sc, dec, 10 sc – last 1 sc together with 1 sc of the 1st arm!
R 19: 3 sc together with sc of the 1st arm, 6 sc, 4 sc together with sc of the 2nd arm, 10 sc
Stuff with fiberfill.
R 20: (2 sc, dec) repeat 6 times [18]
R 21: (1 sc, dec) repeat 6 times [12]
Finish stuffing.
Fasten off.
Hat
With Alize Softy yarn and 2.5 mm crochet hook.
Make 22 ch, join in ring with sl st.
R 1: 22 sc
Change to red yarn (1.5 mm crochet hook):
R 2: 22 sc
R 3-6: 22 sc (4 rows)
R 7: (dec, 9 sc) repeat 2 times [20]
R 8-9: 20 sc (2 rows)
R 10: (dec, 8 sc) repeat 2 times [18]
R 11-12: 18 sc (2 rows)
R 13: (dec, 7 sc) repeat 2 times [16]
R 14-15: 16 sc (2 rows)
R 16: (dec, 6 sc) repeat 2 times [14]
R 17-18: 14 sc (2 rows)
R 19: (dec, 5 sc) repeat 2 times [12]
R 20-21: 12 (2 rows)
R 22: (dec, 4 sc) repeat 2 times [10]
R 23-24: 10 sc (2 rows)
R 25: (dec, 3 sc) repeat 2 times [8]
R 26-27: 8 sc (2 rows)
R 28: (dec, 2 sc) repeat 2 times [6]
R 29-30: 6 sc (2 rows)
Fasten off.
Pompom
With white yarn and 1.5 mm crochet hook.
R 1: 6 sc in magic ring [6]
R 2: (inc) repeat 6 times [12]
R 3: 12 sc
R 4: (dec) repeat 6 times [6]
Fasten off and leave a long tail for sewing.
Attach the pompom to the hat.
Assembly
Sew head to the body.
Sew beard to the head.
Embroider nose with beige yarn on 3 sc.
Sew eyes to the face above nose.
Sew the hat on the head.
Embroider a buckle with yellow floss.
Feel free to tag me (@freeamigurumii) in your photos on Instagram or Facebook if you’d like!
All Finished.