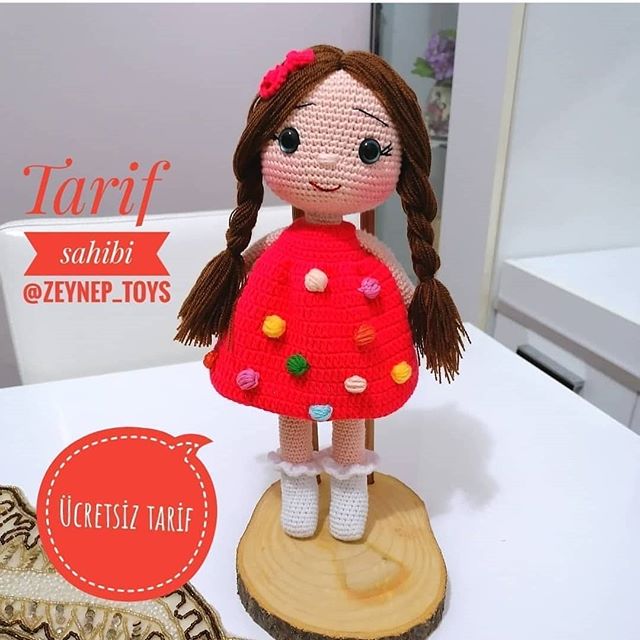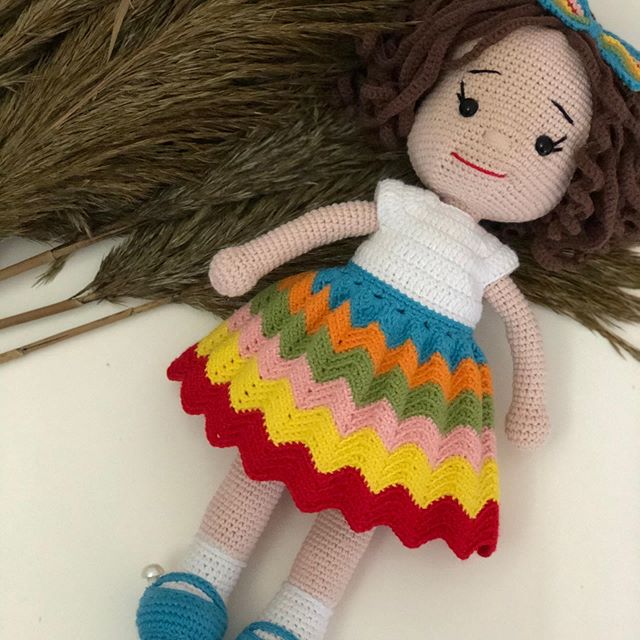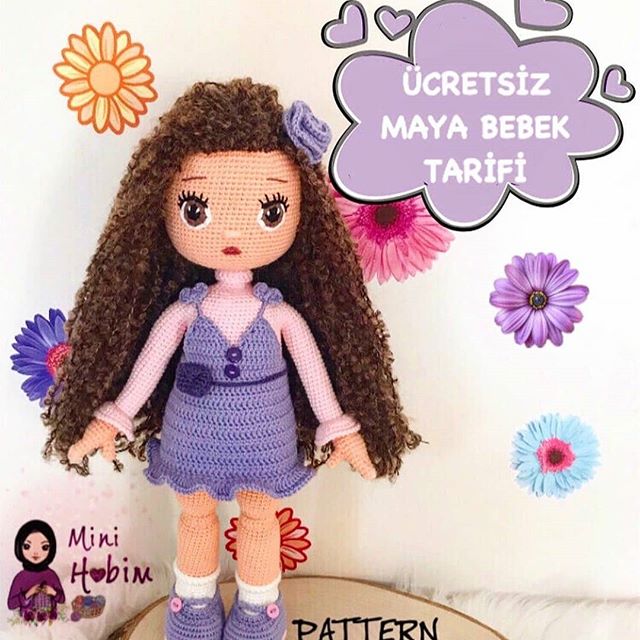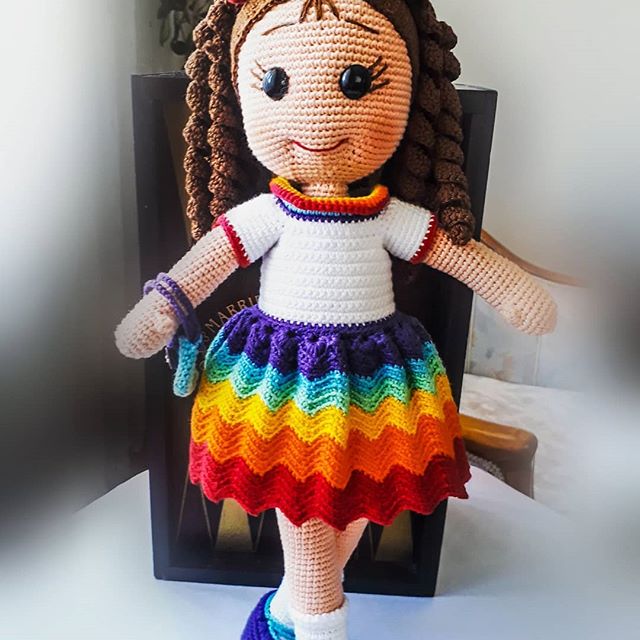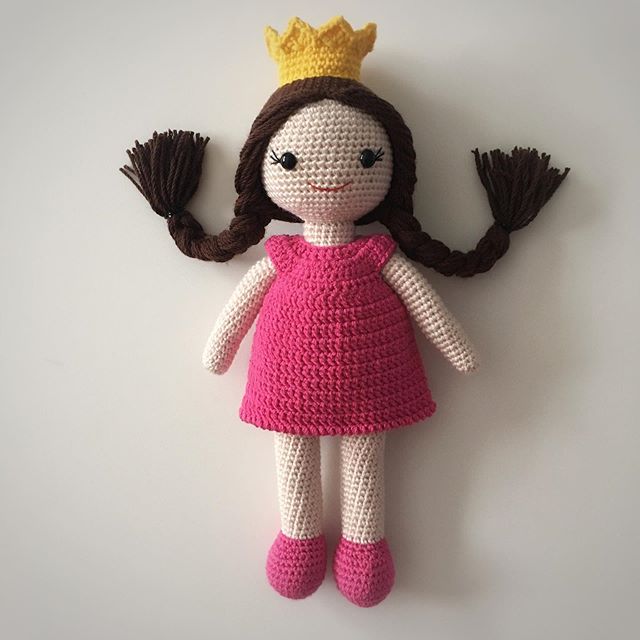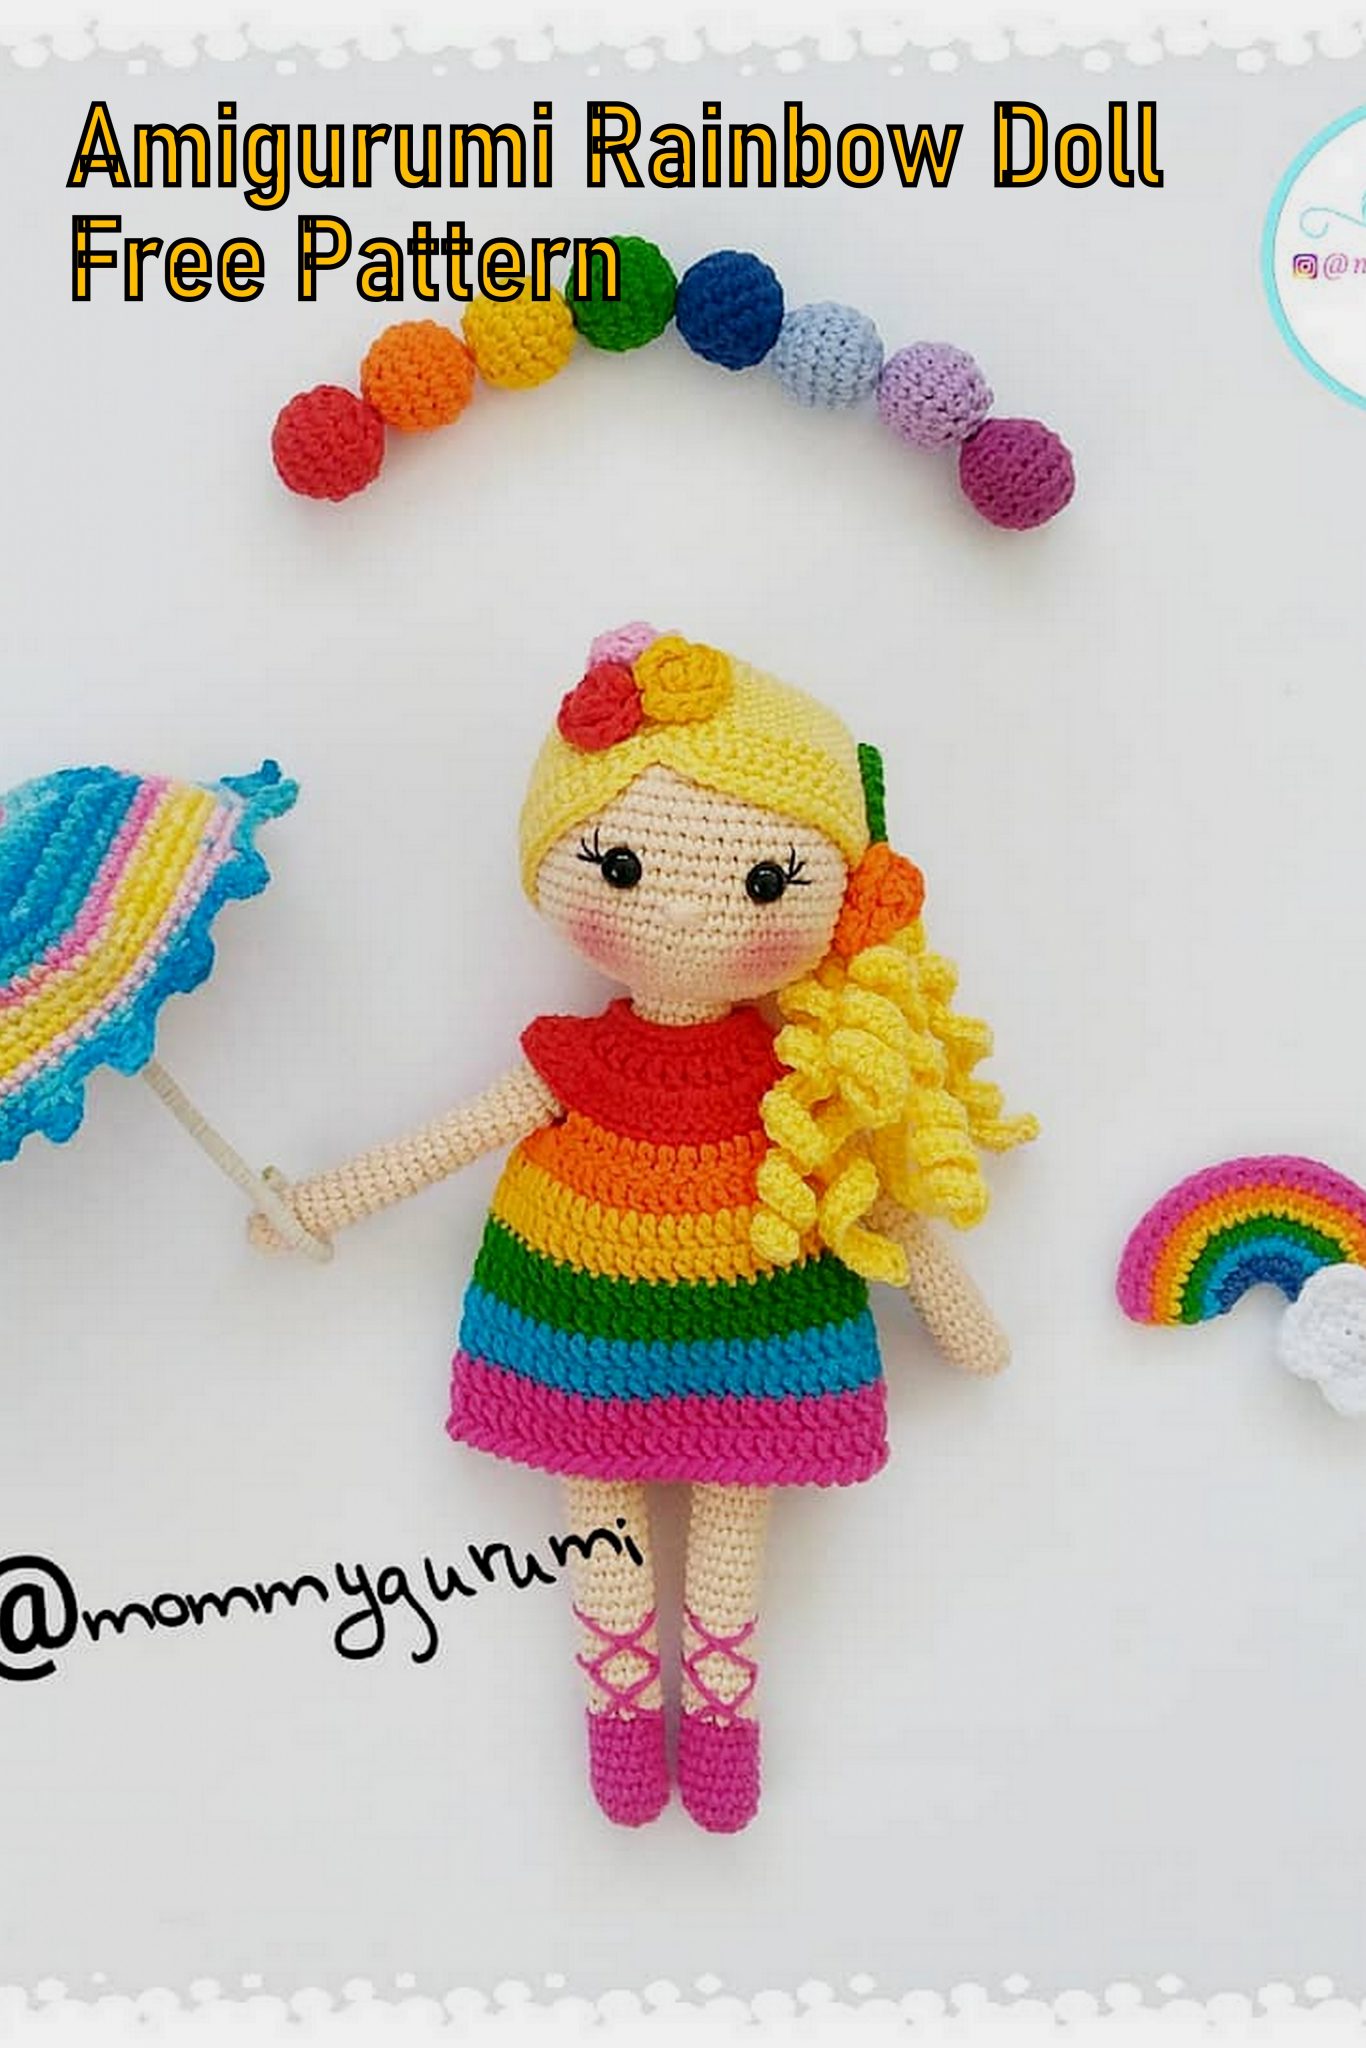
AMIGURUMI RAINBOW DOLL FREE ENGLISH PATTERN
Hello amigurumi lovers and beautiful visitors, I wanted to share the free amigurumi patterns for you here. In my article I will share 1 pattern and how to make it for you. At the end of my article, I will share amigurumi patterns that can generate ideas for you.
If you enjoy making amigurumi, here I share this easy and free amigurumi pattern for you for free. Your kids will love these toys.
Abbreviations
sc = single crochet
inc = increment
dec = decrease
- Fill the baby’s form to be beautiful, fill it with knitting …
- I recommend you to put wire or other solid material around the baby’s neck to the trunk.
Used materials
- 1 piece Snowball Amigurumi K1219
- 1 piece of Nako Diamond yellow 215
- threads in the colors you want
- 1 small button
- 2.50 mm crochet hook
- 10 mm safe promise
Shoes And Legs
Start with shoes color
Rnd 1) Magic ring into 6sc
Rnd 2) 6inc (12sc)
Rnd 3-8) 12 sc (6 rows)
Cut out the colored rope
Rnd 9-29) 12 sc (21 rows)
Handle the laces with the rope you left out for the shoes.
Another one of the same.
Body
Pull 5 chains from one leg to the other leg
Rnd 30) 12sc on a 5sc chain from one leg 12sc on a 5sc chain from another leg total (34sc)
To the middle of the right leg, eg start point to the side
Rnd 31-42) 12 rows (34sc)
Rnd 43) on each side decrease (32sc)
Rnd 44) on each side decrease (30sc)
Rnd 45) on each side decrease (28sc)
Rnd 46) on each side decrease (26sc)
Rnd 47) on each side decrease (24sc)
Rnd 48) on each side decrease (22sc)
Rnd 49) on each side decrease (20sc)
Rnd 50) on each side decrease (18sc)
Rnd 51) (4sc 1dec) * 3 (15sc)
Rnd 52-54) 3 rows (15 sc)
Don’t forget to put a wire around the baby’s neck.
Head
Rnd 55) 15 inc (30sc)
Rnd 56) (1sc1inc) * 15 = (45 sc)
Rnd 57) (4sc 1 inc) * 9 = (54 sc)
Rnd 58-70) 13 rows (54 sc)
Eyes 64. and 65th row between them
Rnd 71) (7sc 1 dec) * 6 = (48 sc)
Rnd 72) (6sc 1 dec) * 6 = (42 sc)
Rnd 73) (5sc 1 dec) * 6 = (36 sc)
Rnd 74) (4sc 1 dec) * 6 = (30 sc)
Rnd 75) (3sc 1 dec) * 6 = (24 sc)
Rnd 76) (2sc 1 dec) * 6 = (18 sc)
Rnd 77) (1sc 1 dec) * 6 = (12 sc)
Rnd 78) 6dec (6 sc)
Cut the rope and finish by looping the loops.
Process your nose and eyelashes using images.
Arm
Rnd 1) 6sc into Magic ring
Rnd 2) (1sc 1inc) * 3 = 9sc
Rnd 3-25) 23 rows (9sc)
(Connect the two ends of the handles fill half the fiber)
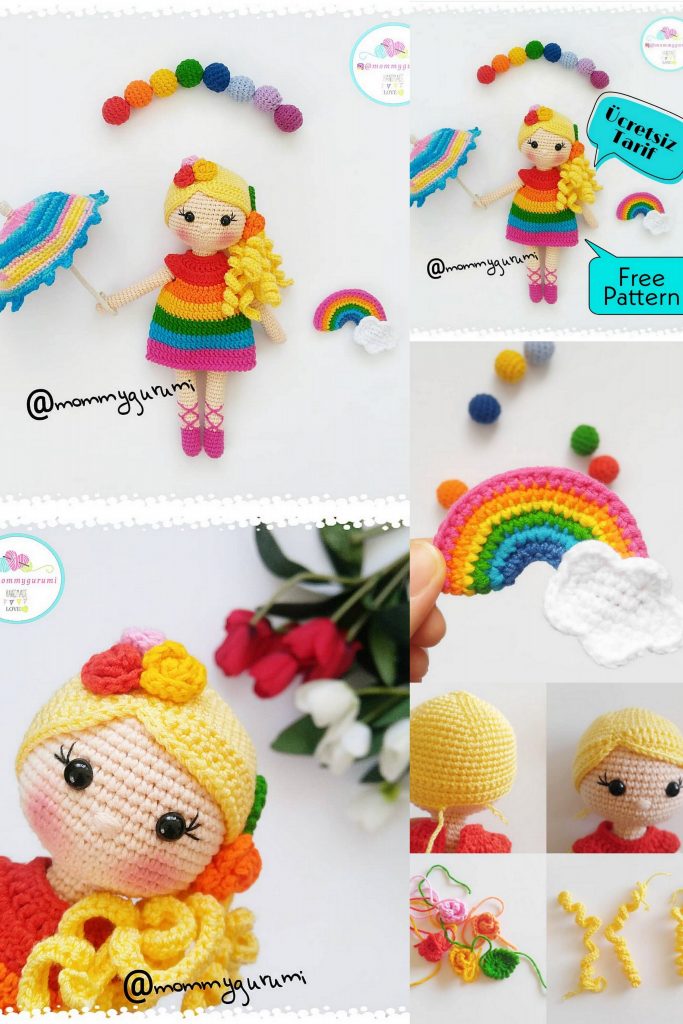
Hair Nozzles
Pull 73 chains fill with HDC making a 2 knit 1 increase across the entire chain.
- I’ve done 3 hair curls you can do as much as you want.
Stitch up the side of the hair as you like.
Hair
Rnd 1) 6sc into Magic ring
Rnd 2) 6inc (12 sc)
Rnd 3) (1sc 1inc) * 6 = (18 sc)
Rnd 4) (2sc 1inc) * 6 = (24 sc)
Rnd 5) (3sc 1inc) * 6 = (30 sc)
Rnd 6) (4sc 1inc) * 6 = (36 sc)
Rnd 7) (5sc 1inc) * 6 = (42 sc)
Rnd 8) (6sc 1inc) * 6 = (48 sc)
Rnd 9) (7sc 1inc) * 6 = (54 sc)
Rnd 10-18) 7 rows (54 sc)
Rnd 19) Invert the braid, jump to the top row without pulling the chain, skip the first loop without knitting, until the point where you started.
Rnd 20-22) Continue to do the same 3 rows
Now continue to make single crochet without turning, knit and finish until we hit the back of your head by making single crochet in front of our hair separation.
Dress
Red rope
Rnd 1) 25 chain check
Rnd 2) Make 24 HDC on top of 2 chain pull
Rnd 3) Make 2 HDC per loop (48 HDC), pull a chain
Rnd 4) Make one sc per each loop (48sc) Orange rope
Rnd 5) 7 HDC eg 5 chain check 10 sc skip (arm space) 14 HDC eg 5 chain check 10 sc skip 7 HDC eg 2 chain check top
Rnd 6) Make an increase in 2 or 3 HDCs, make 6 HDCs on chains and finish the line.
Dress up the look how you want to do so.
Yellow rope
Continue with a handrail on each handrail.
After this queue, we continue pulling 2 chains as we move up to the top row without turning.
Knit and finish 2 rows of each color.
I applied the reverse pinching technique for the tip of the skirt and you can decorate it as you like.
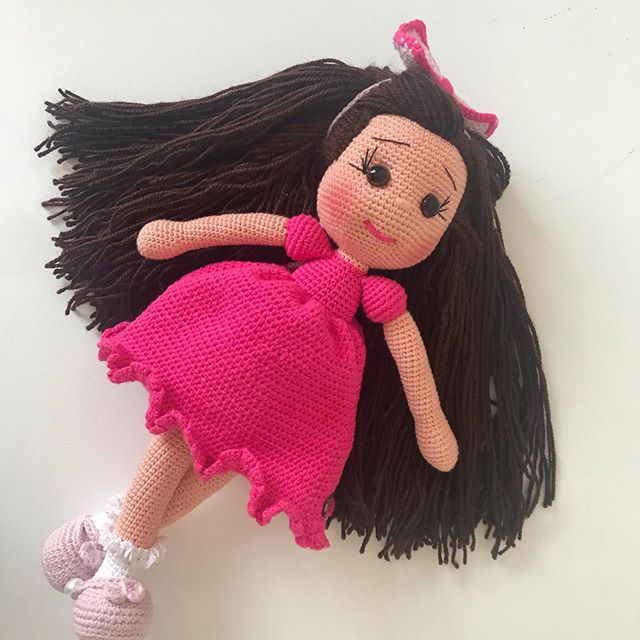
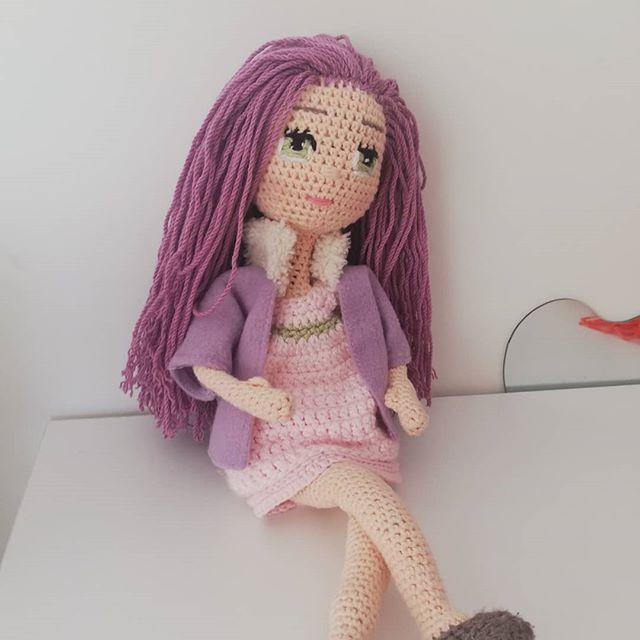
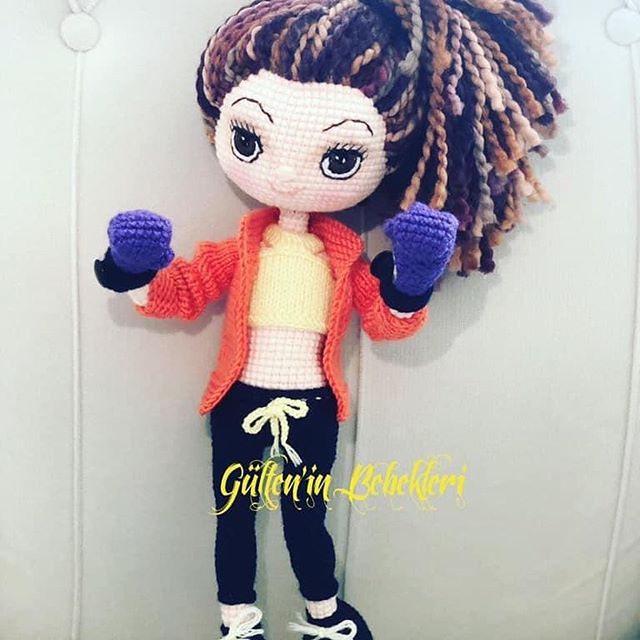
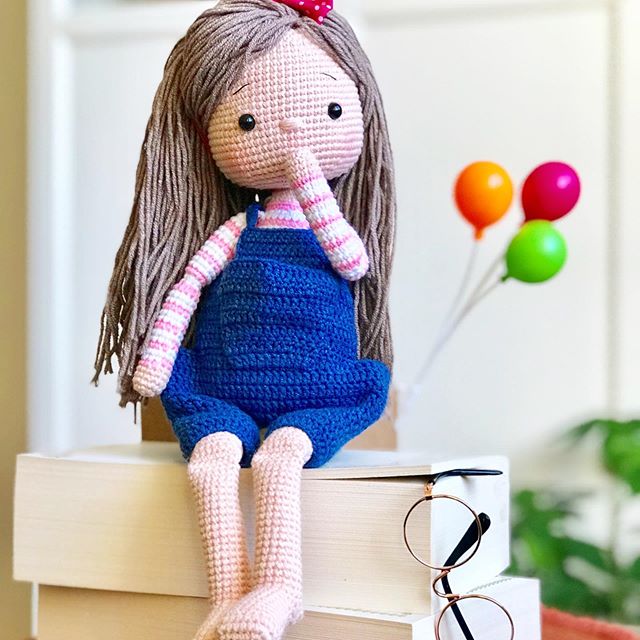
The Most Beautiful Amigurumi Baby Ideas