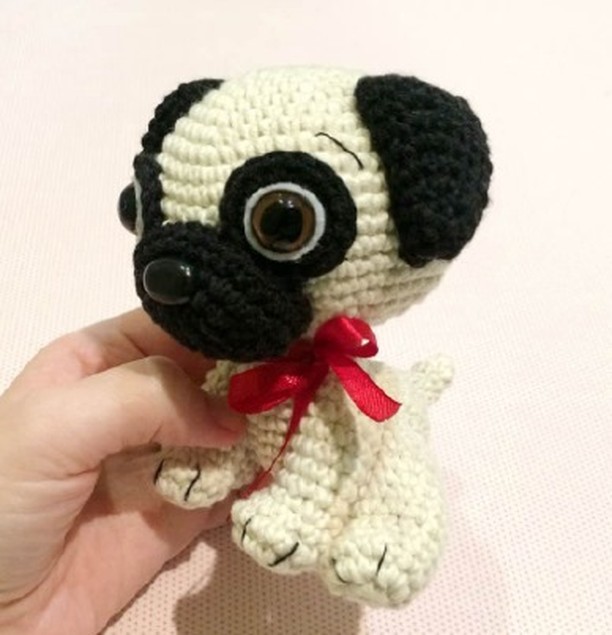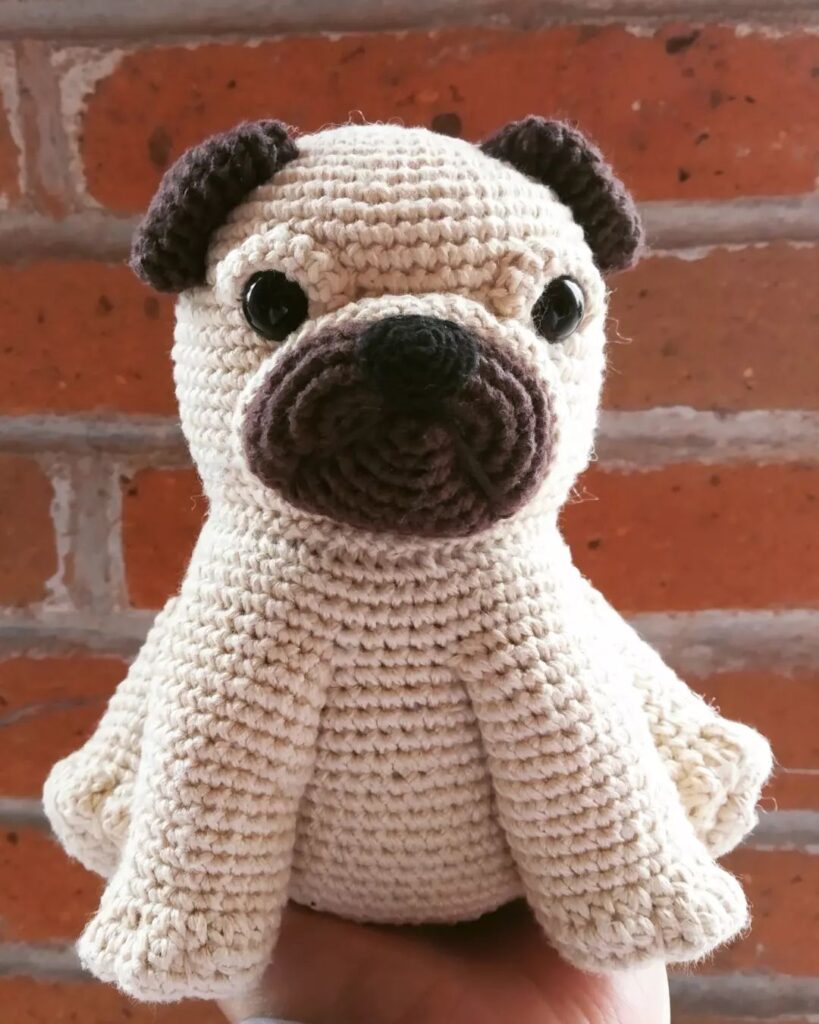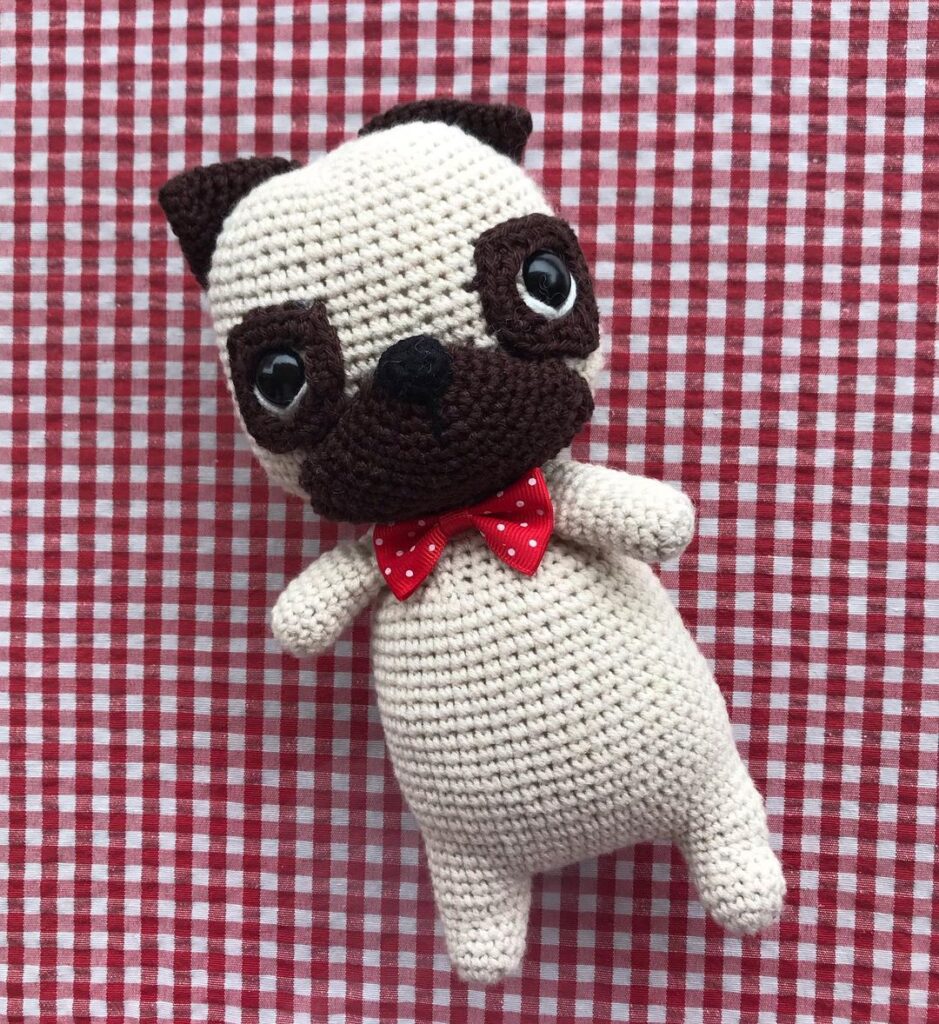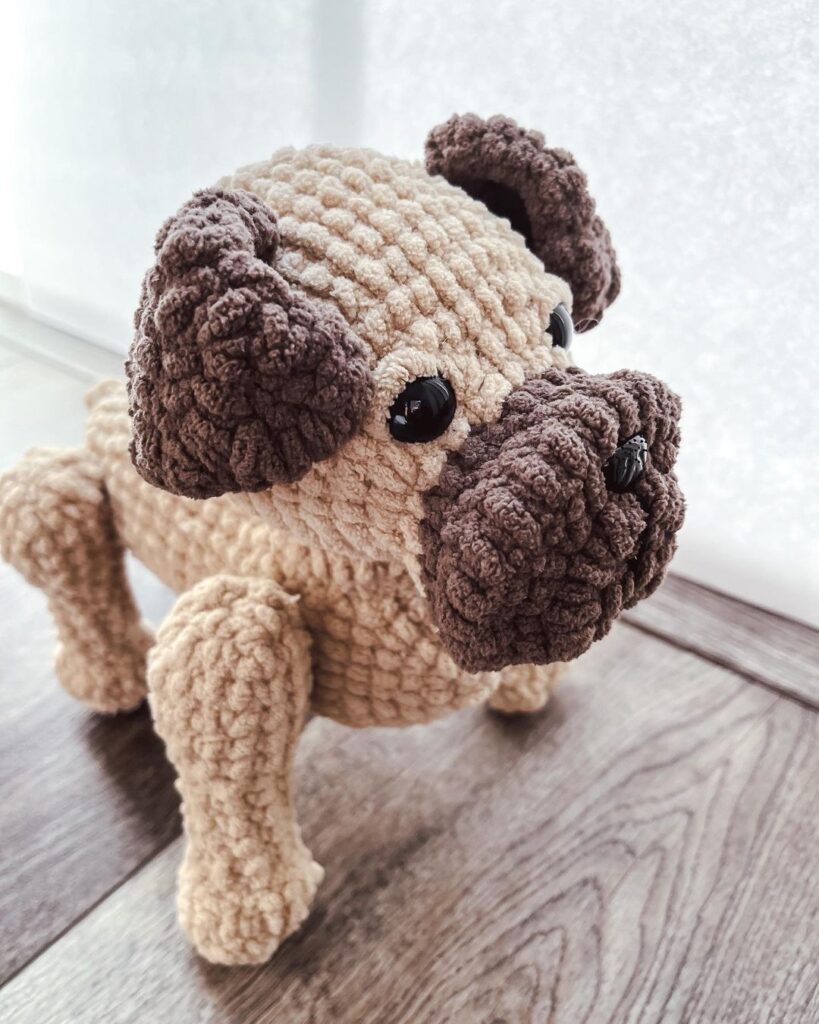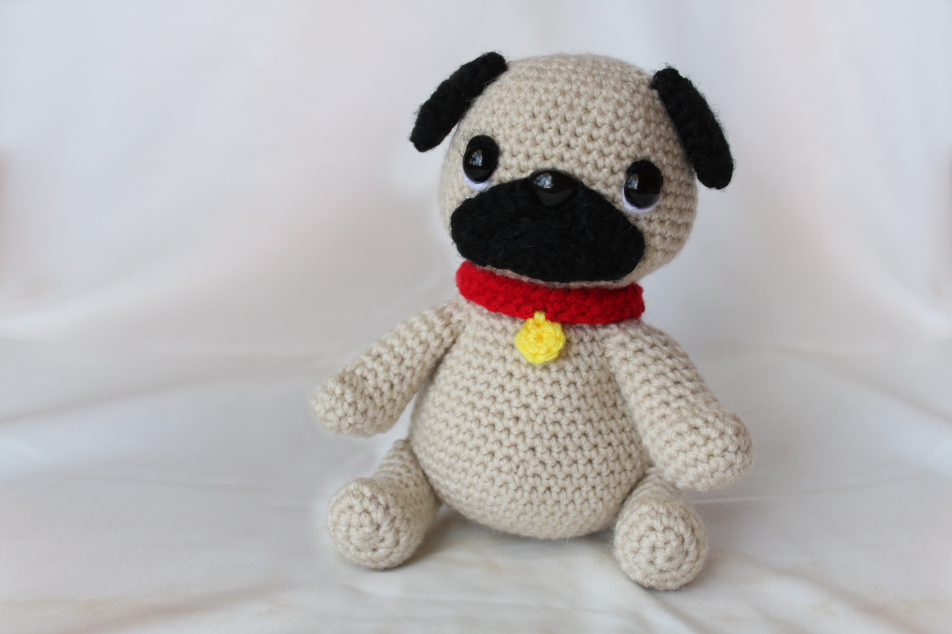
Amigurumi Pug Dog Crochet Pattern
Hello amigurumi lovers and beautiful visitors, I wanted to share the free amigurumi patterns for you here. In my article I will share 1 pattern and how to make it for you. At the end of my article, I will share amigurumi patterns that can generate ideas for you.
Pattern Difficulty: Beginner
The finished Pug is about 6″ or 15cm for height and 4″ or 10cm for width.
Supplies:
4.0mm Crochet Hook, Stuffing, Tapestry Needle, Scissors, 10mm Safety Eyes and Safety Nose.
Yarn Used: 4/Medium Weight in Tan, Black, White, Red, and Yellow
Stitches Used: Magic Ring, Sc, Inc, Dec, Hdc, Dc, and Ch.
Head:
Round 1: In tan, 6 Sc in Magic Ring (6)
Round 2: *Inc* all around (12)
Round 3: *Inc, Sc* all around (18)
Round 4: *Inc, 2 Sc* all around (24)
Round 5: *Inc, 3 Sc* all around (30)
Round 6: *Inc, 4 Sc* all around (36)
Round 7: *Inc, 5 Sc* all around (42)
Round 8: *Inc, 6 Sc* all around (48)
Round 9-15: *Sc* all around (48)
Round 16: Sc 16, *Inc, Sc* 4 times, Sc in next 16 st, *Inc, Sc* 4 times (56)
Round 17-19: *Sc* all around (56)
Round 20: Sc 16, *Dec, Sc* 4 times, Sc in next 16 st, *Dec, Sc* 4 times (48)
Round 21: *Dec, 6 Sc* all around (42)
Round 22: *Dec, 5 Sc* all around (36)
I start to assemble the face pieces here, but it’s optional if you’d rather close the head first.
Assembly: Now we insert the safety eyes in on Row 13- about 11 stitches apart. Make sure you count each stitch, even if it’s hidden under the safety eye. Now you can sew on eye detail if you desire. I take black yarn and line the top half of the eye with it. Now I take white yarn and line the bottom half of the eye. Make sure you don’t line the entire eye.
Now we insert the nose in on Row 15 , in between the two eyes, making sure there’s about an even number of stitches between the nose and eyes. Don’t secure the safety nose yet.
I make the ears and mouth and sew them on, and then put the safety nose on top of the mouth. Stuff the head firmly. Now continue closing the head.
Round 23: *Dec, 4 Sc* all around (30)
Round 24: *Dec, 3 Sc* all around (24)
Round 25: *Dec, 2 Sc* all around (18)
Round 26: *Dec, Sc* all around (12)
Round 27: *Dec* all around (6)
Stuff any additional stuffing, making sure to stuff firmly and sew shut
Top Mouth Mask:
Round 1: In black, Ch 12. 4 DC in 2nd ch from hook, DC in next 9 st, 4 DC in last st.
Finish off and pin between two eyes.
Bottom Mouth Mask:
Round 1: Ch 7, Dc in 2nd Ch from hook. Dc in next 5 St (6)
Finish off and pin below Top Mouth Mask. Make sure to bend the bottom mouth to fit to the top of the mouth.
Ears:
Make 2
Round 1: In black, 4 Sc in Magic Ring (4)
Round 2: *Sc* all around (4)
Round 3: *Inc* all around (8)
Round 4: *Sc* all around (8)
Round 5: *Inc, Sc* all around (12)
Round 6: *Sc* all around (12)
Round 7: *Inc, Sc 2* all around (16)
Round 8-9: *Sc* all around (16)
Finish off and pin to the sides of the head. Don’t stuff the ears.
Body:
Round 1: In tan, 6 Sc in Magic Ring (6)
Round 2: *Inc* all around (12)
Round 3: *Inc, Sc* all around (18)
Round 4: *Inc, 2 Sc* all around (24)
Round 5: *Inc, 3 Sc* all around (30)
Round 6: *Inc, 4 Sc* all around (36)
Round 7: *Inc, 5 Sc* all around (42)
Round 8: *Inc, 6 Sc* all around (48)
Round 9: *Inc, 7 Sc* all around (54)
Round 10-13: *Sc* all around (54)
Round 14: *Dec, 7 Sc* (48)
Round 15-17: *Sc* all around (48)
Round 18: *Dec, 6 Sc* all around (42)
Round 19-22: *Sc* all around (42)
Round 23: *Dec, 5 Sc* all around (36)
Round 24: *Sc* all around (36)
Stuff at this point
Round 25: *Dec, 4 Sc* all around (30)
Round 26: *Dec, 3 Sc* all around (24)
Finish off and add any additional stuffing.
Legs:
Round 1: In tan, 6 Sc in Magic Ring (6)
Round 2: *Inc* all around (12)
Round 3: *Inc, Sc* all around (18)
Round 4: *Sc* all around (18)
Round 5: Sc in next 3 st, Dec 1 time, Sc in next 13 st (17)
Round 6: Sc 1, *Dec* 3 times, Sc in next 10 st (14)
Round 7: Sc 2, *Dec* 1 time, Sc in next 10 st (13)
Round 8-13:*Sc* all around (13)
Finish off and stuff. Pin to the bottom part of the body.
Arms:
Round 1: In tan, 6 Sc in Magic Ring (6)
Round 2: *Inc* all around (12)
Round 3: *Inc, Sc* all around (18)
Round 4-5: *Sc* all around (18)
Round 6: Sc in next 3 st, Dec 1 time, Sc in next 13 st (17)
Round 7: Sc 1, *Dec* 3 times, Sc in next 10 st (14)
Round 8: Sc 2, *Dec* 1 time, Sc in next 10 st (13)
Round 9-14:*Sc* all around (13)
Finish off and stuff. If you want your arms in the front, Sc around an extra 4 rows to be long enough to put on the front.
Arms and legs should look like this when being pinned on the body:
Tail:
Round 1: In tan, Ch 8. 3 DC in 2nd Ch from hook. 3 DC in each st in the next 6 st.
Finish off. The tail should curl. You can twist it to curl it even more.
Collar:
Round 1: In red, ch 32. Hdc in 2nd ch from hook. Hdc in next 30 st.
Finish off.
Collar Chain:
Round 1: In yellow, 6 sc in Magic Ring (6)
Finish off and sew to collar.
Feel free to tag me (@freeamigurumii) in your photos on Instagram or Facebook if you’d like
All Finished.