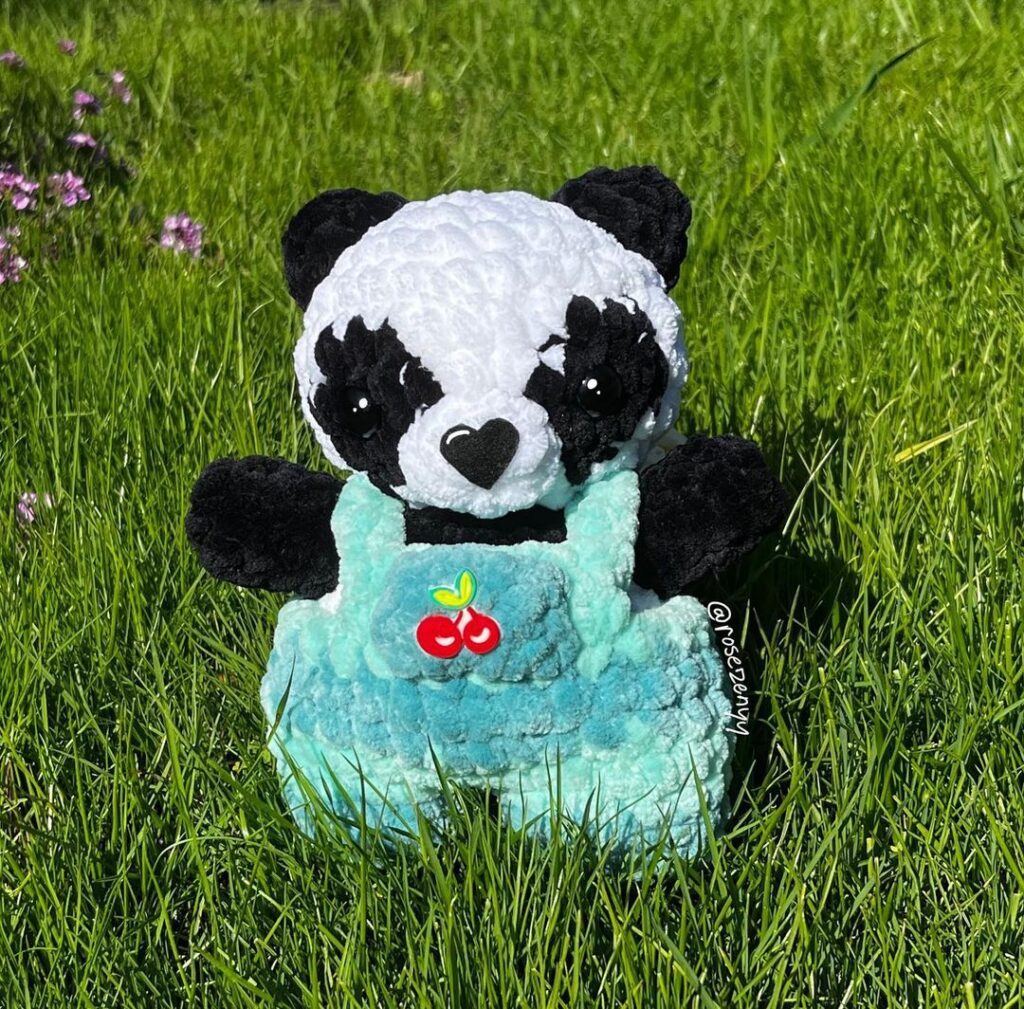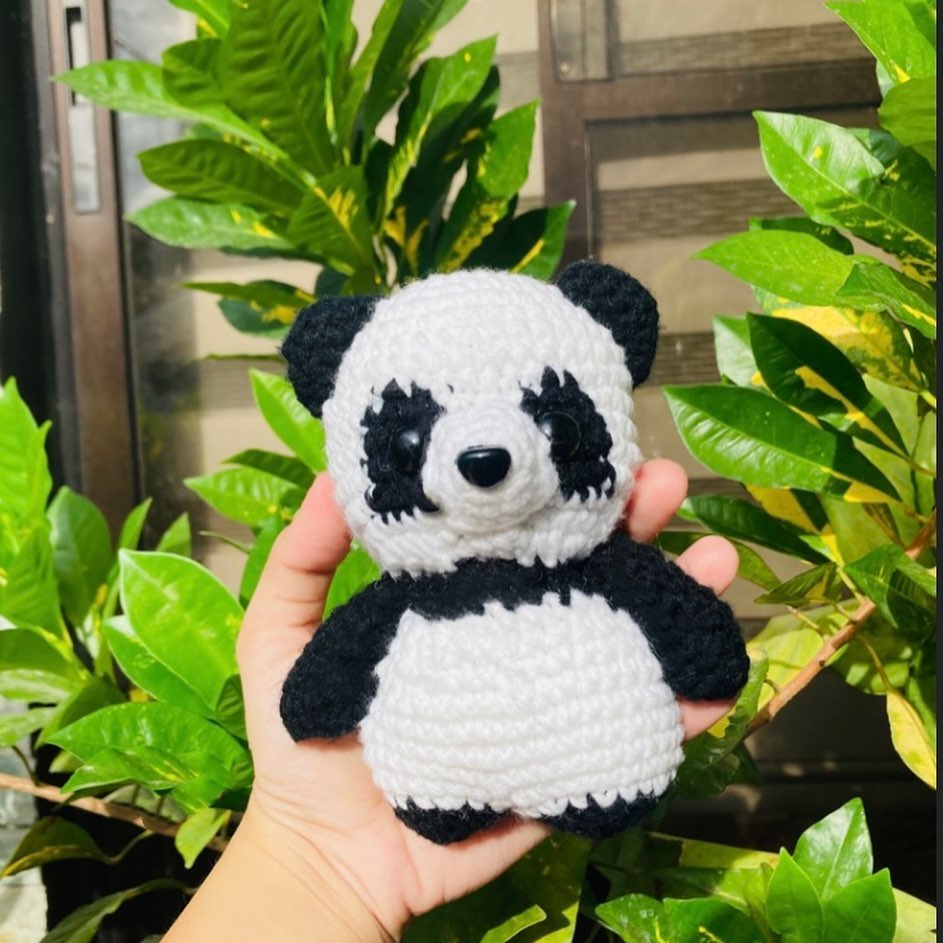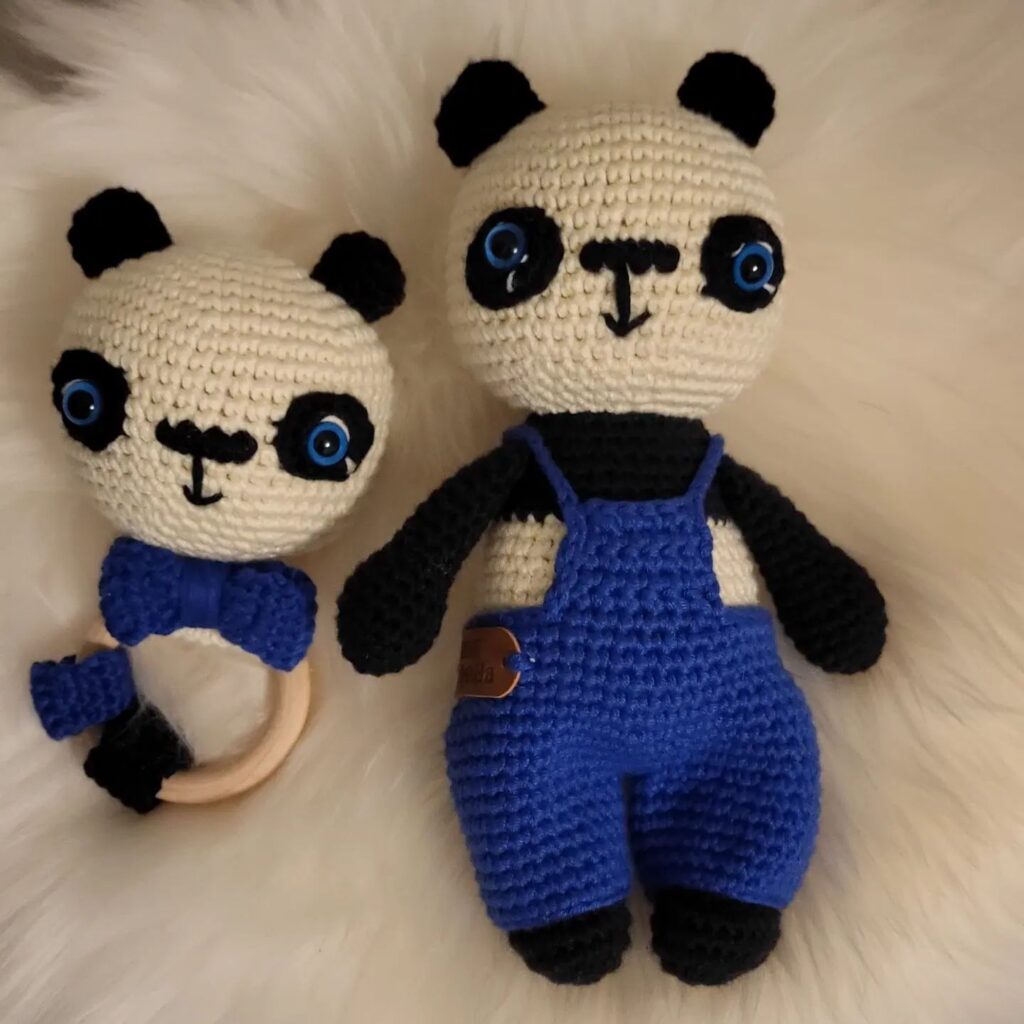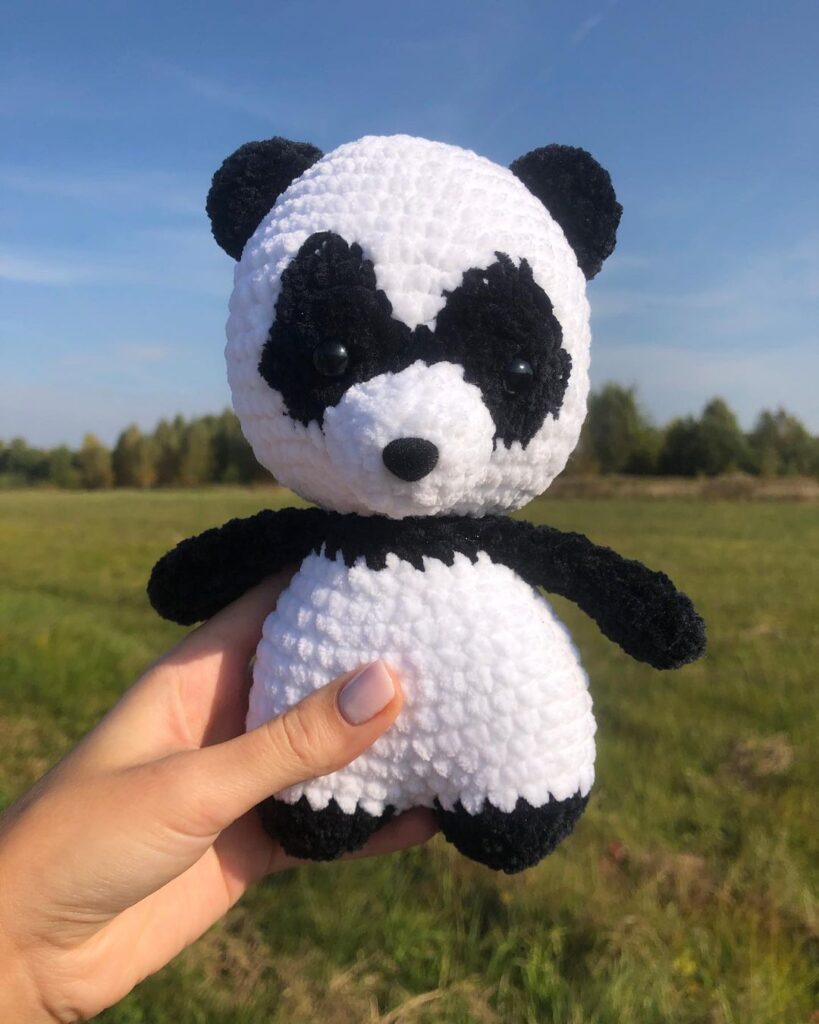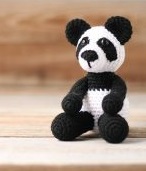
Amigurumi Panda Crochet Pattern
Hello amigurumi lovers and beautiful visitors, I wanted to share the free amigurumi patterns for you here. In my article I will share 1 pattern and how to make it for you. At the end of my article, I will share amigurumi patterns that can generate ideas for you.
Russian knitting terms
ch: chain (v.p)
mr = Magic ring (KA)
sc: single crochet (sbn)
inc = increase (pr)
dec = decrease (ub)
ch: chain
mr = Magic ring
sc: single crochet
inc = increase (2 sc in the next stitch)
dec = decrease (single crochet 2 stitches together)
BLO: Back loop only
FLO: Front loop only
( )* 6 = repeat whatever is between the brackets the number of times stated
LEGS (2PCS.)
With the black color. Stuff in the course of crocheting.
Crochet 6 ch.
1 Rnd: Begin crocheting from the 2nd loop from the book – inc, 3 sc, 4 sc in the last loop of the chain. 3 sc, inc (14)
2 Rnd: İnc, 3 sc, 6 inc, 3 sc, inc (22)
3-5 Rnd: 1 sc in each st around (22)
6 Rnd: 5c, 6 dec, 5 sc (16)
7 Rnd: 5 sc, 3 dec, 5 sc (13)
8-17 Rnd: 10 rows – 1 sc in each st around (13)
Pull the opening with the needke and hide the end of the thread inside the detail.
ARMS (2 PCS.)
With the black color. Stuff in the course of crocheting.
1 Rnd: 6 sc in the magic ring (6)
2 Rnd: (1 sc, inc) x 3 (9)
3 Rnd: (2 sc, inc) x 3 (12)
4 Rnd: (3 sc, inc) x 3 (15)
5 – 6 Rnd: 2 rows – 1 sc in each st around (15)
7 Rnd: (3 sc, dec) x 3 (12)
8 – 13 Rnd: 6 rows – 1 sc in each st around (12)
14 Rnd: (2 sc, dec) x 3 (9)
15 – 16 Rnd: 2 rows – 1 sc in each st around (9)
Pull the opening with the needke and hide the end of the thread inside the detail.
BODY:
With the white or light beige color.
Stuff in the course of crocheting.
1 Rnd: 6 sc in the magic ring (6)
2 Rnd: 6 inc (12)
3 Rnd: (1 sc, inc) x 6 (18)
4 Rnd: (2 sc, inc) x 6 (24)
5 Rnd: (3 sc, inc) x 6 (30)
6 Rnd: (4 sc, inc) x 6 (36)
7 Rnd: (5 sc, inc) x 6 (42)
8 – 13 Rnd: 6 rows – 1 sc in each st around (42)
14 Rnd: (5 sc, dec) x 6 (36)
15 – 16 Rnd: 2 rows – 1 sc in each st around (36)
Change the yarn to the dress color.
17 Rnd: (4 sc, dec) x 6 (30)
18 Rnd: For the back loops only – 1 sc in each st around (30)
19 – 21 Rnd: 3 rows – 1 sc in each st around (30)
22 Rnd: (3 sc, dec) x 6 (24)
Leave enough thread for sewing.
HEAD:
With the white or light beige color.
Stuff in the course of crocheting.
1 Rnd: 6 sc in the magic ring (6)
2 Rnd: 6 inc (12)
3 Rnd: (1 sc, inc) x 6 (18)
4 Rnd: (2 sc, inc) x 6 (24)
5 Rnd: (3 sc, inc) x 6 (30)
6 Rnd: (4 sc, inc) x 6 (36)
7 Rnd: (5 sc, inc) x 6 (42)
8 Rnd: (6 sc, inc) x 6 (48)
9 – 18 Rnd: 10 rows – 1 sc in each st around (48)
19 Rnd: (6 sc, dec) x 6 (42)
20 Rnd: (5 sc, dec) x 6 (36)
21 Rnd: (4 sc, dec) x 6 (30)
22 Rnd: (3 sc, dec) x 6 (24)
Cut the yarn and fasten off.
Sew the head to the body.
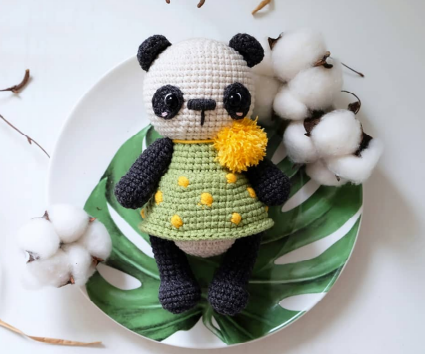
SKİRT:
*Crochet the 1 st row grasping front loops of the 18th row
*Crochet with the closed rows.
(Begin row with 1 ch and end it with the sl st in the first stitch of the row)
*Make puff stiches with another color
1 Rnd: (4 sc, inc) x 6 (36)
2 Rnd: (5 sc, puff st.) x 6 times (36)
3 Rnd: (5 sc, inc) x 6 (42)
4 Rnd: 1 sc in each st around (42)
5 Rnd: 2 sc, puff st., (6 sc, puff st.) x 5 times, 4 sc (42)
6 Rnd: (6 sc, inc) x 6 (48)
7 Rnd: 1 sc in each st around (48)
8 Rnd: 6 sc, puff st., (7 sc, puff st.) x 5 times, 1 sc (48)
9 Rnd: (7 sc, inc) x 6 (54)
10 Rnd: 1 sc in each st around (54)
11 Rnd: Sl st in each st around
Cut the yarn and fasten off
EARS AND TAIL (3 PCS.)
1 Rnd: 6 sc in the magic ring (6)
2 Rnd: 6 inc (12)
3 – 4 Rnd: 2 rows – 1 sc in rach st around (12)
5 Rnd: (dec, 4 sc) x 2 (10)
Leave enough thread for sewing.
Stuff the tail. Fold the ears in half, don’t stuff.
EYES (2 PCS.)
With the black color.
Crochet 6 ch.
1 Rnd: Begin crocheting from the 2nd loop from the hook – 2 sc, 3 sc in the last loop of the chain. 1 sc, inc (8)
2 Rnd: İnc, 1 sc, 3 inc, 1 sc, 2 inc (14)
Leave enough thread for sewing.
Attach the legs using the thread fastening.
Embroider the nose, sew ears and eyes.
Glue black half beads.
Embroider the cheeks with pink thread (a couple of stitches are enough)
Sew the tail.
Make a small pompon and attach it to the neck
Feel free to tag me (@freeamigurumii) in your photos on Instagram or Facebook if you’d like!
All Finished.