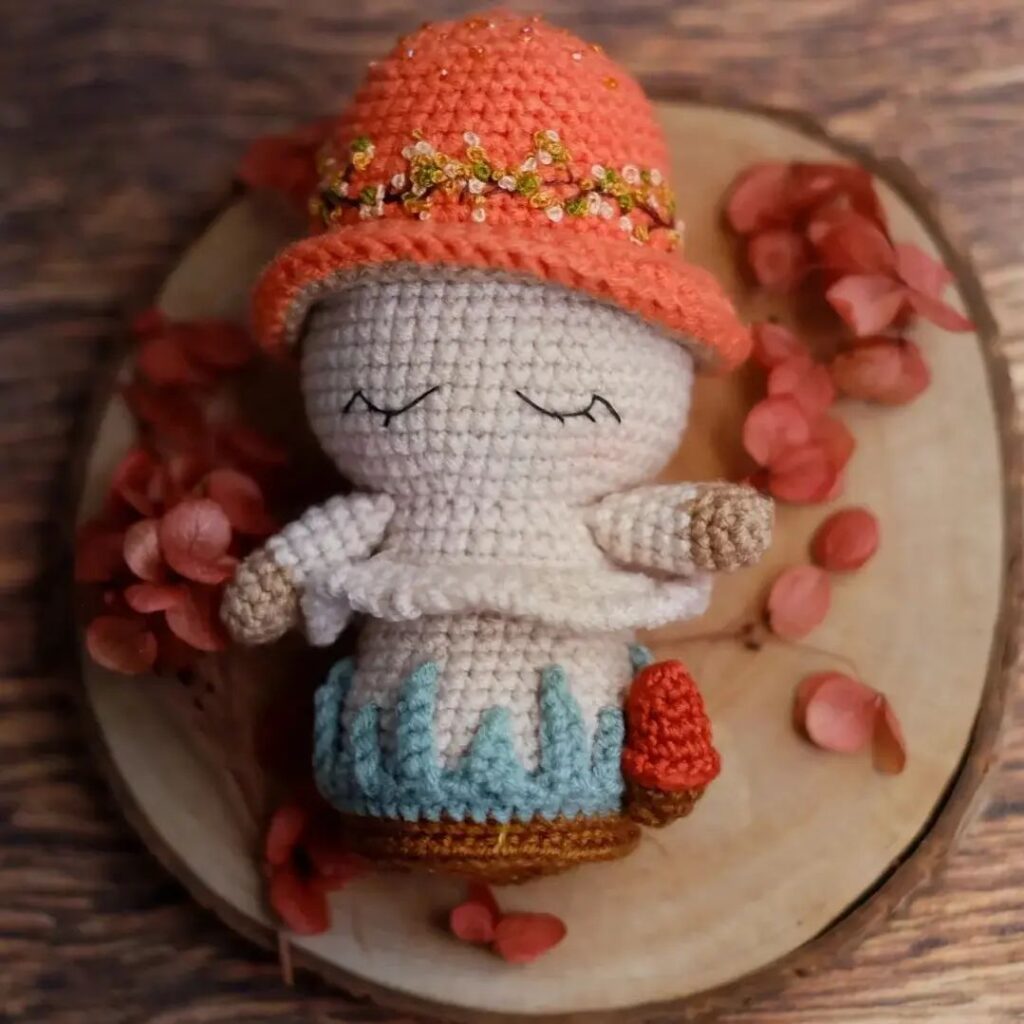
Amigurumi Mushroom Crochet Pattern
Hello amigurumi lovers and beautiful visitors, I wanted to share the free amigurumi patterns for you here. In my article I will share 1 pattern and how to make it for you. At the end of my article, I will share amigurumi patterns that can generate ideas for you.
Materials needed:
Sport weight cotton yarn in red and white colour.
2 mm crochet hook.
Fiber fill for stuffing.
6 mm flatback eyes/ safety eyes.
Tapestry needle.
Black embroidery thread.
All-purpose glue.
Abbreviations:
R – round/row.
Ch – chain.
St(s) – stitch(es).
Sc – single crochet.
Inc – Increase (2sc in one st).
Dec – decrease (sc 2 st together).
Sl st – slip stitch.
[…] – repeat the instructions given in between the brackets.
(…) – total number of stitches.
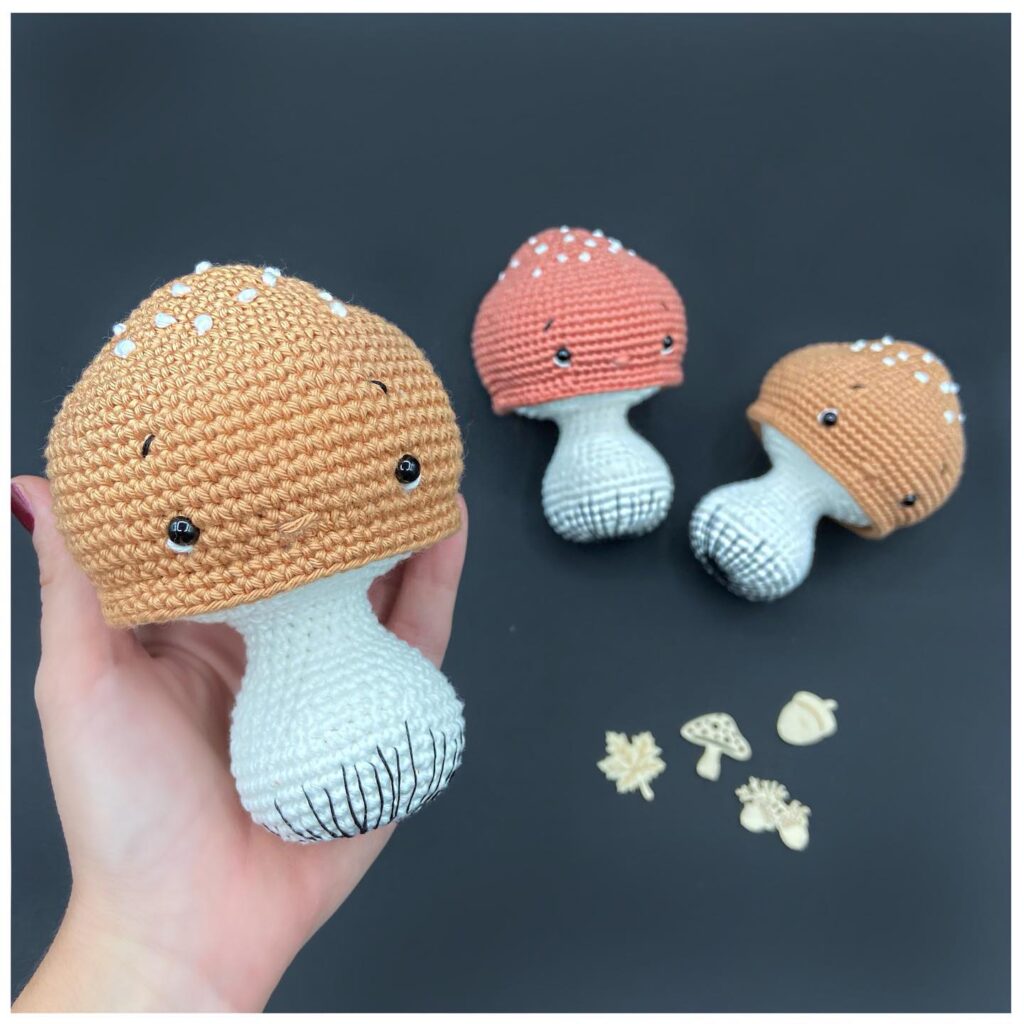
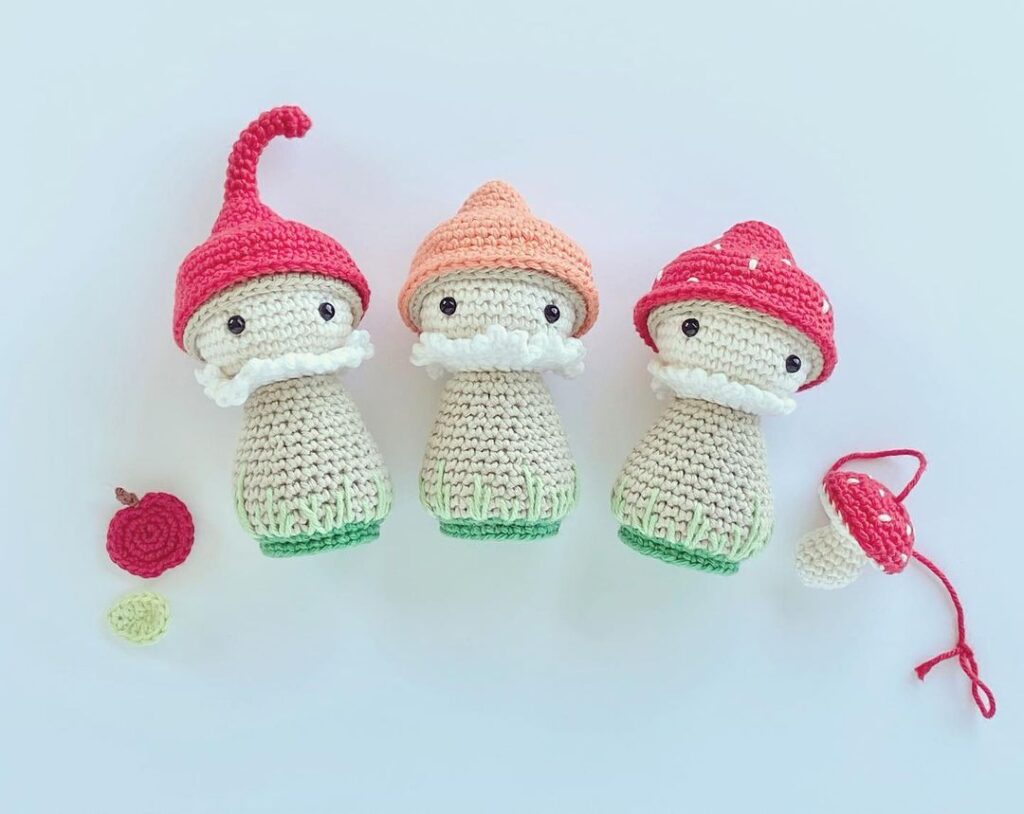
Mushroom:
Worked from top to bottom.
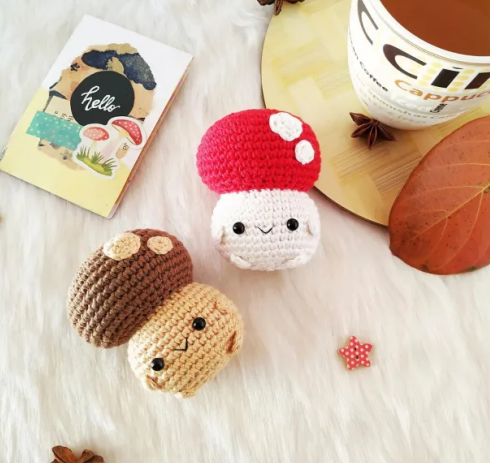
Start with red colour yarn
R1: 8 sc in magic ring.
R2: Inc in each st (16).
R3: [ Sc, inc ] x 8 (24).
R4: [ Sc, inc, sc ] x 8 (32).
R5: [ Sc in next 3 st, inc ] x 8 (40).
R6: [ Sc in next 2 st, inc, sc in next 2 st ] x 8 (48).
R7-12: Sc in each st (48).
R13: [ Sc in next 2 st, dec, sc in next 2 st ] x 8 (40).
R14: [ Sc in next 3 st, dec ] x 8 (32).
R15: [ Sc, dec, sc ] x 8 (24).
Stuff tightly using fiber fill.
Switch to white colour
R16: (Worked in back loops only) Sc in each st (24).
R17: [ Sc, inc ] x 12 (36).
R18: [ Sc in next 4 st, inc, sc in next 4 st ] x 4 (40).
R19-25: Sc in each st (40).
R26: [ Sc in next 3 st, dec ] x 8 (32).
R27: [ Sc, dec, sc ] x 8 (24).
Attach safety eyes between R21 and R22 with 6 stitches in between.
R28: [ Sc, dec ] x 8 (16).
Stuff firmly.
R29: dec x 8 (8).
Fasten off and weave in the ends.
If using flat back eyes, glue them at this point and embroider a smile using black thread.
Arms(make 2):
4 sc in magic ring (4).
Fasten off leaving a long tail for sewing.
Legs (make 2):
5 sc in magic ring (5).
Fasten off leaving a long tail for sewing.
Spots:
Small spot:
6 sc in magic ring and sl st to the first st (6).
Fasten off leaving a long tail for sewing.
Big spot:
R1: 6 sc in magic ring (6).
R2: [ inc, sc, inc ] x 2 (10) and sl st to the first st (10).
Fasten off leaving a long tail for sewing.
Assembling:
Attach the arms slanting outwards from R22-R23. Place them 3 stitches away from the eyes.
Attach the legs slanting inwards from R26-R27.
Sew in the big and small spot on top.
Feel free to tag me (@freeamigurumii) in your photos on Instagram or Facebook if you’d like!
All Finished.