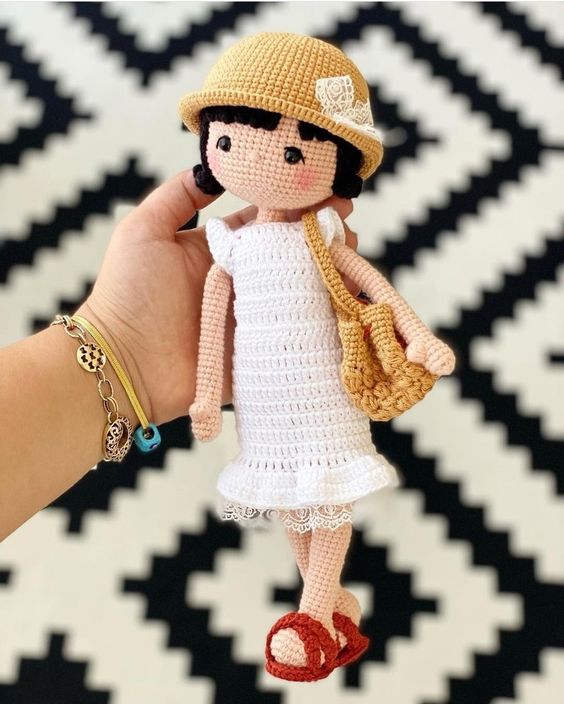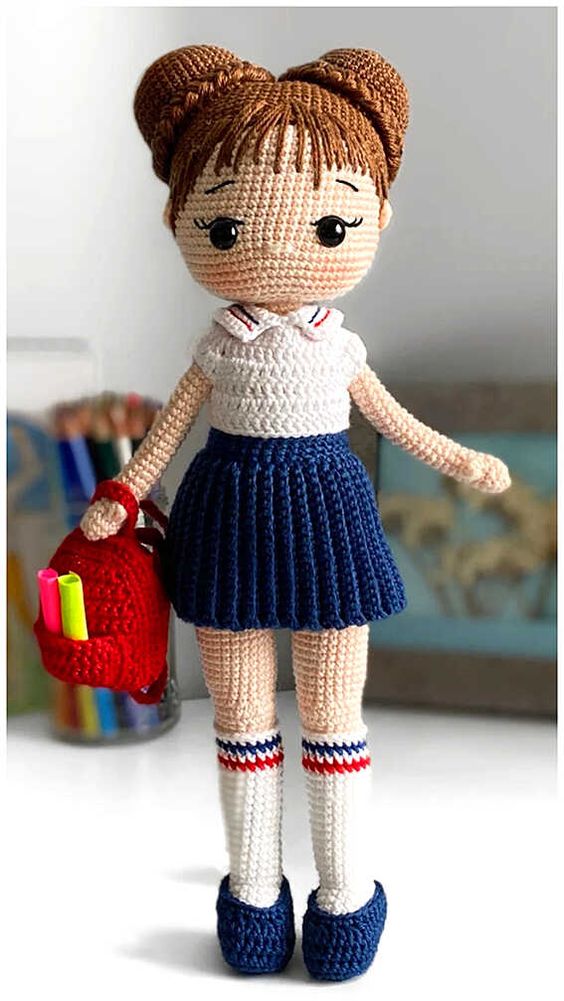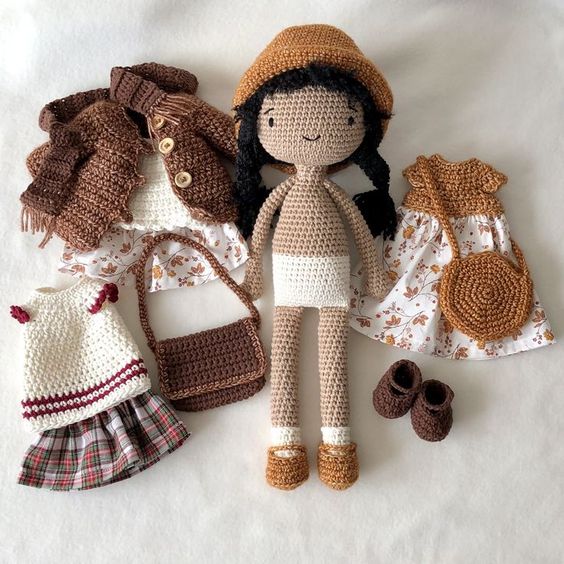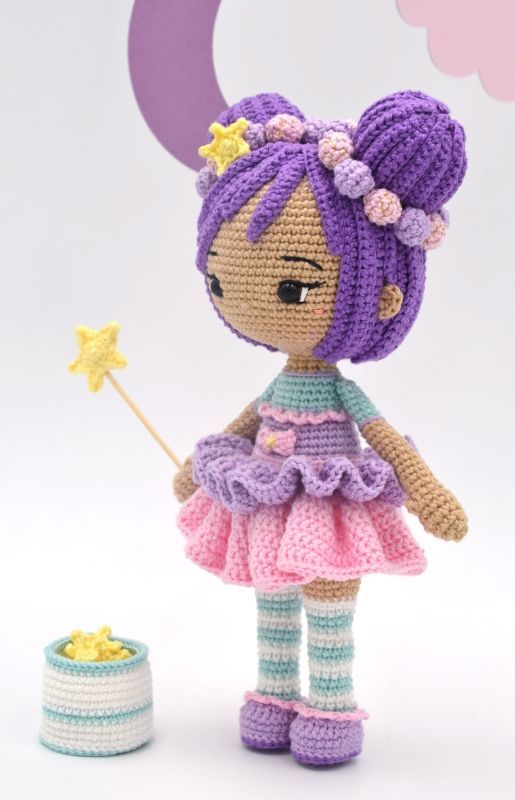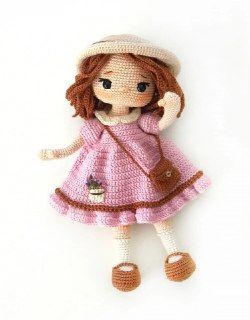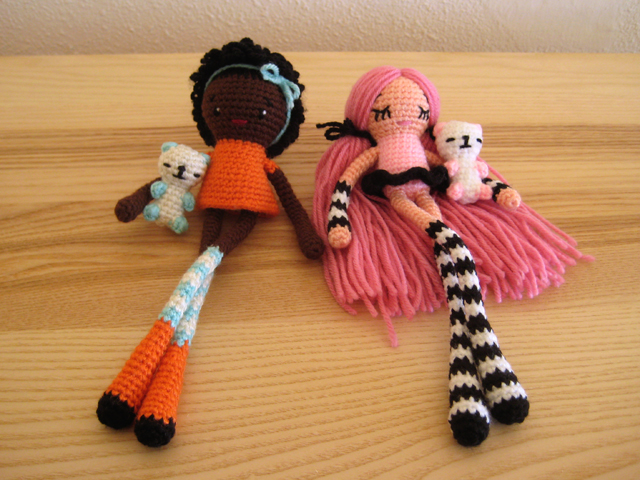
Amigurumi Knitted Dolls of a Model Crochet Pattern
Hello amigurumi lovers and beautiful visitors, I wanted to share the free amigurumi patterns for you here. In my article I will share 1 pattern and how to make it for you. At the end of my article, I will share amigurumi patterns that can generate ideas for you.
Materials:
— Yarn any colors of your choice
— Mulina or face yarn
— A sewing thread that matches the color of the hair yarn
— The hook corresponding to the thickness of the yarn. The author used a very thin yarn and a hook of 2.0 mm, as a result, a chrysalis of about 21-22 cm came out
— Verb stitching needle
— Filler
Symbols:
Art — column
Satn — table without cape
connection Art. — connecting column
increase — increase
vm2sbn — tie 2 Sat together ( decrease )
Note: When changing colors, the last stitch you pull through the stitch (located just before the color change) should be narrower than the new color.
Head and torso
Row 1: the yarn you have chosen for the skin, tie 6 Sat into the amigurumi ring.
Row 2: increase in the following. Art, to the end of the row ( 12 )
Row 3: increase in next Art, Sat in the wake. Art, to the end of the row ( 18 )
Row 4: increase in the following. Art, Sat in the wake. 2 tbsp, to the end of the row ( 24 )
Row 5: increase in the following. Art, Sat in the wake. 3 tbsp, to the end of the row ( 30 )
Row 6: knit without additives ( 30 )
Row 7: increase in the following. Art, Sat in the wake. 4 tbsp, to the end of the row ( 36 )
Row 8-12: knit without additives ( 36 )
Row 13: vm2sbn, Satn next. 4 tbsp, to the end of the row ( 30 )
Row 14: knit without additives ( 30 )
Row 15: vm2sbn, sbn next. 3 st, to the end of the row (24)
Row 16: vm2sbn, sbn in the next. 2 sts, until the end of the row (18), fill the head tightly. Change yarn color to body color of your choice.
Row 17: knit without increase (18)
Row 18: sc in the next. st, sbn in the next. 5 st, to the end of the row (21)
Row 19-25: Knit without increase (21)
Row 26: vm2sbn, sbn in the next. 5 st, to the end of the row (18) fill tightly.
Row 27: vm2sbn, sbn in the next. st, to the end of the row (12) fill more.
Row 28: vm2sbn, to the end of the row (6) Fasten off the thread and hide the end. Embroider a face to your taste, or look at the photo for inspiration.
Feet
Row 1: the yarn you have chosen for the legs, tie 6 Sat into the amigurumi ring.
Row 2: increase in the following. Art, to the end of the row ( 12 )
Row 3-5: knit without additives ( 12 )
Row 6: vm2sbn, Satn next. 10 tbsp ( 11 )
Row 7: knit without additives ( 11 )
Row 8: Sat next 5 tbsp, vm2sbn, abn next 4 tbsp ( 10 )
Row 9: knit without additives ( 10 )
Row 10: Sat next 3 tbsp, vm2sbn, Sat next 5 tbsp ( 9 )
Row 11: knit without additives ( 9 )
Row 12: Sat next 7 tbsp, vm2sbn
Row 13: knit without additives
Row 14: Sat next 2 tbsp, vm2sbn, Sat next 4 tbsp ( 7 )
Row 15: knit without additives ( 7 ) fill your leg more tightly at the foot, and then closer to the top weaker. The rest of the leg will be very thin, it does not need to be filled.
Row 16: Sat next 4 tbsp, vm2sbn, abn next Art ( 6 )
Row 17-44: knit without additives ( 6 ). Fasten the thread, leaving the end of the thread for sewing. Tie the second leg, and then sew them to the body.
Hands
Row 1: With the yarn of your choice for the leather, work 6 sc into an amigurumi ring.
Row 2: inc. in a trace. st, sbn in the next. 2 st, to the end of the row
Row 3-5: knit without increase
Row 6: vm2sbn, sbn in the next. 6 st (7)
Row 7: Knit without increase (7) if necessary, fill the arm a little. The rest of the arm will be very thin and will not need to be stuffed.
Row 8: sc in the next. 2 st, vm2sbn, sbn in the next. 3 st (6)
Row 9-22: Knit without increase (6) Fasten off the thread, leaving the end of the thread for sewing. Tie the second hand and then sew them to the body.
Special details of a knitted doll
A-line mini dress
Knit the head as described in the basic pattern until the yarn changes to body color. Change the yarn color to the body color, but do not cut the skin color thread, just let it hang for now. Then knit like this:
Row 18: behind the front wall of the loop: sc in the next. st, sbn in the next. 5 st, to the end of the row (21)
Now you have laid the basis for knitting the dress. Do not cut the thread of the dress, but return to the thread of the skin.
Knit from the inside, behind the remaining back walls of the loops of the previous row, without increments, 18 tbsp. Thus, you will get two canvases, one above the other, a skin canvas and a dress canvas. Next, continue to knit the leather fabric like this:
Row 19-20: knit without additives ( 18 )
Row 21: increase in the following. Art, Sat in the wake. 5 tbsp, to the end of the row ( 21 )
Row 22-24: knit without additives ( 21 ) Now change the color of yarn to the color for panties. It is important, otherwise your doll will look indecent in such a small mini-finger: )
Row 25: knit without additives ( 21 )
Row 26: vm2sbn, Satn next. 5 tbsp, to the end of the row ( 18 ), tightly fill.
Row 27: vm2sbn, Satn next. Art, to the end of the row ( 12 ), fill again.
Row 28: vm2sbn, to the end of the row ( 6 )
Fasten the thread and hide the end.
Now go back to the canvas of the dress. Continue like this:
Row 19: knit without additives ( 21 )
Row 20: increase in the following. Art, Sat in the wake. 6 tbsp, to the end of the row ( 24 )
Row 21: knit without additives ( 24 )
Row 22: increase in the following. Art, Sat in the wake. 7 tbsp, to the end of the row ( 27 )
Row 23: knit without additives ( 27 )
Row 24: increase in the following. Art, Sat in the wake. 8 tbsp, to the end of the row ( 30 )
Row 25: knit without additives ( 30 )
Row 26: increase in the following. Art, Sat in the wake. 9 tbsp, to the end of the row ( 33 )
Row 27: knit without additives ( 33 )
Row 28: increase in the following. Art, Sat in the wake. 10 tbsp, to the end of the row ( 36 )
Row 29: Sat next 2 tbsp, soyed. Art. next 3 tbsp. Fasten the thread and hide the end.
Baller’s skirt
Tie your head and body according to the base diagram. After that, the skirt fits directly from the body, around the columns of row 24.
Row 1: Sat in everybody. Art to the end of the row ( 21 )
Row 2: increase in the following. Art, to the end of the row ( 42 )
Row 3: increase in the following. Art, to the end of the row ( 84 )
Row 4: coed. Art in the following. 2 tbsp. Fasten the thread and hide the end..
If you think knitting around the body — is too painstaking work, you can tie the skirt as a separate part and then sew. In this case, type a chain of 21 vp and connect the connection. Next, knit as indicated in the description of the skirt.
Striped stockings above the knee
Knit your legs according to the base scheme, but change the colors of yarn as you knit. For the first three rows, use the yarn for stripes A. For the next two rows, the color B. Keep knitting, changing color one by one every two rows. But do not make a color change all the time at the beginning of the row, otherwise the color change line will spin around the leg. Make a color change so that a straight line is obtained. After 15 stripes, change the color of yarn to the color of the skin and tie your leg. When you sew your legs, make sure that the color change line is on the inside of the leg.
Knee-high boots with over-the-knee stockings
Work the legs in the basic pattern, but change the colors of the yarn as you knit. For the first three rows, use any color of yarn you choose for the soles of your boots. For the next 12 rows, use the yarn chosen for boots. For the next 2 rows use yarn for stripes color A. For the next 2 yarns for stripes color B. But do not change colors all the time at the beginning of the row, otherwise the color change line will twist around the leg. Change colors so that you get a straight line. After 7 strips, change to skin-colored yarn and finish the leg. When sewing on the legs, make sure the color change line is on the inside of the leg.
Short sleeved arms
Knit the hands according to the base pattern, but knit the last two rows with the color of the sleeve.
Handles with sleeves
Tie your hands according to the base scheme, but change colors as you knit.
For the first three rows, use a yarn of skin color. For the next two rows I’m hiding for stripes A. For the next two rows, the color B. Keep knitting, changing color one by one every two rows. But do not make a color change all the time at the beginning of the row, otherwise the color change line will spin around the leg. Make a color change so that a straight line is obtained. After 5 stripes, change the yarn to the color of the skin and tie your hand to the end. When you sew your hands, make sure that the color change line is on the inside of the hand.
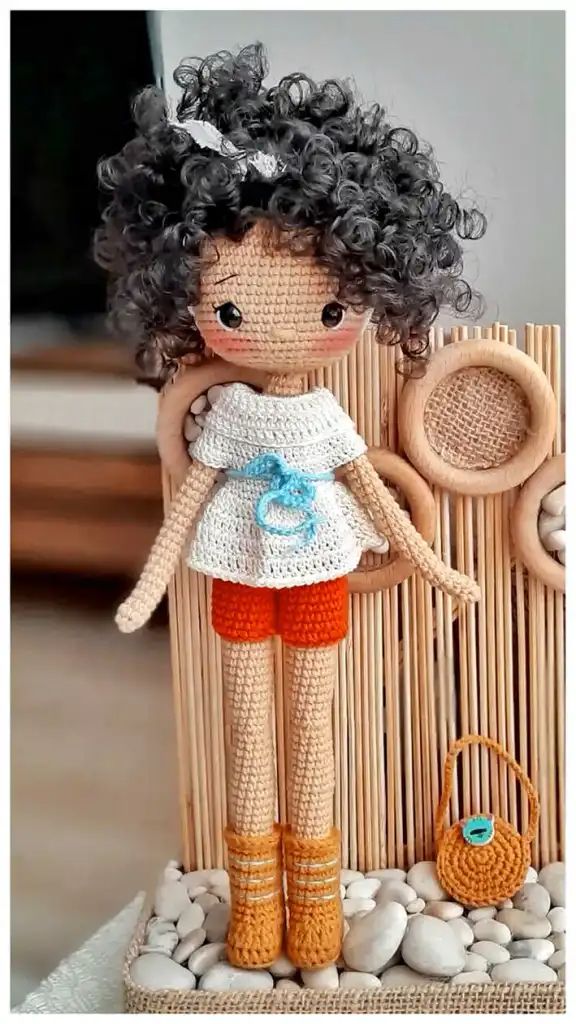
Afro hairstyle
The afro hairstyle consists of two parts: the front part of — afro-cats, the rear — lush. To make afro pigtails, tie the elongated columns with a black thread, a little at a distance from each other. For the lush part, we sew loops from the thread with the needle. To start, attach the thread to the front of the head, directly from the skein. Hide the short end.
Now make a small loop around the index finger and sew it. Two stitches will be enough: one around the thread and one through. Continue to make such loops around the circumference of the head, in a spiral. When you make loops on the sides and on the bottom of the head, make a loop around the little finger. Thus, you slightly shape the hairstyle.
When you return to the top of the head, make the next spiral of hair along the previous one, as close as possible to cover the head. The author made three spirals to cover the head completely, but it depends on the yarn. When the head is completely covered with “hair”, cut the thread from the skein and hide the end.
To make a hair band, knit a chain of 38 ch and connect the connection. column. Fasten the thread. You can hide the ends or tie them into a small bow.
Tails
Take a hair lock and wrap it around the book about 50 times. Remove the loops from the book and cut on one side. Now you have 50 « hairs » of the same length. Take « hair », fold in half. Then, with a sewing thread of the same color as « hair », sew them in the center of the head starting from the hairline. Two stitches will be enough: one around the thread and one through. Continue sewing « hair » to get the flat line « test » to the center of the head from behind. Now that the hair is fixed in the selection, divide it into two ponytails. After that, tighten them on the sides of the head. Tie the bows around the ponytails to complete.
Feel free to tag me (@freeamigurumii) in your photos on Instagram or Facebook if you’d like!
All Finished.