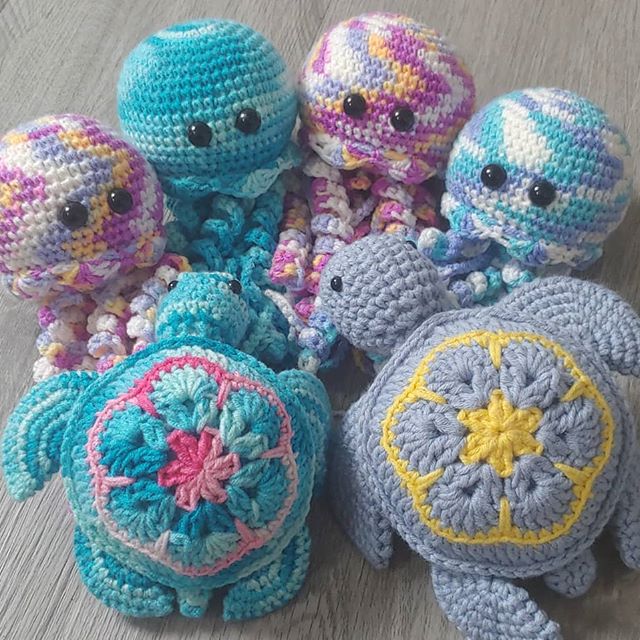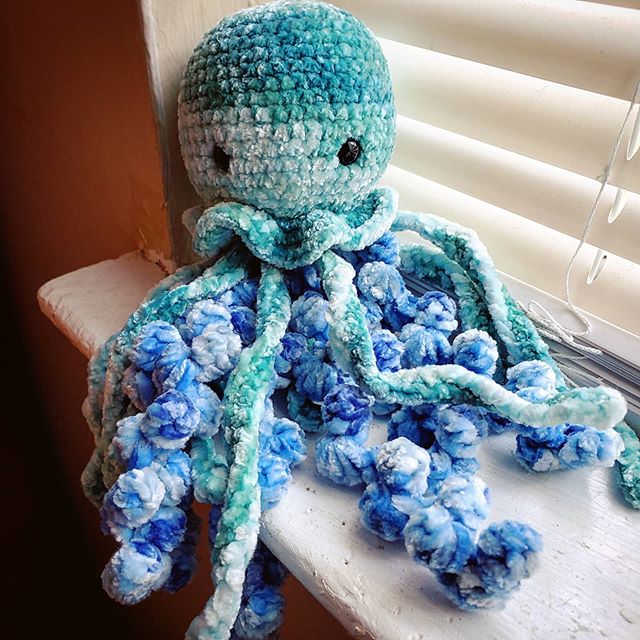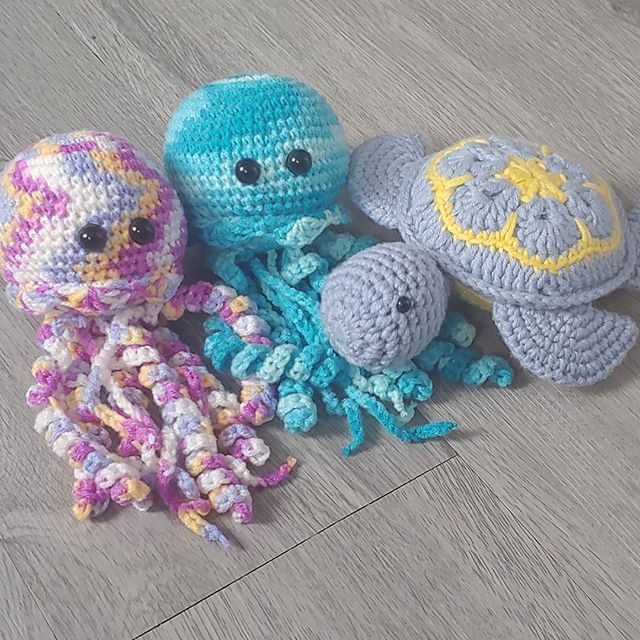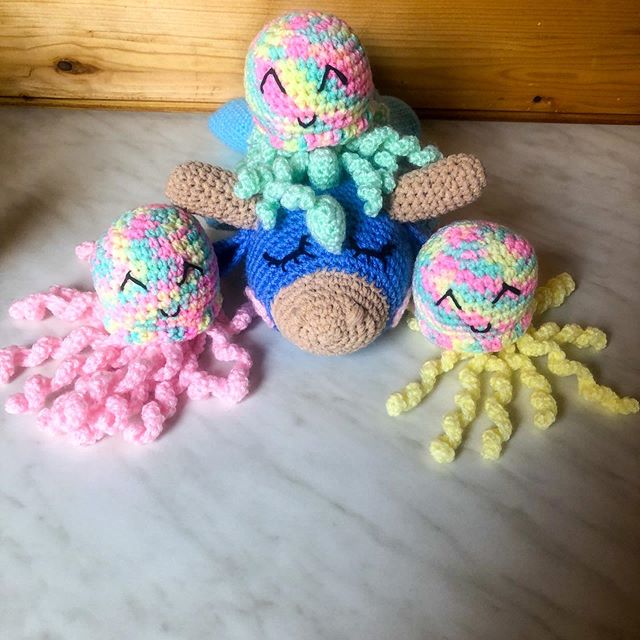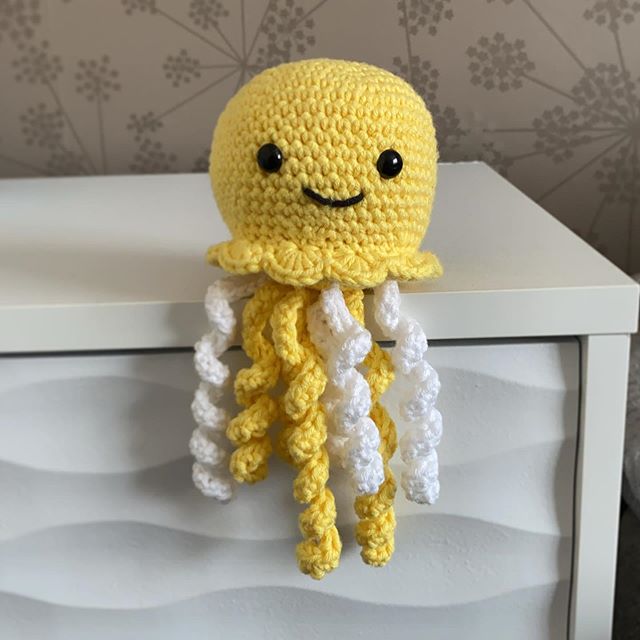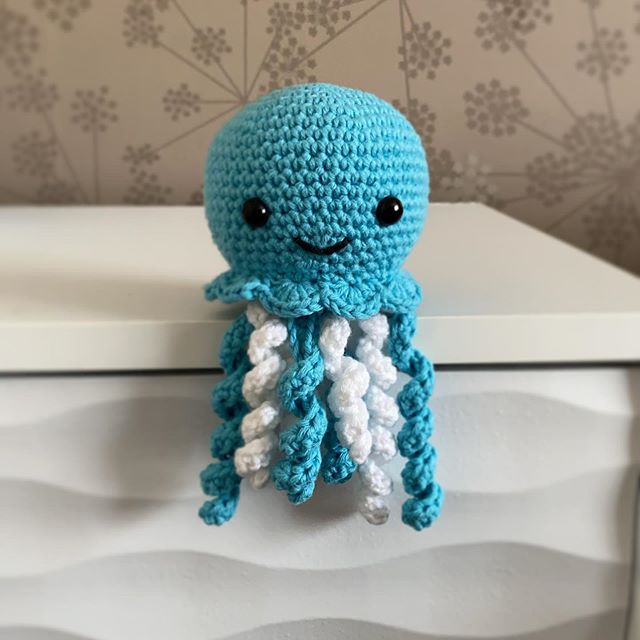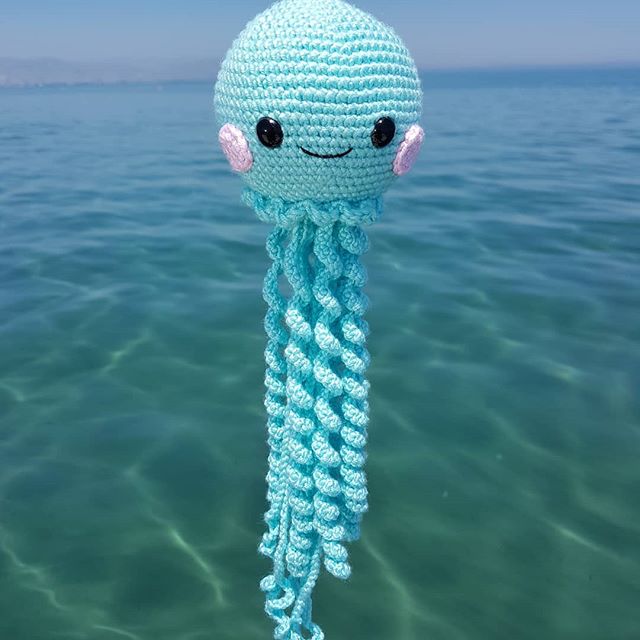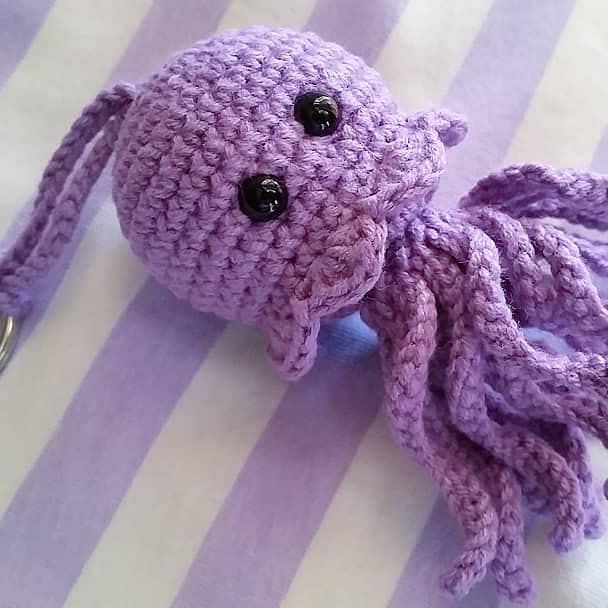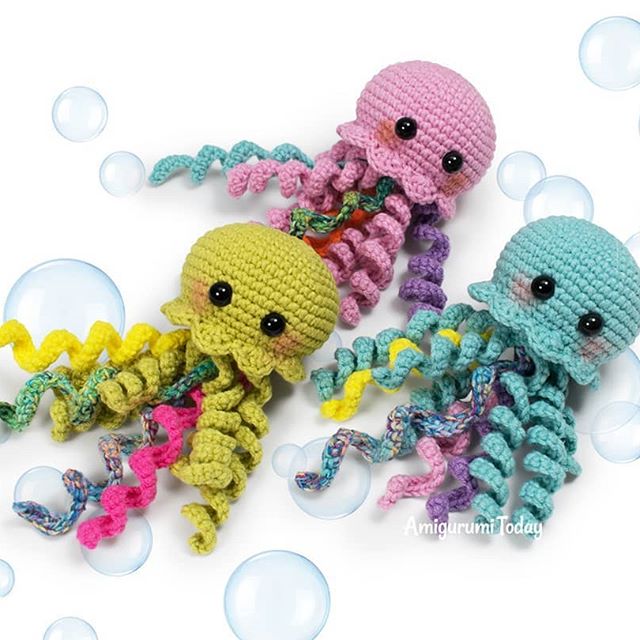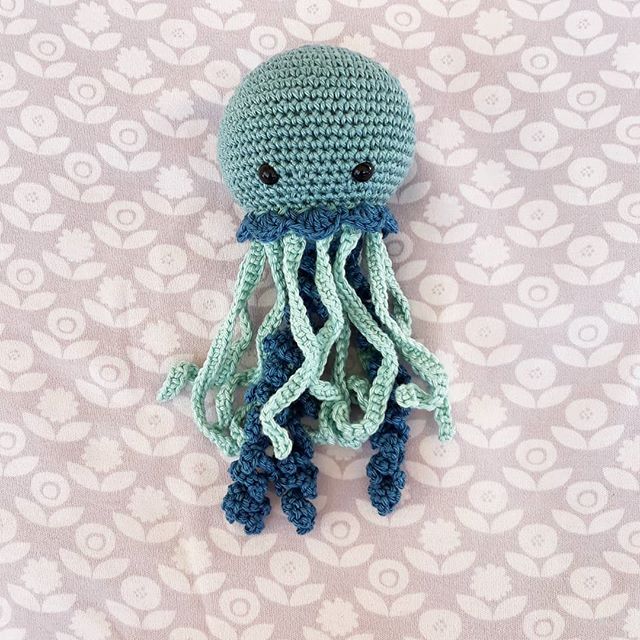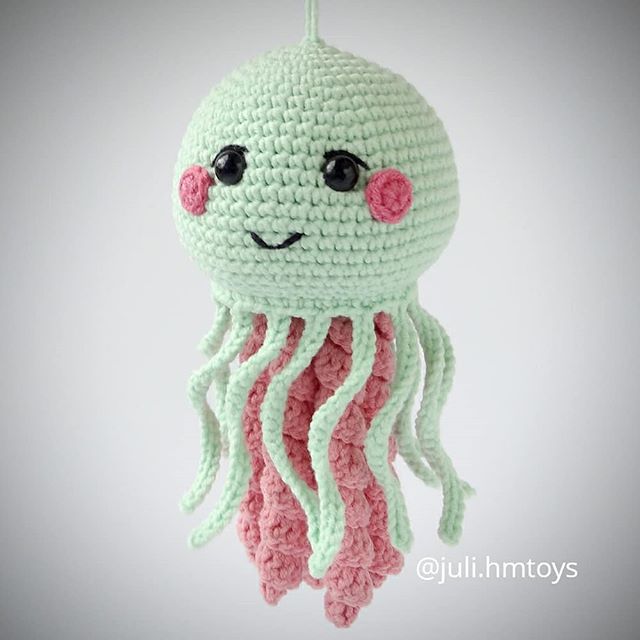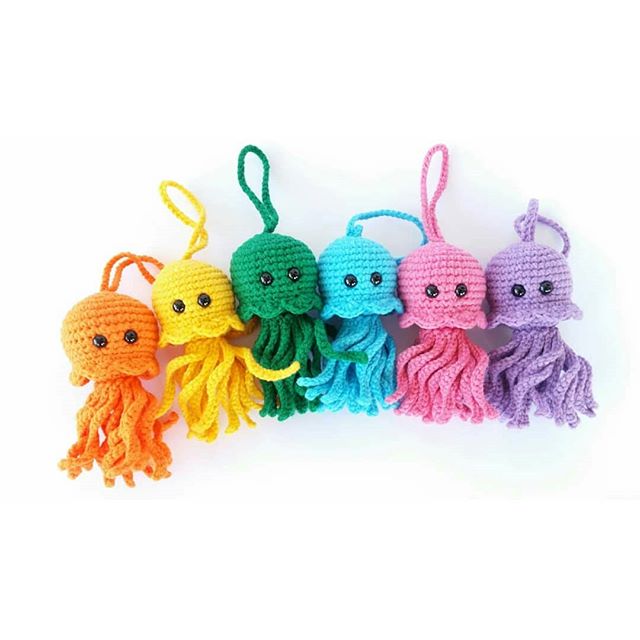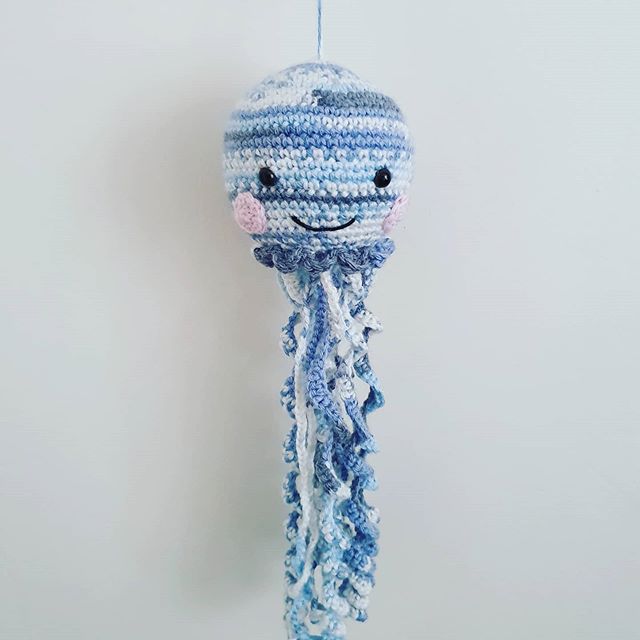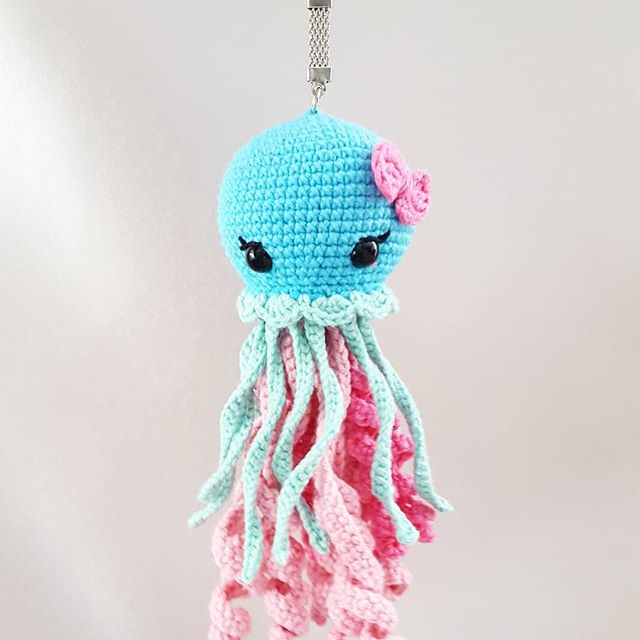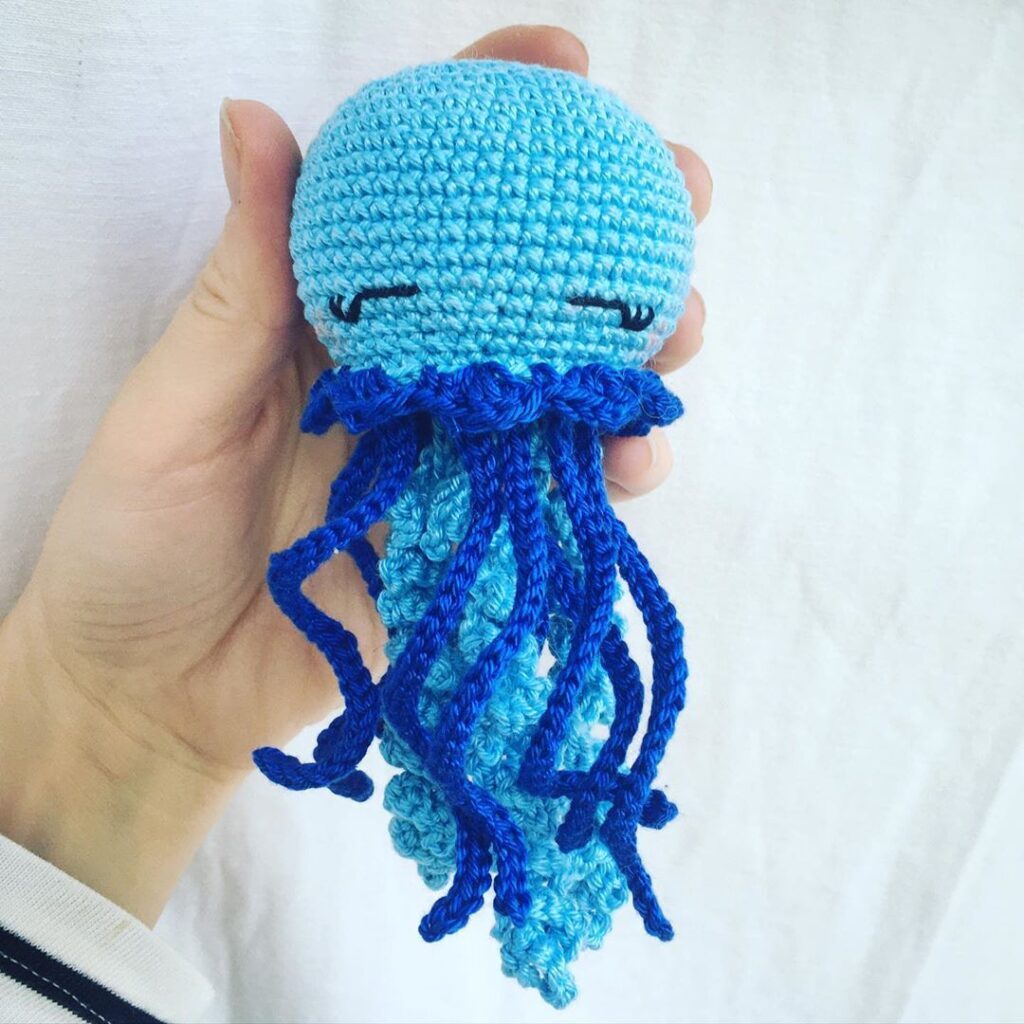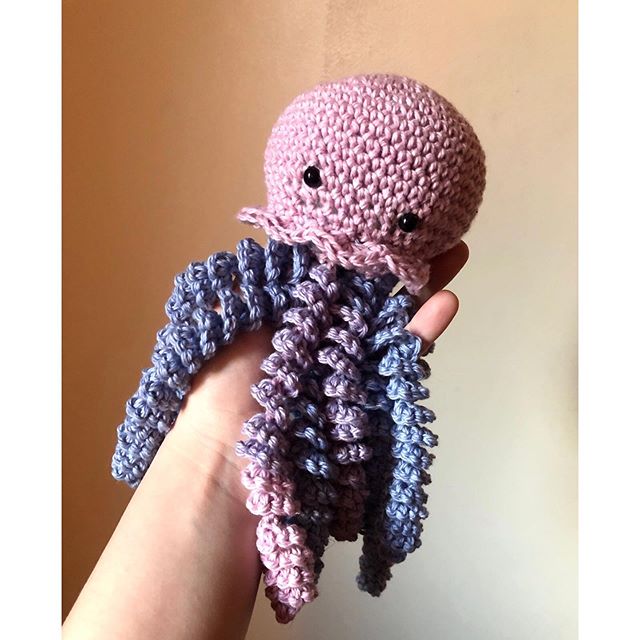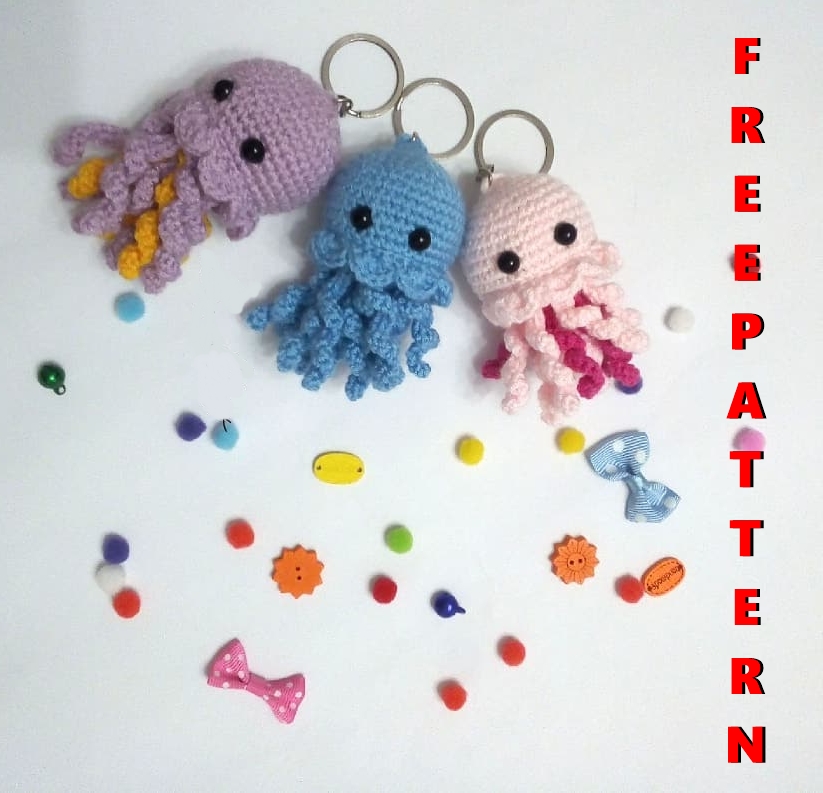
AMIGURUMI JELLYFISH KEYCHAIN FREE CROCHET PATTERN
Hello amigurumi lovers and beautiful visitors, I wanted to share the free amigurumi patterns for you here. In my article I will share 1 pattern and how to make it for you. At the end of my article, I will share amigurumi patterns that can generate ideas for you.
If you enjoy making amigurumi, here I share this easy and free amigurumi pattern for you for free. Your kids will love these toys.
Note: I created the colors according to my own taste. You can use rope color according to your own taste.
Materials:
Approx 20g of worsted (aran) weight yarn in a main color and accent color
Crochet Hook in Size 3.25
Tapestry Needle
Polyfil or preferred stuffing
6mm safety eyes
stitch marker
Embroidery thread for mouth
Abbreviations
SC- single crochet
SC INC- single crochet increase (2 SC in each stitch)
HDC- Half Double Crochet
DC- Double Crochet
TRC- Triple Crochet
INV DEC- Invisible decrease (put hook through the FRONT LOOP ONLY of two consecutive stitches [two loops on hook] Yarn over pull through both loops. [two loops on hook] Yarn over pull through two loops)
Magic Circle- Make a loop, leaving a long tail to work with. Insert hook in center of loop, yarn over and draw up a loop. Yarn over, pull through to make the first chain (this does not count as a stitch!). Continue to crochet over the loop and tail with the number of stitches called for. (If you need 6 SC, then crochet 6 SC inside the ring.) Pull the tail to close the circle.
Amigurumi Jellyfish Free Pattern
Jellyfish Head
Round 1: Leave a long tail (you will use this to sew on the keychain), then 6 SC in a magic circle.
Round 2: SC INC in each around. (12)
Round 3: SC in first, SC INC in next. Repeat around. (18)
Round 4: SC in first 2, SC INC in next. Repeat around. (24)
Round 5: SC in first 3, SC INC in next. Repeat around. (30)
Rounds 6-11: SC in each around. (30)
Skip one stitch and *DC 3x in one stitch. Skip another stitch and slip stitch to the next.* Repeat * * around. Slip stitch one more time and fasten off. Leave a long tail to sew the bottom/tentacles on.
Attach safety eyes between rows 8 and 9 about 4 stitches apart. Sew on the mouth with embroidery thread. You can sew the keychain on will the long tail you used at the beginning. If you want to wait until the end, make sure you weave the end so it on the outside of the head, then sew it on at the end.
Jellyfish Bottom/straight tentacles
Round 1: 6 SC in a magic circle.
Round 2: SC INC in each around. (12)
Round 3: SC in first, SC INC in next. Repeat around. (18)
Round 4: SC in first 2, SC INC in next. Repeat around. (24)
Round 5: SC in the first 4. Chain 20. In the second chain from hook, slip stitch in the remaining 19 chains back. SC in the same stitch that you chained from. (This is the tentacle. Repeat 5 more times. Fasten off and weave in the end.
Curly Middle Tentacles
Chain 20. In the second chain from the hook, SC INC. SC INC in each remaining chain. Once you reach the top, repeat 2 more times. Fasten off and leave a long tail. Sew the tops of the tentacles closer together and attach to the middle of the bottom tentacle piece.
Assembly
Stuff the head as well as you can (you might need to finish it a little bit more after sewing.) Place the tentacles inside the head, lined up right above the scallops, on the 11th row. Use pins to keep it in place. Using the long tail from the head, attach the bottom tentacles by sewing it neatly on. If you need to stuff it a little more, make sure to do so before you attach it completely.
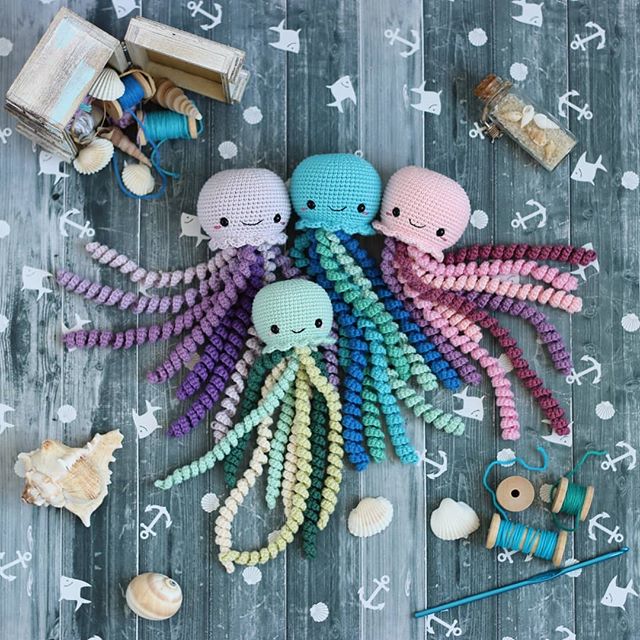
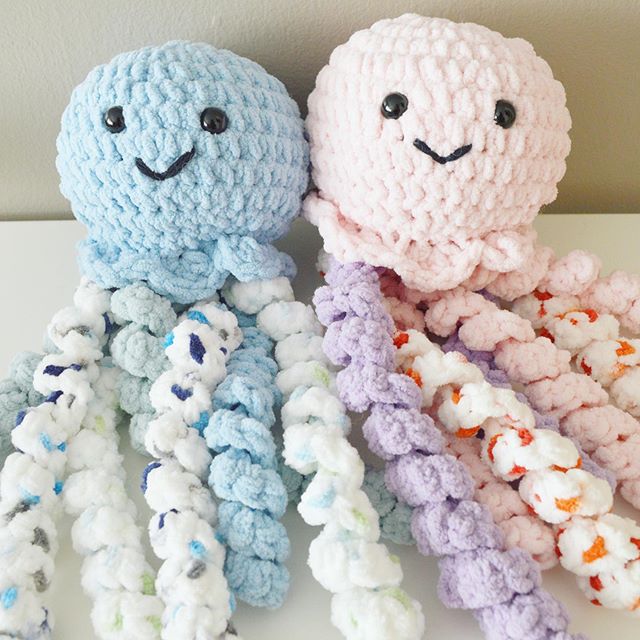
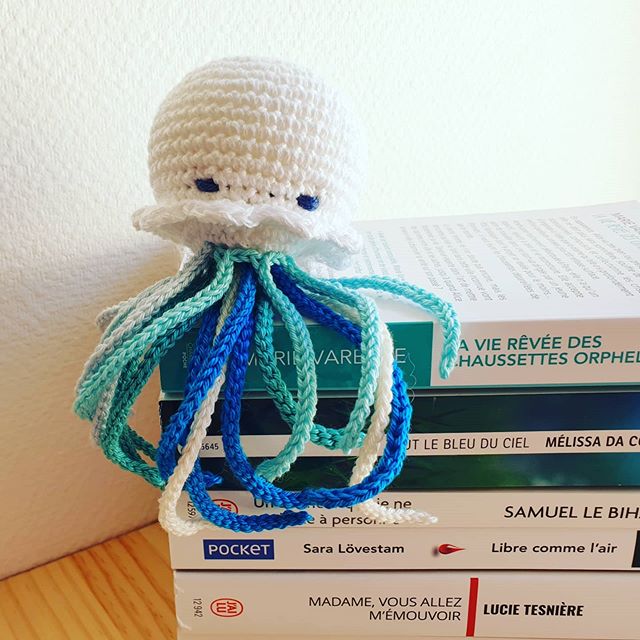
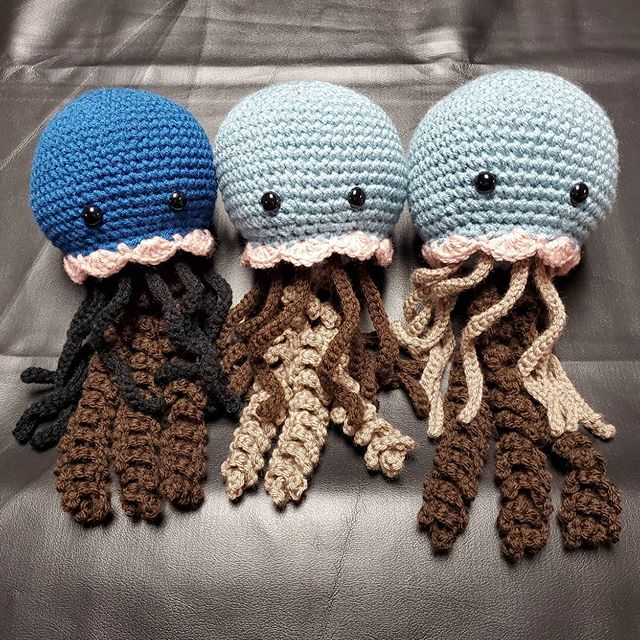
More Amigurumi Jellyfish İdeas
