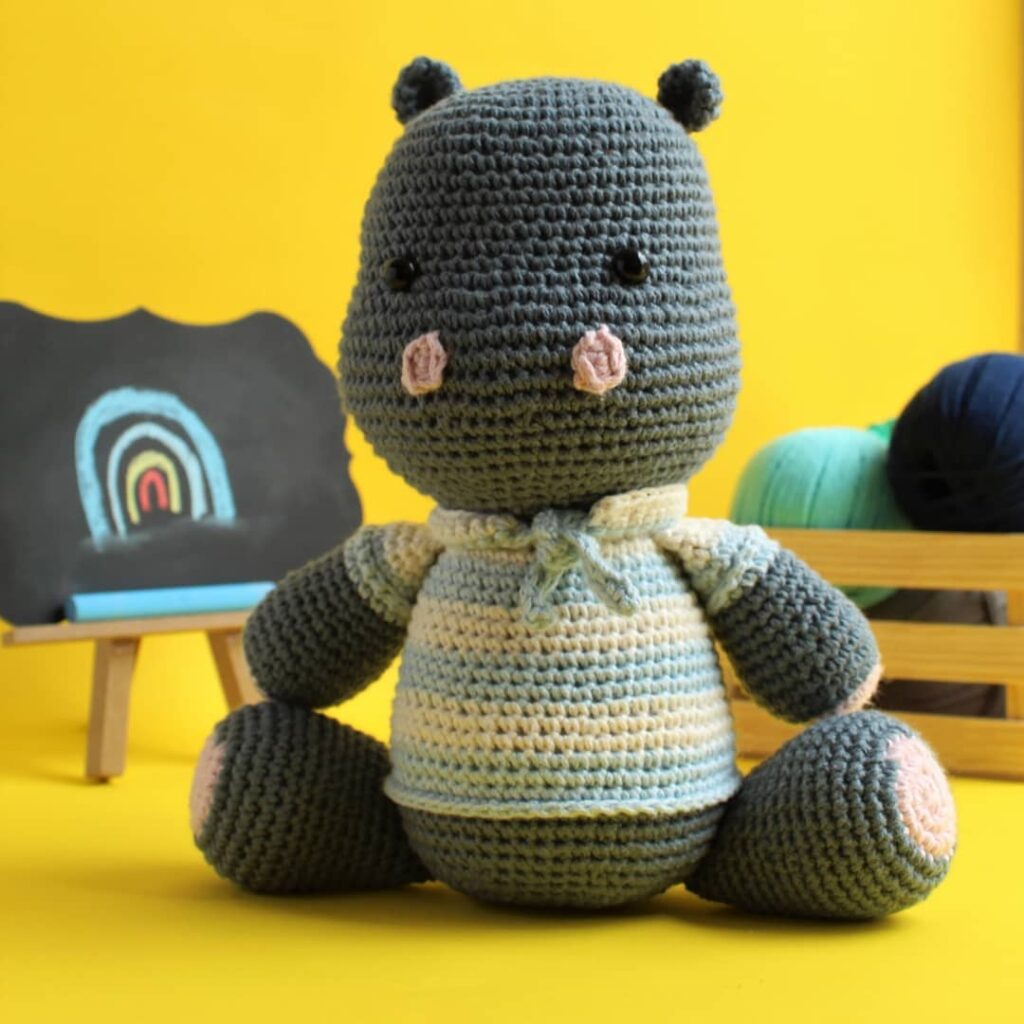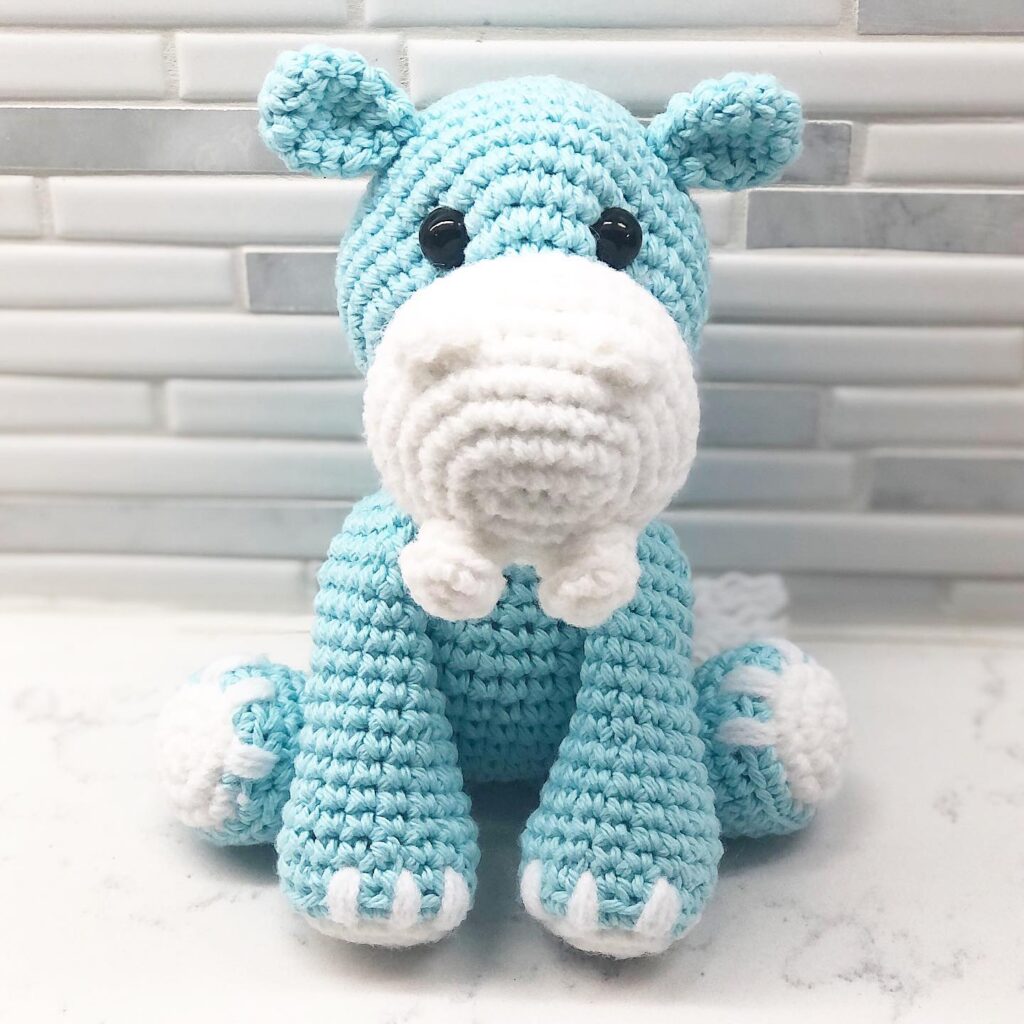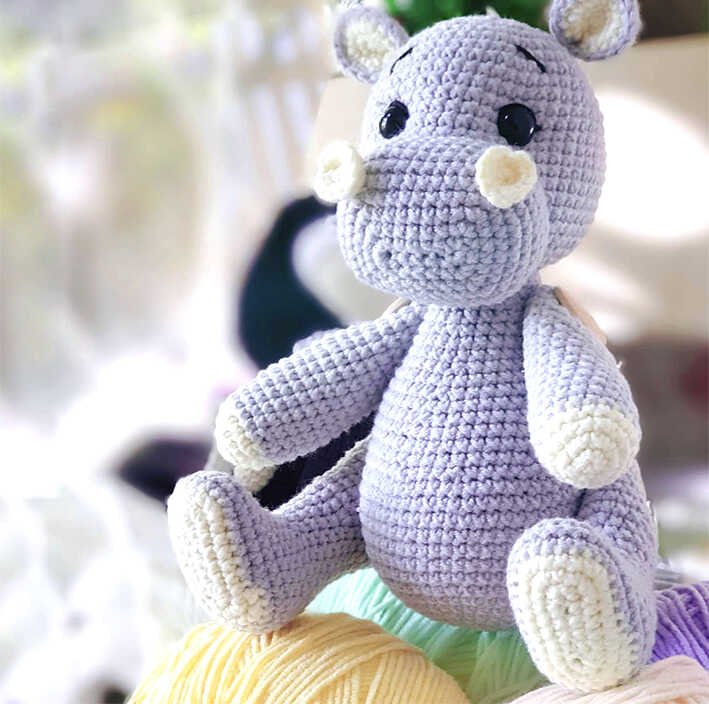
Amigurumi Hippo Baby Crochet Pattern
Hello amigurumi lovers and beautiful visitors, I wanted to share the free amigurumi patterns for you here. In my article I will share 1 pattern and how to make it for you. At the end of my article, I will share amigurumi patterns that can generate ideas for you.
Materials
• YarnArt Jeans yellow (#86) weight 160m\50g Sport (12 wpi)
• YarnArt Jeans grey (#80) weight 160m\50g Sport (12 wpi)
• Hook 2.00 mm
• Stuffing
• Safety eyes
• Strong thread (or dental floss)
• 4 buttoms
• Needle for sewing on parts
• Needles for stabbing
• Marker or contrast thread (optional)
• Black thread for face embroidery
Abbreviation
• MR – magic ring
• sc – single crochet
• inc – increase
• dec – decrease
• ch – chain stitch
• hdc – half double crochet
• *….*n – repeat sequence in brackets n times
• (…) – amount of stitches after the row
Head
Grey yarn
1. 6 MR
2. 6 inc (12)
3. *1 sc, 1 inc*6 (18)
4. *2 sc, 1 inc*6(24)
5. 1 sc, 1 inc, *3 sc, 1 inc*5, 2 sc(30)
6. *4 sc, 1 inc*6(36)
7. 2 sc, 1 inc, *5 sc, 1 inc*5, 3 sc (42)
8. *6 sc, 1 inc*6 (48)
9. 3 sc, 1 inc, *7 sc, 1 inc*5, 4 sc(54)
10. *8 sc, 1 inc*6(60)
11-23. /13 rowsl/ 60 sc
Eyes between 13 and 14 rows, 10 sc between eyes
24. *8 sc, 1 dec*6 (54)
25. *7 sc, 1 dec*6 (48)
26. *6 sc, 1 dec*6 (42)
27. *5 sc, 1 dec*6 (36)
28. *4 sc, 1 dec*6 (24)
29. *3 sc, 1 dec*6 (24)
To stuff
30. *2 sc, 1 dec*6 (18)
31. *1 sc, 1 dec*6 (12)
32. 6 dec (6)
Body
Grey yarn
1. 6 MR
2. 6 inc (12)
3. *1 sc, 1 inc*6(18)
4. *2 sc, 1 inc*6(24)
5. 1 sc, 1 inc, *3 sc, 1 inc*5, 2 sc(30)
6. *4 sc, 1 inc*6(36)
7. 2 sc, 1 inc, *5 sc, 1 inc*5, 3 sc (42)
8. *6 sc, 1 inc*6 (48)
9. 3 sc, 1 inc, *7 sc, 1 inc*5, 3 sc (54)
10. *8 sc, 1 inc*6 (60)
11. 15 sc, *4 sc, 1 inc*6, 15 sc (66)
12-18. /7 rows/ 66 sc
19. 15 sc, *4 sc, 1 dec*6, 15 sc (60)
20. *8 sc, 1 dec*6 (54)
21-22. 54 sc
23. *7 sc, 1 dec*6 (48)
24. 48 sc
25. *6 sc, 1 dec*6 (42)
26. 42 sc
27. *5 sc, 1 dec*6 (36)
28. 36 sc
29. *4 sc, 1 dec*6 (30)
30. 30 sc
31. *3 sc, 1 dec*6(24)
32-33. 24 sc
Cut the yarn, close the loop. Leave the long end for sewing. Fill and shape the tummy
Legs
Yellow yarn
7ch
1. 5 sc, 4 in 1 by chain, 5 sc, 4 in 1 on the other side of the chain (18)
2. 5 sc, 3 in 1, 2 sc, 3 in 1, 5 sc, 3 in 1, 2 sc, 3 in 1 (26)
3. 6 sc, 3 in 1, 4 sc, 3 in 1, 7 sc, 3 in 1, 4 sc, 3 in 1, 1 sc (34)
Change to grey yarn
4-6. 34 sc
7. 6 sc, 6 dec hdc, 16 sc (28)
8. 5 sc, 4 dec hdc, 15 sc (24)
9. 5 sc, 2 dec hdc, 15 sc (22)
10. 5 sc, 1 dec, 10 sc, 1 dec, 3 sc (20)
11. *3 sc, 1 dec*4 (16)
12-14. 16 sc
15. *3 sc, 1 inc*4 (20)
16. 20 sc
Stuff the ready part of the leg rather tightly
17. *4 sc, 1 inc*4(24)
18-23. /6 rows/ 24 sc
Stuff slightly just enough to shape
24. *2 sc, 1 dec*6 (18)
25. *1 sc, 1 dec*6 (12)
26. 6 dec (6)
Tighten the hole. Hide the end of the yarn inside. Crochet the second leg in the same way
Arms
Yellow yarn
1. 6 MR
2. inc (12)
3. *1 sc, 1 inc*6 (18)
4. 18 sc
Change to gray yarn
5-20. /16 rows/ 18 sc
Stuff half arm rather tightly, another half stuff slightly just enough to shape
21. *1 sc, 1 dec*6 (12)
22. 6 dec (6)
Tighten the hole. Hide the end. Crochet the second arm in the same way.
Ears
Crochet 2 yellow and 2 gray details
1. 6 MR
2. 6 inc (12)
3. *1 sc, 1 inc*6 (18)
Fold the yellow and gray part and crochet together with gray yarn. Close detail in a half, sew
the bottom together. Cut the yarn. Leave a long end for sewing.
Muzzle
Grey yarn
7 ch
1. 5 sc, 4 in 1 by chain, 5 sc, 4 in 1 on the other side of the chain (18)
2. 5 Sc, 3 in 1, 2 sc, 3 in 1, 5 sc, 3 in 1, 2 sc, 3 in 1 (26)
3. 6 sc, 3 in 1, 4 sc, 3 in 1, 7 sc, 3 in 1, 4 sc, 3 in 1, 1 sc (34)
4. 7 sc, 3 in 1, 6 sc, 3 in 1, 9 sc, 3 in 1, 6 sc, 3 in 1, 2 sc (42)
5. 8 sc 1 inc, 8 sc, 1 inc, 11 sc, 1 inc, 8 sc, 1 inc, 3 sc (46)
6-7. 46 sc
8. 8 sc 1 dec, 8 sc, 1 dec, 11 sc, 1 dec, 8 sc, 1 dec, 3 sc (42)
9-10. 42 sc
Nostrils
Yellow yarn
1. 6 MR
2. 6 inc (12)
Cut the yarn. Leave a long end for sewing. Crochet the second nostril in the same way
Assembly
Sew the muzzle between 15 (under the eyes) and 28 rows. When a couple of cm are left to the end, fill the muzzle. Sew to the end. Make a face tightening. You will need a strong thread or dental floss and a long needle.
1. Insert the needle into the base of the head (A) and pull it in the middle of the eye (B)
2. Make a stitch to C and hook the thread from above
3. Make a large stitch between the eyes and pull thread in the middle of the eye ( D)
4. Make a stitch to F and hook the thread from above. Pull it out at the base of the head (A)
Repeat the step, but hook the thread from below. Pull and tie on several knots.
Sew the ears on the 7th row
Sew on the corners of the muzzle for the center of the nostrils.
Embroider eyelashes and eyebrows with black thread
Sew the head to the body
Attach the legs to the body with the a buttom attachment. Take a strong thread (or dentail flass) and a long needle. Insert the needle from the inside of the leg and string the button. Leave the end of the thread 10-15 cm. Insert the needle in the opposite direction and output to the place where we started. Pierce the needle through body. Repeat with the second leg the same actions as with the first. Again, pierce the needle through the the body and bring the thread to the starting point.
For reliability, you can repeat the process 1-2 times. Tighten the thread and tie a knot. Cut the ends and hide. Attach the arms in the same way.
Feel free to tag me (@freeamigurumii) in your photos on Instagram or Facebook if you’d like!
All Finished.