Amigurumi Ghost Crochet Pattern
Hello amigurumi lovers and beautiful visitors, I wanted to share the free amigurumi patterns for you here. In my article I will share 1 pattern and how to make it for you. At the end of my article, I will share amigurumi patterns that can generate ideas for you.
Supplies:
• Yarn 4/Medium Weight Yarn in…
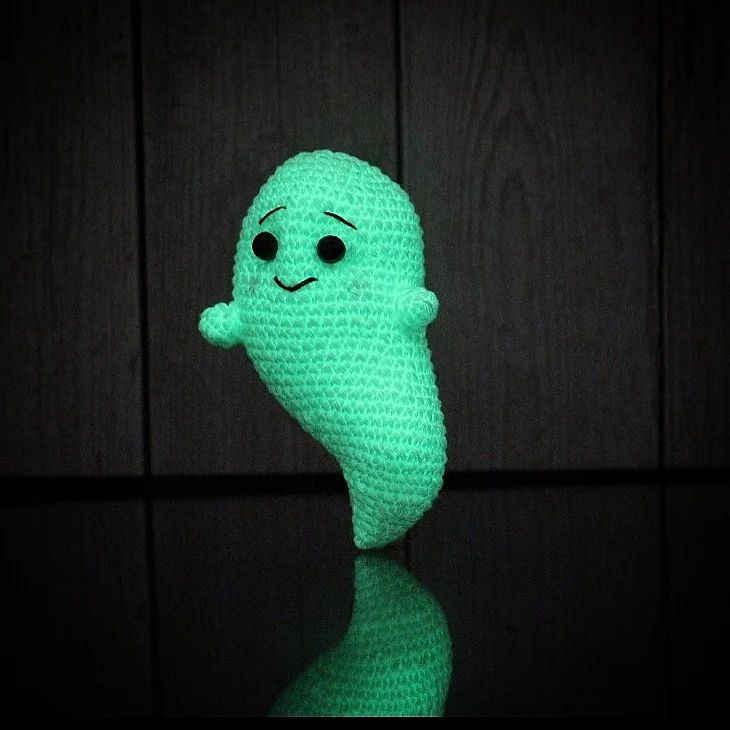
White, Orange, and Green
• 4mm Crochet Hook
•9mm safety eyes
•Red Embroidery Thread
•Tapestry needle
•Scissors
•Stuffing
Additional Information:
Difficulty: Easy
• Getting started
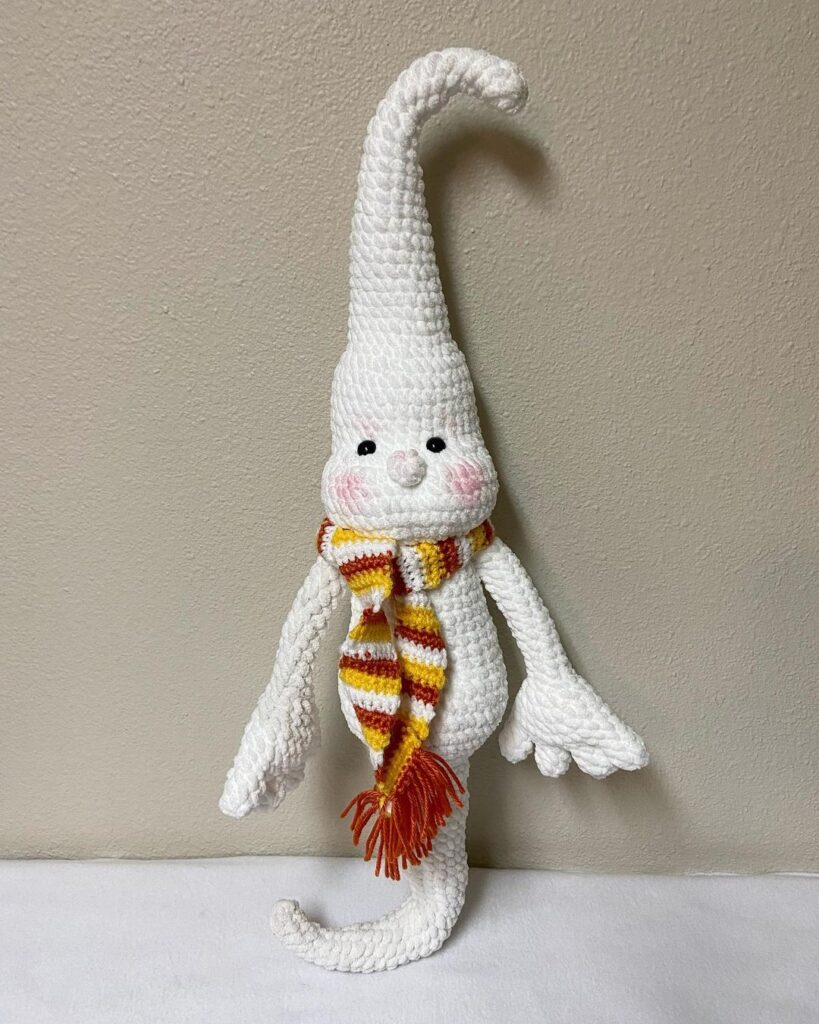
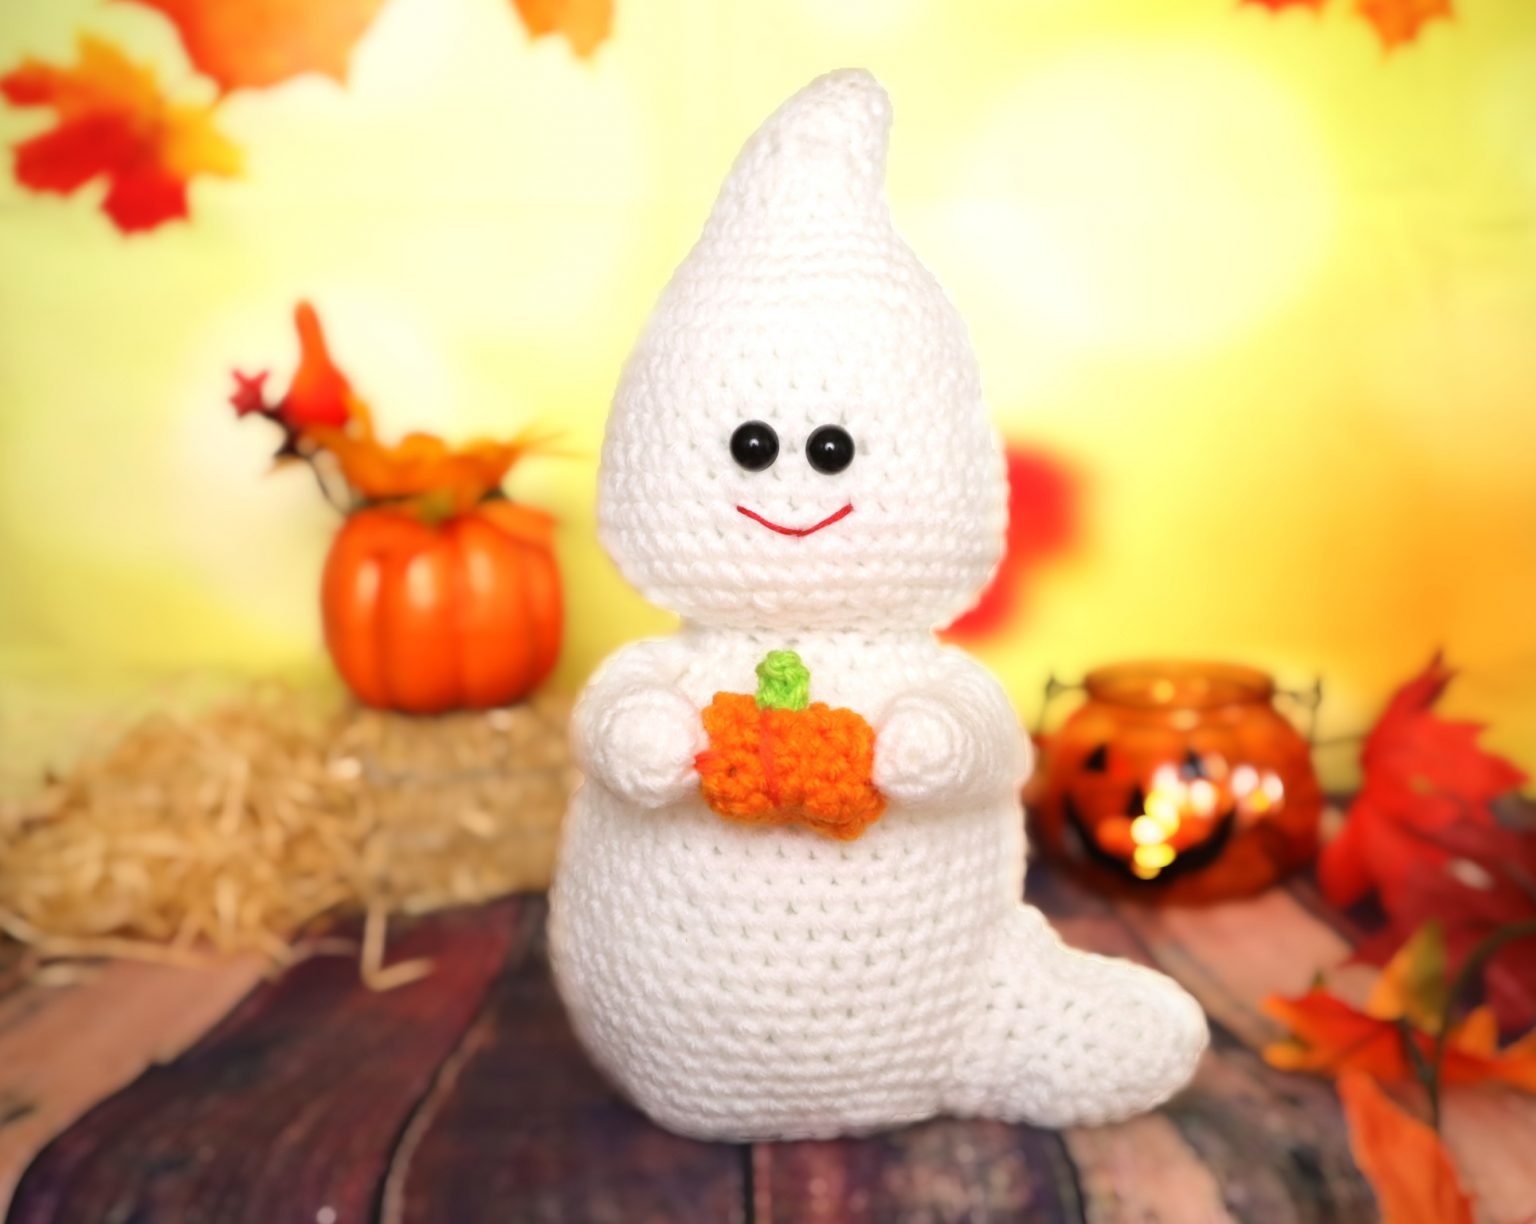
This ghost is so cute and fun to make! To start, we first make his whispy part of the head. We then work to the head, then the body. The whisp, head, and body are all one continuous piece.
After that, we make his arms, tail, and his pumpkin!
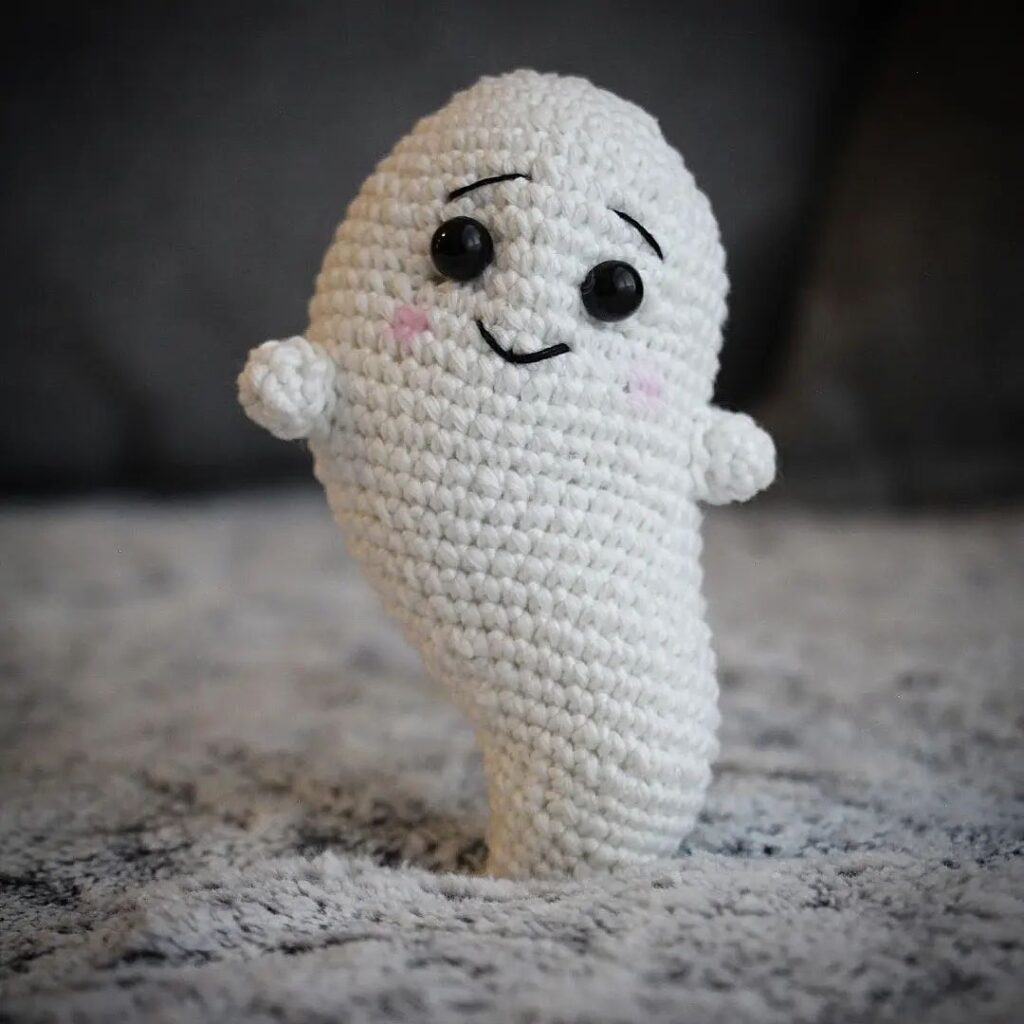
Ghost
We’re starting to work the tip of the ghost’s head.
After this we will work the ghost head, which will also work into the body. They are all one continuous piece.
Ghost Head
In White
Round 1: 6 Sc in Magic Ring (6)
Round 2: Repeat *Inc in the next st, Sc in the next st* all around (9)
Round 3: *Sc* all around (9)
Round 4: *Inc, Sc 2* all around (12)
Round 5: *Sc* all around (12)
In the next round we will do a short row. A short row is where we crochet about half the round, turn our work, crochet over the stitches we just made. This will make a “indented” look for the ghost’s whisp at the head.
Round 6: Sc next 6 st. Turn , Sc next 6 (over the stitches we just made), Turn , now we’re working back into the round . Repeat *Inc, Sc 3* 3 times (15)
Round 7: *Inc, Sc 4* all around (18)
Round 8: *Sc* all around (18)
Round 9: *Inc, Sc 2* all around (24)
Round 10: *Inc, Sc 3* all around (30)
Round 11: *Inc, Sc 4* all around (36)
Round 12-16: *Sc* all around (36)
Round 17: *Inc, Sc 5* all around (42)
Insert safety eyes between Round 16 and 17 a total of 2 st apart or 4 st apart, whichever looks cuter to you! I ended up doing 2 st apart. Make sure they center up with the whisp
Round 18: *Sc* all around (42)
Round 19: *Inc, Sc 6* all around (48)
Round 20-21: *Sc* all around (48)
Round 22: *Dec, Sc 2* all around (36)
Round 23: *Dec, Sc 2* all around again (27)
Round 24: *Dec, Sc* all around (18)
Round 25: In the FLO (Front Loop Only) *Sc* all around (18)
FLO Pictured Below
Stuff the head here
Round 26: In BOTH Loops, *Inc, Sc 2* all around (24)
Round 27: *Inc, Sc 3* all around (30)
Round 28: *Inc, Sc 4* all around (36)
Round 29: *Inc, Sc 5* all around (42)
Round 30-45: *Sc* all around (42)
Add stuffing again now.
In the next round we will start to make the bottom of the ghost. Before we do that, if you want your ghost to sit flat for decoration, cut out a circular piece of cardboard. Place it into the bottom of the ghost now. Then, continue on to the next round!
Round 46: In the BLO (Back Loop Only), *Dec, Sc 5* (36)
Round 47: In BOTH Loops, *Dec, Sc 4* all around (30)
Round 48: *Dec, Sc 3* all around (24)
Round 49: *Dec, Sc 2* all around (18)
Round 50: *Dec, Sc* all around (12)
Round 51: *Dec* all around (6)
Finish off, leaving a tail for sewing. Sew the bottom closed.
Arms: (Make 2)
In White
Round 1: 6 Sc in Magic Ring (6)
Round 2: Repeat *Inc in the next st, Sc in the next st* all around (9)
Round 3-13: *Sc* all around (9)
Finish off, leaving a long tail for sewing. Lightly stuff the arms. Pin each arm to the ghost as shown. Sew on.
Tail:
In White
Round 1: 6 Sc in Magic Ring (6)
Round 2: *Inc, Sc* all around (9)
Round 3: *Sc* all around (9)
Round 4: *Inc, Sc 2* all around (12)
Round 5: *Sc* all around (12)
Round 6: *Inc, Sc 3* all around (15)
In the next round we will do a short row. A short row is where we crochet about half the round, turn our work, crochet over the stitches we just made. This will make a “indented” look for the tail’s whispy look
Round 7: Sc in the next 7 st , Turn , Sc in the next 7 st , over the stitches we just made), Turn, Sc in the next 7 st. Now continuing on the round, Sc in the next 8 st (15)
Round 8: *Inc, Sc 4* all around (18)
Round 9: *Inc, Sc 5* all around (24)
Finish off, leaving a long tail for sewing. Pin the tail to the ghost as shown. Sew on. Be sure to stuff the tail firmly before fully sewing closed.
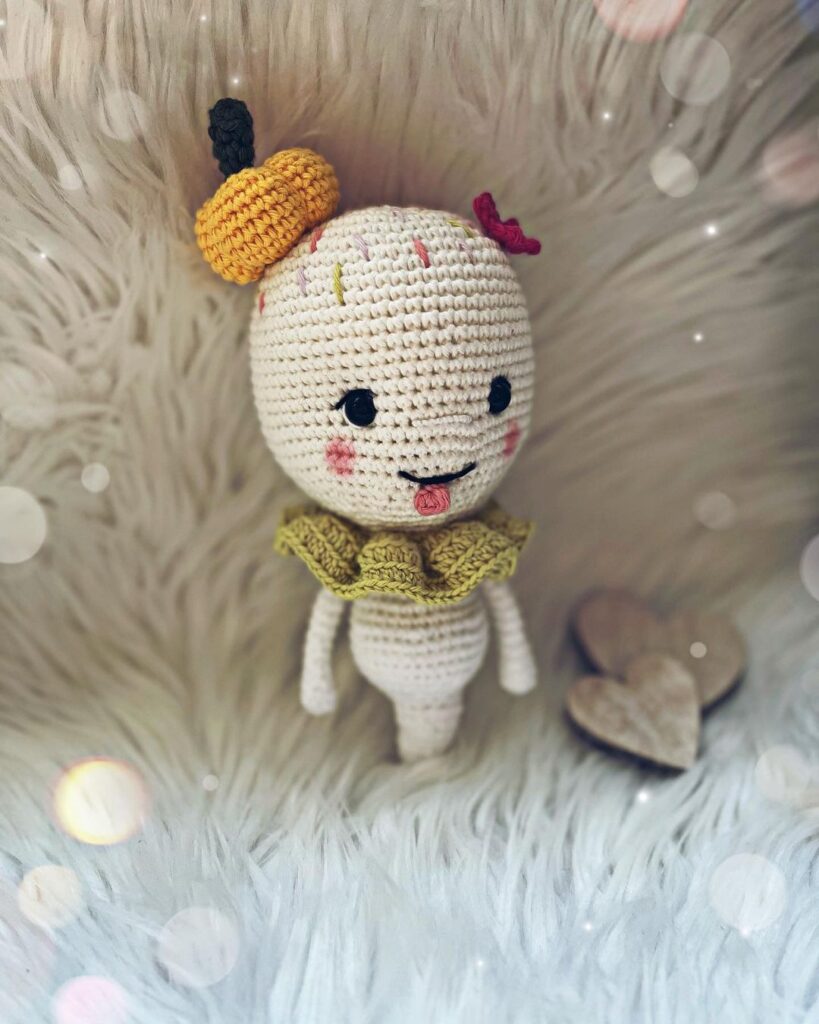
Pumpkin:
In Orange
Round 1: 6 Sc in Magic Ring (6)
Round 2: *Inc* all around (12)
Round 3-7: *Sc* all around (12)
Round 8: *Dec* 5 times. *Dec* in the next st, changing to green as you yarn over to finish the decrease stitch (Pic 1-4). Don’t cut off orange yarn yet.
Round 9: Working in green, SlSt in the next st. Ch 4.
Sc in the 2nd Ch from the hook, Sc in the next 3 st . SlSt into the same st as before . Finish off the green yarn. Cut a very long tail on the orange yarn, about 15″Stuff firmly. Now take the orange tail and place it on a needle. Sew the top closed.
We will have the tail of yarn at the top of the pumpkin. Place the needle into the very center bottom of the pumpkin. Pull the needle out at the very center top of the pumpkin. Repeat this process about a total of 4 times. Doing this will make the pumpkin’s indents.
Now pin the pumpkin to the hand area of the ghost as shown and sew on with the remaining yarn.
Ghost Smile:
In Red Embroidery Thread
Insert needle with thread into the right area of the face and pull needle out one stitch to the left. Reinsert needle into the middle of the mouth area and pull needle out at the left side of the face, matching up to the right side’s insertion spot. Reinsert needle into the middle of the mouth and pull needle out at the original insertion spot
Feel free to tag me (@freeamigurumii) in your photos on Instagram or Facebook if you’d like!
All Finished.