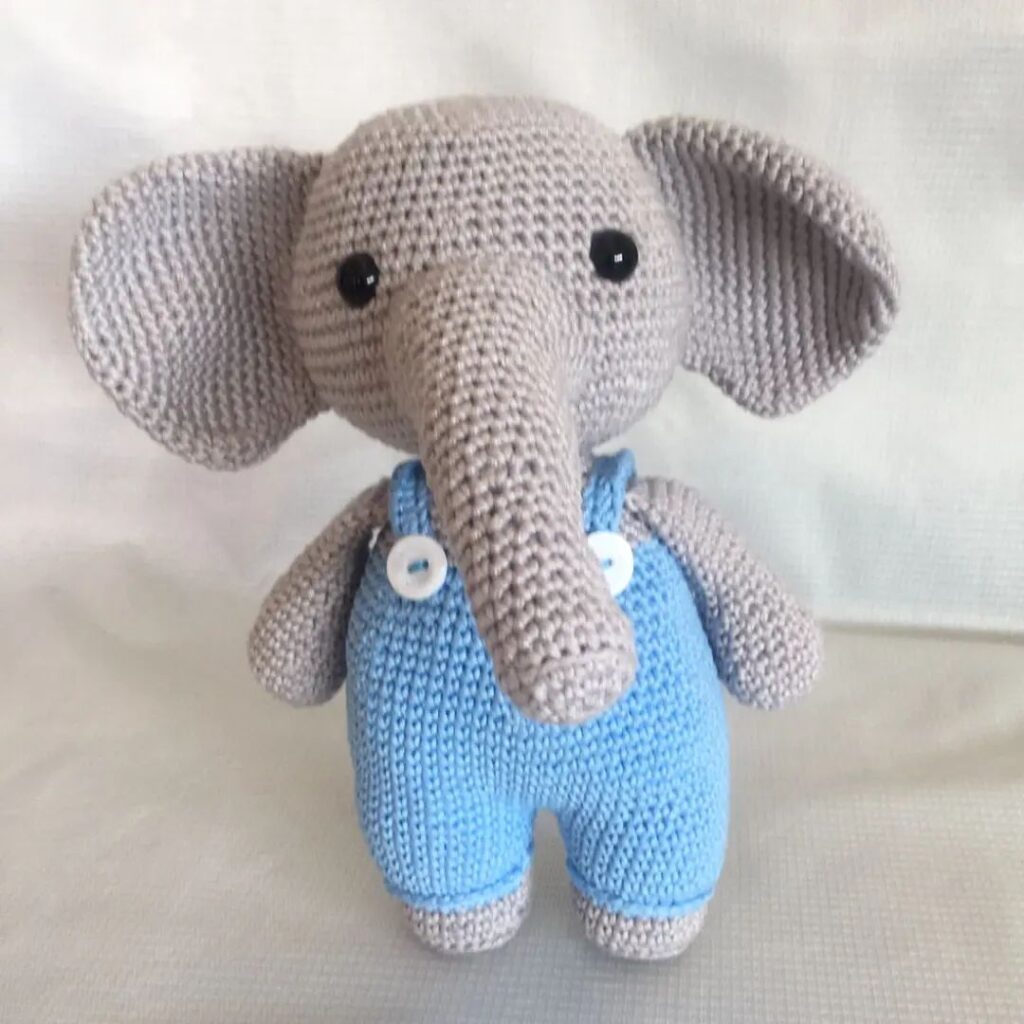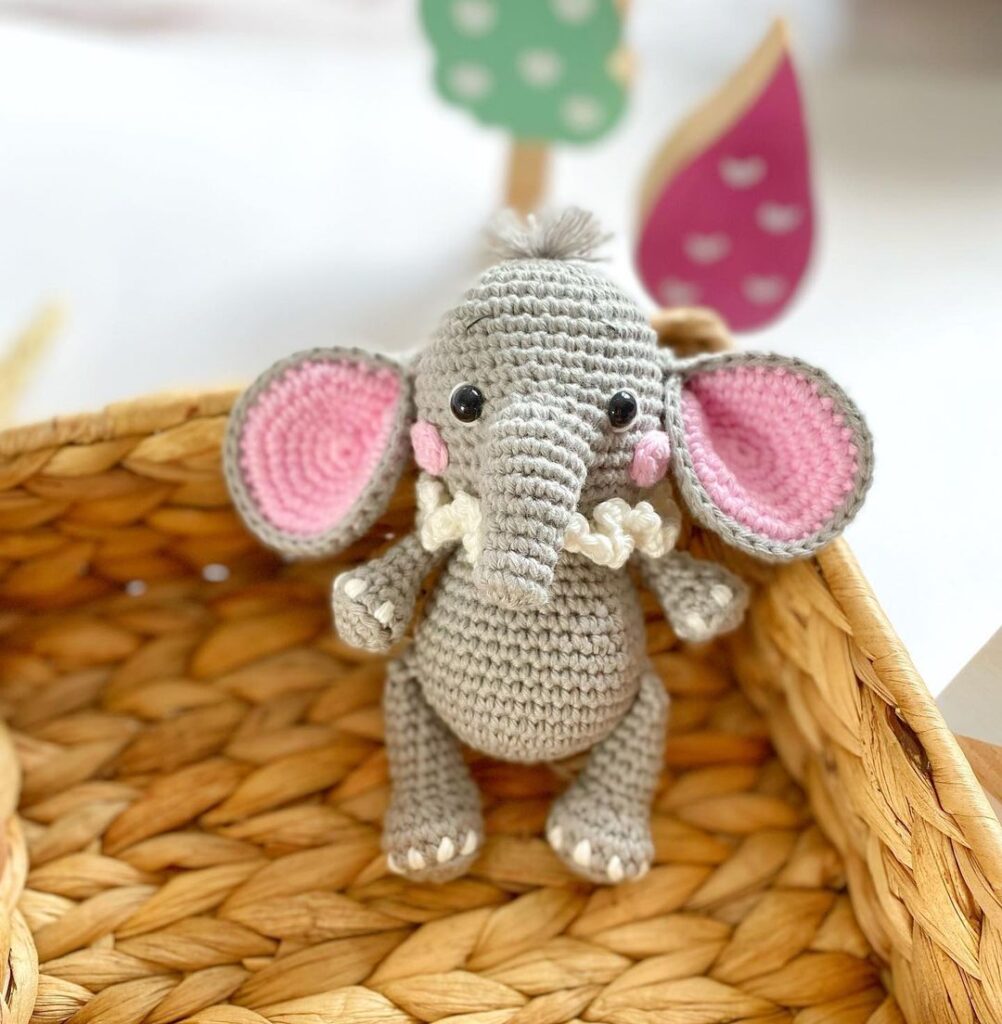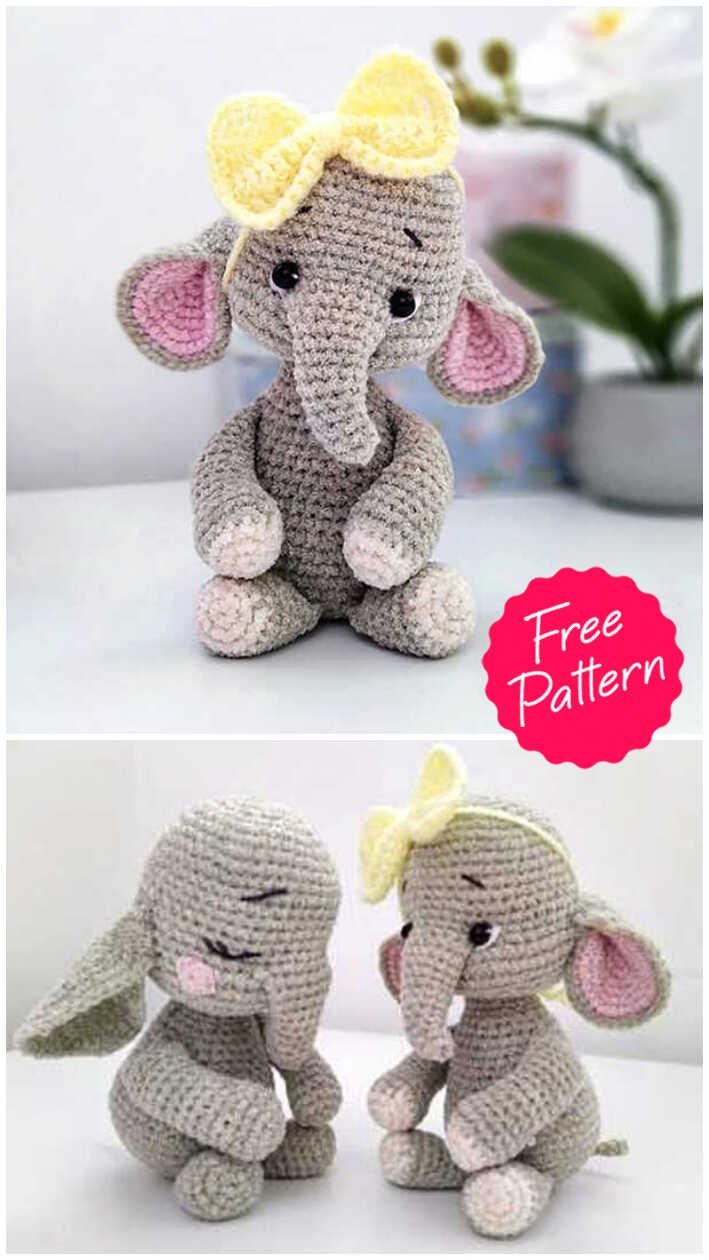
Amigurumi Elephant Baby Free Pattern
Hello amigurumi lovers and beautiful visitors, I wanted to share the free amigurumi patterns for you here. In my article I will share 1 pattern and how to make it for you. At the end of my article, I will share amigurumi patterns that can generate ideas for you.
Abbreviations:
sc – single crochet
inc – inc
dec – dec
ch – air loop
sl-st – connecting column
(…) x6 – repeat the action in brackets 6 times.
Head:
1) 6sc in amigurumi ring (6)
2) (inc) x6 (12)
3) (sc, inc) x6 (18)
4) (2sc, inc) x6 (24)
5) (3sc, inc) x6 (30)
6) (4sc, inc) x6 (36)
7) (5sc, inc) x6 (42)
8) (6sc, inc) x6 (48)
9-16) 48sc
17) 16sc, inc, 3sc. 8ch (incoplace 8 inc loops of the previous row),
3sc, inc, 16sc (50)
18) 15sc, inc, sc, inc, 3sc, 8sc along the chain, 3sc, inc, sc, inc,
15sc (54)
19) 54sc
20) (7sc, dec) x6 (48)
Trunk:
Inc connect the thread as shown in the photo
1) 4sc, 1sc corner, 8sc, 1sc corner, 4sc (18)
2) 16sc, dec (17)
3) 15sc, dec (16)
4) 14sc, dec (15)
5) 13sc, dec (14)
6) 12sc, dec (13)
7) 11sc, dec (12)
8) 10sc, dec (11)
9) 9sc, dec (10)
10) 8sc, dec (9)
11) 7sc, dec (8)
12-13) 8sc (2 rows)
Pull the hole, thread the thread.
Lightly fill the trunk.
Inc continue to knit:
21) (6sc, dec) x6 (42)
22) (5sc, dec) x6 (36)
23) (4sc, dec) x6 (30)
24) (3sc, dec) x6 (24)
25) (2sc, dec) x6 (18) Fasten and cut the thread.
Tightly fill your head. Eye tighten between rows 16-17 heads. Enter the needle under the trunk and withdraw between 16-17 rows first eye. We return the needle under the trunk, pull the thread, we fix. We again insert the needle under the trunk, withdraw in the place of the second eye, return under the trunk. We tighten the thread, fix. This thread a few stitches inc to sew the trunk to the head.
Inc fasten, inc glue or inc sew eyes. Embroider squirrels with a white thread, and black edge.
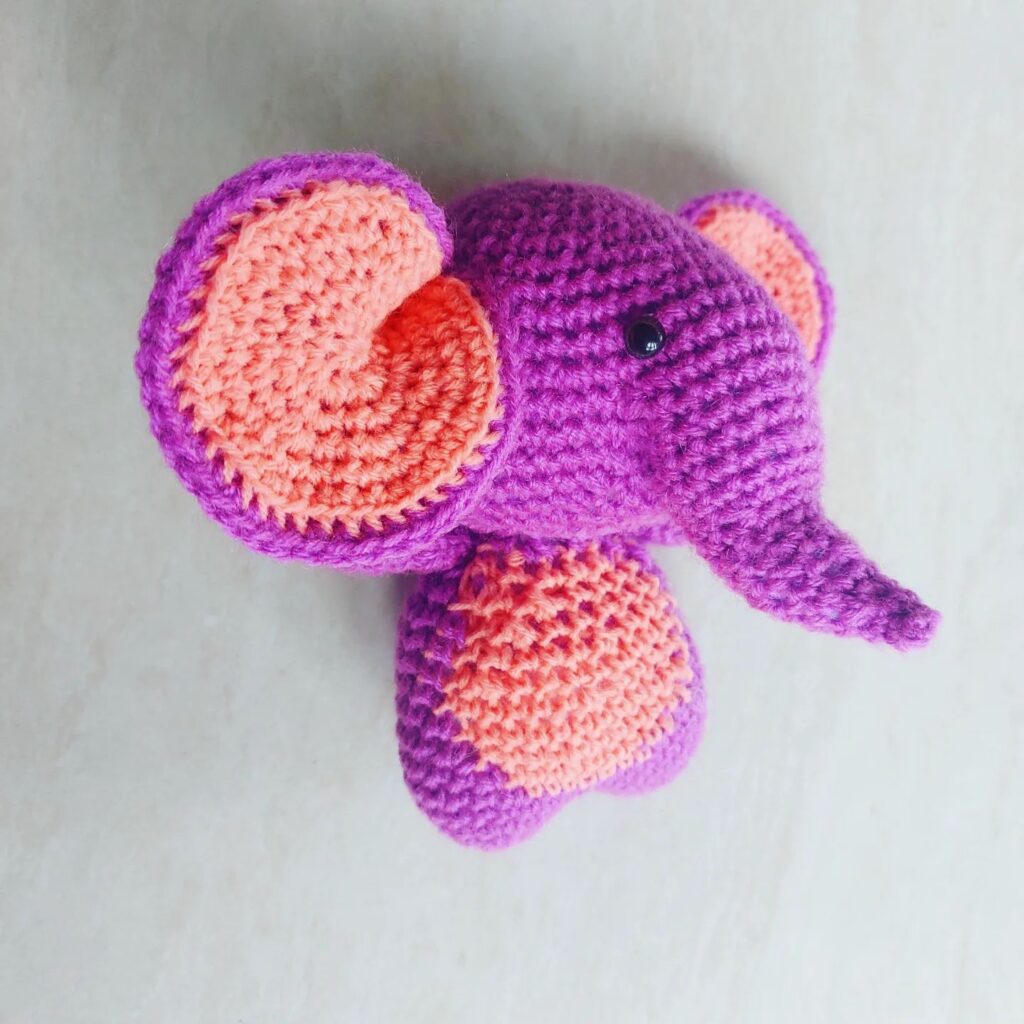
Ears (4pcs):
1) 6sc in amigurumi ring (6)
2) (inc) x6 (12)
3) (sc, inc) x6 (18)
4) (2sc, inc) x6 (24)
5) (3sc, inc) x6 (30)
6) (4sc, inc) x6 (36)
For a pink part, complete knitting ss, cut and cin ьте knit the tip of the thread.
The gray part does not cut the thread. Connect both parts
Wrong side inwards and tie around the edge.
(5sc, inc) x6 (42)
After tying, fold the eyelet in half and inc knit together 4-5 nearest column. Cut the thread, fasten.
Insert ears between 16-21 rows of the head.
Arms (2pcs):
1) 6sc in amigurumi ring (6)
2) (inc) x6 (12)
3) (sc, inc) x6 (18)
4-5) 18sc (2 rows)
6) (2sc, dec) x4, 2sc (14)
7-17) 14sc (11 rows)
Lightly fill the part, fold in half and inc knit over two edges 6sc.
Fasten and cut the thread.
Legs (2pcs):
1) 6sc in amigurumi ring (6)
2) (inc) x6 (12)
3) (sc, inc) x6 (18)
4-8) 18sc (5 rows)
9) (2sc, dec) x4, 2sc (14)
10) 14sc
Lightly fill the part, fold in half and inc knit over two edges 6sc.Connect and cut the thread.
Body:
1) 6sc in amigurumi ring (6)
2) (inc) x6 (12)
3) (sc, inc) x6 (18)
4) (2sc, inc) x6 (24)
5) (3sc, inc) x6 (30)
6) (4sc, inc) x6 (36)
7) (5sc, inc) x6 (42)
8) 10ch (tail), from the 2nd loop from the hook 8sc, ss, further along the body 6sc, inc, 6sc, inc, knit legs: 6sc on the body and leg (for 2 kpai), inc, 6sc for body and foot, inc, 6sc. inc, 6sc, inc (48)
9-12) 48sc (4 rows)
13) (6sc, dec) x6 (42)
14-15) 42sc (2 rows)
16) (5sc, dec) x6 (36)
17) 36sc
18) (4sc, dec) x6 (30)
19-20) 30sc (2 rows)
21) (3sc, dec) x6 (24)
22) 24sc
23) (2sc, dec) x6 (18)
24-26) 18sc (3 rows)
Fasten and cut the thread. Leave a thread for incisation of the head.
Incorporate arms between 16-21 rows of the body.
Incish a head.
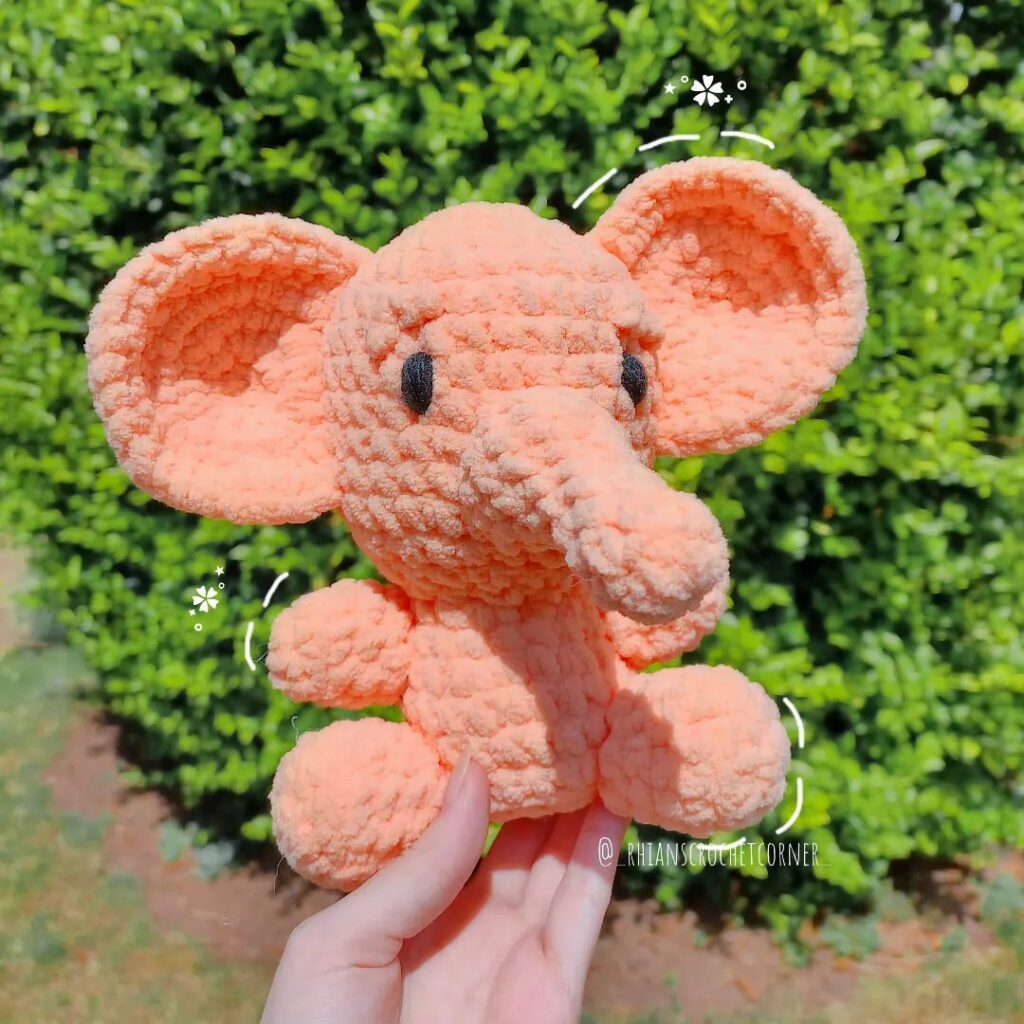
Feel free to tag me (@freeamigurumii) in your photos on Instagram or Facebook if you’d like!
All Finished.