Amigurumi Dress Me Bunny Crochet Pattern
Hello amigurumi lovers and beautiful visitors, I wanted to share the free amigurumi patterns for you here. In my article I will share 1 pattern and how to make it for you. At the end of my article, I will share amigurumi patterns that can generate ideas for you.
Supplies:
Worsted weight yarn. I used Red Heart Comfort yarn
3.75mm to a 4.5mm hook – use the smaller hook if you see gaps in your stitches
blunt end yarn needle for sewing
scissors
100% polyester stuffing
you can use buttons, a french knot or paint eyes on.
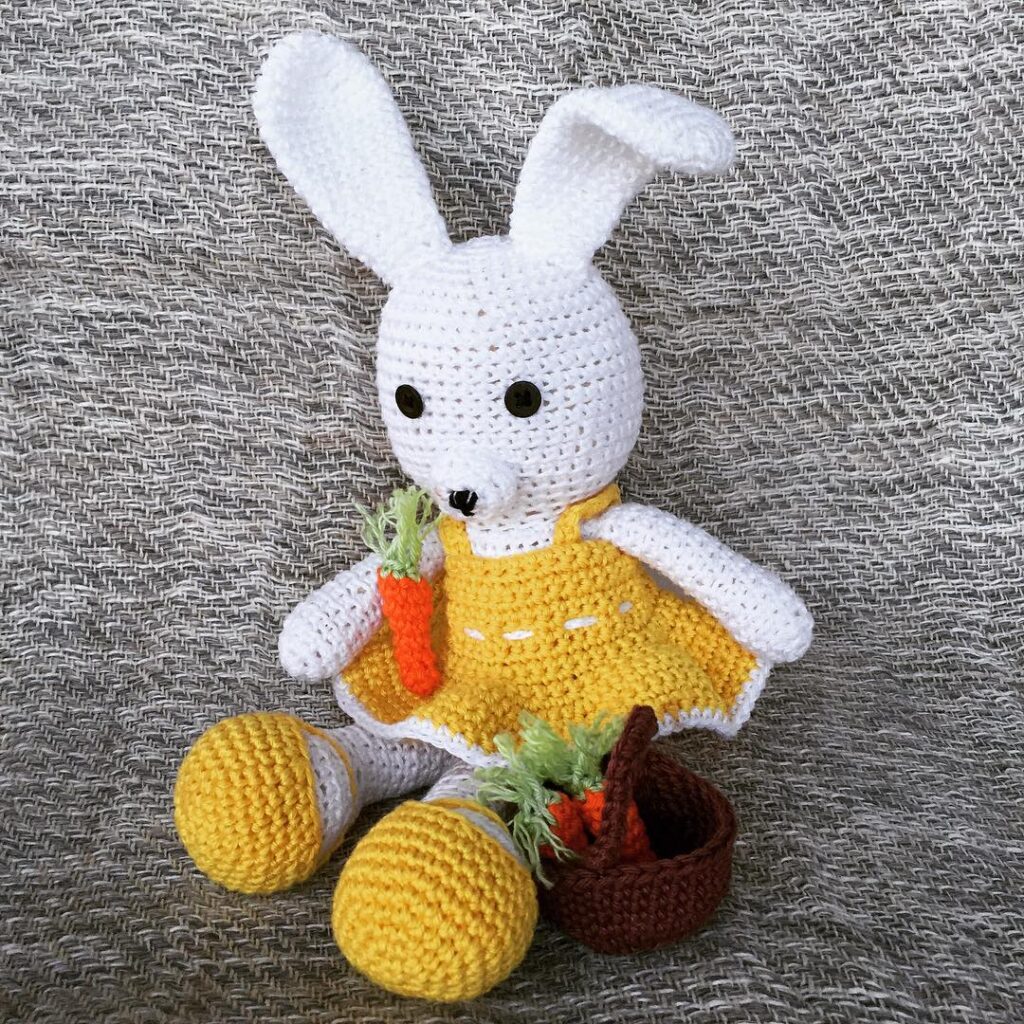
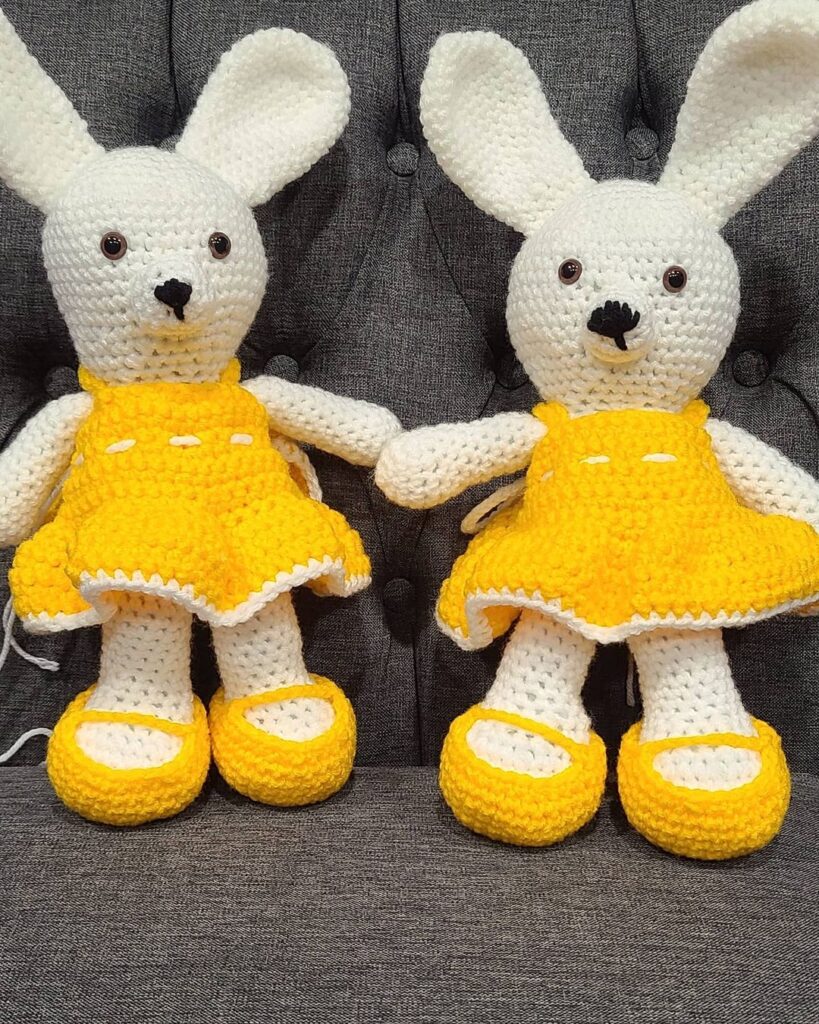
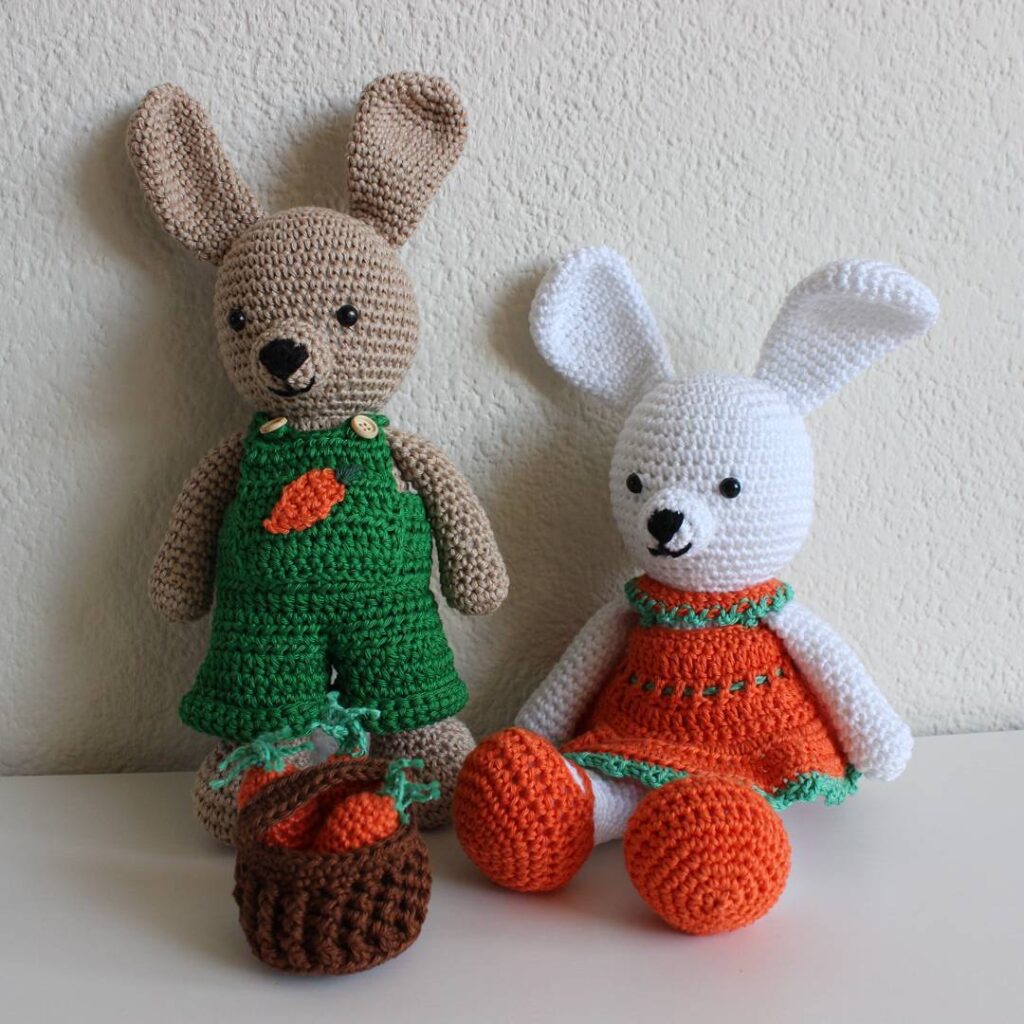
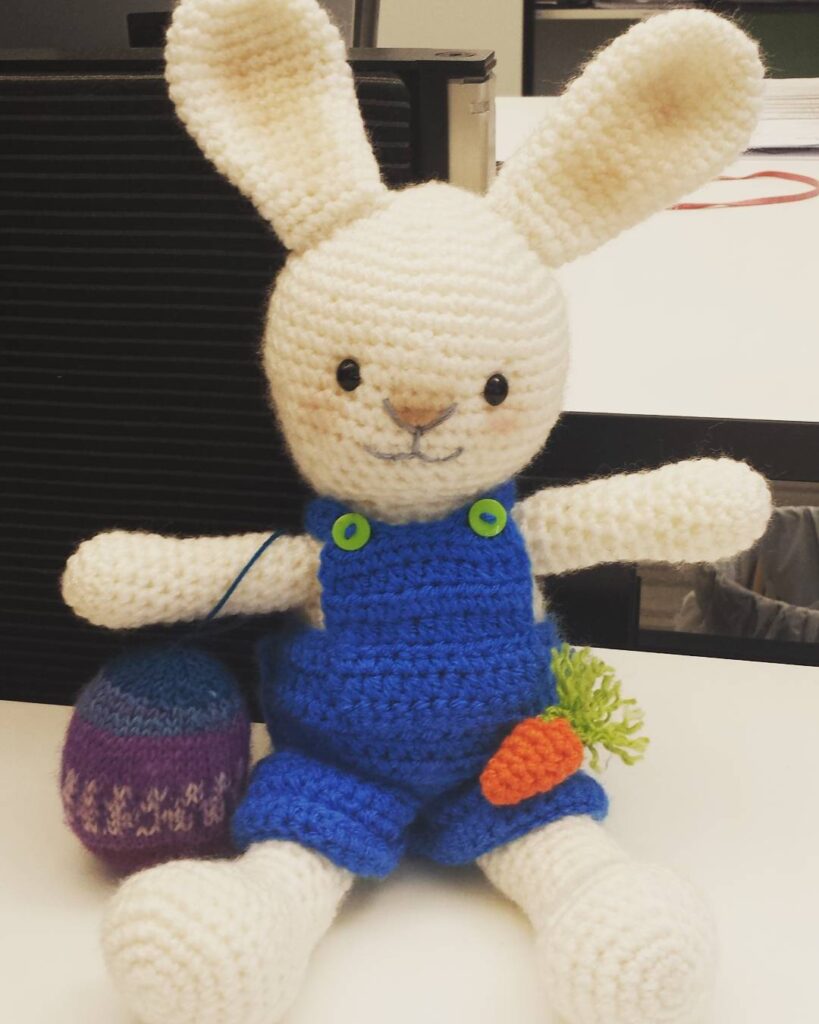
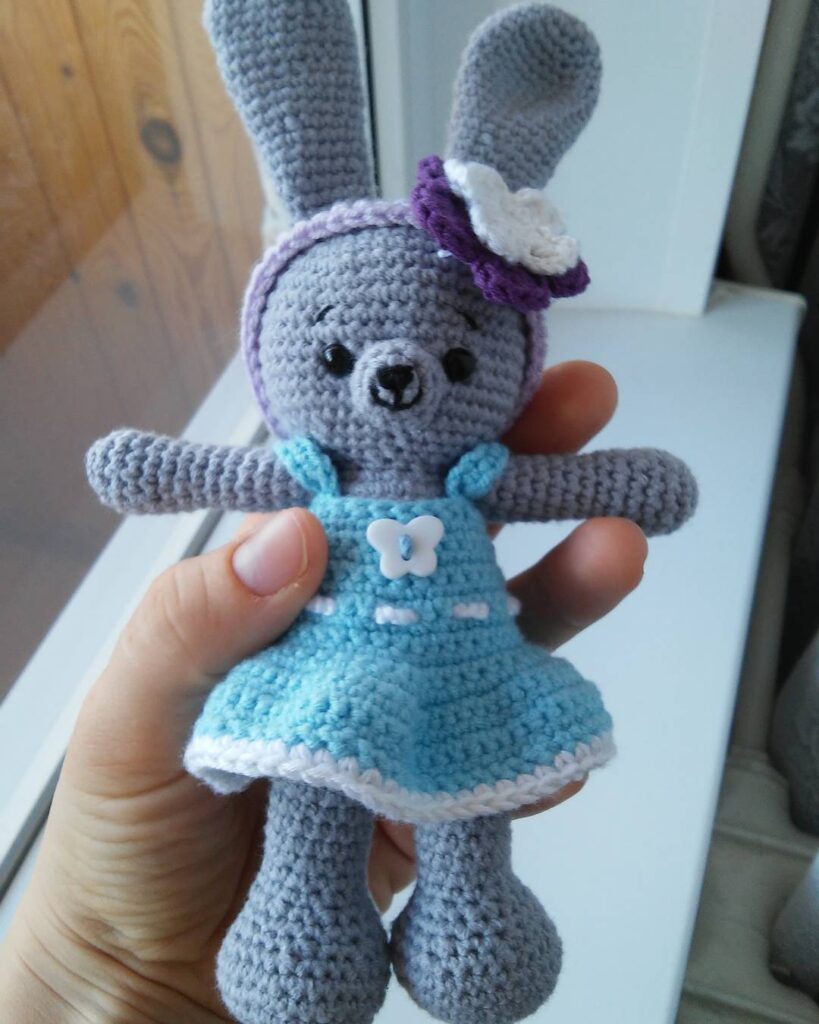
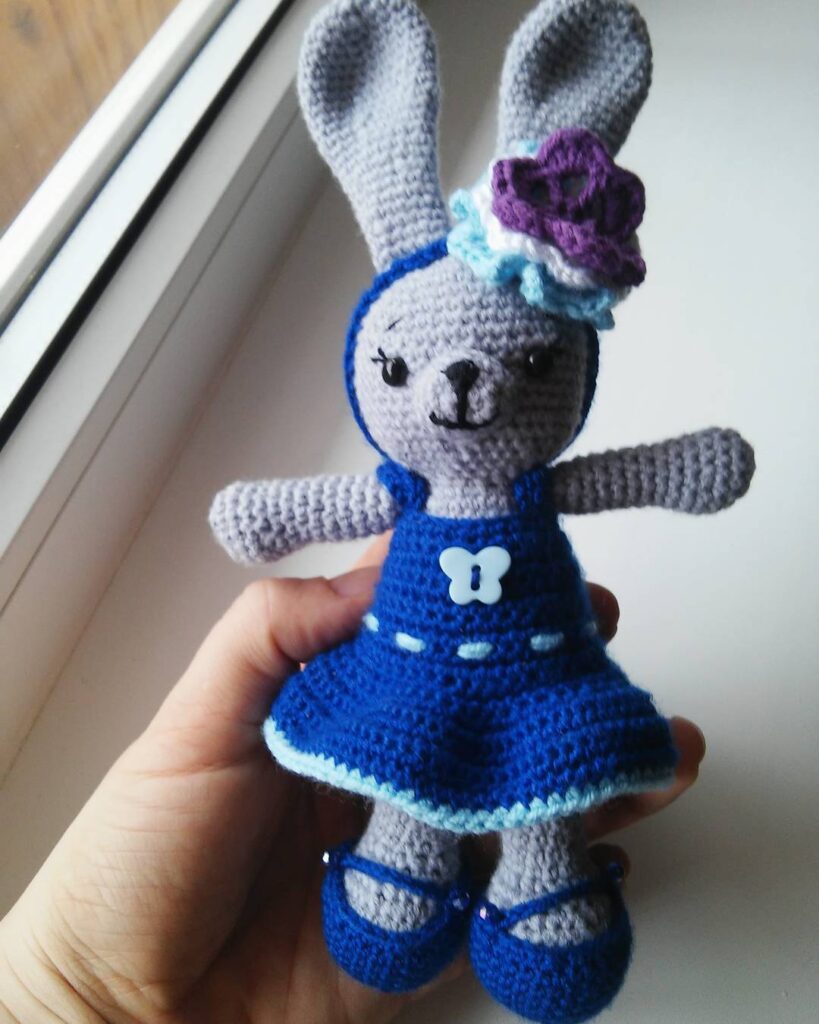
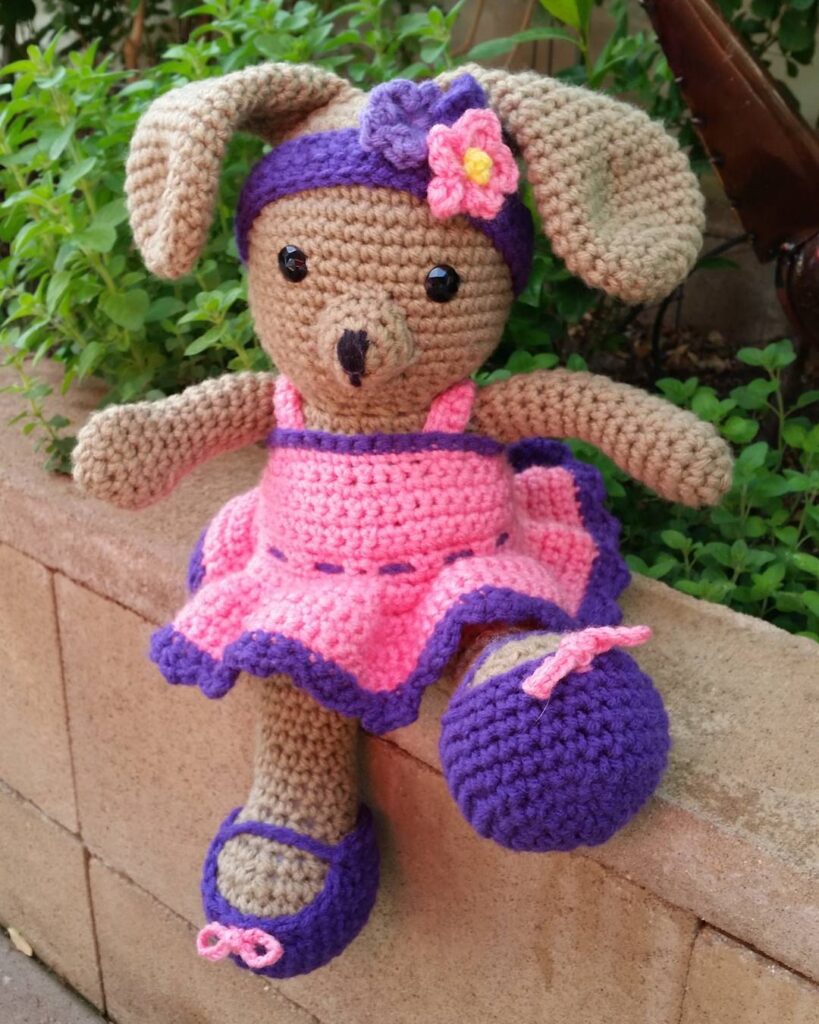
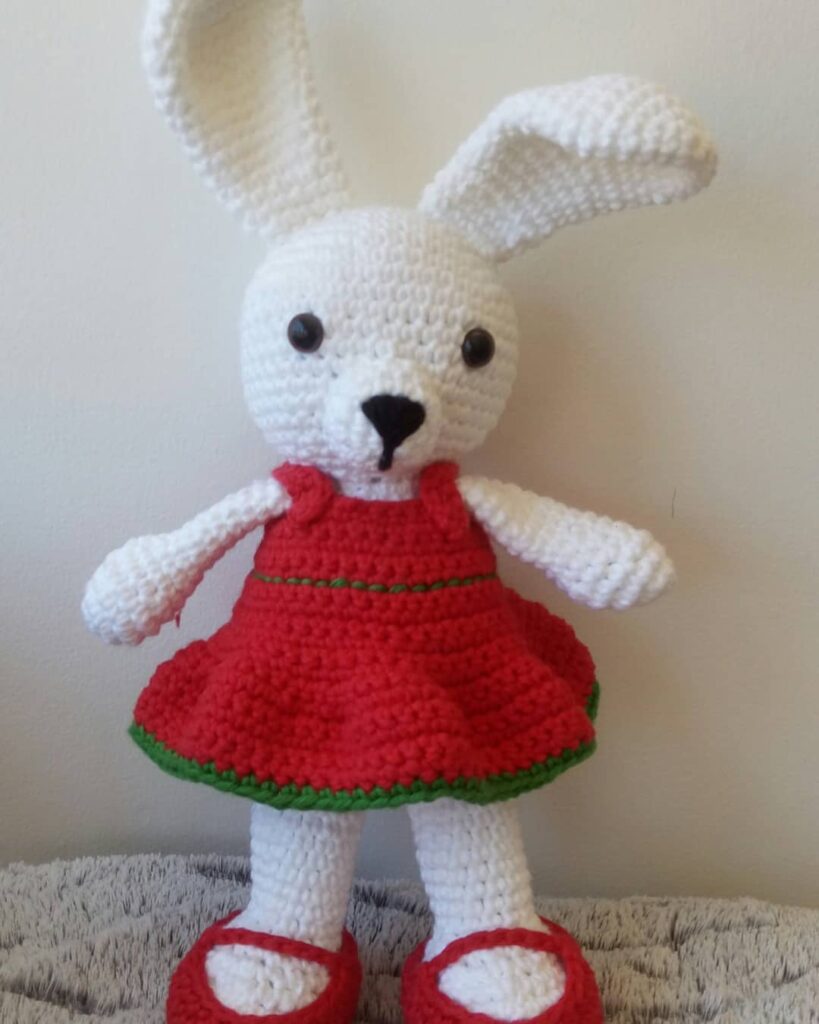
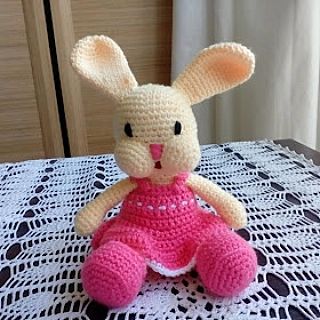
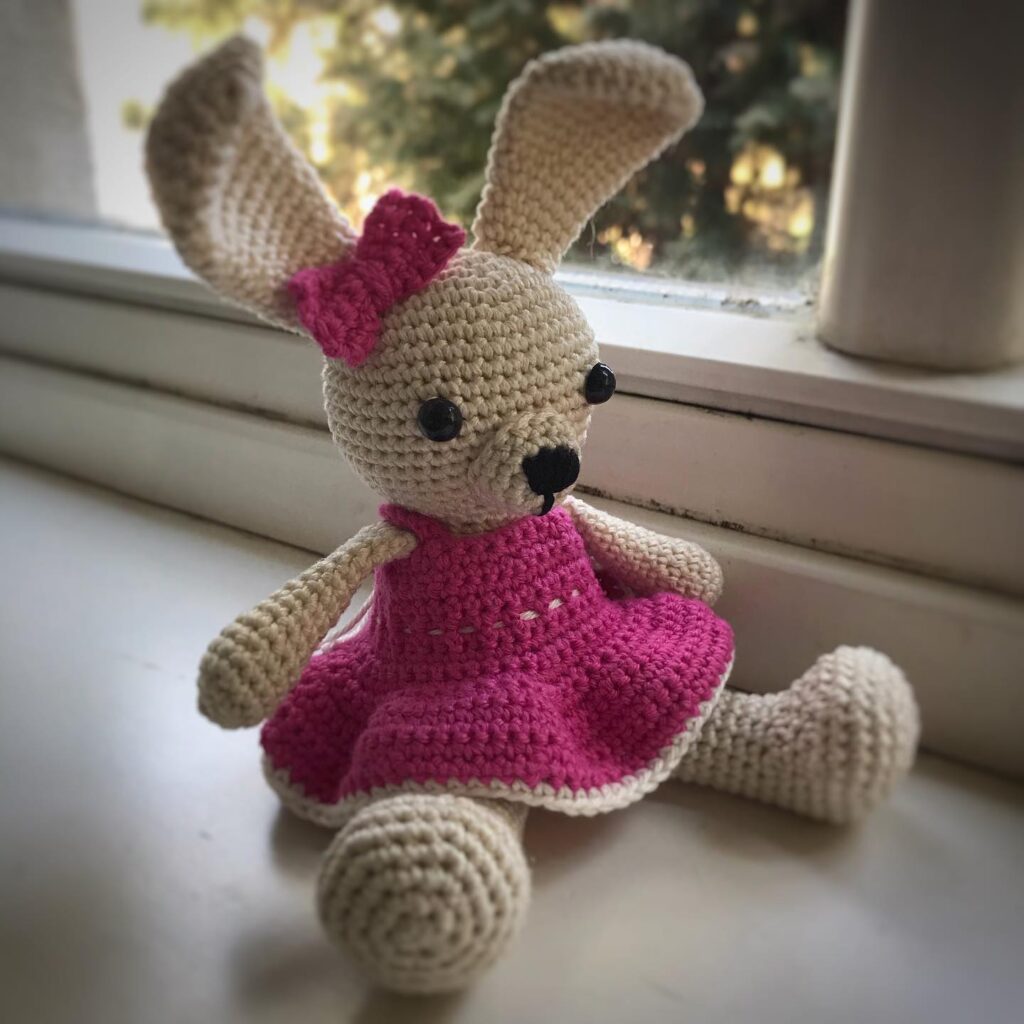
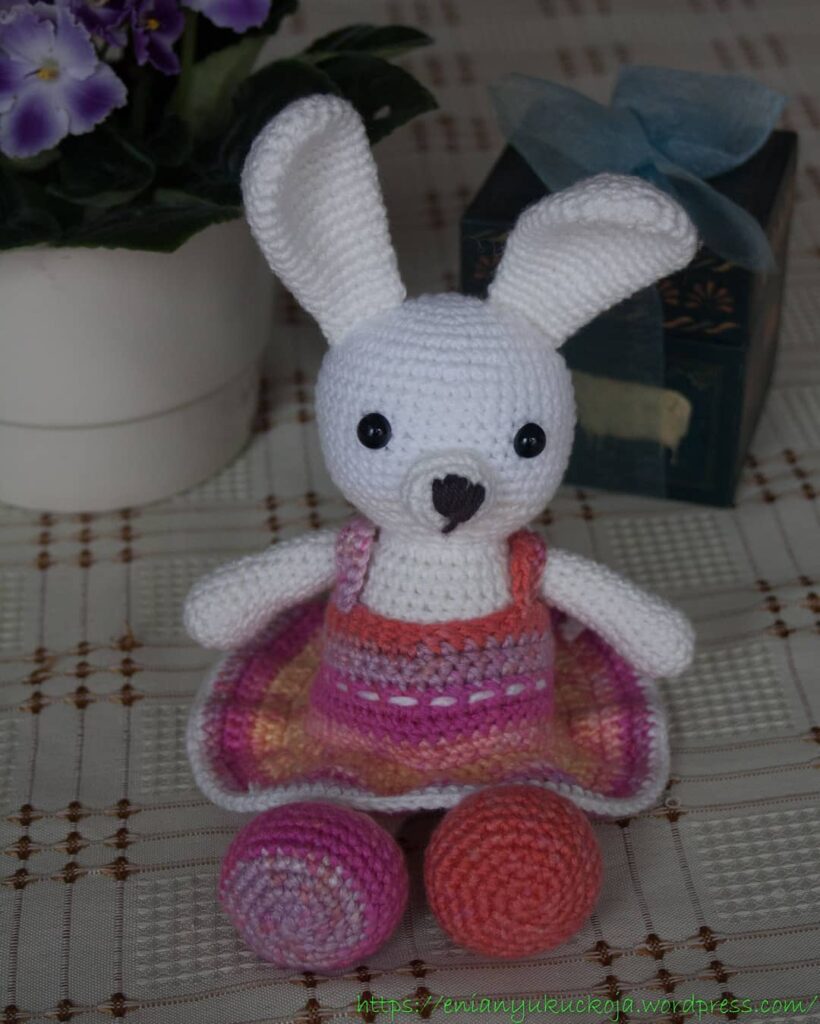
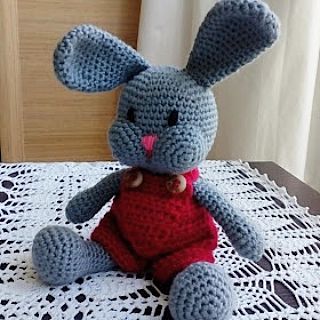
For the bunnies pictured I used 10mm safety eyes that I glued in place and buttons.
optional – pipe cleaners for the ears and arms
Abbreviations:
st = stitch
sl st = slip stitch
2tog = crochet 2 stitches together
f/o = finish off
ch: chain
mr = Magic ring
sc: single crochet
inc = increase (2 sc in the next stitch)
dec = decrease (single crochet 2 stitches together)
BLO: Back loop only
FLO: Front loop only
( )* 6 = repeat whatever is between the brackets the number of times stated
Magic ring:
Many parts of this amigurumi begin with a magic ring. I have 2 short video tutorials that will show you 2 different methods of making a magic ring. Use the one that iseasiest for you. View 1st method here and 2nd method here.
How to read the rows:
Add a maker at the end of row 2 and move that marker each time you finish a row. Each row has a sequence. Example: 1sc then 2sc in next st means repeat that sequence 1sc then 2sc in next st followed by 1sc then 2sc in next st over and over to the end of that row. When you land on the marker you should be putting in 2sc. The number inside the parentheses ( ~ ) is the number of stitches you should have at the end of that particular row.
Safety Eye Placement:
The head and body are worked in one piece. If you plan to use safety eyes they are placed in between the 12th and 13th row with 7 visible stitches between them.
Muzzle Placement:
The top of the muzzle is placed on the 12th or 13th row, whichever looks best to you. Whip stitch a nose in place before sewing the muzzle to the head.
Click here for video tutorial. The video follows the same order as the written pattern.
How to print the pattern,
Use the free service found here
Starting at the top of the head working down to bottom of body:
1) magic circle with 6sc (6)
2) 2sc in each (12)
3) 1sc then 2sc in next st (18)
4) 1sc in next 2st then 2sc in next st (24)
5) 1sc in next 3st then 2sc in next st (30)
6) 1sc in next 4st then 2sc in next st (36)
7) 1sc in next 5st then 2sc in next st (42)
8) 1sc in next 13st then 2sc in next st (45)
9-16) 1sc in each st for 8 rows
17) 1sc in next 13st then 2tog (42)
18) 1sc in next 5st then 2tog (36)
19) 1sc in next 4st then 2tog (30)
20) 1sc in next 3st then 2tog (24)
21) 1sc in next 2st then 2tog (18)
22) 1sc in next 4st then 2tog (15)
23) 2sc in each st (30)
stuff and shape head
24-28) 1sc in each st for 5 rows
29) 1sc in next 4st then 2sc in next st (36)
30) 1sc in next 5st then 2sc in next st (42)
31-35) 1sc in each st for 5 rows
36) 1sc in next 5st then 2tog (36)
37) 1sc in next 4st then 2tog (30)
38) 1sc in next 3st then 2tog (24)
39) 1sc in next 2st then 2tog (18)
stuff and shape body. Be sure to fill any stuffing gaps in the neck
40) 1sc then 2tog (12)
stuff over the next 2 rows as needed
41) 1sc then 2tog (8)
f/o leaving a tail for closing up the gap. Weave in and out of the remaining stitches and pull tight to close. Knot off and hide yarn tails in the body.
Ears:
1) magic circle loop with 6sc (6)
2) 2sc in each st (12)
3) 1sc then 2sc in next st (18)
4) 1sc in next 5st then 2sc in next st (21)
5) 1sc in next 6st then 2sc in next st (24)
6-7) 1sc in each st for 2 rows
8) 1sc in next 6st then 2tog (21)
9-10) 1sc in each st for 2 rows
11) 1sc in next 5st then 2tog (18)
12-13) 1sc in each st for 2 rows
14) 1sc in next 4st then 2tog (15)
15-16) 1sc in each st for 2 rows
17) 1sc in next 3st then 2tog (12)
18-19) 1sc in each st for 2 rows
f/o leaving a tail for sewing. Loosely fold 2 pipe cleaners in half and push the bend all the way to the top of the ear. Cut off any excess. You can add a stitch or 2 at the top of the ears to hold the pipe cleaners in place. Pin the ears in place and make sure you are happy with the placement before sewing them in.
Muzzle:
1) magic circle with 6sc (6)
2) 2sc in each st (12)
3) 1sc in next 3st then 2sc in next st (15)
4) 1sc in each st for 1 row
f/o leaving a long tail for sewing. Whip stitch a nose onto the muzzle before sewing to the head
Arms:
1) magic circle with 6sc (6)
2) 2sc in each st (12)
3) 1sc in next 3st then 2sc in next st (15)
4) 1sc in each st for 1 row
5) 1sc in next 3st then 2tog (12)
6) 1sc in each st for 1 row
7) 1sc in next 4st then 2tog (10)
8-16) 1sc in each st for 9 rows
f/o leaving a long tail for sewing. Stuff hand and arm.
Legs:
1) magic circle with 6sc (6)
2) 2sc in each (12)
3) 1sc then 2sc in next st (18)
4) 1sc in next 2st then 2sc in next st (24)
5) 1sc in next 3st then 2sc in next st (30)
6-7) 1sc in each st for 2 rows
8) 1sc in next 3st then 2tog (24)
9) (1sc then 2tog x 6) 1sc in next 6st (18)
10) 1sc in each st for 1 row
11) (1sc then 2tog x 4) 1sc in next 6st (14)
stuff and shape foot
12-22) 1sc in each st for 11 rows
stuff and shape foot after 2 or 3 rows, stuff leg at the end of row 22. After you complete row 22 sc until you get to the side of the leg. Fold flat, ch1 turn and sc through both sides of the leg to close up the top of the leg. ch1 turn and sc across again then f/o leaving a tail for sewing.
Solid Tail
1) magic circle or adjustable loop with 6st (6)
2) 2sc in each st 12)
3) 1sc in next 3st then 2sc in next st (15)
4) 1sc in each st for 1 row
5) 1sc in next 3st then 2tog (12)
f/o leaving a long tail for sewing.Pom Pom Tail:
to make a pom pom tail click here
Assembly: Refer to this part of the video for assembly.
1) Sew the legs flat to the underside of the body.
2) The arms are sewn under the head, I sewed mine one ring down from the top of the neck. Add a stitch or 2 from under the arm to the body to tack the arm down if they are flaring out too far.
3) Whip stitch a nose in place before sewing the muzzle to the head. Stuff the muzzle and use lots of pins to hold it in place before sewing. The top of the muzzle is placed on the 13th row.
4) Sit the bunny down and see where the tail will look best then pin it on, use lots of pins then sew it in place unless you made a pom pom tail. Sew the pom pom on as is shown in the video.
5) Pin the ears on top of the head and play around with placement before sewing them in plac
Feel free to tag me (@freeamigurumii) in your photos on Instagram or Facebook if you’d like!
All Finished.