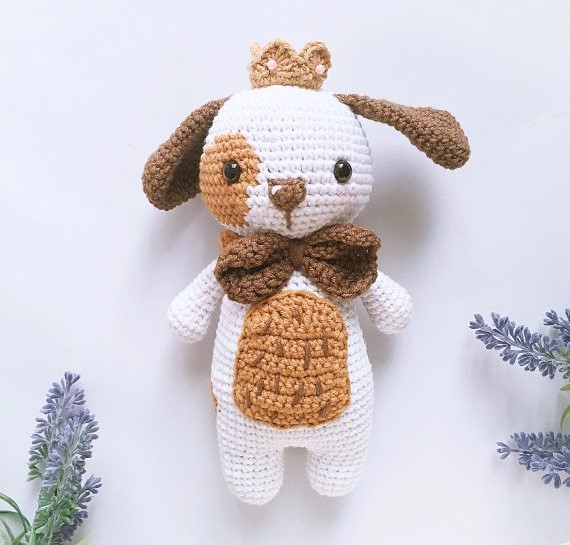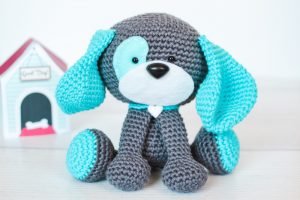
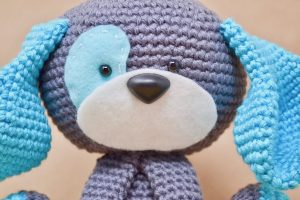
Amigurumi Dog Crochet Pattern
Hello amigurumi lovers and beautiful visitors, I wanted to share the free amigurumi patterns for you here. In my article I will share 1 pattern and how to make it for you. At the end of my article, I will share amigurumi patterns that can generate ideas for you.
Supplies
- Worsted Weight Yarn
- Lily Sugar ‘N Cream Yarn in Grey (~136 yards used)
- Lily Sugar ‘N Cream Yarn in Hot Blue/Strawberry Fraise (~70 yards used)
- Lily Sugar ‘N Cream Yarn in Ecru (~30 yards used)
- I also used I Love Cotton by Hobby Lobby in my video tutorial
- E/4 (3.50mm) crochet hook
- Two 6mm plastic safety eyes (Not recommended for children under 3 years old)
- 21mm or 24mm safety nose
- Felt or Fabric For Eye Patch And Muzzle
- Polyfil or stuffing of your choice
- Yarn/Darning needle
- Embroidery floss
- Embroidery needle
- Scissors
- Fabric glue
- Locking Stitch Markers (optional)
Techniques
- Magic Circle
- Single Crochet
- Single Crochet Increase
- Single Crochet Decrease (I like to use an invisible decrease)
- Slipknot And Chain
- Fastening Off
- Attaching Parts
- Changing Colors
Abbreviations
- sc – single crochet
- st/sts – stitch(es)
- inc – increase (add 2 stitches into a stitch)
- dec – decrease (join 2 stitches into 1)
- R1- round 1
- ( ) – repeat this group of stitches
The Dog Pattern Example
If a line is written with a single “inc”, “dec” or “sc” with nothing after it – make one increase, decrease, or single crochet into one stitch only.
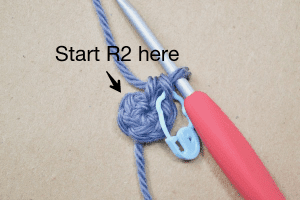
6 sc into a Magic Circle {6 sts}
R1 starts with 6 single crochet in a magic circle
Alternate way to begin: chain 2, sc 6 times in 2nd chain from hook {6 sts}
(inc, sc) 6 times {18 sts}
(2 single crochets into a stitch, then single crochet in next stitch) – repeat that sequence a total of 6 times for a total of 18 stitches
(dec, sc in next 2 sts) 6 times {18 sts}
(join 2 single crochets into 1, and then single crochet in next 2 stitches) – repeat that sequence a total of 6 times for a total of 18 stitches.
EYE/MUZZLE PIECES
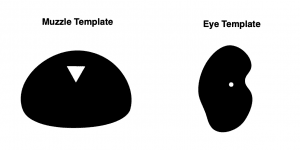
- Cut out the muzzle shape onto felt or fleece material.
- Make a small slit at the white triangle and place the safety nose. DO NOT secure the back of the nose. Set the nose aside.
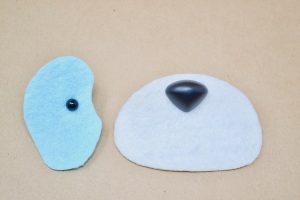
- Next, cut out the eye shape onto felt or fleece material. Make a small slit at the white dot, and insert the 6mm safety eye. DO NOT secure the back of the eyes. Set the eyes aside.
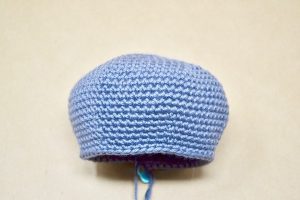
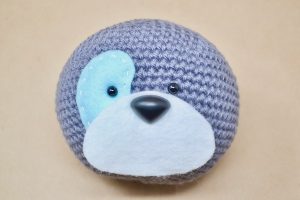
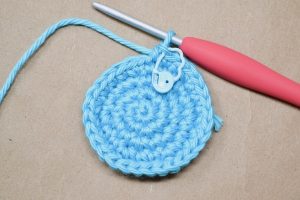
HEAD
- R1: 6 sc into a magic circle {6 sts}
- R2: (inc) 6 times {12 sts}
- R3: (inc, sc) 6 times {18 sts}
- R4: (inc, sc in next 2 sts) 6 times {24 sts}
- R5: (inc, sc in next 3 sts) 6 times {30 sts}
- R6: (inc, sc in next 4 sts) 6 times {36 sts}
- R7: (inc, sc in next 5 sts) 6 times {42 sts}
- R8: (inc, sc in next 6 sts) 6 times {48 sts}
- R9: (inc, sc in next 7 sts) 6 times {54 sts}
- R10: (inc, sc in next 8 sts) 6 times {60 sts}
- R11: (inc, sc in next 9 sts) 6 times {66 sts}
- R12-17: sc in next 66 sts {66 sts}
- R18: (dec, sc in next 9 sts) 6 times {60 sts}
- R19: sc in next 60 sts {60 sts}
- R20: (dec, sc in next 8 sts) 6 times {54 sts}
- R21: sc in next 54 sts {54 sts}
- R22: (dec, sc in next 7 sts) 6 times {48 sts}
- R23: sc in next 48 sts {48 sts}
- Grab the prepared eye patch.

- Place the safety eyes between R15 and R16, leaving 5 stitches open between the eyes.The top of the fabric should hit around R11 or R12.
- Secure the back of the safety eyes.
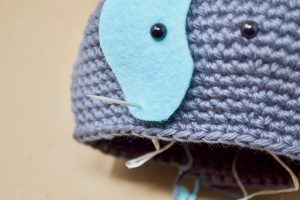
- Cut a long piece of embroidery floss (color of your choice) to sew on the eye patch.

- Double knot one end of the floss. Make a knot on the inside of the head and begin to sew around the eye patch.
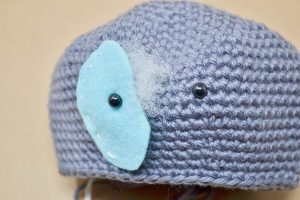
- Grab a small piece of stuffing and fill in some of the eye patch while stitching around the eye.(Don’t stuff the bottom part of the eye patch as much – the muzzle will be glued there)
- Continue to sew and stuff as you go.
- When finished – make a knot on the inside of the head to secure the embroidery floss.
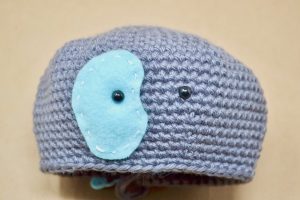
- Grab the prepared muzzle.
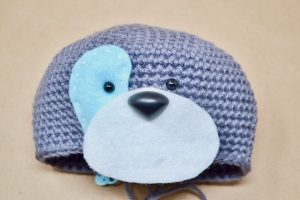
- Place the nose in the middle of the eyes between R17 and R18 and secure the safety nose.
- R24: (dec, sc in next 6 sts) 6 times {42 sts}
- Begin to stuff the head and continue as you crochet.
- R25: (dec, sc in next 5 sts) 6 times {36 sts}
- R26: (dec, sc in next 4 sts) 6 times {30 sts}
- R27: (dec, sc in next 3 sts) 6 times {24 sts}
- R28: (dec, sc in next 2 sts) 6 times {18 sts}
- R29: (dec, sc) 6 times (12 sts}
- R30: (dec) 6 times {6 sts}
- Fasten off and leave a long piece of yarn to sew the head shut. Weave the rest of the yarn into the head.
- Don’t glue the muzzle until after assembly unless you’re able to let the muzzle dry overnight. Set the head aside.
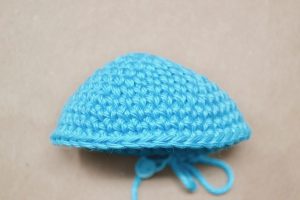
EAR
- Make 2
- No stuffing needed.
- Using color blue
- R1: 5 sc into a magic circle {5 sts}Alternate way to begin: chain 2, sc 5 times in 2nd chain from hook {5 sts}
- R2: (inc) 5 times {10 sts}
- R3: (inc, sc) 5 times {15 sts}
- R4: (inc, sc in next 2 sts) 5 times {20 sts}
- R5: (inc, sc in next 3 sts) 5 times {25 sts}
- R6: (inc, sc in next 4 sts) 5 times {30 sts}
- R7: (inc, sc in next 5 sts) 5 times {35 sts}
- R8: (inc, sc in next 6 sts) 5 times {40 sts}
- R9-11: sc in next 40 sts {40 sts}
- R12: (dec, sc in next 6 sts) 5 times {35 sts}
- R13: (dec, sc in next 5 sts) 5 times {30 sts}
- R14: (dec, sc in next 4 sts) 5 times {25 sts}
- R15: (dec, sc in next 3 sts) 5 times {20 sts}
- R16: (dec, sc in next 2 sts) 5 times {15 sts}
- R17-22: sc in next 15 sts {15 sts}
- Fasten off and leave a long tail.
- Flatten the ears and sew them shut.

- Set them aside until assembly.
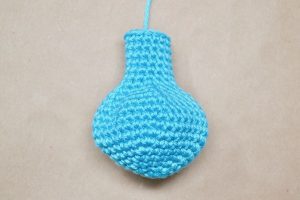
BODY
- Using color grey
- R1: 6 sc into a magic circle {6 sts}Alternate way to begin: chain 2, sc 6 times in 2nd chain from hook {6 sts}
- R2: (inc) 6 times {12 sts}
- R3: (inc, sc) 6 times {18 sts}
- R4: (inc, sc in next 2 sts) 6 times {24 sts}
- R5: (inc, sc in next 3 sts) 6 times {30 sts}
- R6: (inc, sc in next 4 sts) 6 times {36 sts}
- R7-8: sc in next 36 sts {36 sts}
- R9: (dec, sc in next 4 sts) 6 times {30 sts}

- R10-12: sc in next 30 sts {30 sts}
- R13: (dec, sc in next 3 sts) 6 times {24 sts}
- R14-15: sc in next 24 sts {24 sts}
- R16: (dec, sc in next 2 sts) 6 times {18 sts}
- Fasten off and leave a long tail.
- Stuff the body.
- Set aside until assembly.
- Make 2
- Using color grey
- R1: 5 sc into a magic circle {5 sts}Alternate way to begin: chain 2, sc 5 times in 2nd chain from hook {5 sts}
- R2: (inc) 5 times {10 sts}
- R3: (inc, sc) 5 times {15 sts}
- R4: (inc, sc in next 2 sts) 5 times {20 sts}
- R5-7: sc in next 20 sts {20 sts}
- R8: (dec, sc in next 2 sts) 5 times {15 sts}
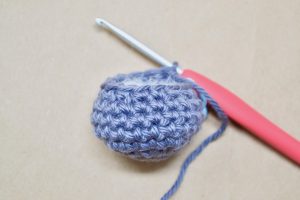
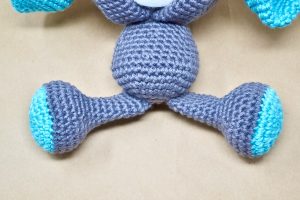
FRONT FOOT
- Stuff the feet with a bit of stuffing. Do not stuff the legs.
- R9: (dec, sc) 5 times {10 sts}
- R10-20: sc in next 10 sts {10 sts}
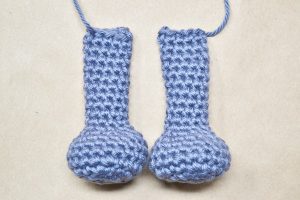
- Fasten off and leave a long tail. Sew each foot shut and set aside for assembly.
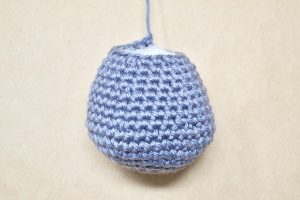
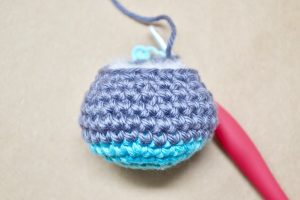
BACK FOOT
- Using color blue
- R1: 6 sc into a magic circle {6 sts}Alternate way to begin: chain 2, sc 6 times in 2nd chain from hook {6 sts}
- R2: (inc) 6 times {12 sts}
- R3: (inc, sc) 6 times {18 sts}
- R4: (inc, sc in next 2 sts) 6 times {24 sts}
- R5: (inc, sc in next 3 sts) 6 times {30 sts}
- Change to Color grey
- R6-8: sc in next 30 sts {30 sts}
- R9: (dec, sc in next 3 sts) 6 times {24 sts}
- R10: (dec, sc in next 2 sts) 6 times {18 sts}
- R11: sc in next 18 sts {18 sts}
- Stuff the feet. Do not stuff the legs.
- R12: (dec, sc) 6 times {12 sts}
- R13-20: sc in next 12 sts {12 sts}
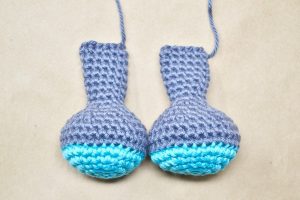
- Fasten off and leave a long tail. Sew each foot shut and set aside until assembly.
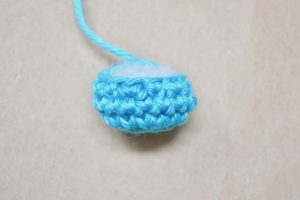
TAIL
- Using color blue
- R1: 6 sc into a magic circle {6 sts}Alternate way to begin: chain 2, sc 6 times in 2nd chain from hook {6 sts}
- R2: (inc) 6 times {12 sts}
- R3: (inc, sc) 6 times {18 sts}
- R4: sc in next 18 sts {18 sts}
- R5: (dec, sc) 6 times {12 sts}
- Fasten off and leave a long tail.
- Fill with a bit of stuffing.
ASSEMBLY
- I recommend pinning the parts together before sewing the animal together. This will give you a better idea of where you’d like the parts to be attached before actual assembly.
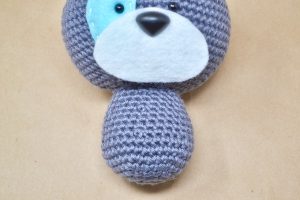
- Attach the body at the base of the head, around R26 and R27.
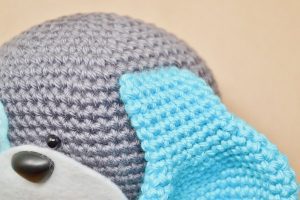
- Attach the ears between R10 and R11 on each side of the head.

- Attach the front legs next to each other underneath the head.
- Attach the back legs on a slant between R2 and R5.
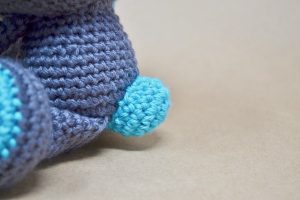
- Attach the tail between R5 and R9 at the back of the body.
- Secure Muzzle: Using fabric glue, secure the muzzle in place. Hold it down with your hand for a few minutes, making sure it’s smooth. Let the muzzle dry for a few hours without manipulating the animal.
Feel free to tag me (@freeamigurumii) in your photos on Instagram or Facebook if you’d like!
All Finished.