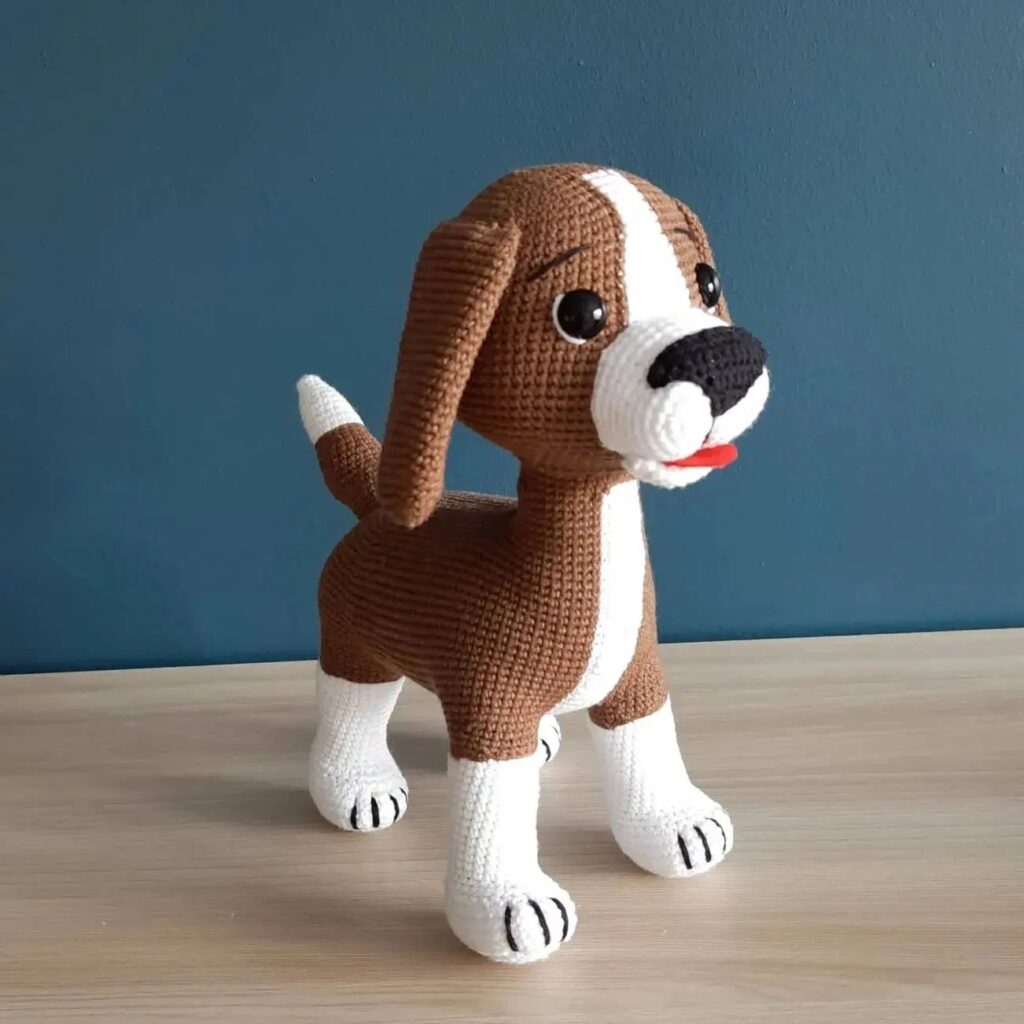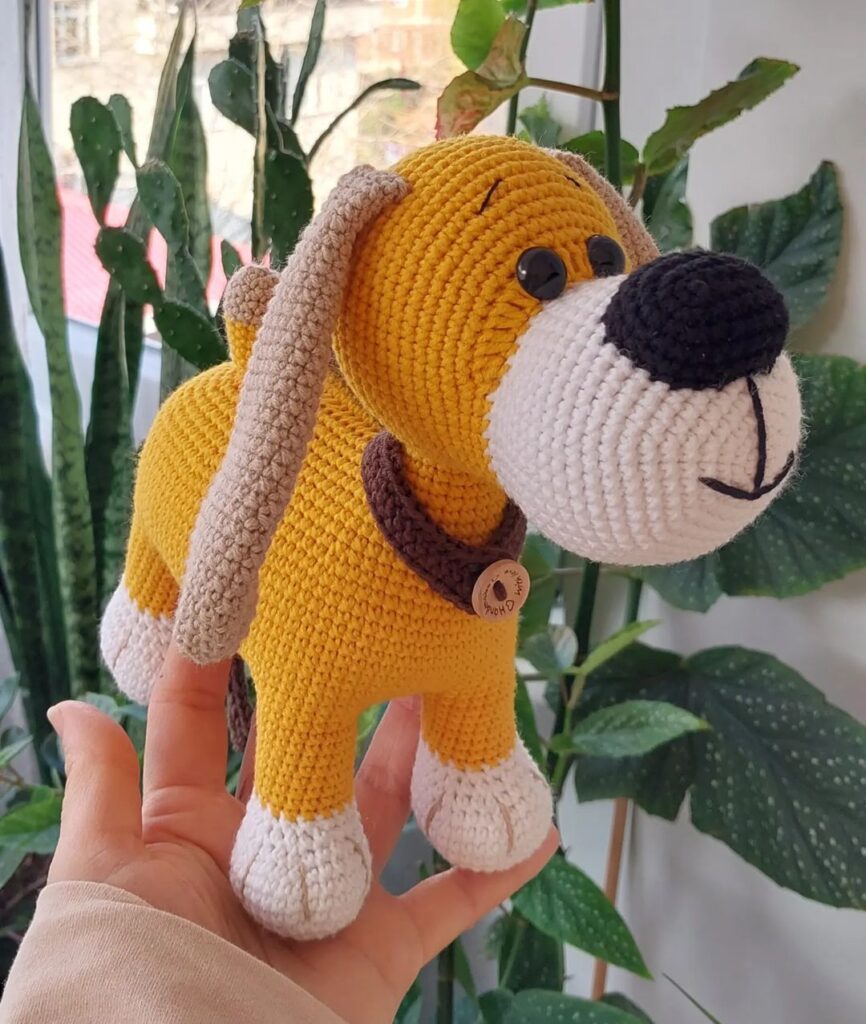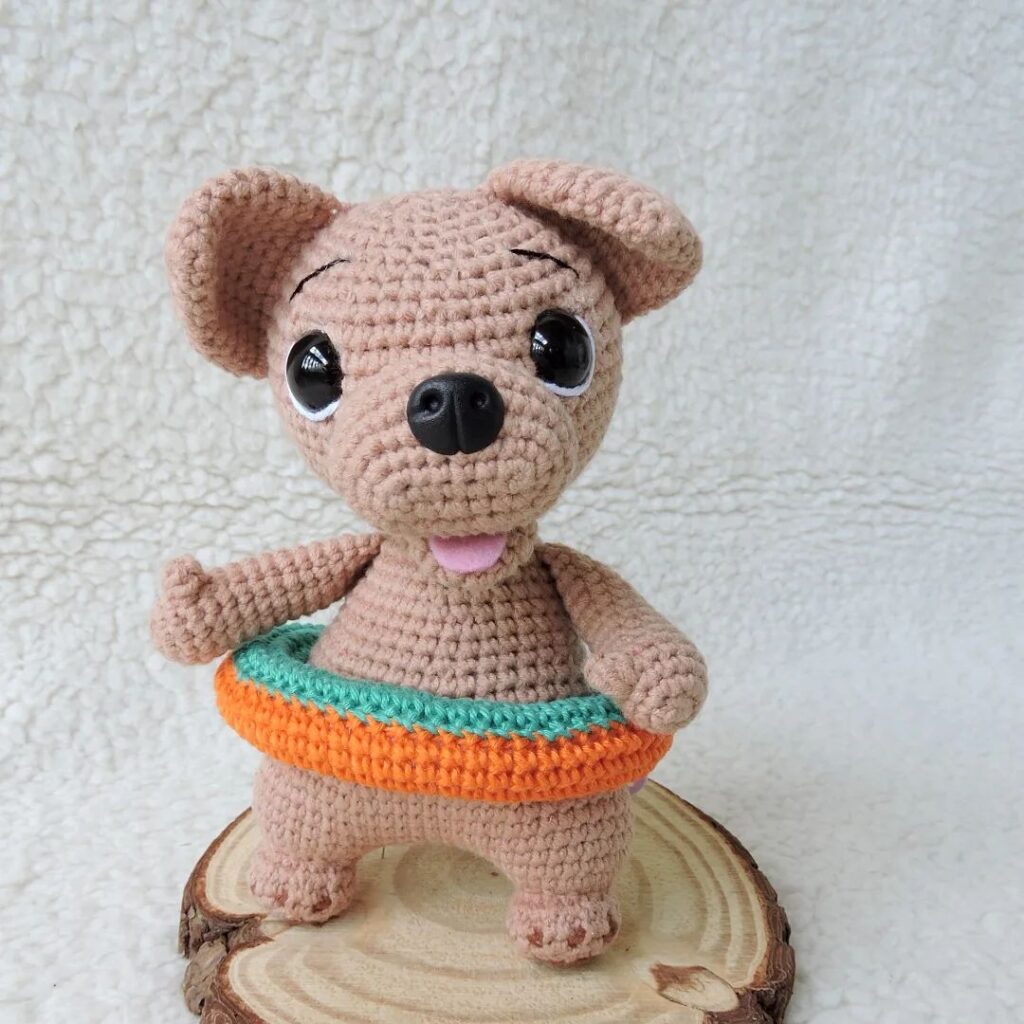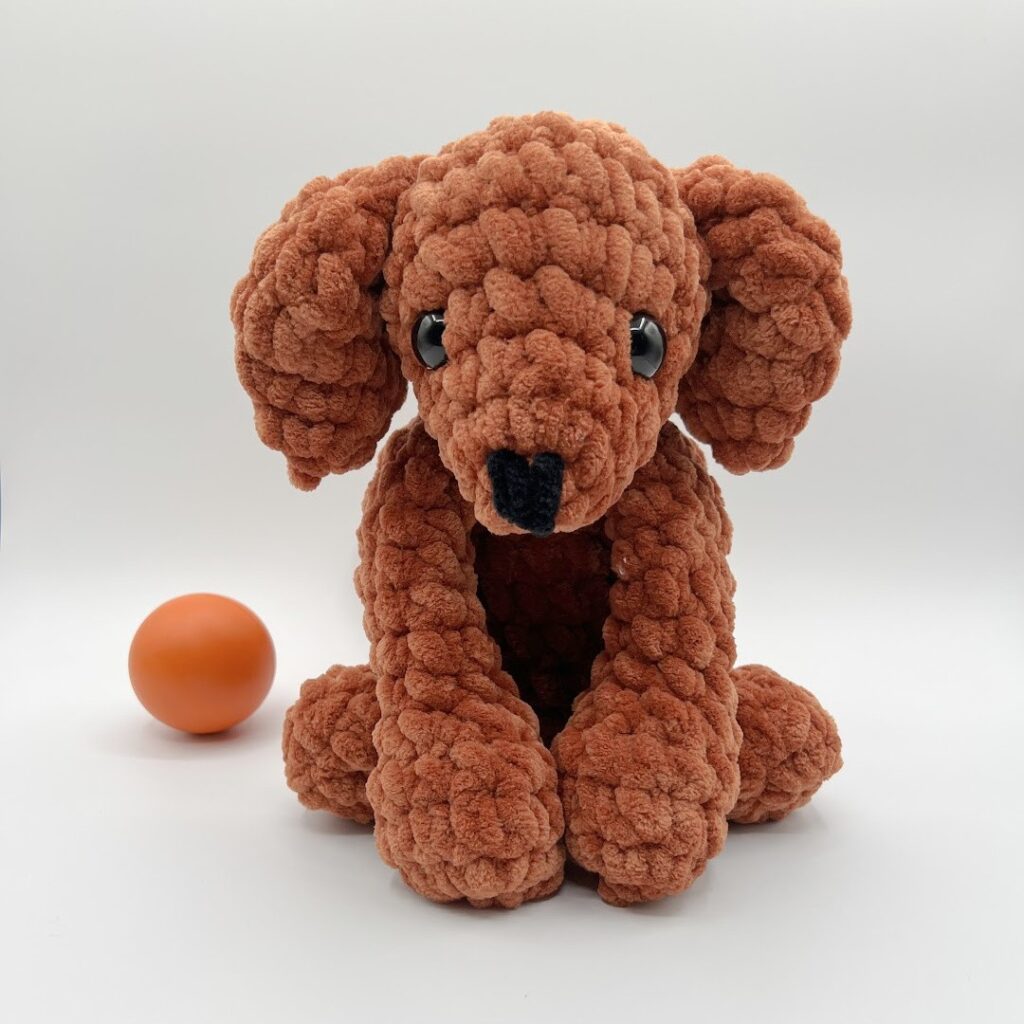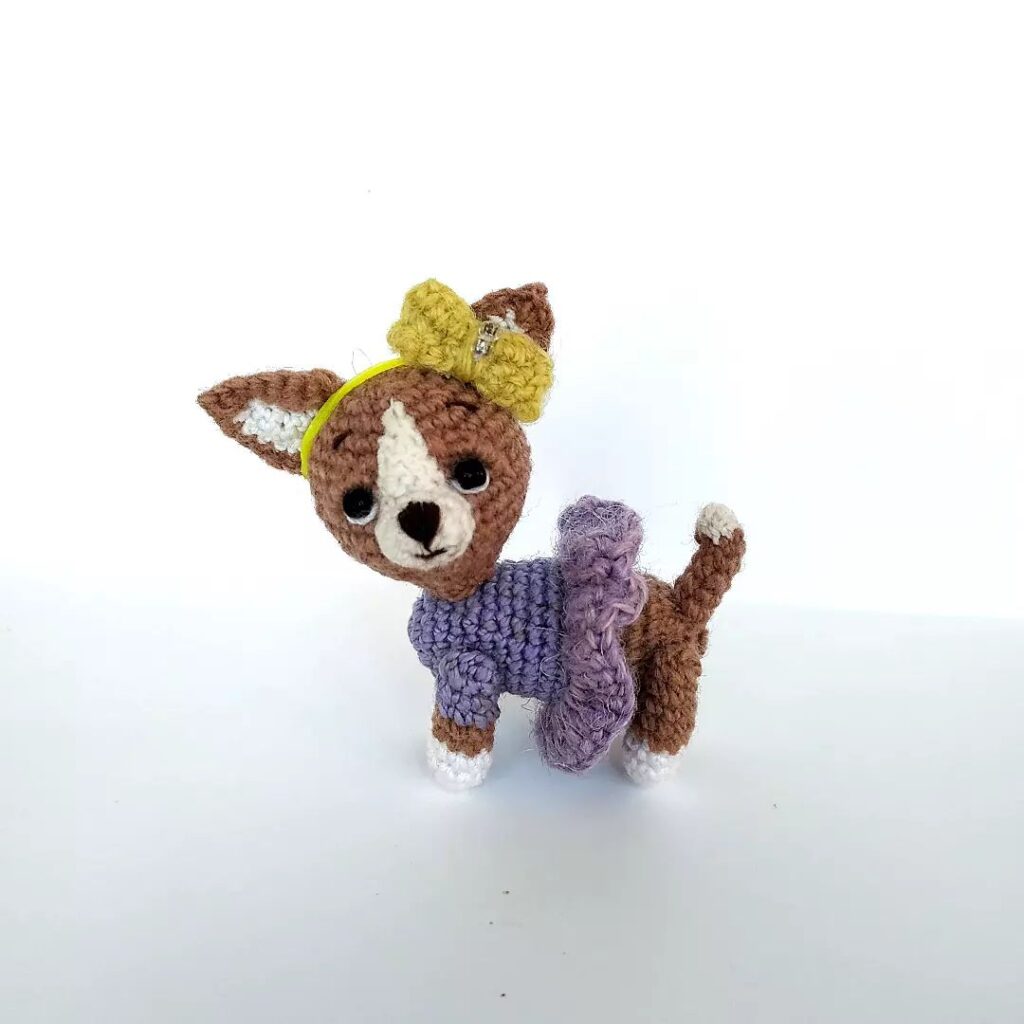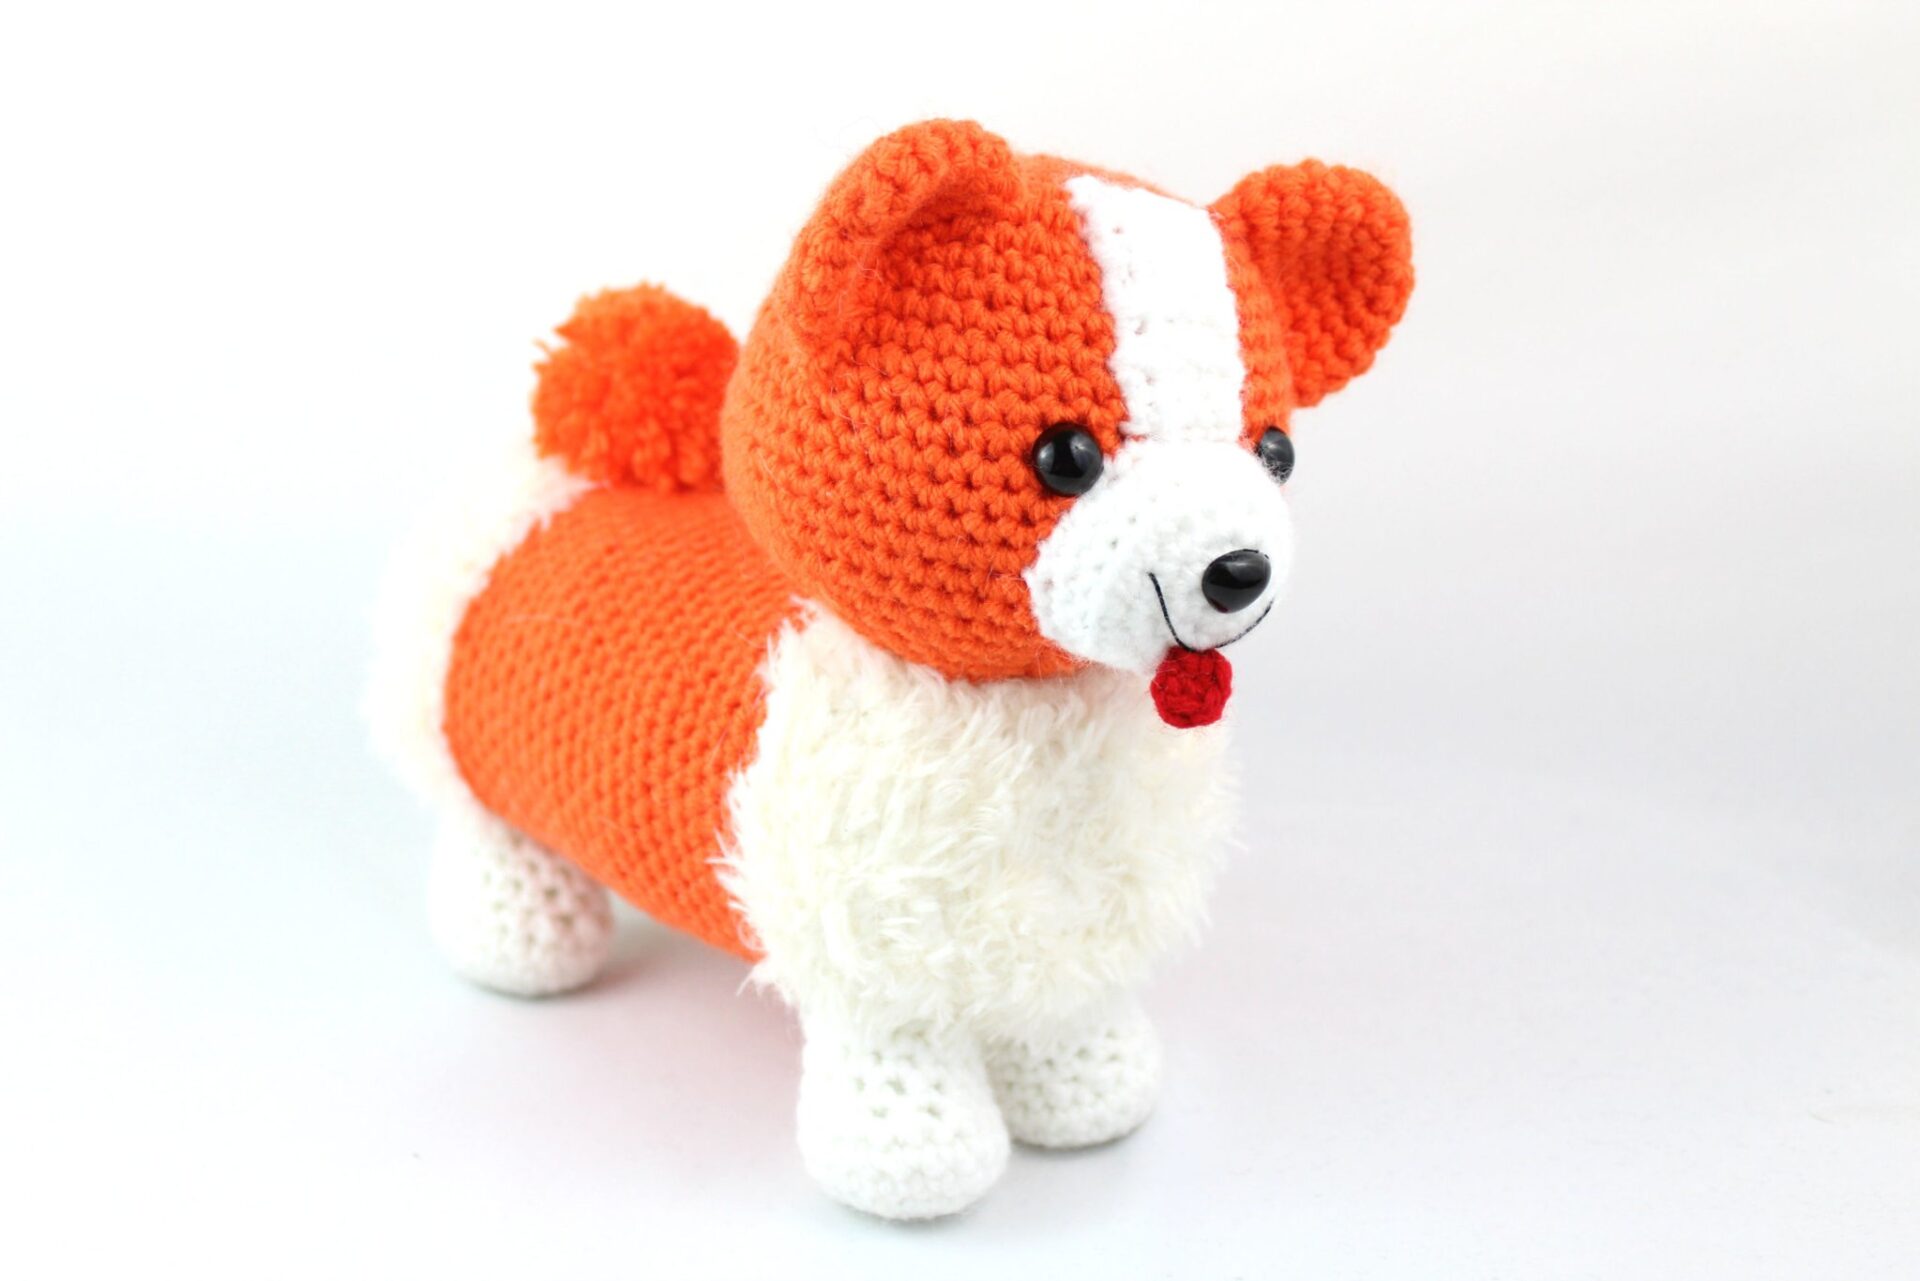
Amigurumi Dog Crochet Pattern
Hello amigurumi lovers and beautiful visitors, I wanted to share the free amigurumi patterns for you here. In my article I will share 1 pattern and how to make it for you. At the end of my article, I will share amigurumi patterns that can generate ideas for you.
Supplies:
4mm crochet hook. 4/Medium weight yarn in white, red, and orange for orange corgi. White, tan, red and black for black corgi. Black embroidery thread. 10mm safety eyes. Safety nose. Stuffing. Scissors. Tapestry needle.
Specific yarn used:
Orange in red heart super saver Flame. White in Big Twist White. Black in red heart super saver Black. Red in red heart super saver Cherry Red. Tan in Big Twist Cream. Fuzzy white yarn in Red heart hygge fur in Cotton Tail.
Additional Information:
Difficulty: Easy
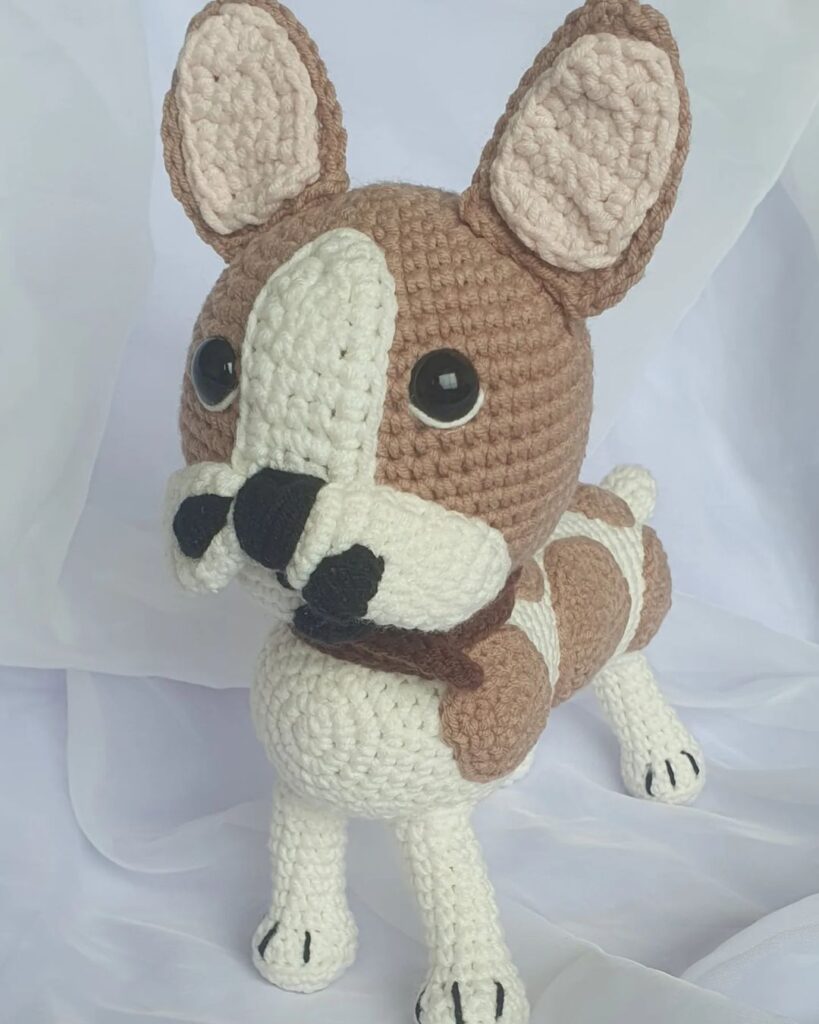
- “Main Color” in this pattern refers to the main color you will use to make your Corgi. Use orange for an orange corgi and black for a black corgi. I used purple for one, and green for another.
- We start by making the corgi’s head. We then create all of the head pieces and sew them on. Then we make the body and legs. Now we make the feet and butt Finally, we make the butt.
Corgi Head
In Main Color
Round 1: 6 Sc in Magic Ring (6)
Round 2: *Inc* all around (12)
Round 3: *Inc, Sc* all around (18)
Round 4: *Inc, Sc 2* all around (24)
Round 5: *Inc, Sc 3* all around (30)
Round 6: *Inc, Sc 4* all around (36)
Round 7: *Inc, Sc 5* all around (42)
Round 8-9: *Sc* all around (42)
Round 10: *Inc, Sc 6* all around (48)
Round 11: Sc in next 28 st. Sc in next st and add a different colored st marker to Sc just made. This marks where we will place the eye. Sc in next 8 st. Sc in next st and add different colored st marker to Sc just made. Sc in next 10 st (48)
Round 12: Sc in next 18 st. Repeat *Inc in next st, Sc in next st* 3 times. Sc in next 18 st. Repeat *Inc in next st, Sc in next st* 3 times (54)
Round 13-16: *Sc* all around (54)
Round 17: Sc in next 18 st. Repeat *Dec, Sc* 3 times, Sc in next 18 st, repeat *Dec, Sc* 3 times (48)
Round 18: *Dec, Sc 6* all around (42)
Round 19: *Dec, Sc 5* all around (36)
Add safety eyes in here. (Note: If making a black corgi, make eye circles mentioned further in this pattern now before inserting safety eyes)
Round 20: *Dec, Sc 4* all around (30)
Round 21: *Dec, Sc 3* all around (24)
Stuff here. Stuff gradually as closing.
Round 22: *Dec, Sc 2* all around (18)
Round 23: *Dec, Sc* all around (12)
Round 24: *Dec* all around (6)
Finish off and add any additional stuffing. Sew closed.
Ears: (Make 2)
In Orange or Tan
Round 1: 6 Sc in Magic Ring (6)
Round 2: *Inc* all around (12)
Round 3: *Sc* all around (12)
Round 4: *Inc, Sc* all around (18)
Round 5-7: *Sc* all around (18)
Finish off and pin to the head as shown further in this pattern.
Muzzle:
In White
Round 1: 6 Sc in Magic Ring (6)
Round 2: *Inc* all around (12)
Round 3: *Sc* all around (12)
Round 4: *Inc, Sc* all around (18)
Round 5: *Sc* all around in Back Loops Only (18)
Round 6-7: In BOTH Loops, *Sc* all around (18)
Finish off and insert safety nose directly in the middle of the muzzle. Stuff. Pin to the head as shown on page 5.
Head Stripe:
In White
Round 1: Ch 5. Sc in 2nd Ch from the hook. Sc in next 3 st (4)
Round 2-11: Turn, Sc in next 4 st (4)
Finish off. Pin to the head as shown on page 5.
Eye Circles: (Optional. Make 2)
In Tan
Round 1: 6 Sc in Magic Ring (6)
Round 2: *Inc* all around (12)
Round 3: *Inc, Sc* all around (18)
Round 4: Sc in next 2 st, Dc in next st, Trc in next st, Dc in next st, Sc in next 2 st, SlSt in remaining st (18)
Finish off and place safety eye in circle. Now place circle on the head and snap the safety eye on.
Assembly:
Pin everything on as shown. Sew each piece on securely.
Tongue:
In Red
Round 1: 4 Sc in Magic Ring (4)
Tighten ring and finish off. Be sure to NOT join the ring. Now refer to Smile Assembly.
Smile Assembly:
With Black Embroidery Thread
Insert needle slightly below and in the middle of the eyes, then pull out needle diagonal to the left. Reinsert needle in the original area, pulling needle out diagonal to the right. Reinsert needle into original middle area and pull thread through. Now pin the tongue to the middle of the smile. Sew on and weave in ends. Set head aside for now.
Corgi Body:
In White
Round 1: 6 Sc in Magic Ring (6)
Round 2: *Inc* all around (12)
Round 3: *Inc, Sc* all around (18)
Round 4: *Inc, Sc 2* all around (24)
Round 5: *Inc, Sc 3* all around (30)
Round 6: *Inc, Sc 4* all around (36)
Round 7: *Inc, Sc 5* all around (42)
Round 8: *Inc, Sc 6* all around (48)
Round 9-13: *Sc* all around (48)
Switch to Main Color
Round 14-34: *Sc* all around (48)
Switch to White
Round 35-39: *Sc* all around (48)
Stuff here. Stuff gradually as closing.
Round 40: *Dec, Sc 6* all around (42)
Round 41:*Dec, Sc 5* all around (36)
Round 42: *Dec, Sc 4* all around (30)
Round 43: *Dec, Sc 3* all around (24)
Round 44: *Dec, Sc 2* all around (18)
Round 45: *Dec, Sc* all around (12)
Round 45: *Dec* all around (6)
Finish off and add any additional stuffing. Sew closed.
Feet: (Make 4)
In White
Round 1: 6 Sc in Magic Ring (6)
Round 2: *Inc* all around (12)
Round 3: *Inc, Sc* all around (18)
Round 4-5: *Sc* all around (18)
Round 6: Sc in the next 6 st, *Dec* 3 times, Sc in last 6 st (15)
Round 7-9: *Sc* all around (15)
(Note: If you’re making a black corgi switch to tan on Round 8-9).
Finish off and add stuffing. Pin to the body as shown.
Assembly:
Pin head and legs on as shown. Sew each piece on securely.
Butt:
In White
First, cut a 24″ of yarn in White. Now, insert it into the bottom part of the butt. Be sure to leave a few inches as the tail. Now pull the yarn up to the top center part of the butt. Reinsert the yarn to the original bottom part of the butt. Pull the tail and current yarn at the same time to tighten and form the butt. Repeat making the butt crease one more time for security. Tie a knot on both tails and weave in ends.
Tail:
In Main Color
First, cut a 24″ of yarn in Main Color and set aside. Now, wrap the yarn around your first 3 fingers 80 times. Slide this off your fingers. Now take the 24″ yarn you cut and set it under the yarn ball. Now wrap the 24″ yarn over the ball and tie a knot to secure. Repeat this a few times. Hold onto the tail left from the 24″ yarn to not cut it. Now cut the yarn as shown. Sew onto the butt.
Feel free to tag me (@freeamigurumii) in your photos on Instagram or Facebook if you’d like
All Finished.