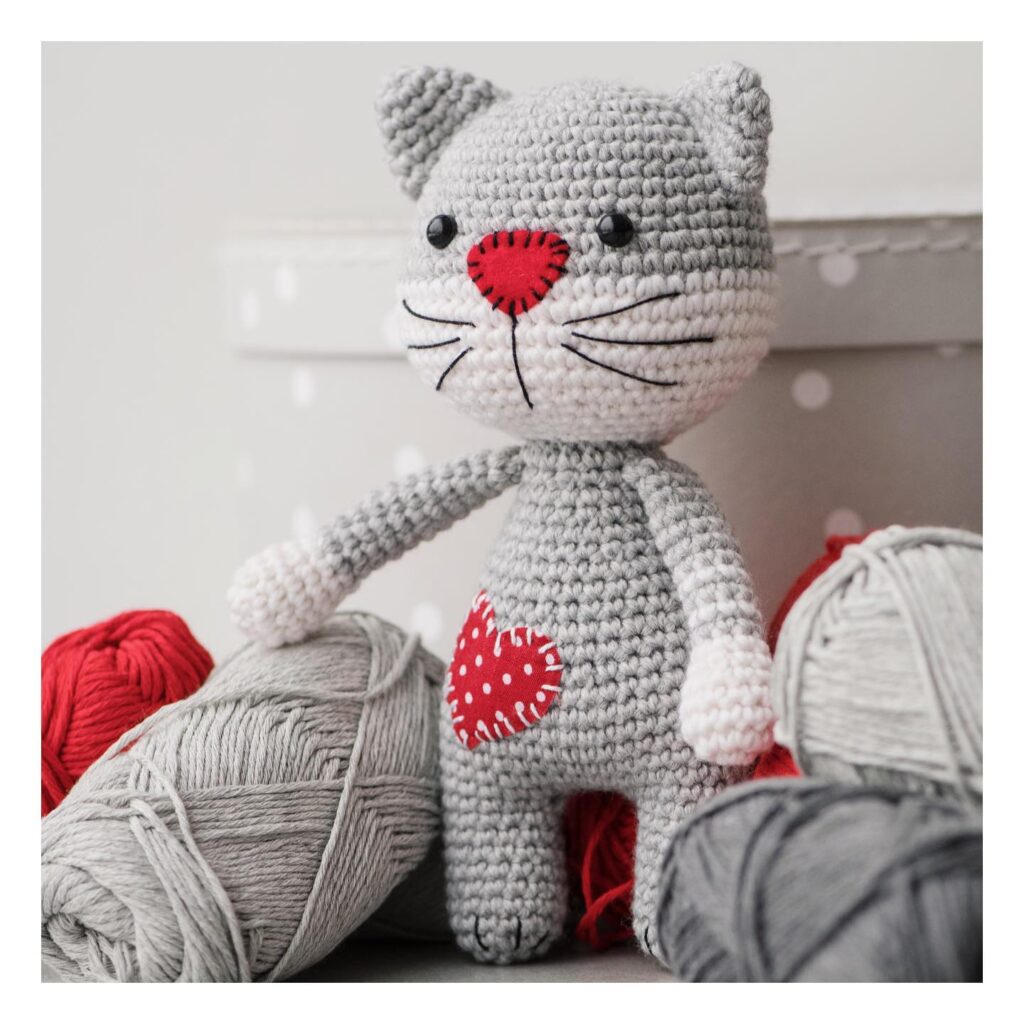
Amigurumi Cat Crochet Pattern
Hello amigurumi lovers and beautiful visitors, I wanted to share the free amigurumi patterns for you here. In my article I will share 1 pattern and how to make it for you. At the end of my article, I will share amigurumi patterns that can generate ideas for you.
Materials needed:
Himalaya Dolphin Baby or YarnArt Dolce yarn
Alize Softy yarn (for muzzle)
Hook 4.0 mm
Plastic nose
Plastic eyes (diameter 8 mm)
Thread in color for sewing on ears (other parts are knitted in)
Fishing line 0.23 mm thick (for antennae)
Filler (holofiber)
Legend:
KA – amigurumi ring
sbn – single crochet
ps – half-column
SN – single crochet
pr – increase
dec – decrease
Handles (2 parts)
We start knitting with a white thread:
1. 6 sc in KA
2. (1 sc, inc) x 3 (9)
Change the color of the thread to the main one:
3-4. 9 sc
Stuff the bottom of the handle.
5. (1 sc, dec) x 3 (6)
6-8. 6 sbn
Fold in half and knit 3 sbn for both sides.
Legs (2 parts)
We start knitting with a white thread:
1. 6 sc in KA
2. 6 inc (12)
Change the color of the thread to the main one:
3-4. 12 sc
Stuff the bottom of the leg.
5. (1 sc, dec) x 4 (8)
6-8. 8 sbn
Fold in half and knit 4 sbn for both sides.
Head
1. 6 sc in KA
2. 6 inc (12)
3. (1 sc, inc) x 6 (18)
4. (2 sc, inc) x 6 (24)
5. (3 sc, inc) x 6 (30)
6-9. 30 sc
10. (3 sc, dec) x 6 (24)
11. (2 sc, dec) x 6 (18)
12. (1 sc, dec) x 6 (12)
Muzzle (in two strands)
1. 6 sc in KA
2. 6 inc (12)
3. (1 sc, inc) x6 (18)
Leave the end for sewing.
Tail
1. 6 sc in KA
2-7. 6 sc
8. (1 sc, dec) x 2 (4)
Fold in half and knit 2 sc for both sides.
Ears (2 parts)
1. In KA – 1 sbn, 1 ps, 1 dc, 1 ps, 1 sb
2. Turn knitting and knit in the opposite direction – 3 sb, ch, 3 sb
Body
1. 6 sc in KA
2. 6 inc (12)
3. (1 sc, inc) x 6 (18)
4. (2 sc, inc) x 6 (24)
The last column of the 4th row and the first column of 5 th row we knit together with
the tail.
5. 24 sb
6. We knit the legs: 4 sb, 4 sb with the leg, 8 sb, 4 sb with the leg, 4 sb 7. 24 sb 8.
(
2 sb, dec) x 6 (18)
9-10. 18 sc
11. (4 sc, dec) x 3 (15)
12. 3 sc, (1 sc, dec) (together with handle), 2 sc, dec, 1 sc, (1 sc, dec) (together with handle ), 1 sc
(12)
Design:
1. Sew on the muzzle after the 7th row, stretching it to the sides, like an oval. Leave a small
hole for stuffing and attaching the spout.
2. Insert or embroider a spout.
3. Make a snout in the middle of the muzzle, form the cheeks (distributing the stuffing).
4. Sew or insert eyes in the 7th row.
5. Sew on the ears.
6. Embroider the eyebrows and fasten the antennae.
7. Sew the head to the torso
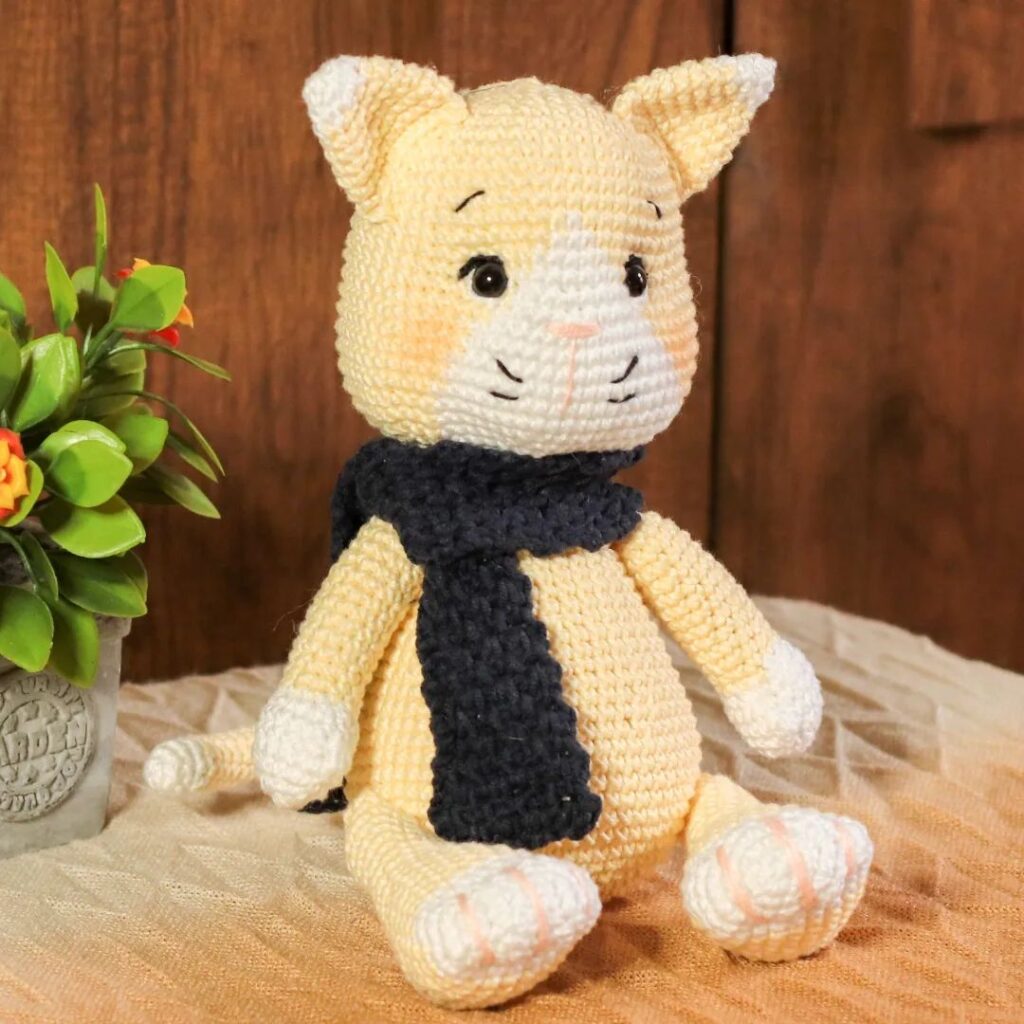
Feel free to tag me (@freeamigurumii) in your photos on Instagram or Facebook if you’d like!
All Finished.