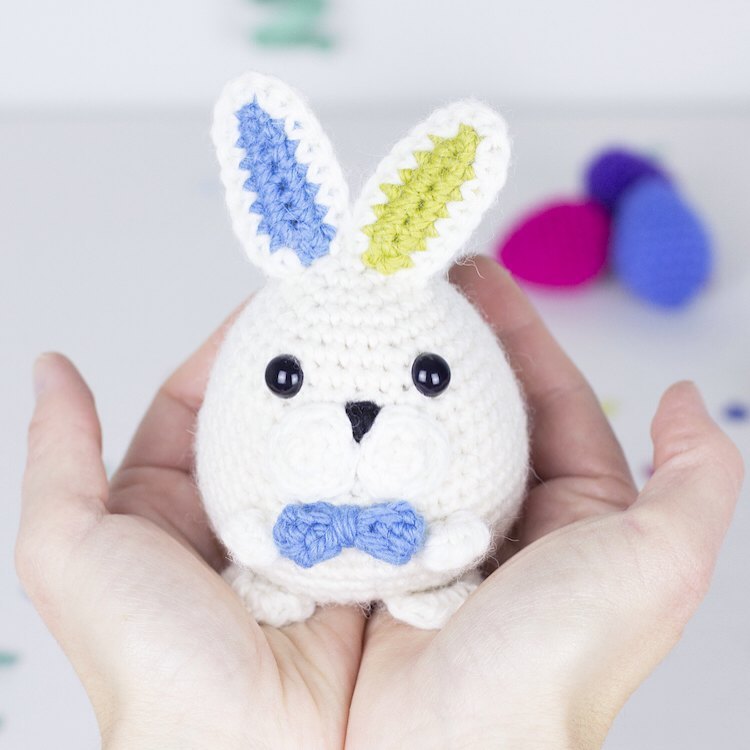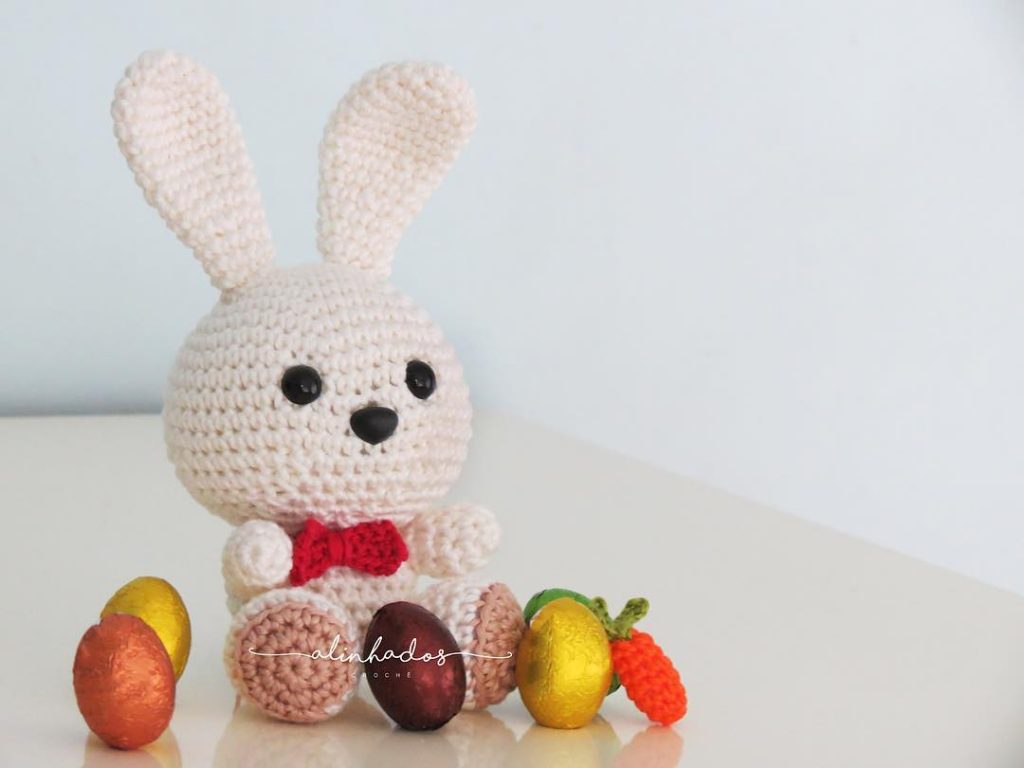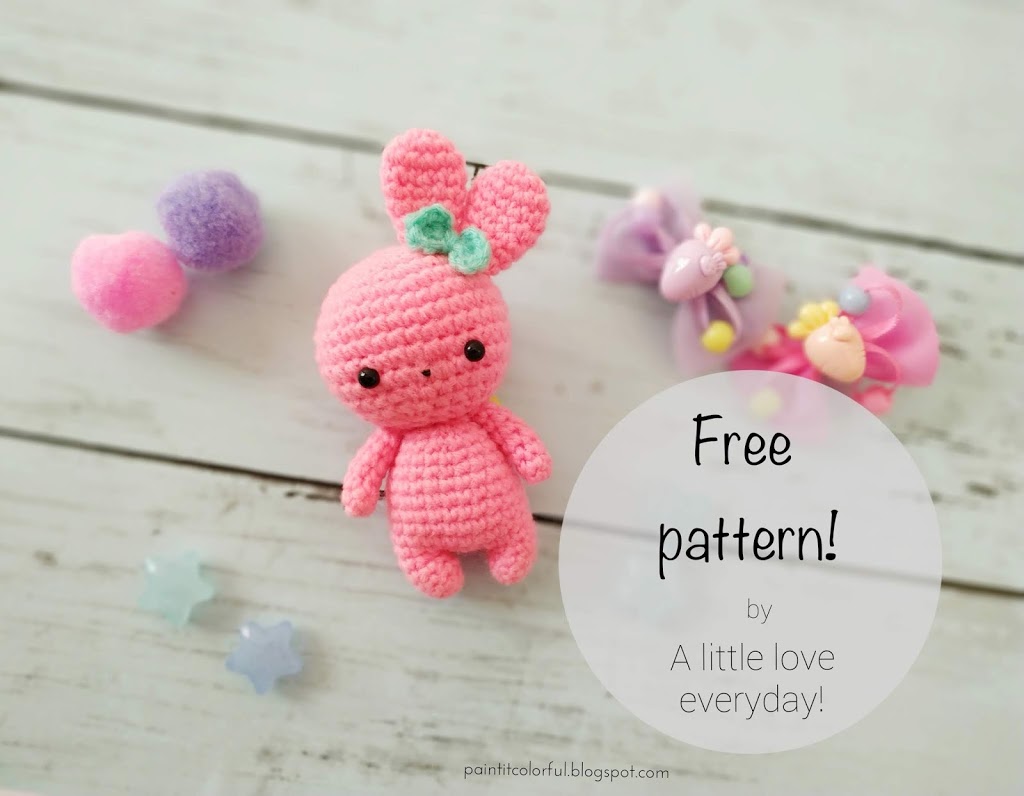
AMIGURUMI BUNNY ENGLISH FREE PATTERN
Hello amigurumi lovers and beautiful visitors, I wanted to share the free amigurumi patterns for you here. In my article I will share 1 pattern and how to make it for you. At the end of my article, I will share amigurumi patterns that can generate ideas for you.
If you enjoy making amigurumi, here I share this easy and free amigurumi pattern for you for free. Your kids will love these toys.
Materials needed:
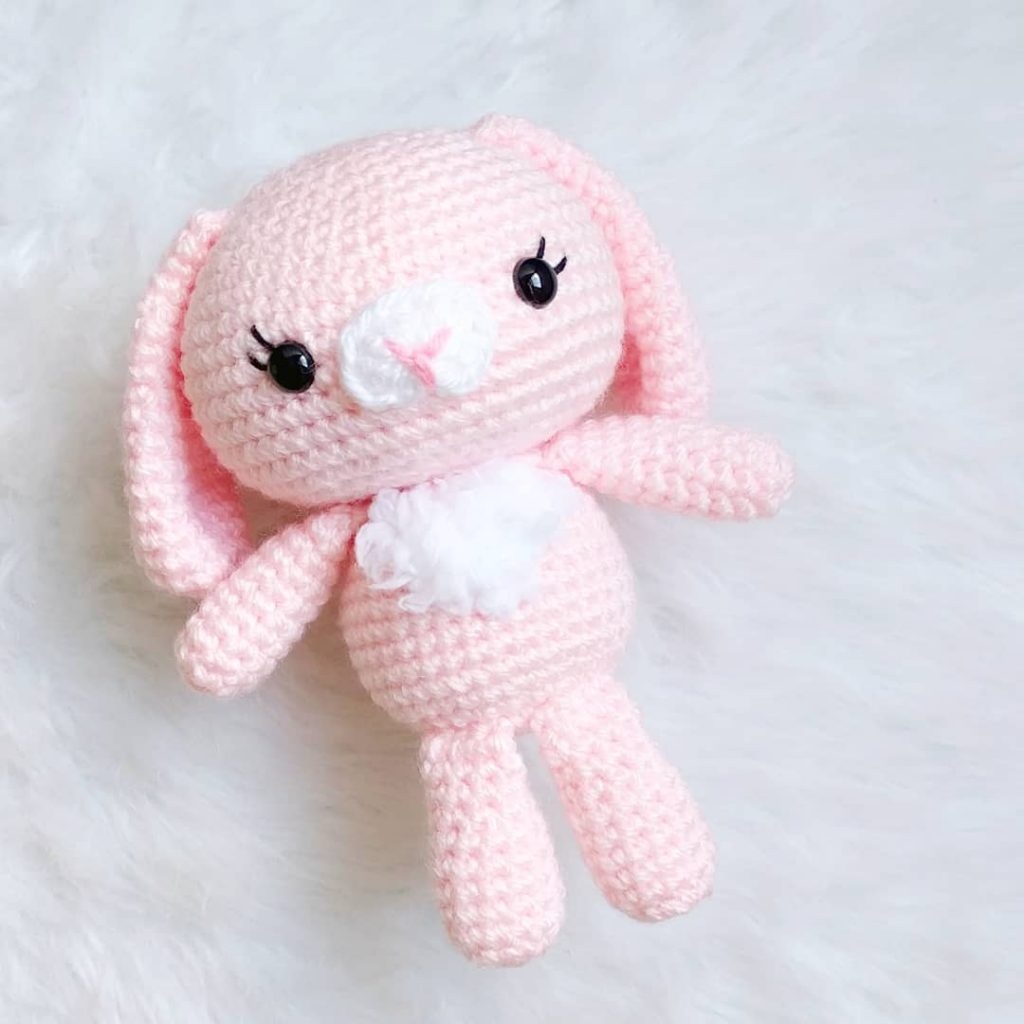
- Acrylic yarn in pink color ( i have used 4ply/ sport weight acrylic yarn and 2mm crochet hook)
- Little bit of green yarn for the bow
- Crochet hook (according to the size of your yarn)
- Poly fiber fill
- Tapestry needle
- 5 mm safety eyes or flat back black beads for eyes
- Black embroidery thread
ch – chain
sc – single crochet
st – stitch
sl st – slip stitchdc – double crochet
trc – treble crochet
dec – sc 2 together
rep ** – repeat stitches between **
Head:
Using pink color yarn,
R1: 6 sc in magic ring (6)
R2: 2sc in each st (12)
R3: *sc in next st, 2 sc in next st*, rep **(18)
R4: *sc in next 2 st, 2sc in next st*, rep ** (24)
R5: *sc in next 3 st, 2sc in next st*, rep ** (30)
R6: *sc in next 4 st, 2sc in next st*, rep ** (36)
R7-11: sc in each stitch (36)
R12: *sc in next 4 st, 1 dec in next st*, rep ** (30)
R13: *sc in next 3 st, 1 dec in next st*, rep** (24)
R14: *sc in next 2 st, 1 dec in next st*, rep** (18)
R15: *sc in next st, 1 dec in next st*, rep** (12)
Stuff firmly and Fasten off leaving a tail for sewing
If using safety eyes, insert them between R10 and R11 with 6 sts in between.
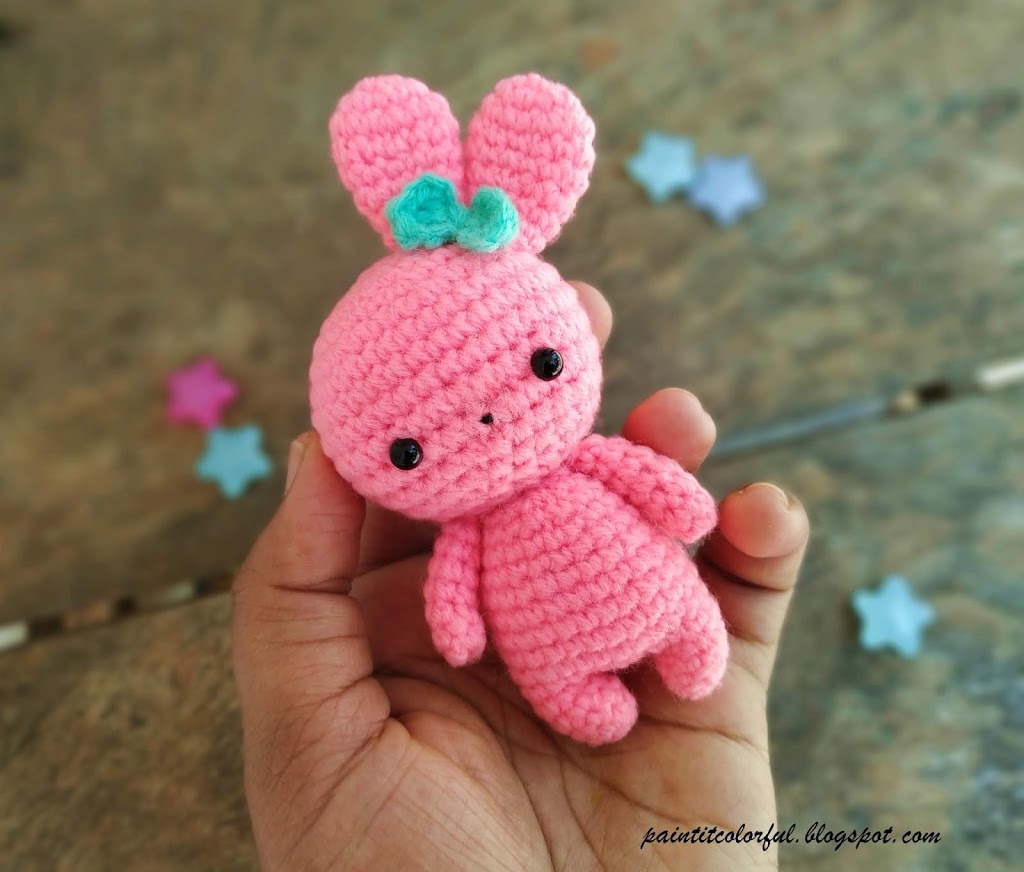
Ears: (Make 2)
R1: 6 sc in magic ring (6)
R2: 2sc in each st (12)
R3: *sc in next st, 2 sc in next*, rep** (18)
R4: *sc in next st, dec 1 in next st*, rep** (12)
R5: sc around (12)
R6: sc in next 2 st, dec 1 in nxt st*, rep** (9)
R7-8: sc in each st (9)Fasten off, leaving a tail for sewing.
Arms: (Make 2)
R1: 6 sc in magic ring (6)
R2-7: sc around (6)
Fasten off leaving a tail for sewing.
Legs and body:
R1: 6 sc in magic ring (6)
R2: *sc in next 2 st, 2sc in next*, rep ** (8)
R3-4: sc in each st (8)
Fasten off the first leg.
Make another leg in the same way but do not cut off the yarn and chain 4, join it to the first leg.
R5: sc around the 8 sts of first leg, sc in next 4 ch, sc in next 8 sts of second leg and sc in next 4 ch (24)
R6-11: sc around (24)
Stuff the legs and the body as you go.
R12: *sc in next 6 st, dec 1 in next st*, rep ** (21)
R13: *sc in next 5 st, dec 1 in next st*, rep ** (18)
R14: *sc in next 4 st, dec 1 in next st*, rep ** (15)
R15: *sc in next 3 st, dec 1 in next st*, rep** (12)
Finish stuffing and fasten off leaving a tail for sewing.
Bow:
In Magic ring, *ch 3,dc,trc,dc, ch 3, slip stitch into the ring*, rep **
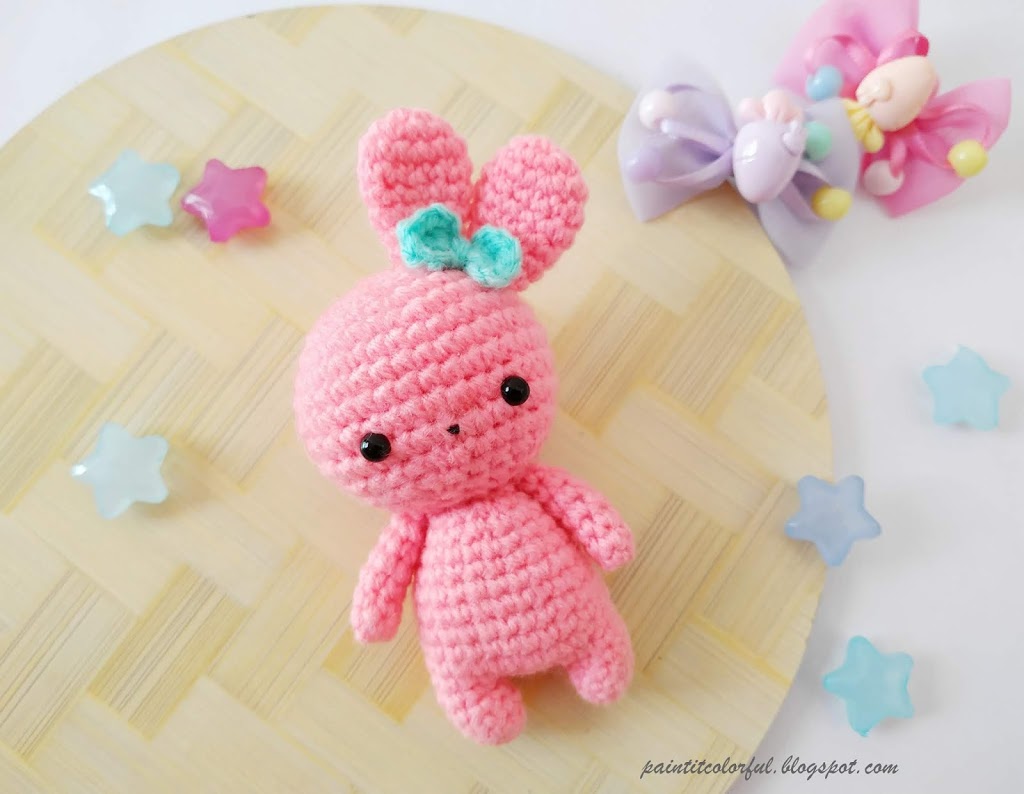
Assembling:
Attach the body to the head.
Attach ears on the head ( i have attached both ears at the side and nearby for a cute look)Attach the arms to the body.
Sew on the bow to the head.
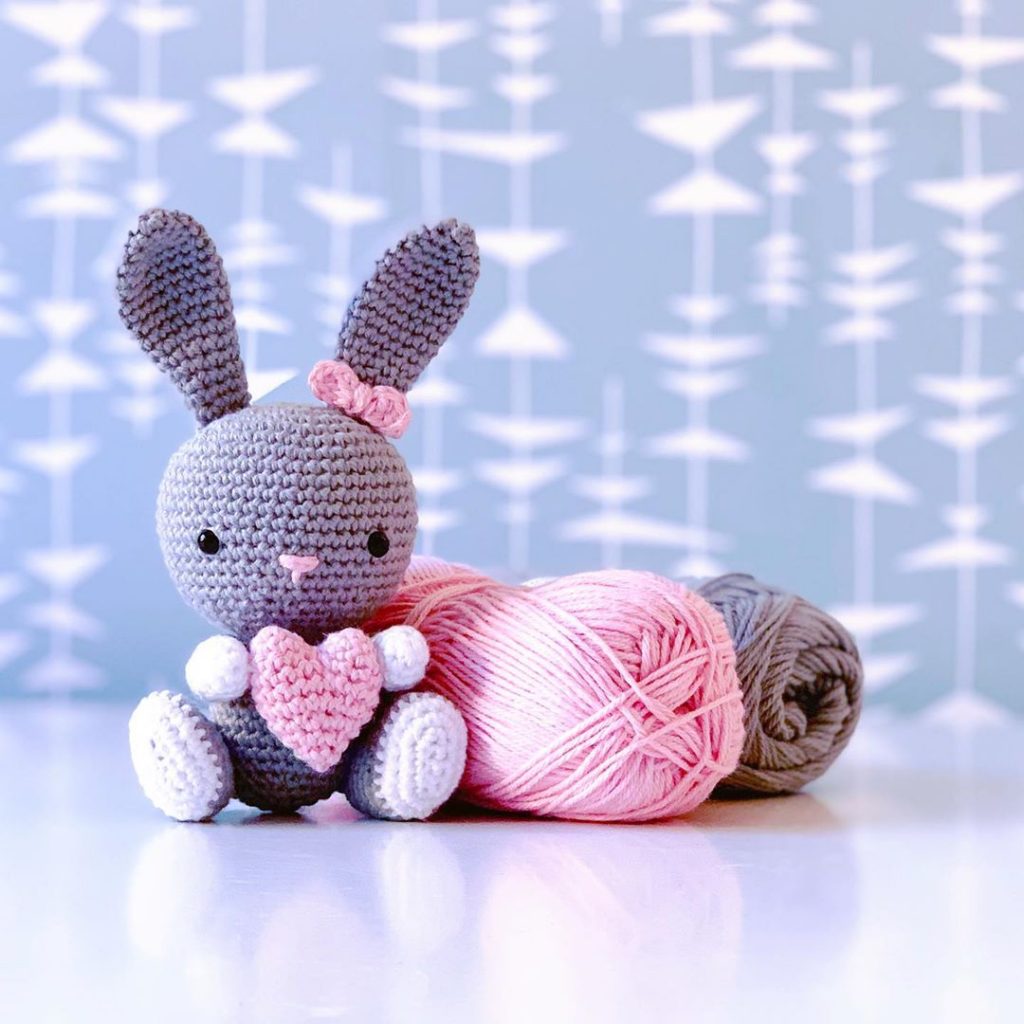
And your little Bunny is ready!
Make them and gift it to your loved ones this Easter. Have a great day everyone
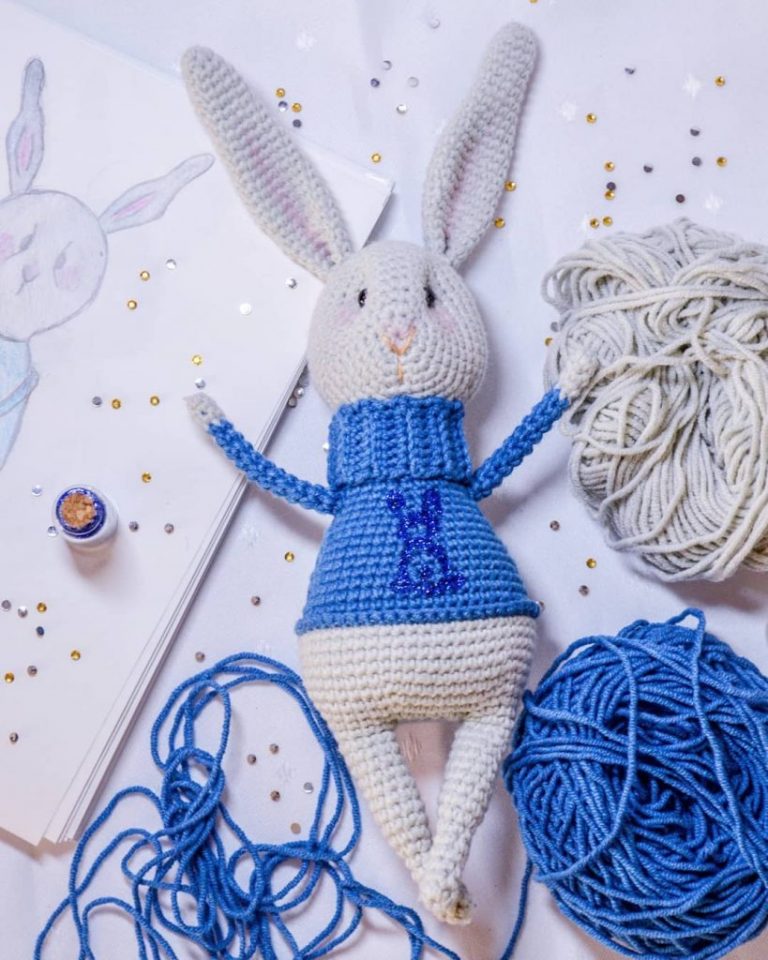
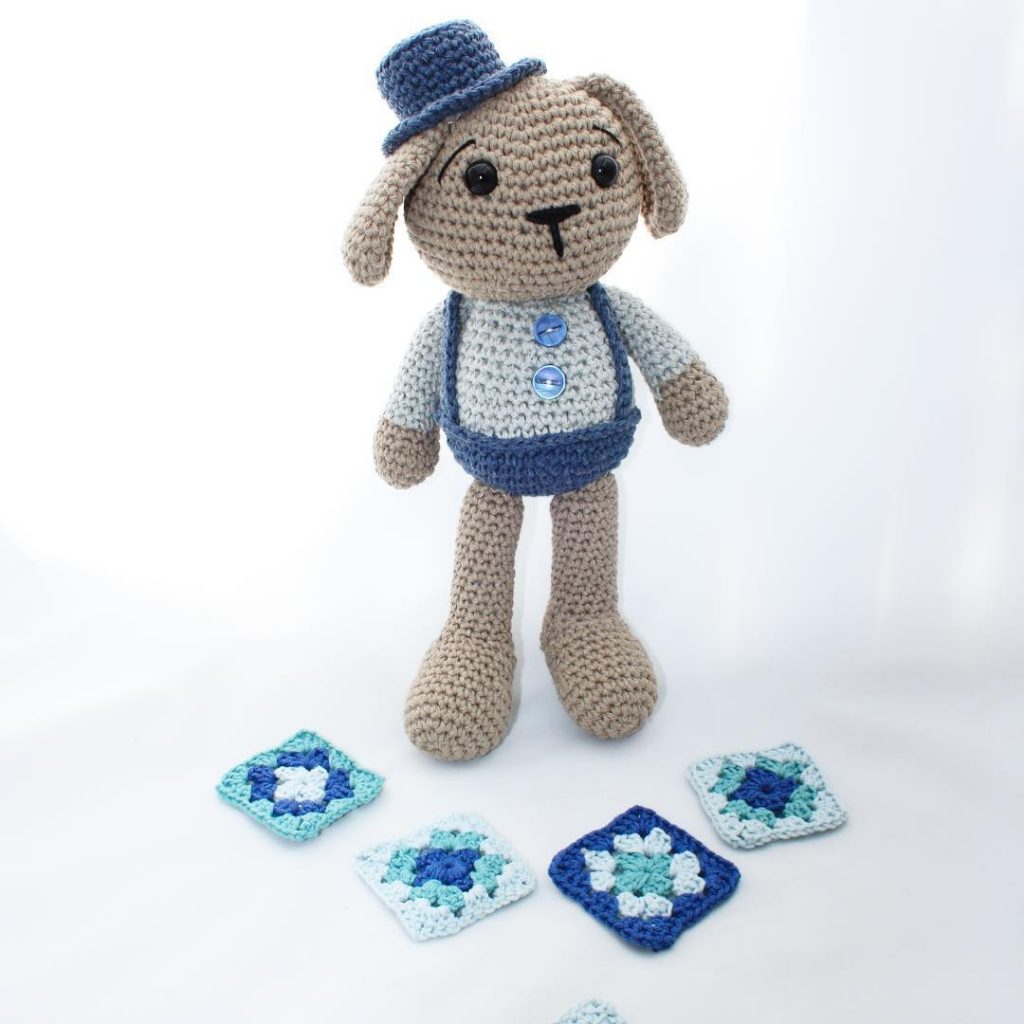
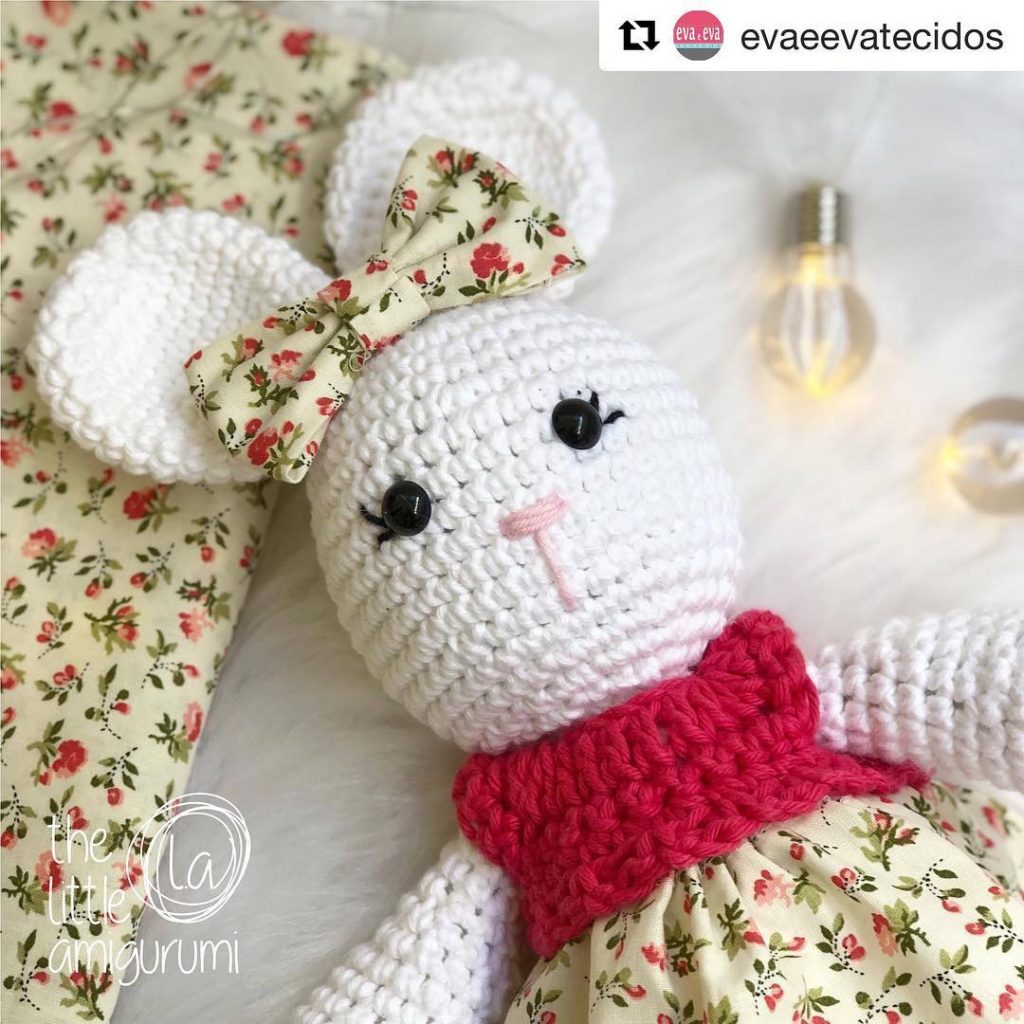
More Amigurumi Bunny Ideas:
