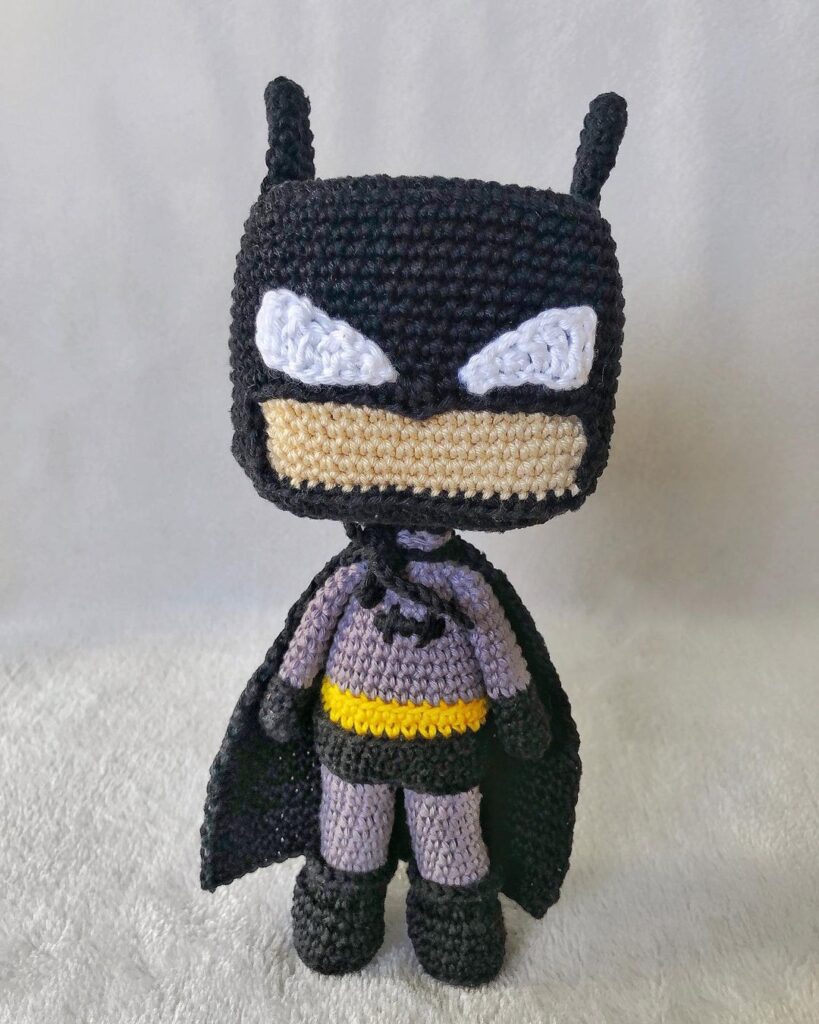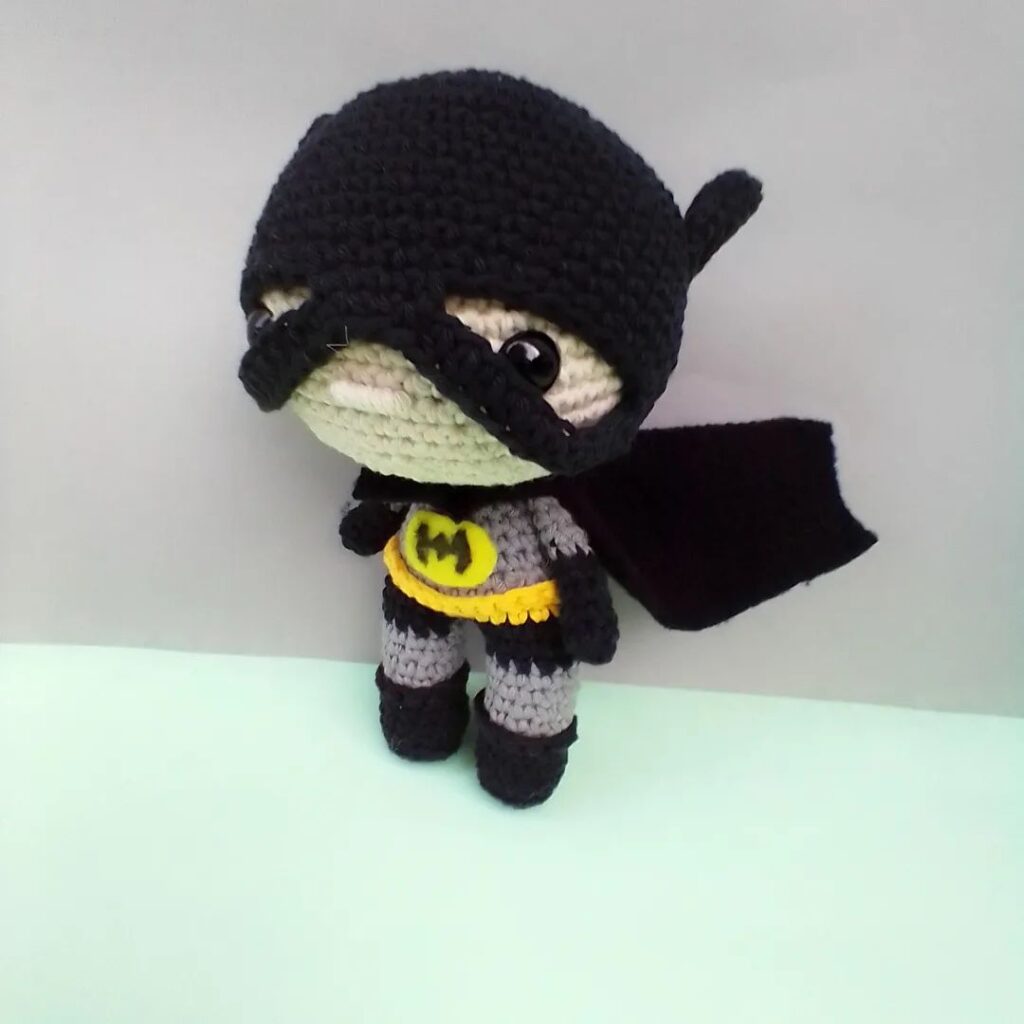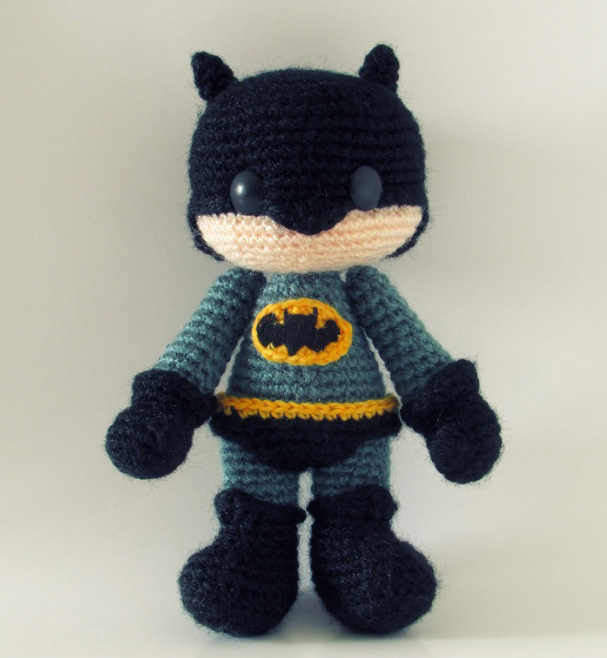
Amigurumi Batman Crochet Pattern
Hello amigurumi lovers and beautiful visitors, I wanted to share the free amigurumi patterns for you here. In my article I will share 1 pattern and how to make it for you. At the end of my article, I will share amigurumi patterns that can generate ideas for you.
Materials:
– yarn of black, dark gray, yellow and peach color,
– hook 2.5 mm
– eyes 10 mm,
– filler,
– sewing needle with a wide eye.
Symbols:
sbn – single crochet,
vp – air loop
pr – increase,
dec – decrease,
ss – connecting column,
ssn – double crochet,
ss2n – double crochet,
pssn – half double crochet.
Boots (2 parts):
In black
1 row: 6 ch, starting from the second loop from the hook: 4 sc, 3 sc in the last loop of the chain, turn, knit from the back of the chain: 3 sc, 3 sc in the last loop (13)
2 row: 4 sc, 3 inc, 3 sc, 3 inc (19)
3 row: 6 sc, 3 inc, 7 sc, 3 sc (25)
4 row: behind the back wall of the loops: 25 sc
5-6 row: 25 sc
7 row: 4 sc, 6 dec, 9 sc (19)
8 row: 3 sc, 4 dec, 8 sc (15)
9-10 row: 15 sc (15)
11 row: behind the front wall of the loops: 3 sc, 1 dc, 1 dc, 1 dc2n, 1 dc, 1 dc, 7 prs (15)
1 sl-st in the next loop, fasten the thread and thread the end of it. Stuff the detail.
Legs (2 parts):
In gray
Unscrew the top of the boot (to see the wrong side), attach the dark gray thread to the back wall of the loop of the 11th row.
1-6 row: 15 sbn
Fasten the thread and thread the end. Stuff the detail.
Knit the second leg (1-6 rows), but do not fasten the thread. In the next row, we will connect the legs together.
Torso:
In gray
1st row: Place your feet together, with the back side towards you. Insert the hook into the loop (at the junction of the two legs) of the left leg. Knit 15 sc on the left leg, then 15 sc on the right leg (30)
2 row: 2 inc, 12 sc, 2 inc, 12 sc, 2 inc (36) 3-5 row:
36 sc
6 row: (4 sc, 1 dec) – 6 times (36)
7-8 row: 30 sb
9 row: (3 sb, 1 dec) – 6 times (24)
10-13 row: 24 sb
14 row: (2 sb, 1 dec) – 6 times (18)
15 row: (1 sbn, 1 dec) – 6 times (12)
Fasten the thread, hide the end, stuff the part.
Panties:
Black
36VP, connect into a ring using a connecting post. 1 ch, 36 sc. 1 sl-st in the first loop, 1 ch (36)
Next, we will knit in rows.
1st row: 1dec, 6sc, 1dec, 1ch, turn (8)
2nd row: 1dec, 4sc, 1dec, 1ch, turn (6)
3rd row: 1dec, 2sc, 1dec, 1 ch, turn (4)
4 row: 2 dec, 1 sc, turn (2)
5-6 row: 2 sc, 1 ch, turn (2)
7 row: 2 inc, 1 ch, turn (4)
8 row : 1 inc, 2 sc, 1 inc, 1 ch, turn (6)
9 row: 1 inc, 4 sc, 1 inc, 1 ch, turn (8)
10 row: 1 inc, 6 sc, 1 inc (10)
Fasten the thread, leaving a tail for sewing.
To make a belt, attach the yellow thread to the first row and knit in a circle. Fasten the thread, hide the end.
Put the panties on the toy and sew the back to the waistband.
Gloves (2 parts):
In black
1 row: 6 sc in the amigurumi ring (6)
2 row: 6 inc (12)
3 row: (1 sc, 1 inc) – 6 times (18)
4 row: 18 sc (18 )
5 row: 4 dc in one vertex, 17 sb (18)
6 row: (1 sb, 1 dec) – 6 times (12)
7 row: 12 sb
8 row: behind the front wall of the loop: (1 sb, 1 inc ) – 6 times (18)
9 row: 18 sc
Fasten the thread and thread its end.
Hands (2 parts):
In gray
Turn the cuff of the glove inside out and attach the thread to the back wall of the loop of the 8th row.
1-5 row: 12 sb
Stuff the glove.
6 row: (2 sbn, 1 dec) – 3 times (9)
7-11 row: 9 sb
Fill the hand
12 row: 4 dec, 1 sb (5)
Fasten the thread, leaving the tail for sewing. Using a needle, pull the end of the thread through the remaining 5 loops and pull tight. Hide the thread and sew the arms to the body.
Head:
In black
1 row: 8 sc in the amigurumi ring (8)
2 row: 8 inc (16)
3 row: (1 sc, 1 inc) – 8 times (24)
4 row: (2 sc, 1 inc) – 8 times (32)
5 row: (3 sbn, 1 inc) – 8 times (40)
6 row: (4 sbn, 1 inc) – 8 times (48)
7 row: (5 sbn, 1 inc) – 8 times (56)
8-14 row: 56 sc
15 row: 26 sl-st, behind the front wall of the loop (1 dc, 1 dc, 1 dc2n, 1 dc, 1 dc), 25 sl-st 16 row: in
this row we will work for the visible loops of the 14th row. Attach a peach-colored thread and knit 56 sb
17-18 row: 56 sb
19 row: (5 sb, 1 dec) – 8 times (48)
20 row: (4 sb, 1 dec) – 8 times (40)
21 row: (3 sbn, 1 dec) – 8 times (32)
22nd row: (2 sbn, 1 dec) – 8 times (24)
23 row: 12 dec (12)
Secure the thread, leaving a tail for sewing. Stuff your head.
Next, we will make a mask (protruding part).
Mark the middle of the head at the back. Count 12 stitches from the middle to the left and mark the last column. Count 12 stitches to the right and also mark the last column. Now we will work with these 25 loops (including the column marked in the middle) to knit the mask.
Attach the black thread to the outer loop marked on the right.
1-4 row: 25 sbn, 1 ch, turn (25)
5 row: 25 sbn
Fasten the thread, leaving the tail for sewing. Sew the piece to the head.
Pin the eyes on either side of the nose, making sure the edge of the eyes lines up with the borders of the mask.
Ears (2 parts): Black
1 row: 3 sc in the amigurumi ring (3)
2 row: 3 inc (6)
3-4 row: 6 sc (6)
Secure the thread, leaving a tail for sewing. Sew the ears between rows 5 and 7 of the head.
Logo:
In yellow
1 row: ch 6, starting from the second loop from the hook, 4 sc, 3 sc in the last loop of the chain, turn, knit from the back of the chain: 3 sc, 1 inc in the last loop of the chain (12) 2 row
: 1 inc, 3 sc, 3 inc, 3 sc, 2 inc. 1 sl-st to connect with the first loop of the row (18)
Secure the thread, leaving a tail for sewing. Cut out a bat from felt and sew to the logo. You can also embroider a mouse stitch. Sew the logo to the chest.
Feel free to tag me (@freeamigurumii) in your photos on Instagram or Facebook if you’d like!
All Finished.