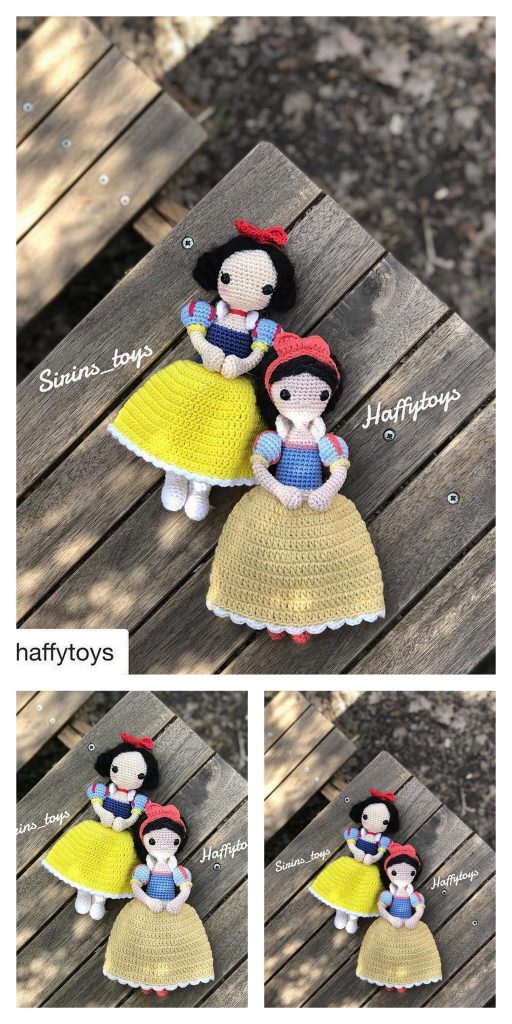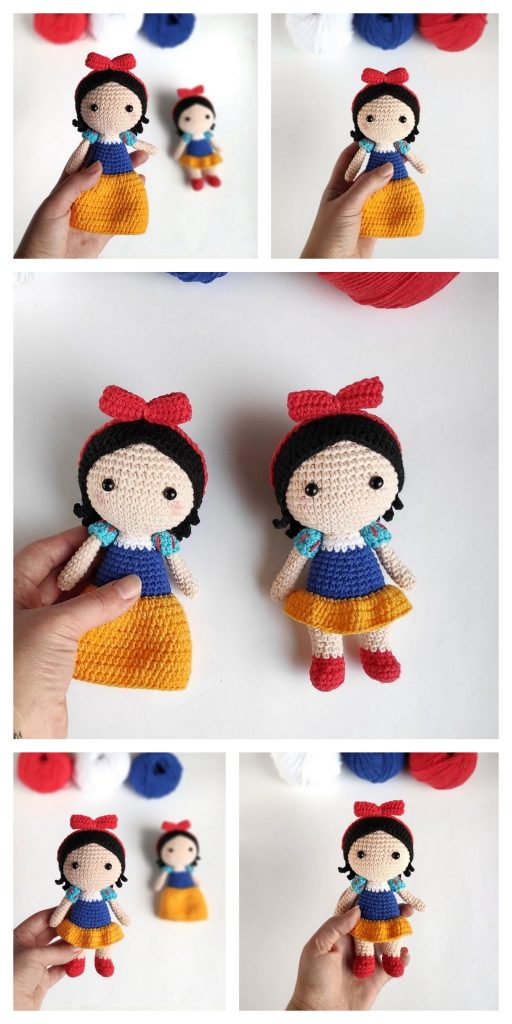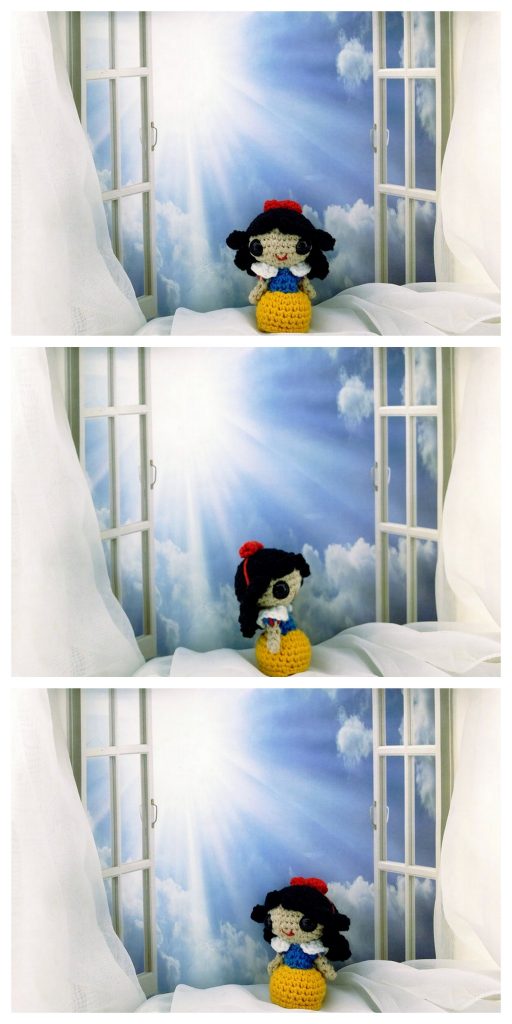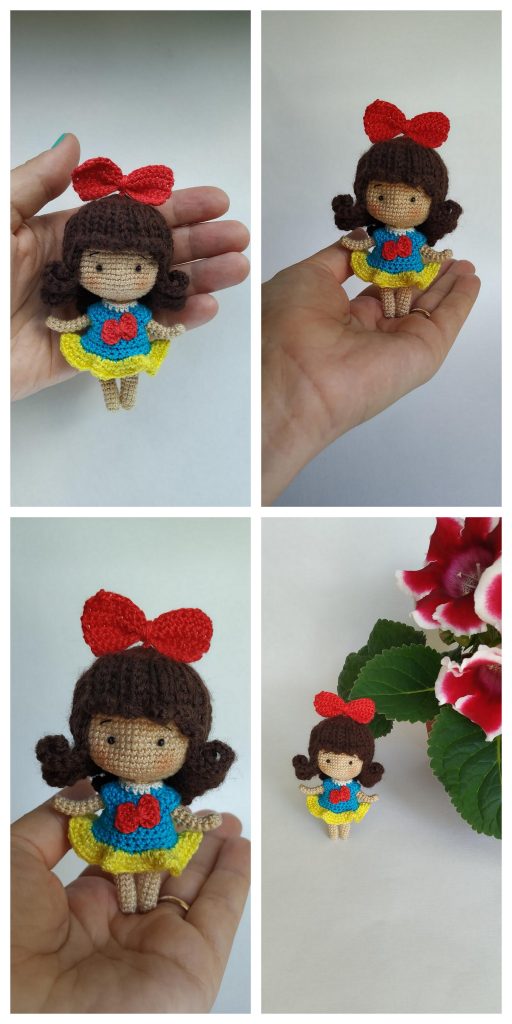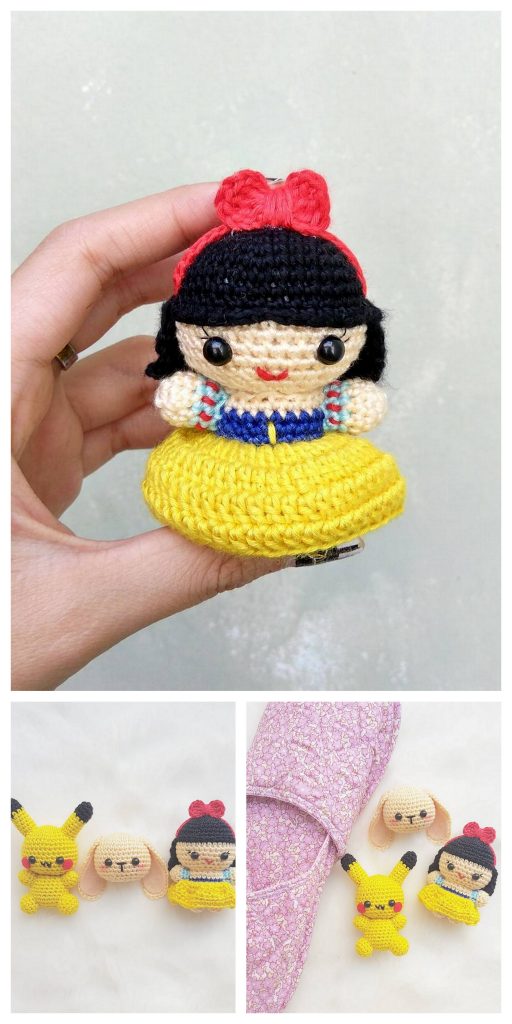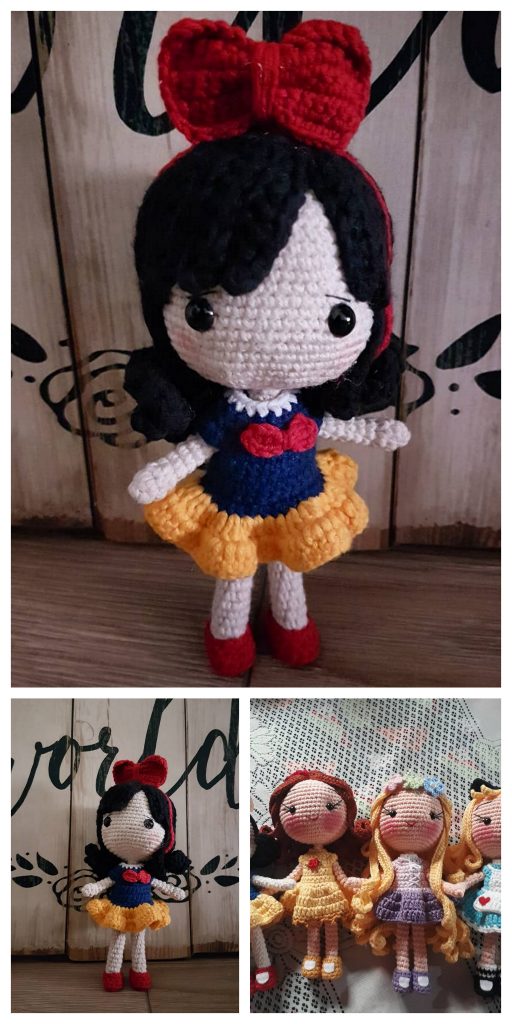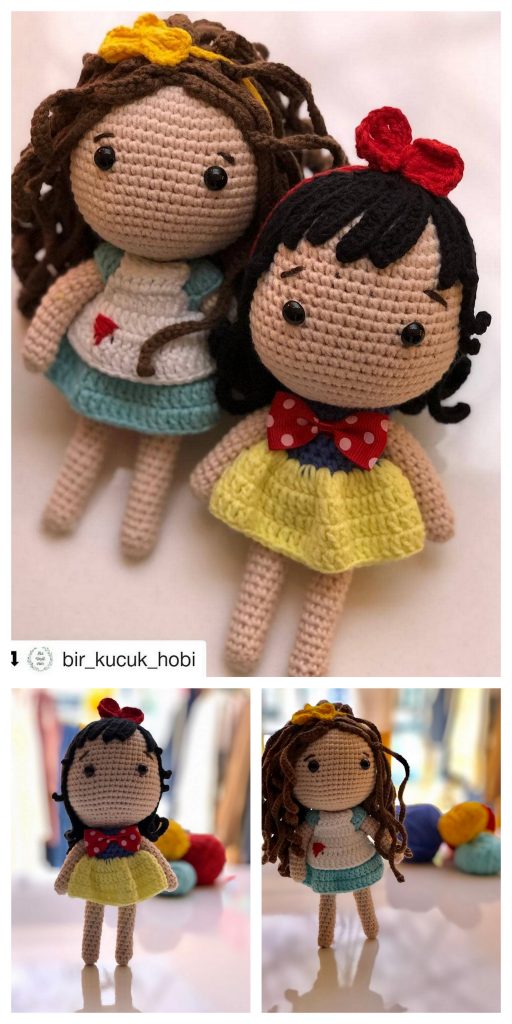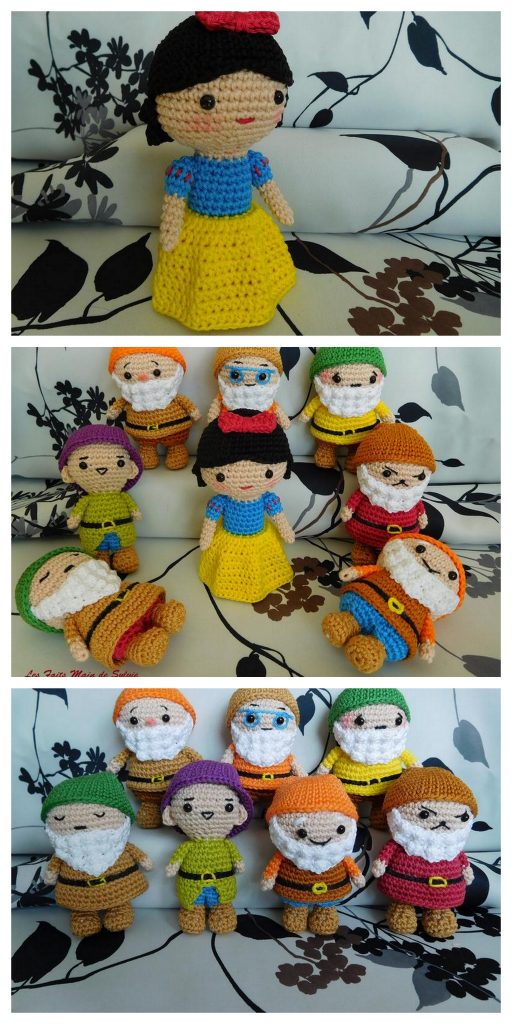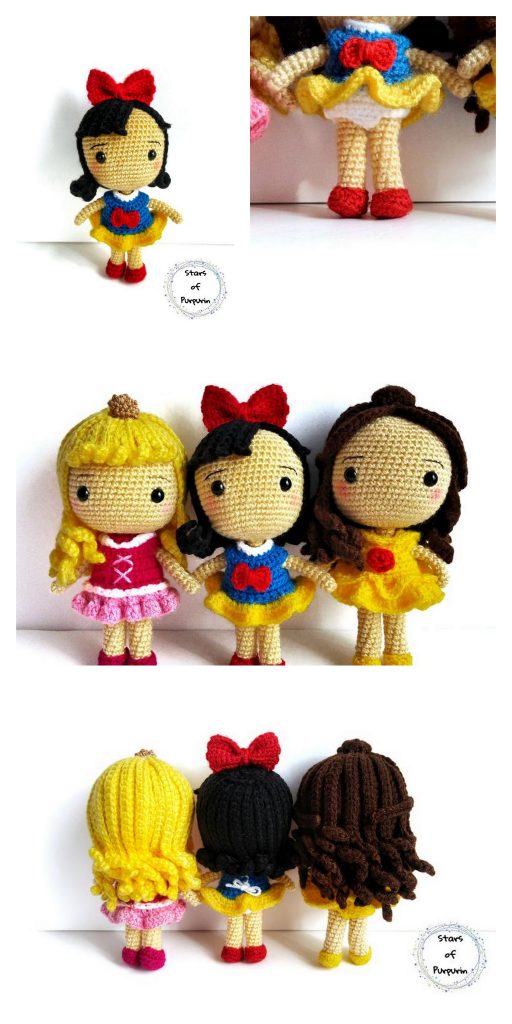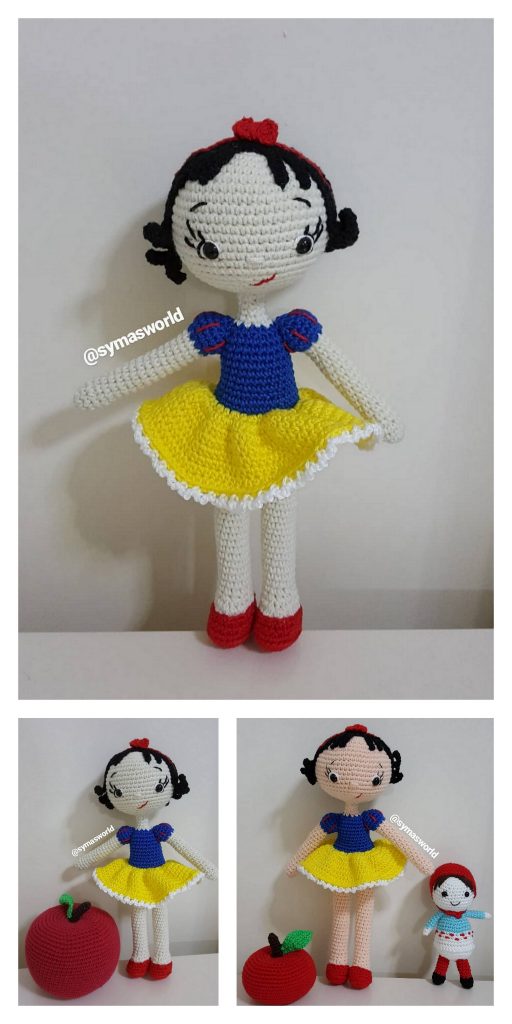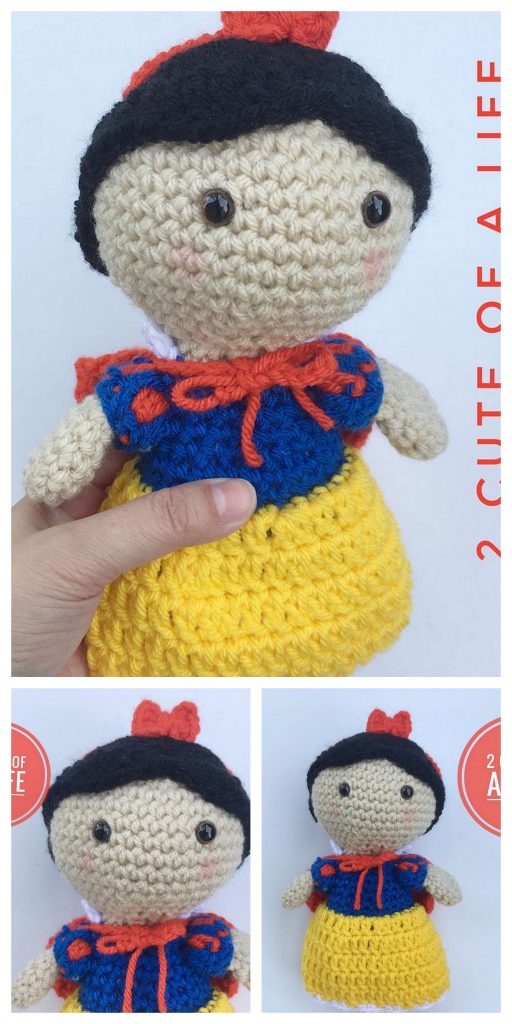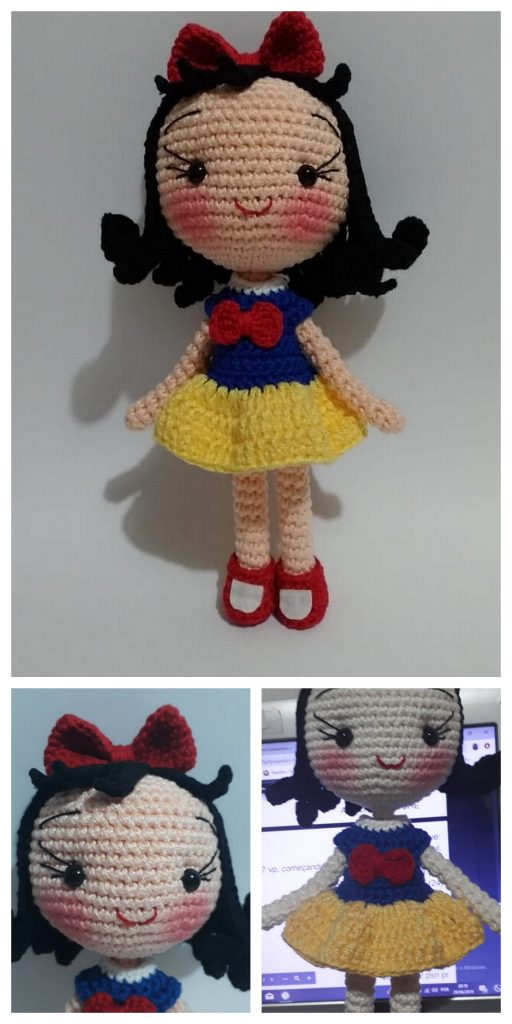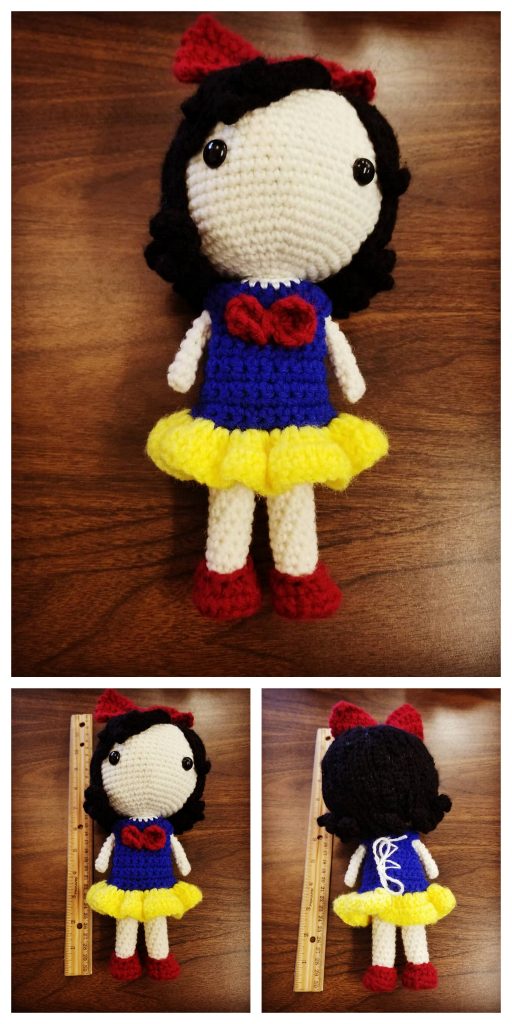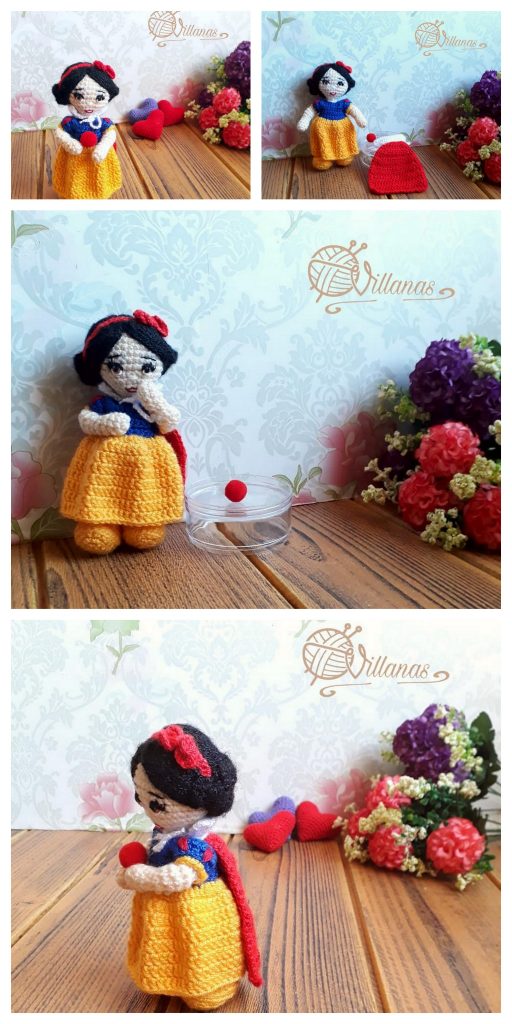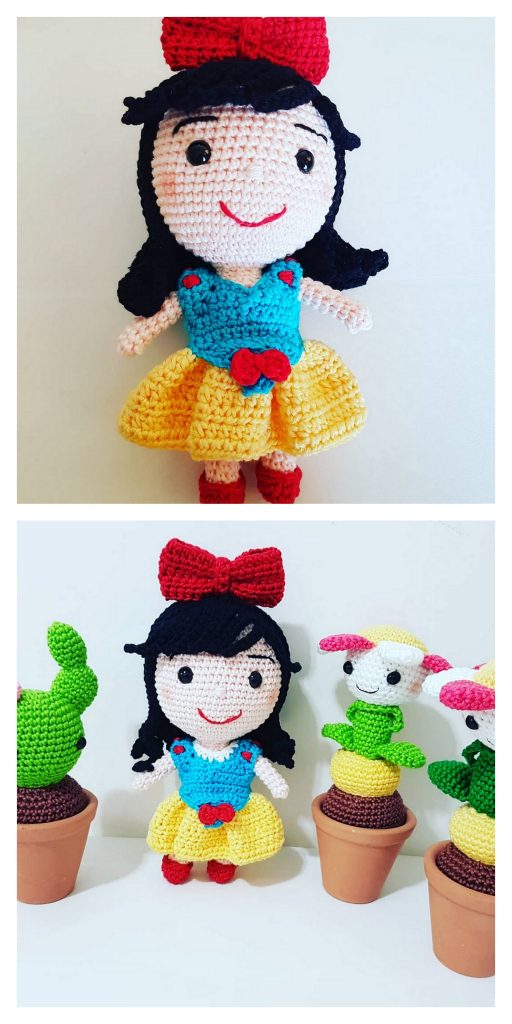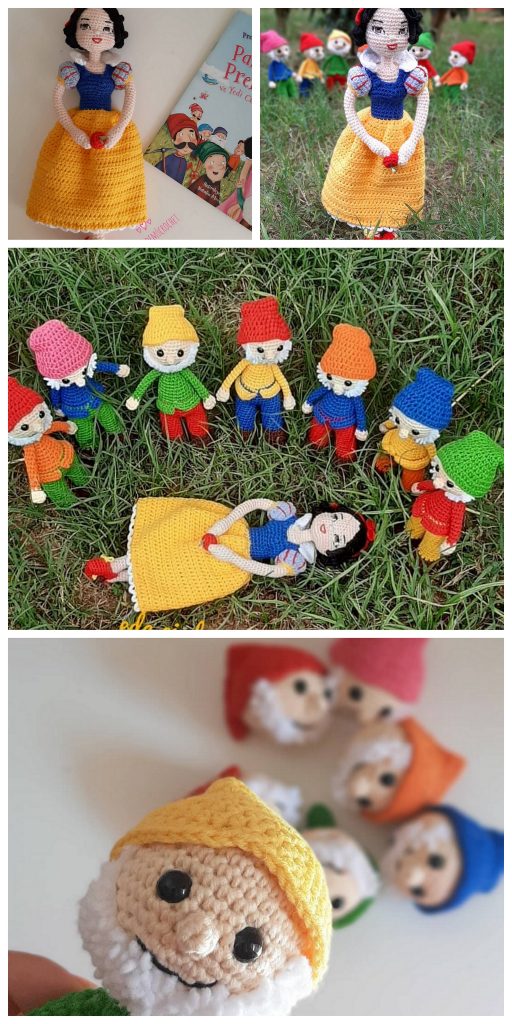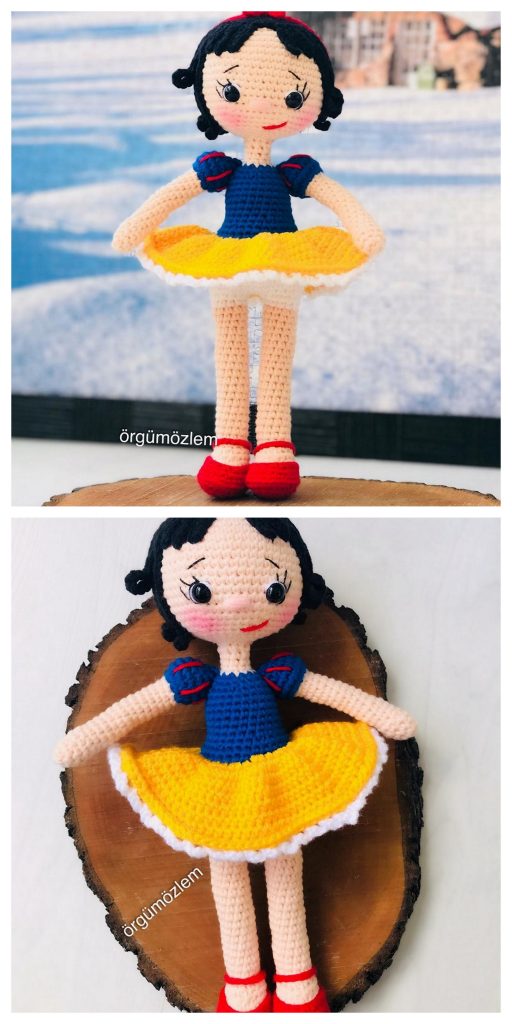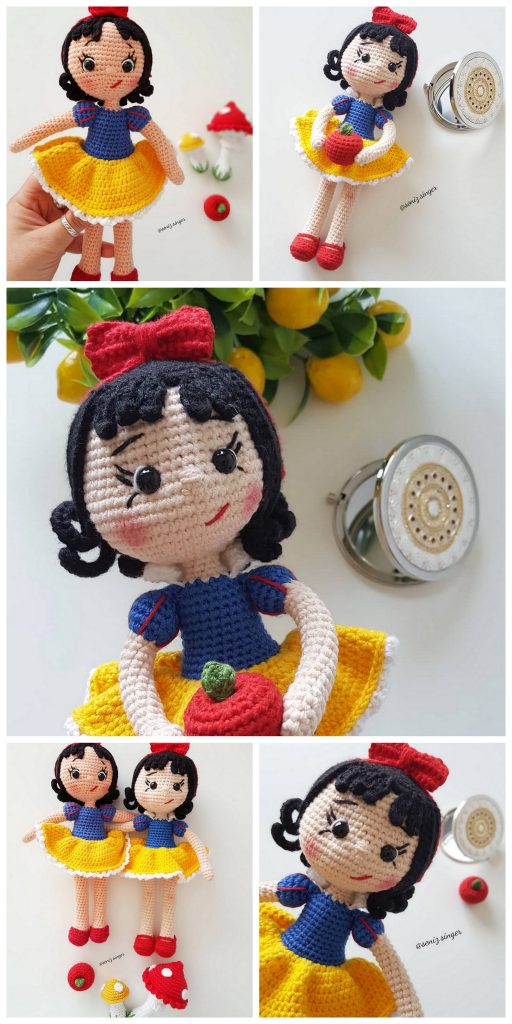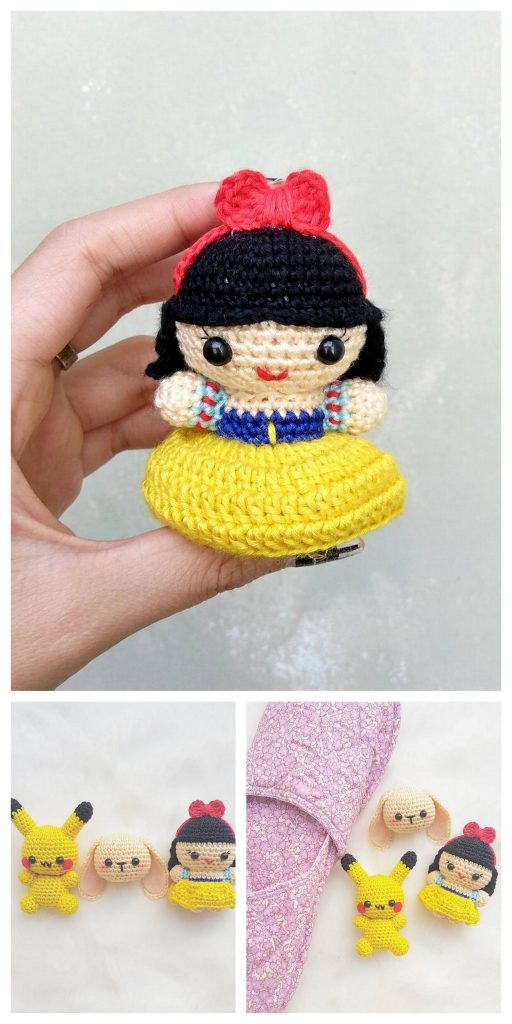
AMIGURUMI SNOW WHITE FREE PATTERN
Hello amigurumi lovers and beautiful visitors, I wanted to share the free amigurumi patterns for you here. In my article I will share 1 pattern and how to make it for you. At the end of my article, I will share amigurumi patterns that can generate ideas for you.
If you enjoy making amigurumi, here I share this easy and free amigurumi pattern for you for free. Your kids will love these toys.
Designer: greenfrog.crochet
Materials & Tools
- Crochet hook suitable with your yarns.
- Yarn : Black, white, skin, red, blue, yellow, green
- You can use the same pattern to make smaller or larger toy by using finer or bulkier yarn.
- Safety eyes
- I used sport yarn 160 m/ 50 g with hook size 2 mm and 8 mm safety eyes. If you use different yarn weights, you can choose your safety eyes with diameter approximate 2.5 single crochet stitch.
- Sewing needle, scissor, fabric glue
- Pink blush makeup powder or pink acrylic paint.
Skill and Abbreviations
R : Row
Rnd : round
Ch : chain stitch
slst : slip stitch
sc : single crochet stitch
hdc : half double crochet stitch
dc : double crochet stitch
st, sts : stitch, stitches
FLO : crochet through front loops only
BLO : crochet through back loops only
dec : single crochet 2 stitches in front loops together
inc : single crochet 2 stitches in same sc
inchdc: half double crochet increase
dechdc: half double crochet decrease
ARM( make three)
(The third arm is placed inside the neck)
Begin with skin color yarn.
Rnd 1: 7 sc in the magic ring (7)
Rnd 2 – Rnd 16: 7 sc (7)
Fasten of
LEGS(make two)
Right leg:
Begin with yellow
Rnd 1: 7 sc in the magic ring (7)
Rnd 2: 7 inc (14)
Rnd 3: 1 inc, 4 sc, 4 inc , 4 sc, 1 inc (20)
Rnd 4: 20 sc (20)
Rnd 5: 1 dec, 4 sc, 1 dec, 2 dechdc, 1 dec, 4 sc, 1 dec (14)
Change to skin color with the last st of Rnd 5
Rnd 6: BLO 3 sc, 1 dec, 2 dechdc, 1 dec, 3 sc (10)
Rnd 7 – Rnd 13: 10 sc (10) ( 7 rounds)
Rnd 14: 9 sc, 1 inc (11)
Rnd 15 – Rnd 21: 11 sc (11) (7 rounds)
Fasten off.
LEFT LEG:
Do same as right leg until Rnd 21.
Change the color to yellow with the last st of Rnd 21, stuffing the legs.
Rnd 22: Join two legs into one piece : 11 sc on left leg, chain 2, 1 sc on the 4th stitch on right leg, 10 sc on right leg, 2 sc on the chain (24 sc stitches and 2 chains, total : 26 sts )
Rnd 23: 1 inc, 5 sc, 1 inc, 6 sc, 1 inc, 5 sc, 1 inc, 6 sc (30)
Rnd 24 – Rnd 25 : 30 sc (30)
Rnd 26: (3 sc, 1 dec) * repeat 6 times (24)
Change to skin color with the last st of Rnd 26
Rnd 27: 24 sc (24)
Rnd 28: ( 2 sc, 1 dec) * repeat 6 times(18)
Rnd 29 – Rnd 33: 18 sc (18) (5 rounds)
Rnd 34: You will turn three pieces: body and two arms into one: 4 sc on the body , 7 sc on left arm, 10 sc on the body, 7 sc on right arm, 4 sc on the body (32)
Rnd 35: ( 6 sc, 1 dec) * repeat 4 times(28)
Rnd 36: ( 5 sc, 1 dec ) * repeat 4 times (24)
Rnd 37: (2 sc, 1 dec) * repeat 6 times (18)
Rnd 38: (1 sc, 1 dec) * repeat 6 times (12)
Start stuffing the body, do not stuff the arms.
Rnd 39 : (2 sc, 1 dec) * repeat 3 times(9)
Rnd 40 – Rnd 41: 9sc (9)
Continue crochet the head after finished Round 41 of the Body.
Rnd 42: 9 inc (18)
Rnd 43: (1 sc, 1 inc )* repeat 9 times (27)
Rnd 44: (2 sc, 1 inc)* repeat 9 times (36)
Rnd 45: (5 sc, 1 inc)* repeat 6 times (42)
Rnd 46: (6 sc, 1 inc)* repeat 6 times (48)
Rnd 47: (7 sc, 1 inc)* repeat 6 times (54)
Rnd 48 – Rnd 60: 54 sc (54) (13 rounds)
Rnd 61: (7 sc, 1 dec)* repeat 6 times (48)
Rnd 62: (6 sc, 1 dec)* repeat 6 times (42)
Rnd 63: (5 sc, 1 dec)* repeat 6 times (36)
Rnd 64: (4 sc, 1 dec)* repeat 6 times (30)
Rnd 65: (3 sc, 1 dec)* repeat 6 times (24)
Rnd 66 : (2 sc, 1dec)* repeat 6 times (18)
Place the third arm inside the doll’s neck, this will make the doll’s neck stronger. Tips: It’s easier if you use a stick to stuff the third arm inside the neck. Start stuffing the head and place safety eyes between Rnd 51 and Rnd 52. The space between two holes that you put safety eyes is 9 stitches. When you have defined the holes to place safety eyes, sew the eyelashes then add safety eyes
Rnd 67: (1 sc, 1 dec)* repeat 6 times (12)
Rnd 68: 6 dec (6)
Fasten off.
EAR(make two)
Begin with skin color.
Rnd 1: chain 2, 6 sc on the 1st chain. Chain 1 and turn (6)
Rnd 2 : 6 sc (6)
Fasten off and leave a long tail.
DRESS
Begin with white. From Rnd 2 to Rnd 7 work in row, chain 1 and turn at the end of each round.
Row 1: chain 17 ( leave a long tail before crochet)
Row 2 : sc on the 2nd chain from the hook, 1 inc, (1sc, 1 inc)*repeat 7 times (24)
Row 3: (3 sc, 1 inc) * repeat 6 times (30)
Change the color to blue with the last st of Rnd 3
Row 4: BLO 1 inc, 1 sc, (increase : 1 hdc, 1 dc in the same stitch), skip 8 sts, (increase : 1 dc, 1 hdc in the same stitch), 6 sc, (increase : 1 hdc, 1 dc in the same stitch), skip 8 sts, (increase : 1 dc, 1 hdc in the same stitch), 1 sc, 1 inc (20)
Row 5 – Row 7 : 20 sc (20)
Change the color to yellow with the last st of row 7.
From Rnd 8 to Rnd 16, work in round, slst to join the round and chain 1 at the begining of new round.
Rnd 8: BLO (1 hdc, chain 1) * repeat 20 times ( 20 hdc 20 chains, total 40 sts)
Rnd 9 – Rnd 10 : 40 hdc (40)
Rnd 11 : ( 3 hdc, 1 inchdc) * repeat 10 times (50)
Rnd 12 – Rnd 15 : 50 hdc (50)
Chain 1 and turn
Rnd 16 : 50 sc (50) slst to join the round and fasten off.
Red bow : begin with red. Chain 3, ( 2 dc on the 1st chain, chain 3, slst on the 1st chain) * repeat 2 times.
Fasten off, leave a long tail. Roll the yarn around the center of the bow ( 2 rounds) then sew the bow on row 2 of the dress.
HAİR BOW
Begin with red.
Bow:
Row 1: Chain 32, hdc on the 3rd chain from the hook, 29 hdc (30)
Chain 1 and turn
Row 2: BLO 30 hdc (30)
Fasten off and leave a long tail.
Sew two sides together and roll the yarn tightly around the center of the bow ( 8 rounds).
The headband
Chain 65 and fasten off. Pull the headband through the center of the bow.
THE APPLE
Begin with red.
Rnd 1 : 6 sc on the magic ring (6)
Rnd 2: 6 inc (12)
Rnd 3: ( 3 sc, 1 inc) * repeat 3 times (15)
Rnd 4: ( 4 sc, 1 inc) * repeat 3 times (18)
Rnd 5: 18 sc (18)
Rnd 6: 2 sc, 1 inc, (5 sc, 1 inc) * repeat 2 times, 3 sc (21)
Rnd 7: 21 sc (21)
Rnd 8: ( 5 sc, 1 dec) * repeat 3 times (18)
Rnd 9: (1 sc, 1 dec) * repeat 6 times (12)
Stuffing the apple
Rnd 10: 6 dec (6)
Fasten off and leave a long tail. Sew the hole that left.
( sew through every front loops on Rnd 10 and pull the yarn). Pierce the needle straight to the bottom of the apple, through a single crochet stitch on Rnd 1 then sew back to top, do it one more time and fasten off.
The leaf
Begin with green. Start crochet on Rnd 10 of the apple.
Chain 4, sc on the 2nd chain from the hook, 2 sc and fasten off.
HAİR WİG
Begin with black, crochet loosely. If you crochet too tight, please use a 0.5 mm bigger than normal hook with the same yarn.
Rnd 1: 6 sc on the magic ring (6)
Rnd 2: 6 inc (12)
Rnd 3: ( 1 sc, 1 inc)* repeat 6 times (18)
Start crochet the hair-strands. There are 19 hairstrands. After finished each strand ( abbreviation Strand : S ), you will slst on the back loop only on each single crochet stitch on Round 3. For instance : S1 slst on the back loop of the 1st stitch on Rnd 3, S2 slst on the back loop of the 2nd stitch on Rnd 3 and so on. S1 and S19 will be crocheted on same single crochet stitch on Rnd 3, S1 slst on the back loop, S19 will be crocheted slst on the front loop of the 1st stitch.
S1: Chain 13, sc on the 2nd chain from the hook, 11
hdc, slst (12)
S2 – S17: Chain 26, hdc on the 3rd chain from the
hook, ( 4 hdc, 1 inchdc) * repeat 3 times, 8 hdc (27)
S18 – S19: Chain 13, sc on the 2nd chain from the hook, 11 hdc, slst (12)
Fasten off.
ASSEMBLİNG
Face:
-Ear: sew the ears between Rnd 50 and Rnd 53. The space between eye and ear is 6 sts.
-Sew the eyebrowns with dark brown thread. Width: 4 sts, height : 1 st, space between eye and eyebrown is 3 sts.
-Sew nose with skin color yarn (4 rounds) between Rnd 49 and Rnd 50. Width : 3 sts.
-Sew the eyelids under the eye lashes with dark brown thread.
-Sew the white of the eyes with white yarn.
-Use pink blush makeup powder or acrylic paint to make the rosy cheek on the doll’s cheeks.
Dress: Sew two back-sides of the dress with white yarn.
Hair : Secure each strand of hair in its appropriate position on the head using pins.
Slowly remove one strand at a time to apply fabric glue and pin it back down to dry :
-The wrong side of the hair wig is up.
-Rnd 1 will be on the center of the head.
-S1 is in front of the right ear.
-12 strands behind the ears ( From S2 to S13)
-S14 cover the left ear.
-S15,16,17,18,19 are for the bangs.
More Amigurumi Snow White Ideas:
