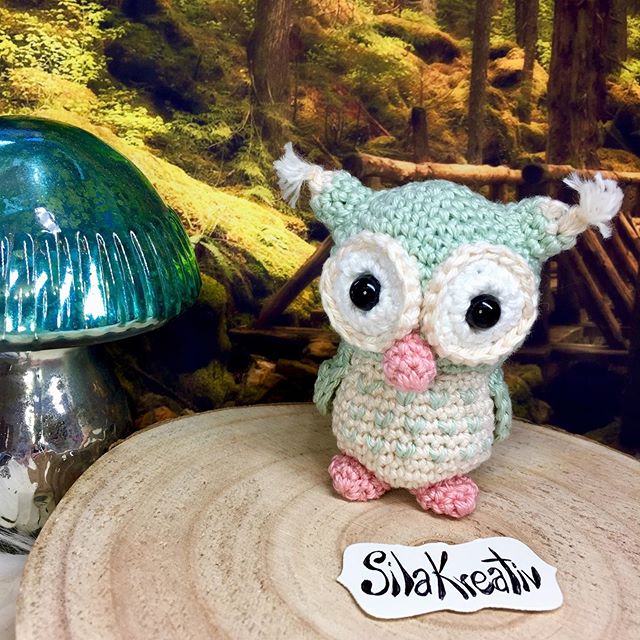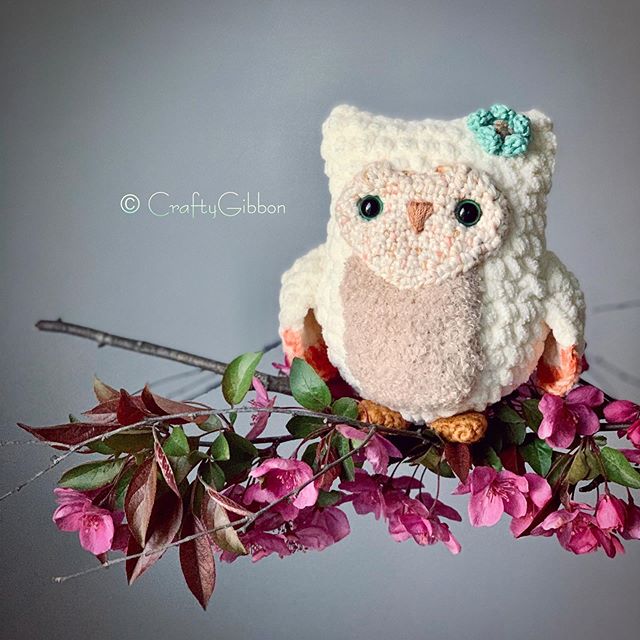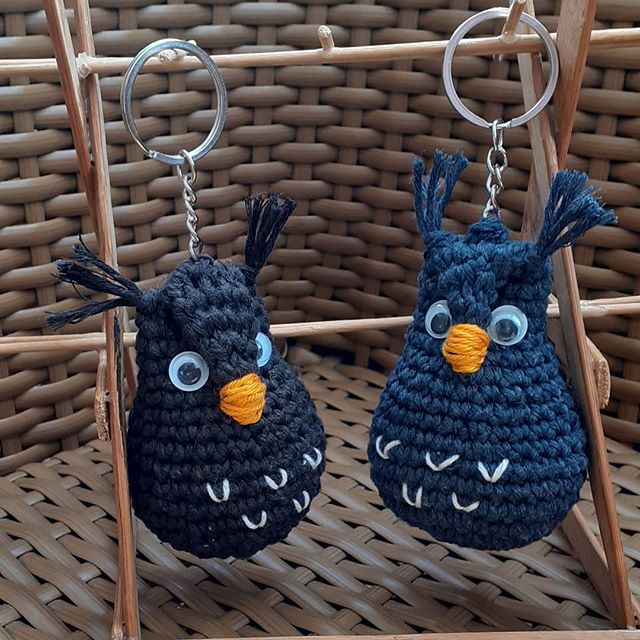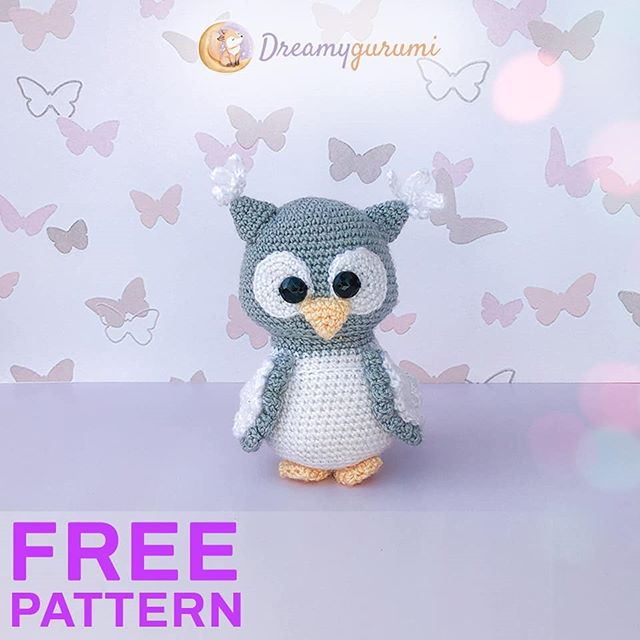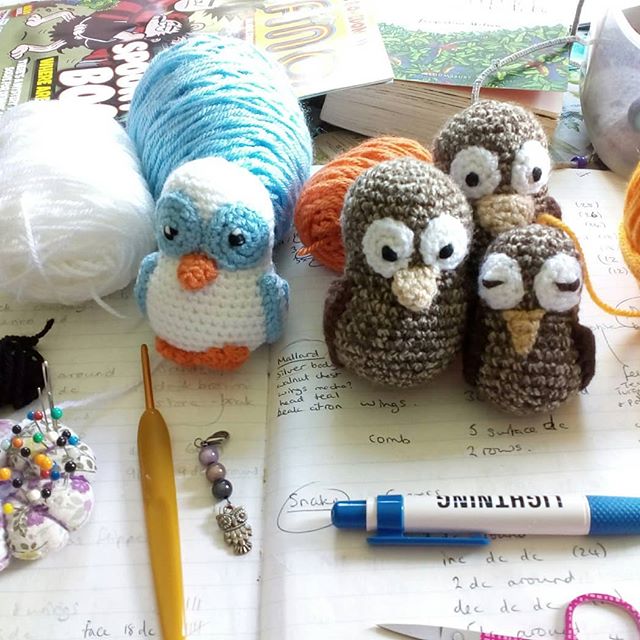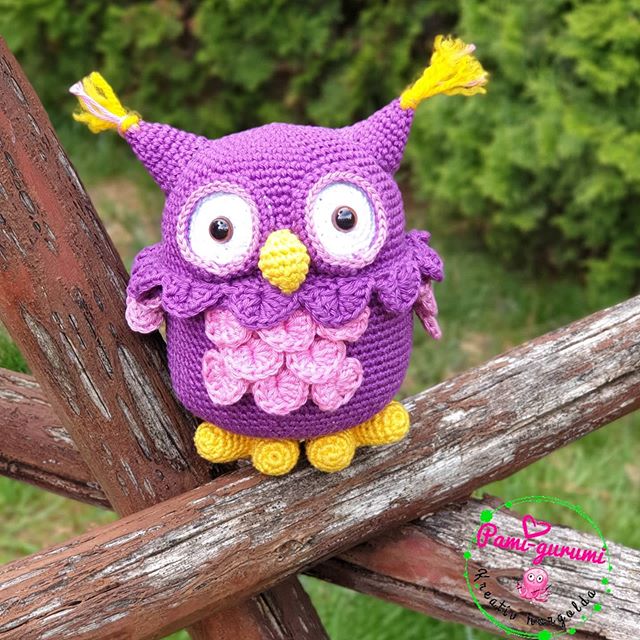
AMIGURUMI OWL FREE PATTERN
Hello amigurumi lovers and beautiful visitors, I wanted to share the free amigurumi patterns for you here. In my article I will share 1 pattern and how to make it for you. At the end of my article, I will share amigurumi patterns that can generate ideas for you.
If you enjoy making amigurumi, here I share this easy and free amigurumi pattern for you for free. Your kids will love these toys.
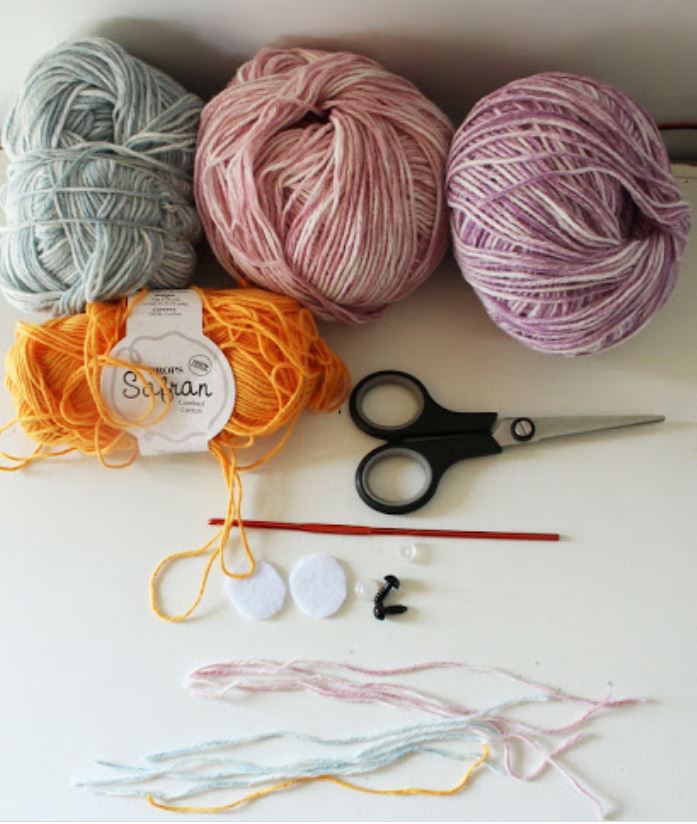
Materials
- Fine yarn or special *amigurumi yarn in your color choice.
- A little bit of yellow *cotton yarn.
- A 3.0mm crochet hook
- Two 8mm safety eyes
- White felt
- Yarn needle
- Scissors
Step By Step
Here’s the pattern for the owl’s body:
ABBREVIATIONS
In US terms.
MC= magic circle
SC= single crochet
SL=slip
ST=stitch
CH= chain
HDC=half double crochet
DC= double crochet
INC=increase
DEC=decrease
The pattern is worked in spiral, no need to join at the end of each round.
Make a MC
R1 = 8sc in MC (8)
R2 = sc, 2 sc in each one of the 3 following stitches, sc, 2sc in next 3 sts (14)
R3 = sc in next 2 sts, 2sc in next 3 sts, sc in next 4 sts, 2sc in next 3sts, sc in the final 2 sts (20)
R4 = sc in next 5 sts, 2sc in next 3 sts, sc in next 7 sts, 2sc in next 3sts, sc in the final 2 sts (26)
R5= sc in the next 7sts, 2sc in next 3 sts, sc in next 10 sts, 2sc in next 3sts, sc in the final 3 sts (32)
R6= sc around (32)
R7-R20= repeat R6
R21= *sc in next 3 sts, dec* repeat another 5 times, sc in last 2 sts (26)
R22= *sc in sc in next 3 sts, dec* repeat another 4 times, sc in last st (21)
R23= *sc in sc in next 3 sts, dec* repeat another 3 times (17)
R24= *sc in sc in next 3 sts, dec* repeat another 2 times (14)
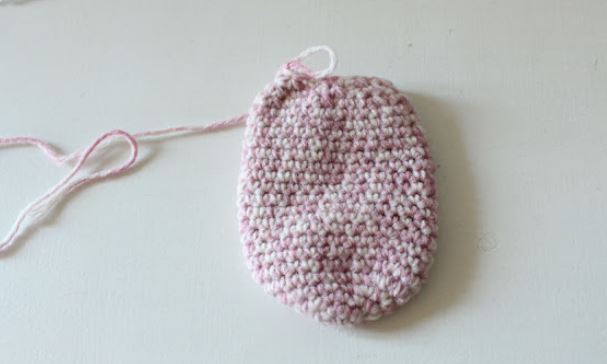
Don’t secure your yarn but leave a long tail and cut. Once you complete the eyes and nose and stuff the body you will use this tail to crochet close the opening.
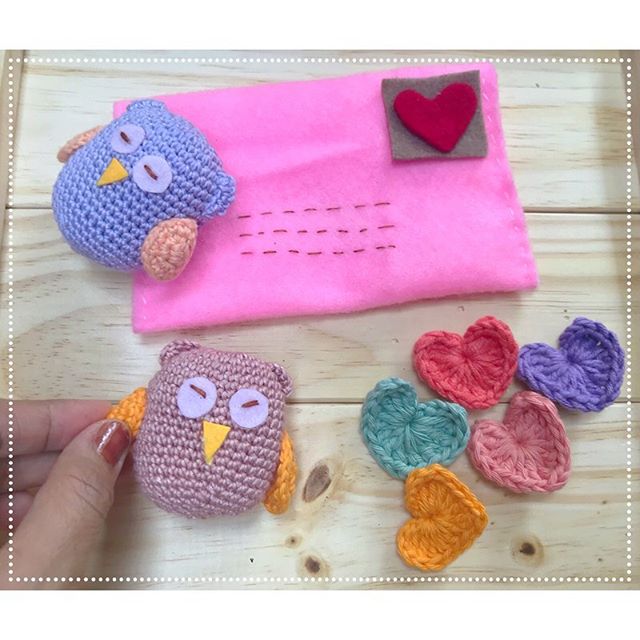
Now let’s make the eyes. Cut two circles or ovals from your felt. With you fingers pinch them and make a slit with your scissors to the lower left end and on the other eye to the lower right one.
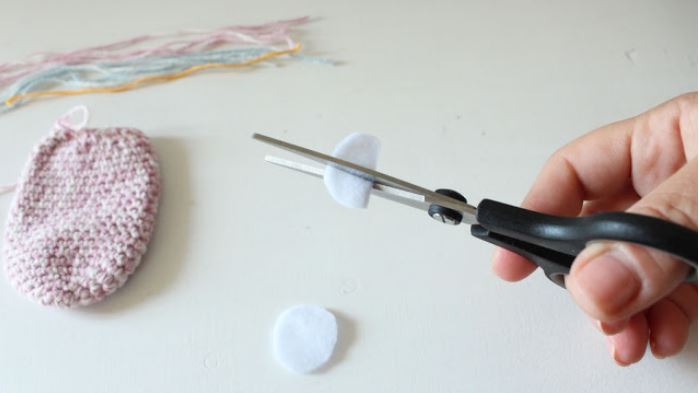
Fit the eyes through the slits of the felt.
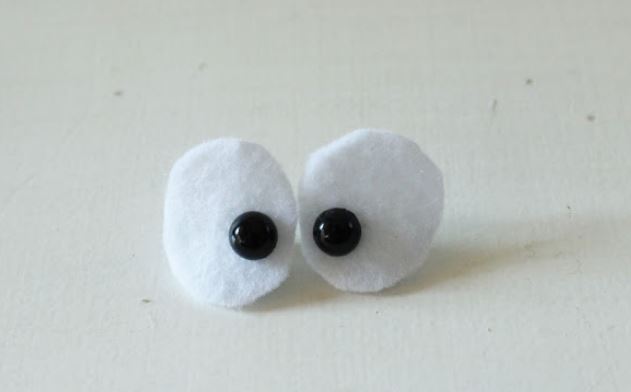
Find the center of the body and insert the eyes (along with the felt) to a couple of rows above the center.
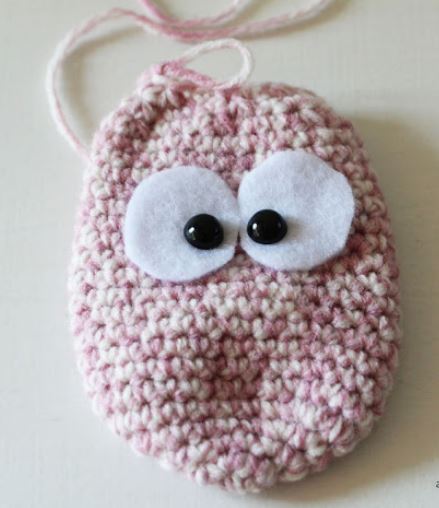
Secure the eyes on the inside of the body. Press the discs firmly to make sure the eyes will stay put.
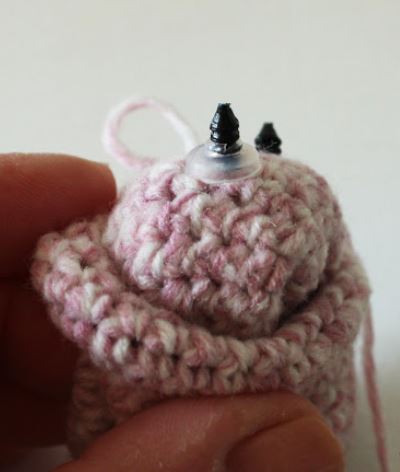
Now that your owl’s eyes are in place it’s take to embroider the nose. Use your yarn needle and the yellow yarn. You need to make a triangle under the center of the eyes.
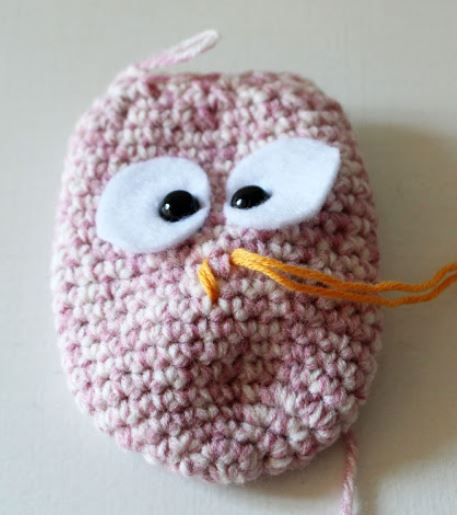
A few stitches to fill the triangle and you are set!
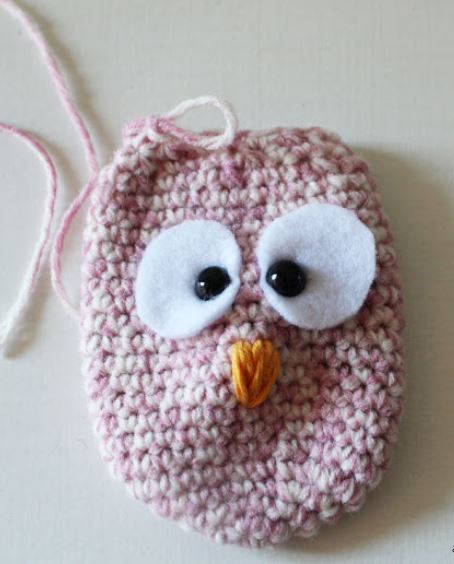
Now it’s time to stuff the owl. Make sure to fill it to the top.
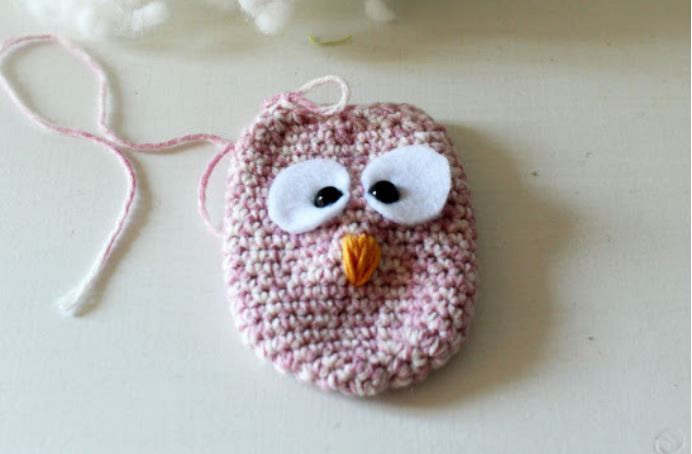
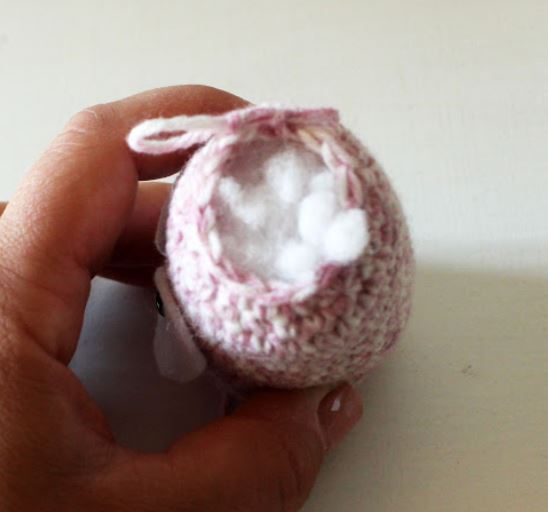
After you stuffed the owl press the opening side together and using sc close the opening.
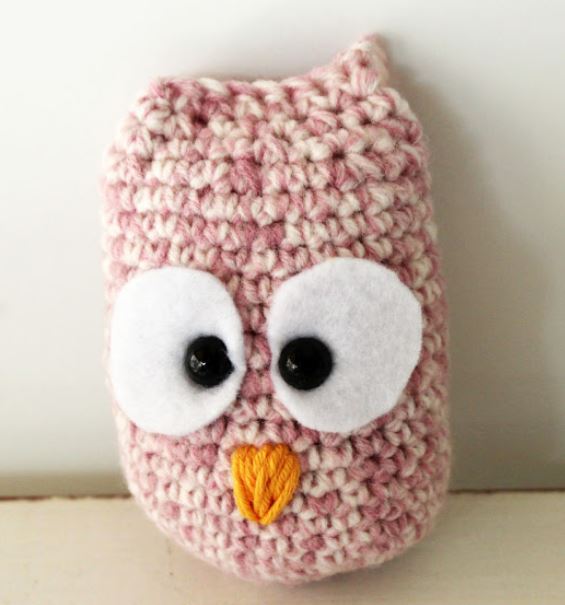
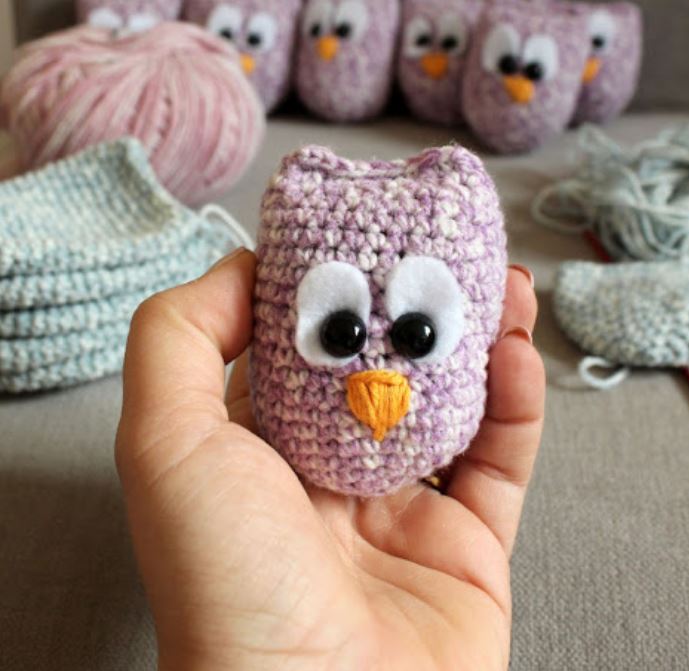
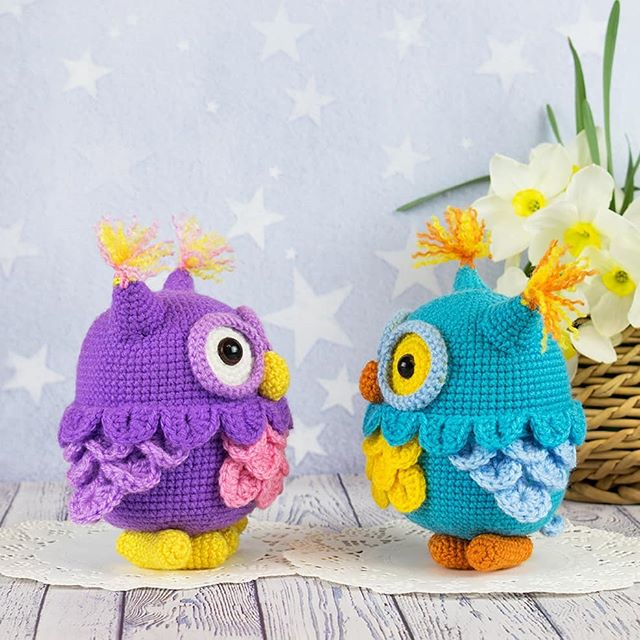
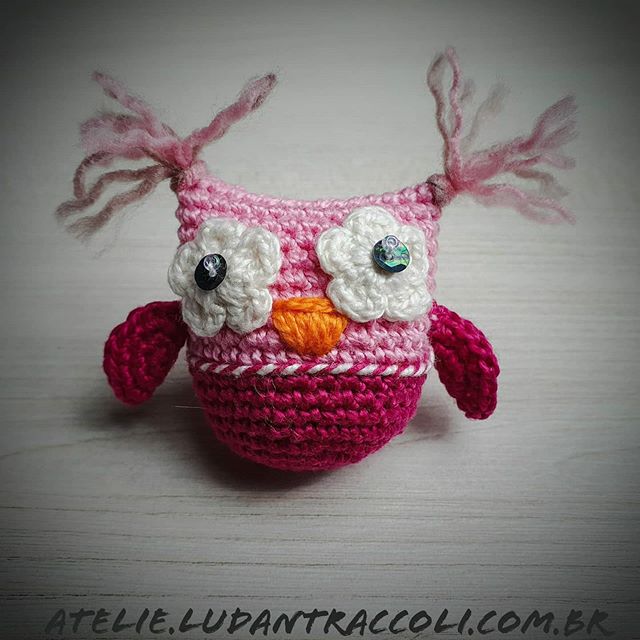
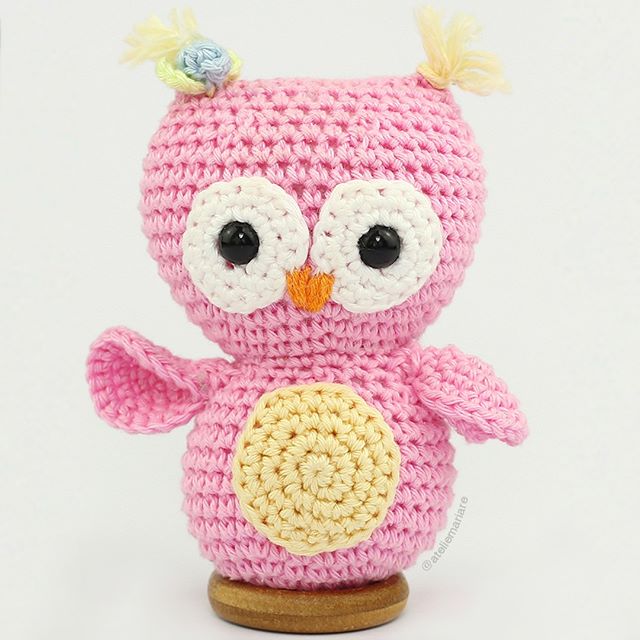
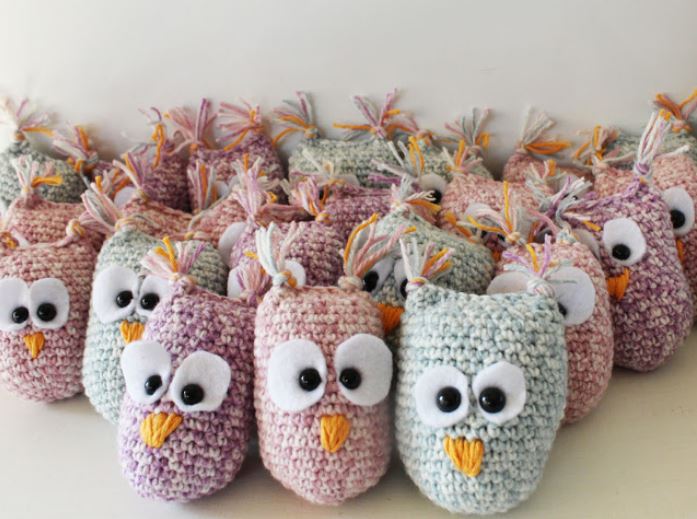
I made the ears with yarn. For each ear I used 2 pieces of the yarn color I used for the body (in this case pink), two pieces of either one of the other two colors (blue or lilac) and one piece of yellow.
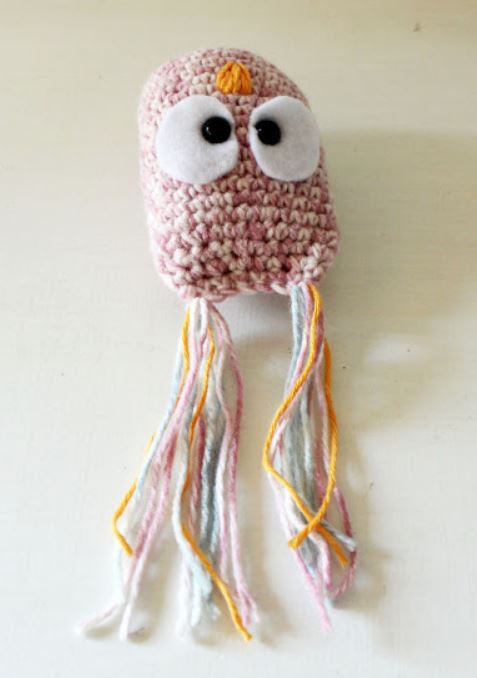
Use your hook to pull through all the yarn pieces in the two ends of the owl’s closure site. Then make a secure knot with all the pieces and cut with your scissors to about 2-3cms.
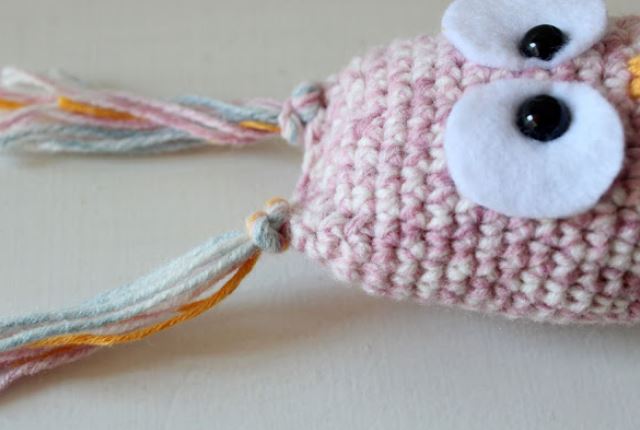
You owl is now ready!
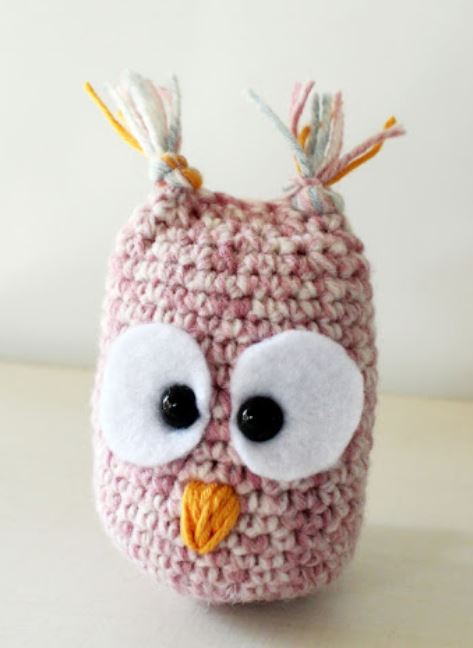
I’ve made 61 of these owls! I only hope they will be enough for the kids! And that they’ll like them!
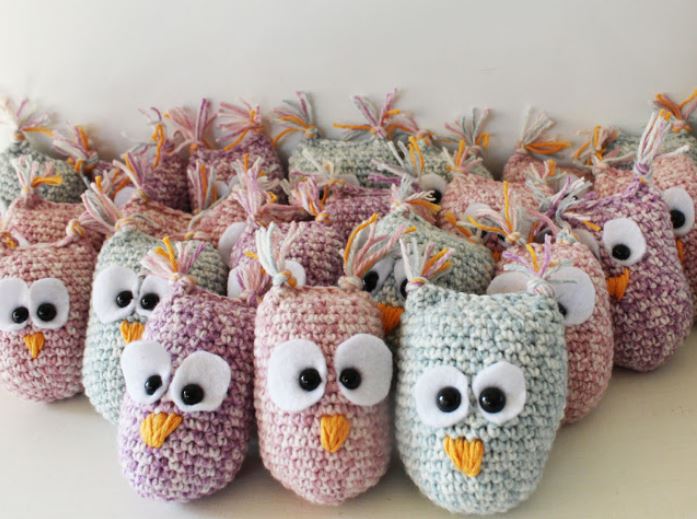
So, what do you think? I’d love to see your owls if you decide to make some with my pattern! Of course you are totally free to make them and sell them just please give me the credit of the pattern with a link. Thanks!
Lot’s of love
More Amigurumi Owl Ideas:
