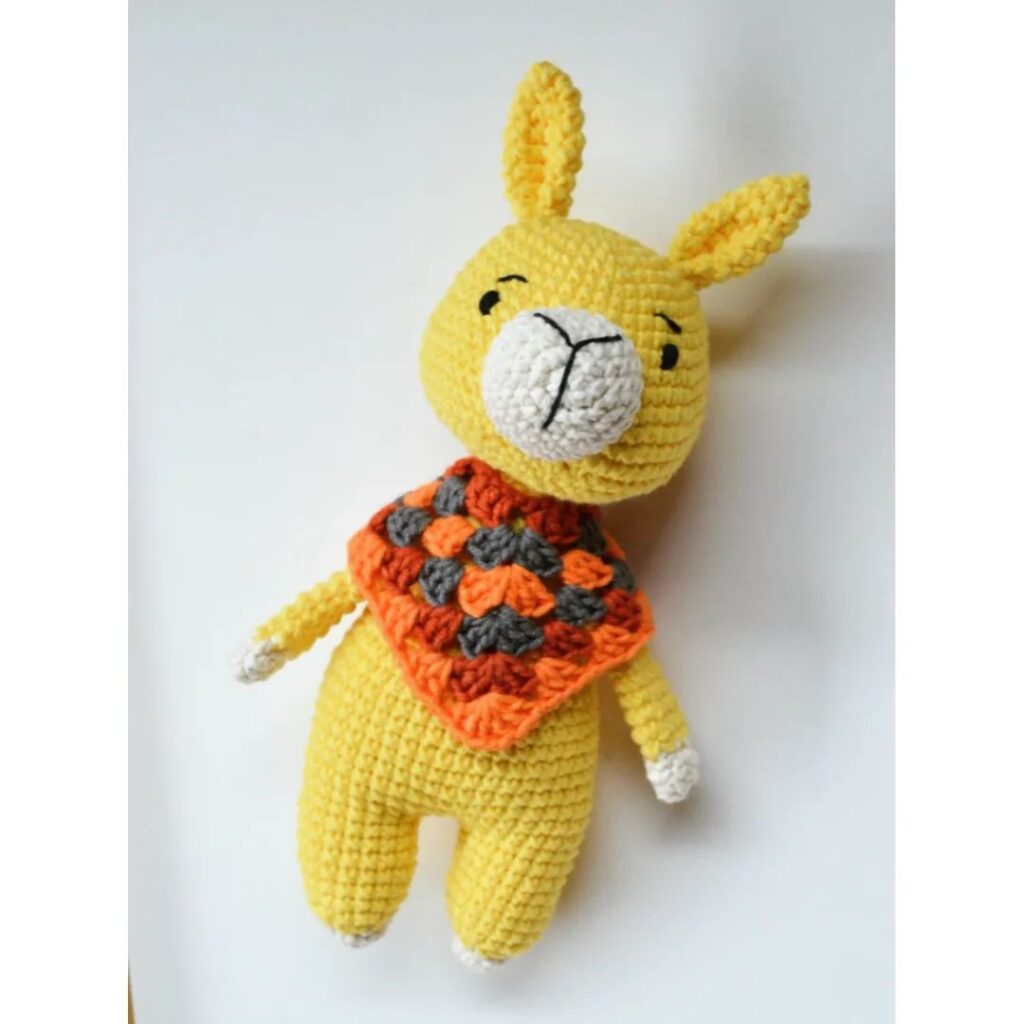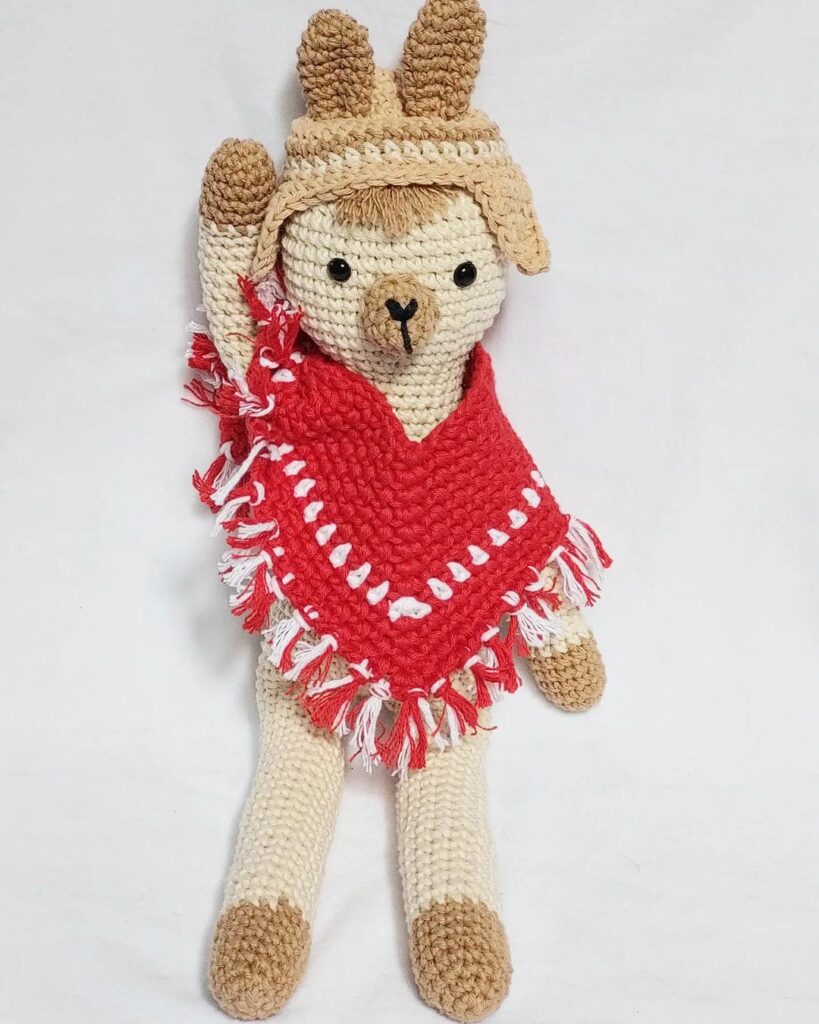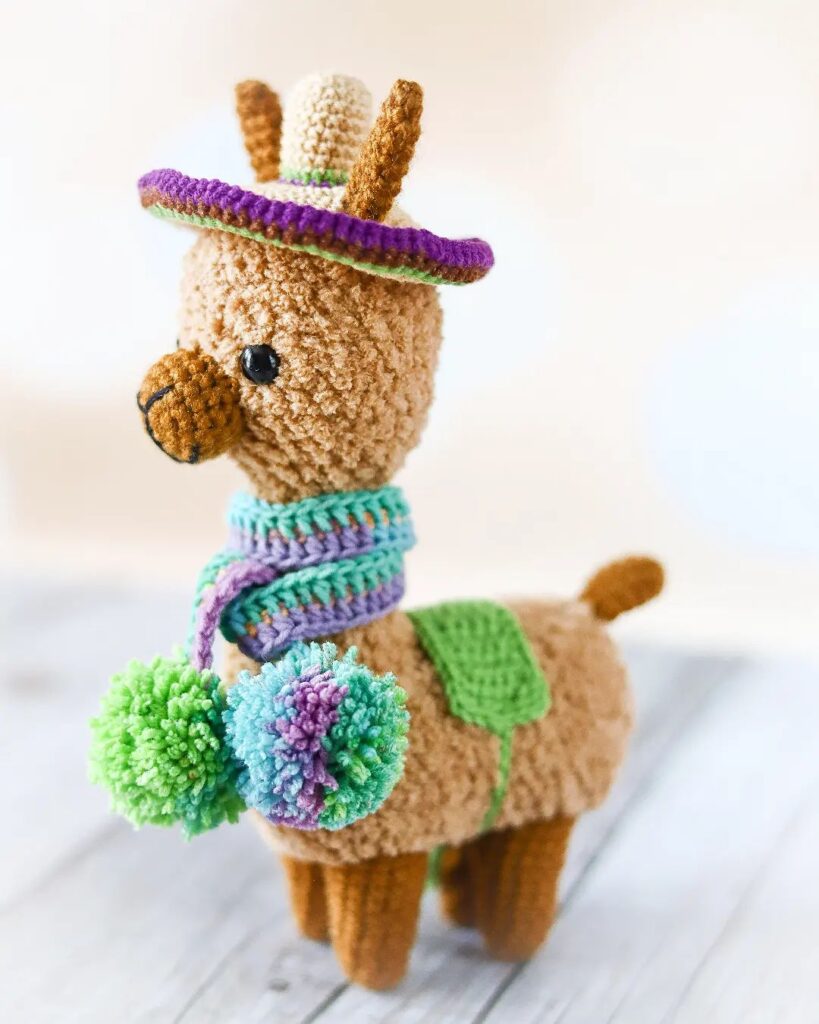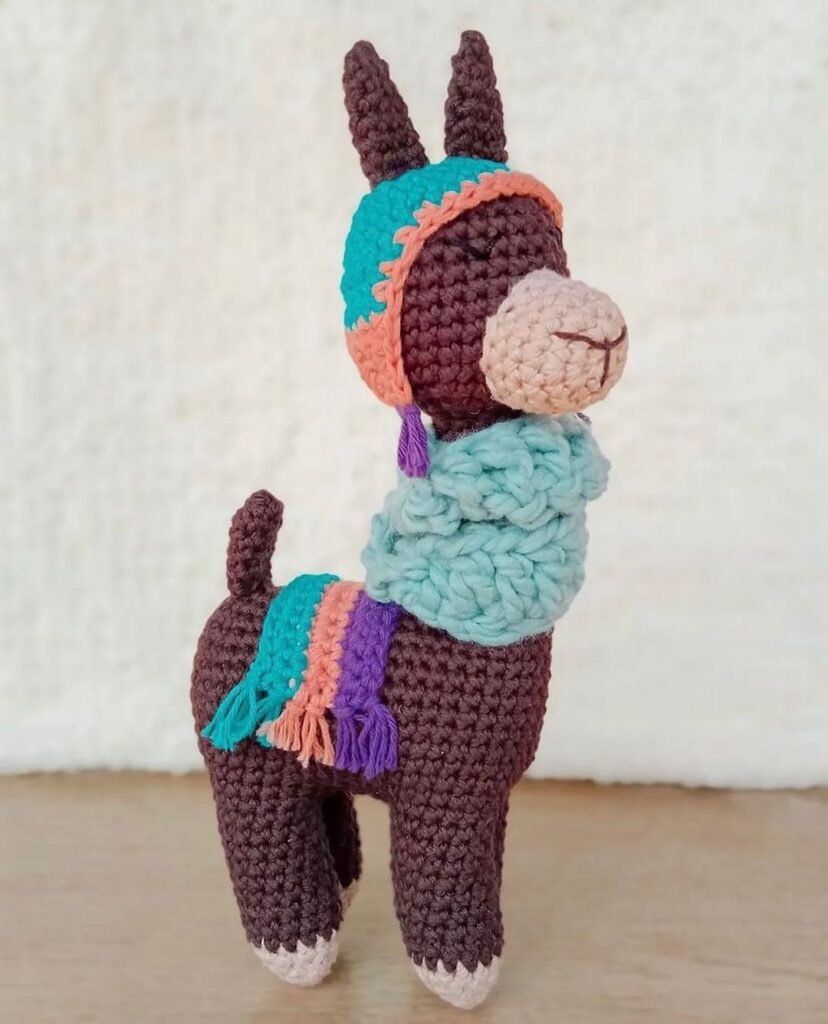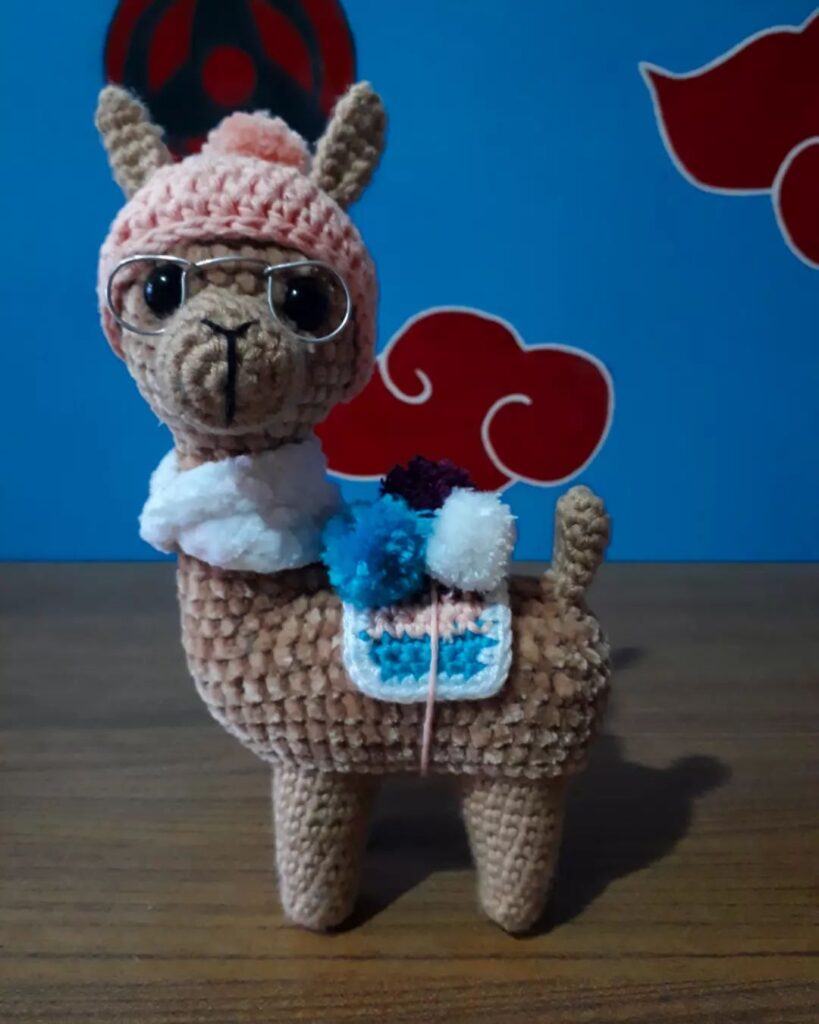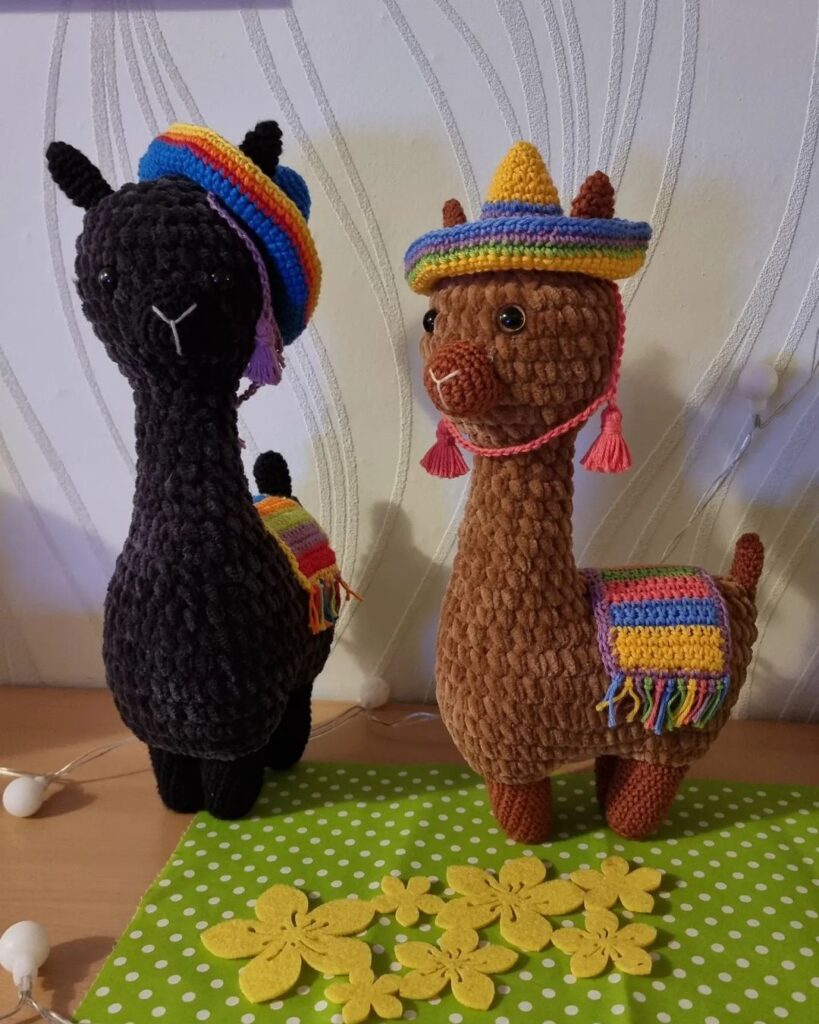
Amigurumi Llama Crochet Pattern
Hello amigurumi lovers and beautiful visitors, I wanted to share the free amigurumi patterns for you here. In my article I will share 1 pattern and how to make it for you. At the end of my article, I will share amigurumi patterns that can generate ideas for you.
Materials
Semi-cotton yarn (I have it Alize Cotton Gold) – 2 shades.
– The main color for the Lama and for highlighting the limbs and hairstyles.
– Floss or sewing yarn for nose and eyebrow embroidery
– 6mm bead eyes (2pcs) You can use eyes with caps. Just be careful to insert them BEFORE sewing the head to the body !!!!
– Hook number 2
– Needle for stitching parts
– Tailor’s pins
– Filler
Abbreviations:
R = row
MR = magic ring
ch = chain
sc = single crochet
dc: double crochet
hdc = half double crochet
sl st = slip stitch
inc = increase (2 sc in one st)
dec = decrease (2 sc together)
BLO = back loop only
FLO = front loop only
F.o. = finish off
(…) = repeat the instructions in brackets the given number of times
[…] = number of stitches you should have at the end of the round/row
Head
R1: 6 sc in MR (or in 2 ch)
R2: 6 inc (12)
R3: (1 sc, inc)*6 (18)
R4: (2 sc, inc)*6 (24)
R5: (3 sc, inc)*6 (30)
R6: (4 sc, inc)*6 (36)
R7: (5 sc, inc)*6 (42)
R8-9: 42 sc (2 ряда)
R10: (6 sc, inc)*6 (48)
R11: 48 sc
R12: (7 sc, inc)*6 (54)
R13-21: 54 sc 9 рядов
R22: (7 sc, dec)*6
R23: (6 sc, dec)*6
R24: (5 sc, dec)*6
R25: (4 sc, dec)*6
R26: (3 sc, dec)*6 (24), slst,
cut the yarn
Ears (make 2)
R1: 6 sc in MR or in 2 ch
R2: (inc, sc)*3 (9)
R3: 9 sc
R4: (2 sc, inc)*3 (12)
R5: 12 sc
R6: (sc, inc)*6 (18)
R7-9: 18 sc 3 rounds
R10: (4 sc, dec)*3 (15)
R11: (3 sc, dec)*3 (12), slst
Leave yarn for sewing
Muzzle
R1: 6 sc in MR or in 2 ch
R2: 6 inc (12)
R3: (sc, inc)*6 (18)
R4: (2 sc, inc)*6 (24)
R5-7: 24 sc 3 rounds
Leave the yarn for sewing, cut off
Arms (make 2)
white
R1: 6 sc in MR (or in 2 ch)
R2: 6 inc (12)
R3: (1 sc, inc)*6 (18)
R4-6: 18 sc 3 rounds
R7: 6 sc, 3 dec, 6 sc (15)
R8: 5 sc, 3 dec, 4 sc (12) color change
R9-21: 13 rounds 12 sc
R22: 12 sc + 1sc (to end the knitting at the side)
Fill with filler up to row 19, fold in half, knit together for both walls.
Legs (make2)
white:
R1: 6 sc in MR (or in 2 ch)
R2: 6 inc (12)
R3: (1 sc, inc)*6 (18)
R4: (2 sc, inc)*6 (24)
R5-7: 24 sc 3 rounds
R8: (4 sc, dec)*4 (20)
R9: (3 sc, dec)*4 (16)
Turn knitting in the opposite direction, we will knit in rotary rows without ch at the beginning of the row
R10: 10 sc, expand
R11: 8 sc, expand
R12: 6 sc, expand
R13: 4 sc (we stopped on the working side),
now we knit 4 sc legs on the left side,
4 sc legs on the front wall, 4 sc legs on the right side.
We put a marker so as not to get lost. We have released 16 sc.
R14: 16 sc, color change at this stage, fill the leg well, forming a heel
R15-28: 14 rows 16 sc, fill up to row 26, fold in half so that the toe of the leg looks forward, knit 7 sc together on both sides.
Body
R1: 6 sc in MR (or in 2 ch)
R2: 6 inc (12)
R3: (1 sc, inc)*6 (18)
R4: (2 sc, inc)*6 (24)
R5: (3 sc, inc)*6 (30)
R6: (4 sc, inc)*6 (36)
R7: (5 sc, inc)*6 (42)
R8: (6 sc, inc)*6 (48)
R9: 9 sc, 7sc knit leg, 17 sc, 7 sc knit leg, 8 sc
R10: (7 sc, inc)*6 (54)
R11-12: 54 sc 2 row
R13: (7 sc, dec)*6 (48 sc)
R14: 48 sc
R15: (6 sc, dec)*6 (42)
R16: 42 sc
R17: (5 sc, dec)*6 (36)
R18-19: 36 sc 2 row
R20: (4 sc, dec)*6 (30)
R21-23: 30 sc 3 row
R24: (3 sc, dec)*6 (24)
R25-30: 24 sc 6 rows, slst
Leave a long yarn for sewing on the head
Assembly:
It’s good to fill your head with holofiber.
Sew the head to the body (note that there are 24 sc left in the head and body) Sew neatly, loop-to-loop.
Mark with pins where you will sew the muzzle. Don’t forget to fill with holofiber.
Also, with pins, pin the ears, sew. Observe symmetry)
Sew hands between 24 and 25 rows
(where the rise of the neck begins)
Use pins to mark symmetrical spots for sewing on the beaded eyes.
Use the yarn of the shade of the head to draw small tightens at the pinned locations. Do not overtighten!
Sew on the eyes.
Use a white yarn to make the white around the eyes.
Sewing yarn (or floss) of black / brown color, embroider the nose and eyebrows.
Hairstyle:
– Dial 10 ch
– slst into the first loop.
– From it we recruit 10 ch again,
– slst in the first loop (the current chain from ch !!!).
By this principle, we make the required number of curls for the hairstyle. I do 12pcs usually.
Sew symmetrically between the ears.
Feel free to tag me (@freeamigurumii) in your photos on Instagram or Facebook if you’d like!
All Finished.
