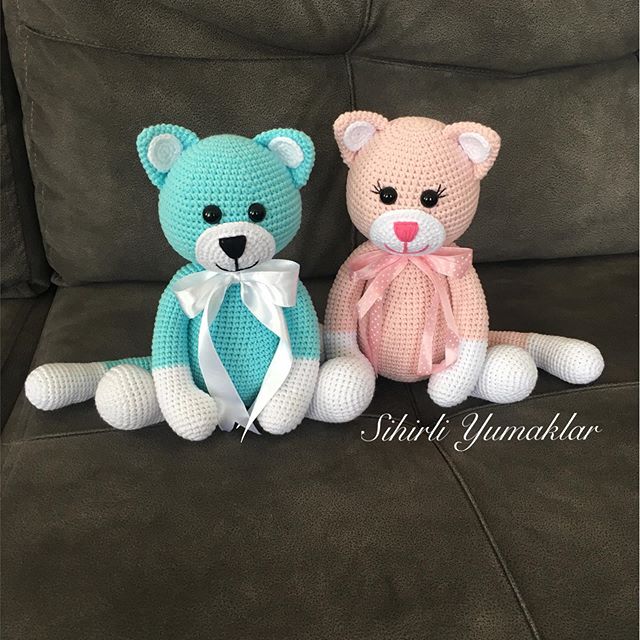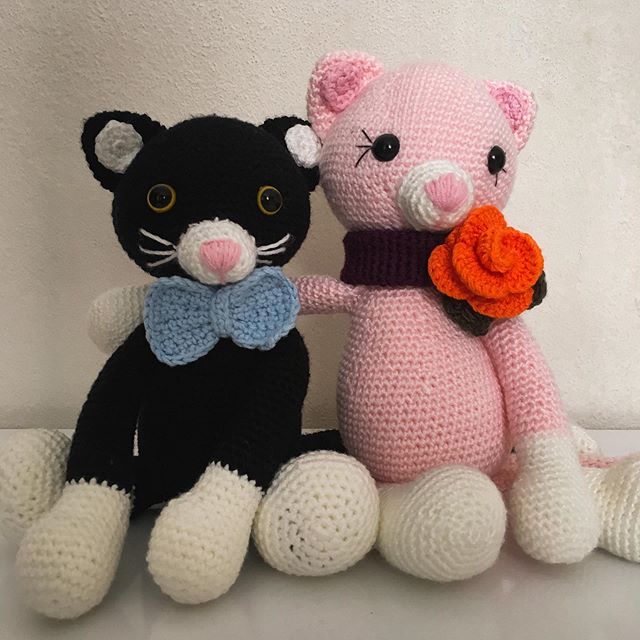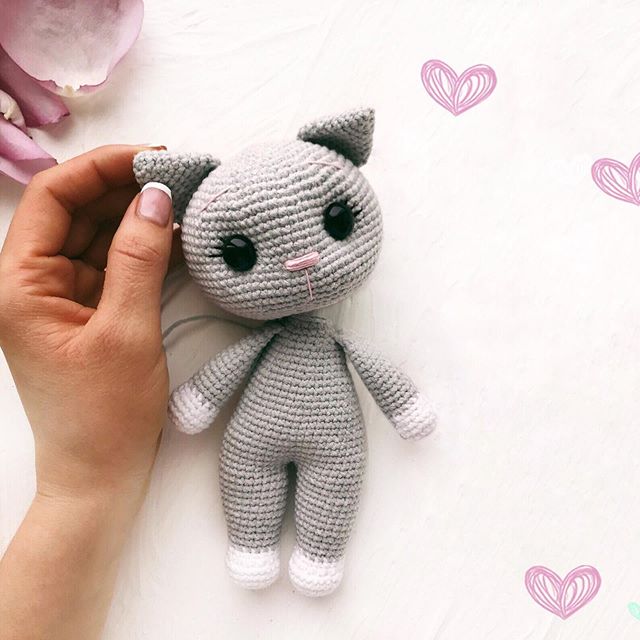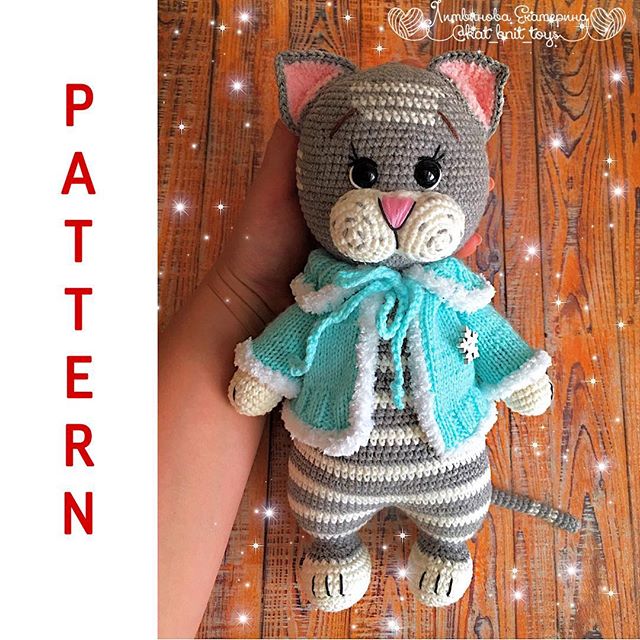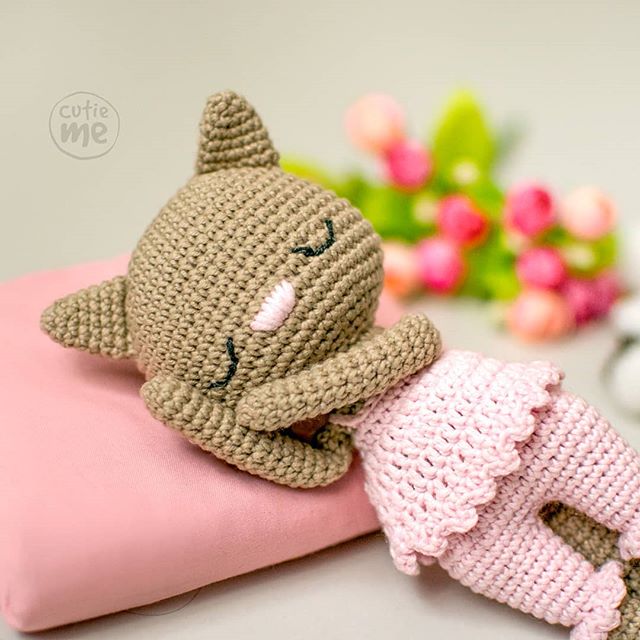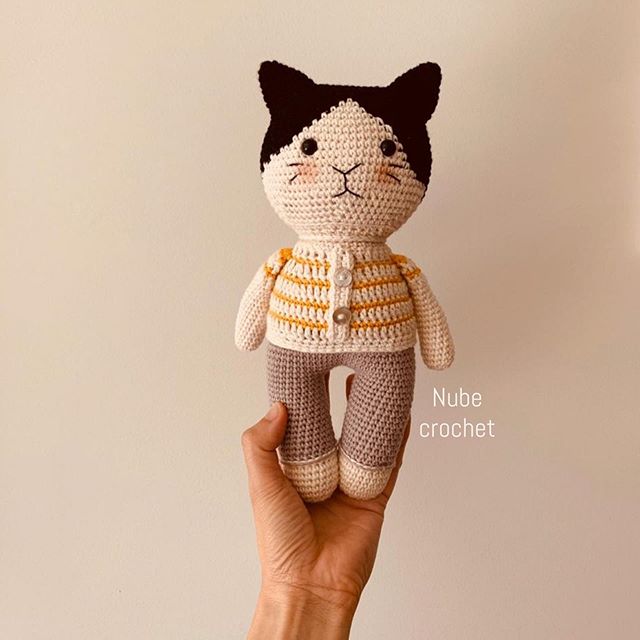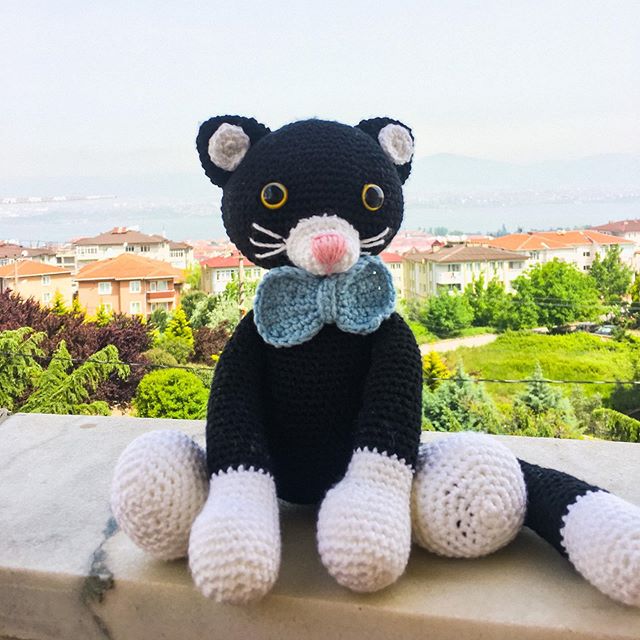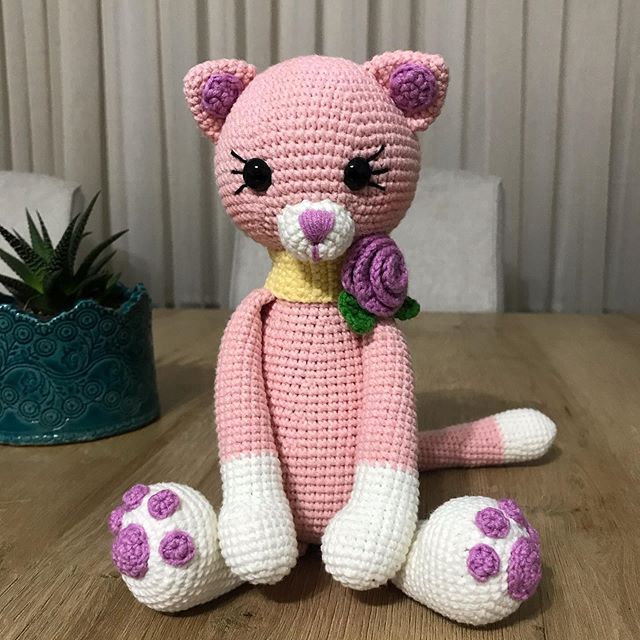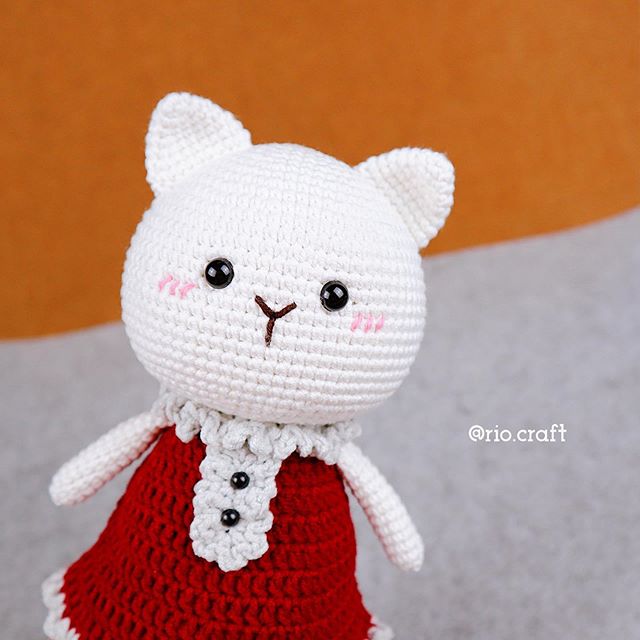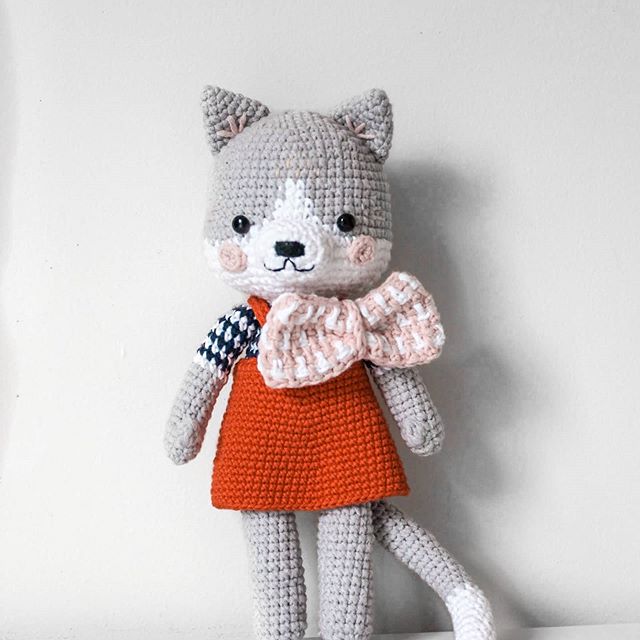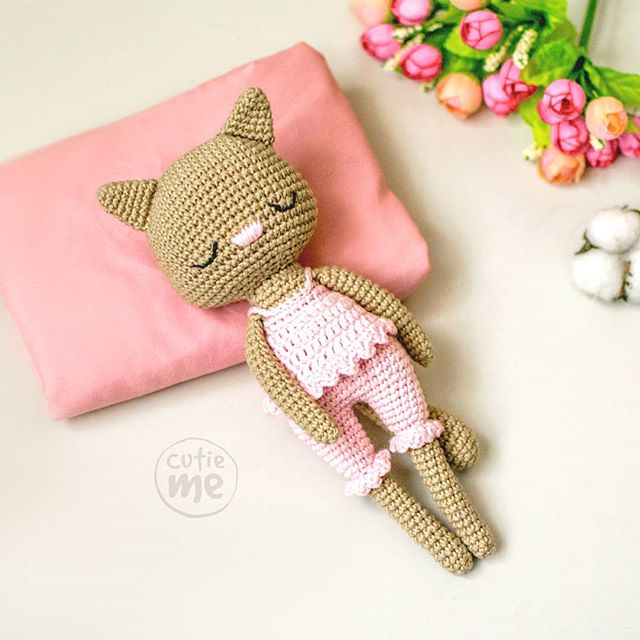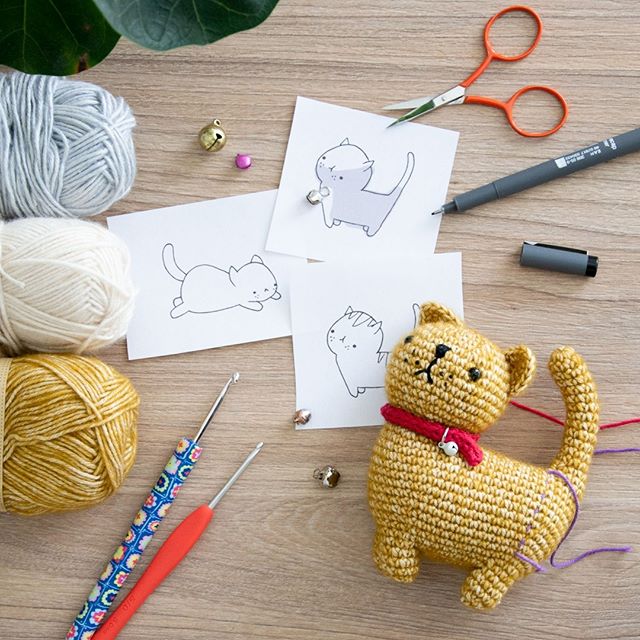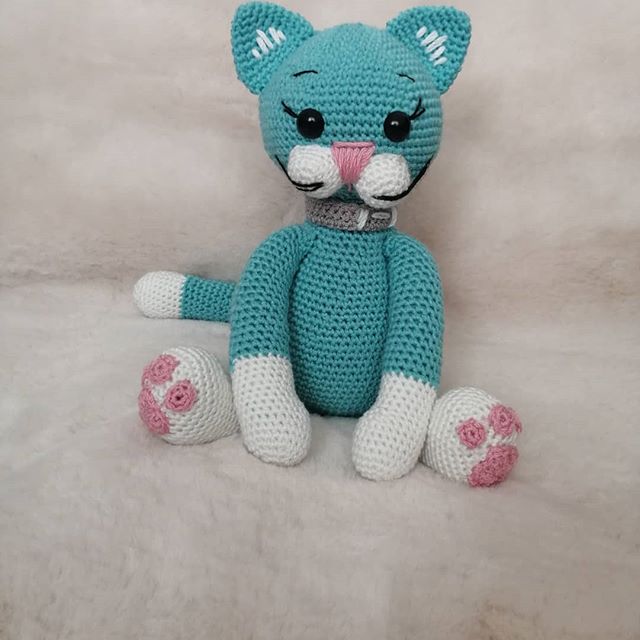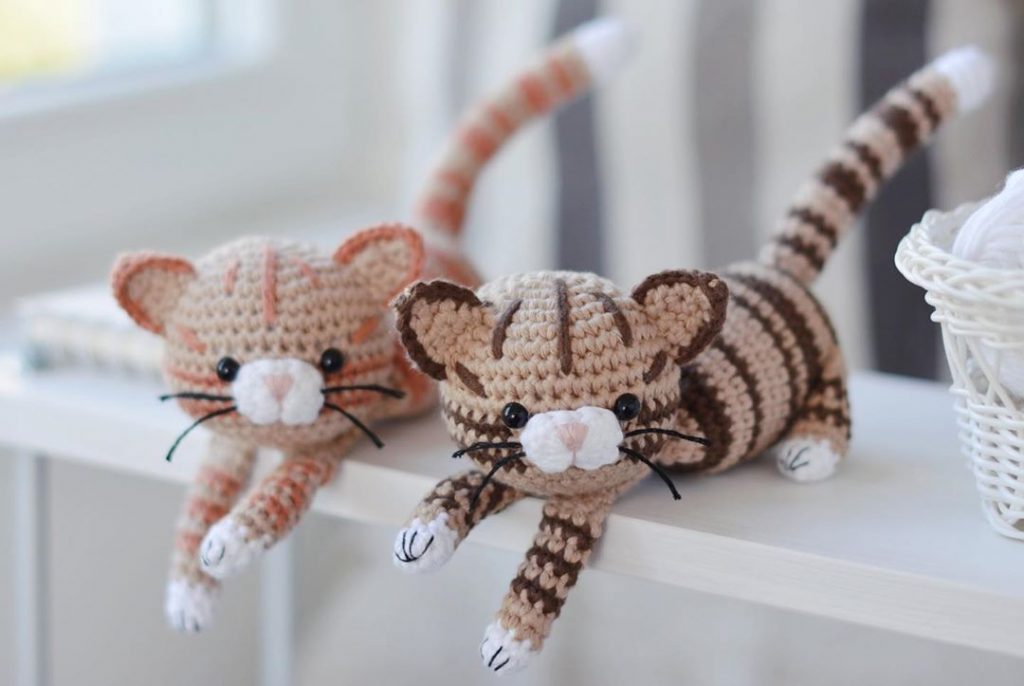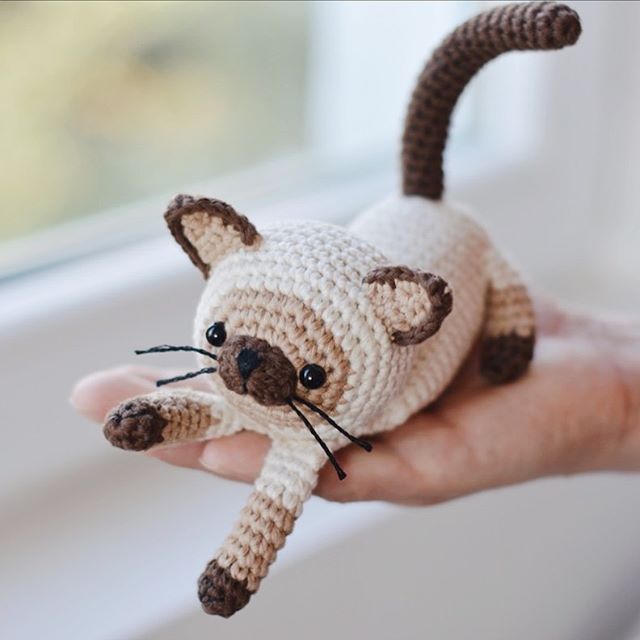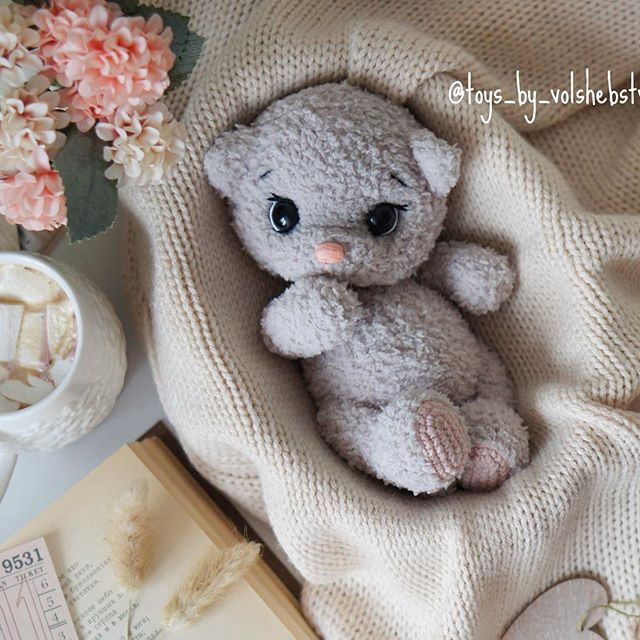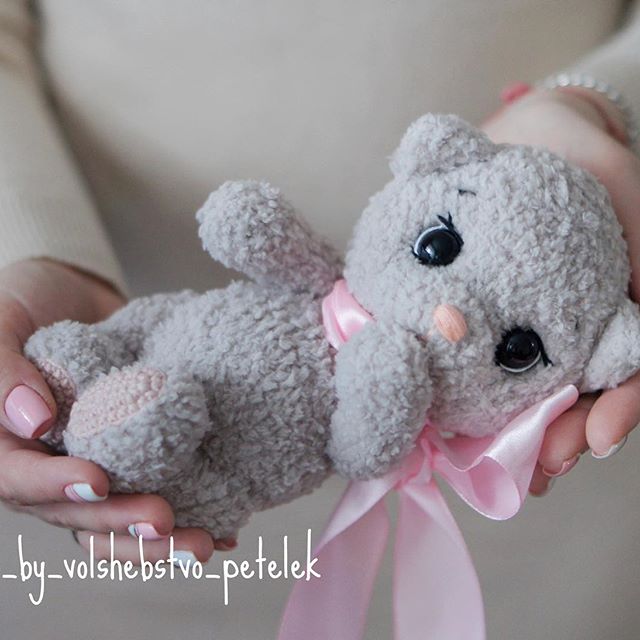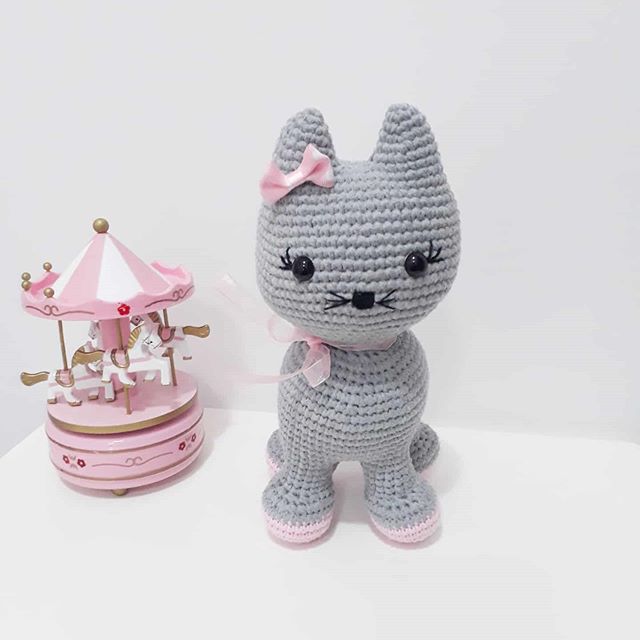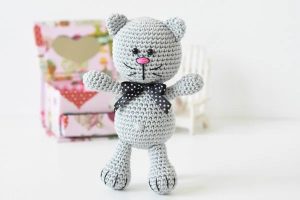
AMIGURUMI GREY KITTY ENGLISH FREE PATTERN
Hello amigurumi lovers and beautiful visitors, I wanted to share the free amigurumi patterns for you here. In my article I will share 1 pattern and how to make it for you. At the end of my article, I will share amigurumi patterns that can generate ideas for you.
If you enjoy making amigurumi, here I share this easy and free amigurumi pattern for you for free. Your kids will love these toys.
Materials:
- cotton yarn – I used DK (8 ply) weight Novita Tennessee (100 g / 214 m)
- crochet hook 3 mm
- polyester fiberfill
- safety eyes (Ø 6 mm)
- some pink and black thread for stitching the nose and whiskers
- satin ribbon
- darning and embroidery needle
Abbreviations:
sc – single crochet,
st(s) – stitch(es),
rep – repeat
WORK IN CONTINUOUS ROUNDS. DO NOT JOIN OR TURN UNLESS OTHERWISE INSTRUCTED.
IT WOULD BE WISE TO USE A STITCH MARKER AND PLACE IT IN THE FIRST STITCH OF EACH ROUND TO MARK THE BEGINNING OF IT.
LEAVE EACH PIECE A LONG TAIL FOR SEWING.
HEAD
Crocheted from top to bottom.
1: Start 6 sc in a magic ring.
2: Work 2 sc in each st around [12]
3: (Sc in next st, 2 sc in next st) rep 6 times [18]
4: (Sc in each of next 2 sts, 2 sc in next st) rep 6 times [24]
5: (Sc in each of next 3 sts, 2 sc in next st) rep 6 times [30]
6: (Sc in each of next 4 sts, 2 sc in next st) rep 6 times [36]
7: (Sc in each of next 5 sts, 2 sc in next st) rep 6 times [42]
8-17: Sc in each st around
Fasten safety eyes between rounds 11. and 12. Insert the first eye between them, then count 2 holes to the left and insert the second eye in the next hole. Close the washers from the inside of the piece.
18: (Sc in each of next 5 sts, sc2tog) rep 6 times [36]
19: (Sc in each of next 4 sts, sc2tog) rep 6 times [30]
20: (Sc in each of next 3 sts, sc2tog) rep 6 times [24]
21: (Sc in each of next 2 sts, sc2tog) rep 6 times [18]
Fill the head with fiberfill.
EAR (make 2)
1: Start 6 sc in a magic ring.
2: (Sc in next st, 2 sc in next st) rep 3 times [9]
3: Sc in each st around
4: (Sc in the next 2 sts, 2 sc in next st) rep 3 times [12]
5: Sc in each st around
Flatten the ears and attach them to the head.
Stitch the nose with pink thread and border it with black thread. Stitch the whiskers with black thread.
BODY
Crocheted from the bottom up.
1: Start 6 sc in a magic ring.
2: Work 2 sc in each st around [12]
3: (Sc in next st, 2 sc in next st) rep 6 times [18]
4: (Sc in each of next 2 sts, 2 sc in next st) rep 6 times [24]
5: (Sc in each of next 3 sts, 2 sc in next st) rep 6 times [30]
6: (Sc in each of next 4 sts, 2 sc in next st) rep 6 times [36]
7: (Sc in each of next 5 sts, 2 sc in next st) rep 6 times [42]
8-11: Sc in each st around
12: (Sc in each of next 5 sts, sc2tog) rep 6 times [36]
13: Sc in each st around
14: (Sc in each of next 4 sts, sc2tog) rep 6 times [30]
15-16: Sc in each st around
17: (Sc in each of next 3 sts, sc2tog) rep 6 times [24]
18-19: Sc in each st around
20: (Sc in each of next 2 sts, sc2tog) rep 6 times [18]
Fill the body with fiberfill. Sew the head together with the body.
LEG (make 2)
1: Start 6 sc in a magic ring.
2: Work 2 sc in each st around [12]
3: (Sc in next st, 2 sc in next st) rep 6 times [18]
4-7: Sc in each st around
8: (Sc in next st, sc2tog) rep 6 times [12]
9-13: Sc in each st around
Fill the leg with fiberfill.
14: (Sc in each of next 2 sts, sc2tog) rep 3 times [9]
Attach the legs to the body. Stitch 4 claws with black thread.
ARM (make 2)
1: Start 6 sc in a magic ring.
2: Work 2 sc in each st around [12]
3-6: Sc in each st around
Fill the tip of the arm. Add some stuffing as the work progresses.
7: (Sc in each of next 2 sts, sc2tog) rep 3 times [9]
8-11: Sc in each st around
12: (Sc in next st, sc2tog) rep 3 times [6]
Sew the arms to the body leaving enough room for tying a satin ribbon around it`s neck.
TAIL
1: Start 6 sc in a magic ring.
2: (Sc in next st, 2 sc in next st) rep 3 times [9]
3-6: Sc in each st around
7: Sc in each of next 7 sts, sc2tog [8]
8-9: Sc in each st around
10: Sc in each of next 6 sts, sc2tog [7]
11-12: Sc in each st around
13: Sc in each of next 5 sts, sc2tog [6]
14-15: Sc in each st around
Sew the tail in the proper place on the body.
Stitch a belly button, tie a ribbon around her neck and you`re done!
More Amigurumi Kitty Ideas:
